Looking for a model-free photography solution for your next clothing product shoot? If so, this article is for you!
In this article, I’ll explore various tips and techniques for capturing clothing images without relying on a live model or a mannequin.
Let’s dive in!
Why there is a need for Techniques to Photograph Clothing without a Model or Mannequin?
Before describing how to shoot clothing without a model, we must stress the need to use models or mannequins.
Based on my experience, scheduling and locating the ideal model for a picture session might take a significant amount of time. A challenging job’s also expensive, so it’s not for the faint of heart.
I believe you already read the article on how you photograph clothes with mannequins.
So, a mannequin may serve as a stand-in for the model if necessary. Nevertheless, it will detract from your product presentation’s impact, and you may not save money.
However, these product photography approaches would be prohibitively expensive for any new eCommerce firm with a limited budget.
As a result, techniques like ghost mannequin photography, which utilizes low-cost photographic equipment, can be useful for photographing clothing without the need for a physical model or mannequin.
The ghost mannequin technique is one of the best methods for photographing clothing without using a mannequin or model. Instead, it uses photo editing software to create the illusion that a garment is being worn by an invisible model.
The primary benefit of the ghost mannequin technique is conducting apparel photographs at home.
So, let’s discuss how to take images of your clothing products without utilizing any model or mannequin.
Ideas for Clothing Photography without Models
There are several alternatives to utilizing a model or mannequin when taking clothes photography.
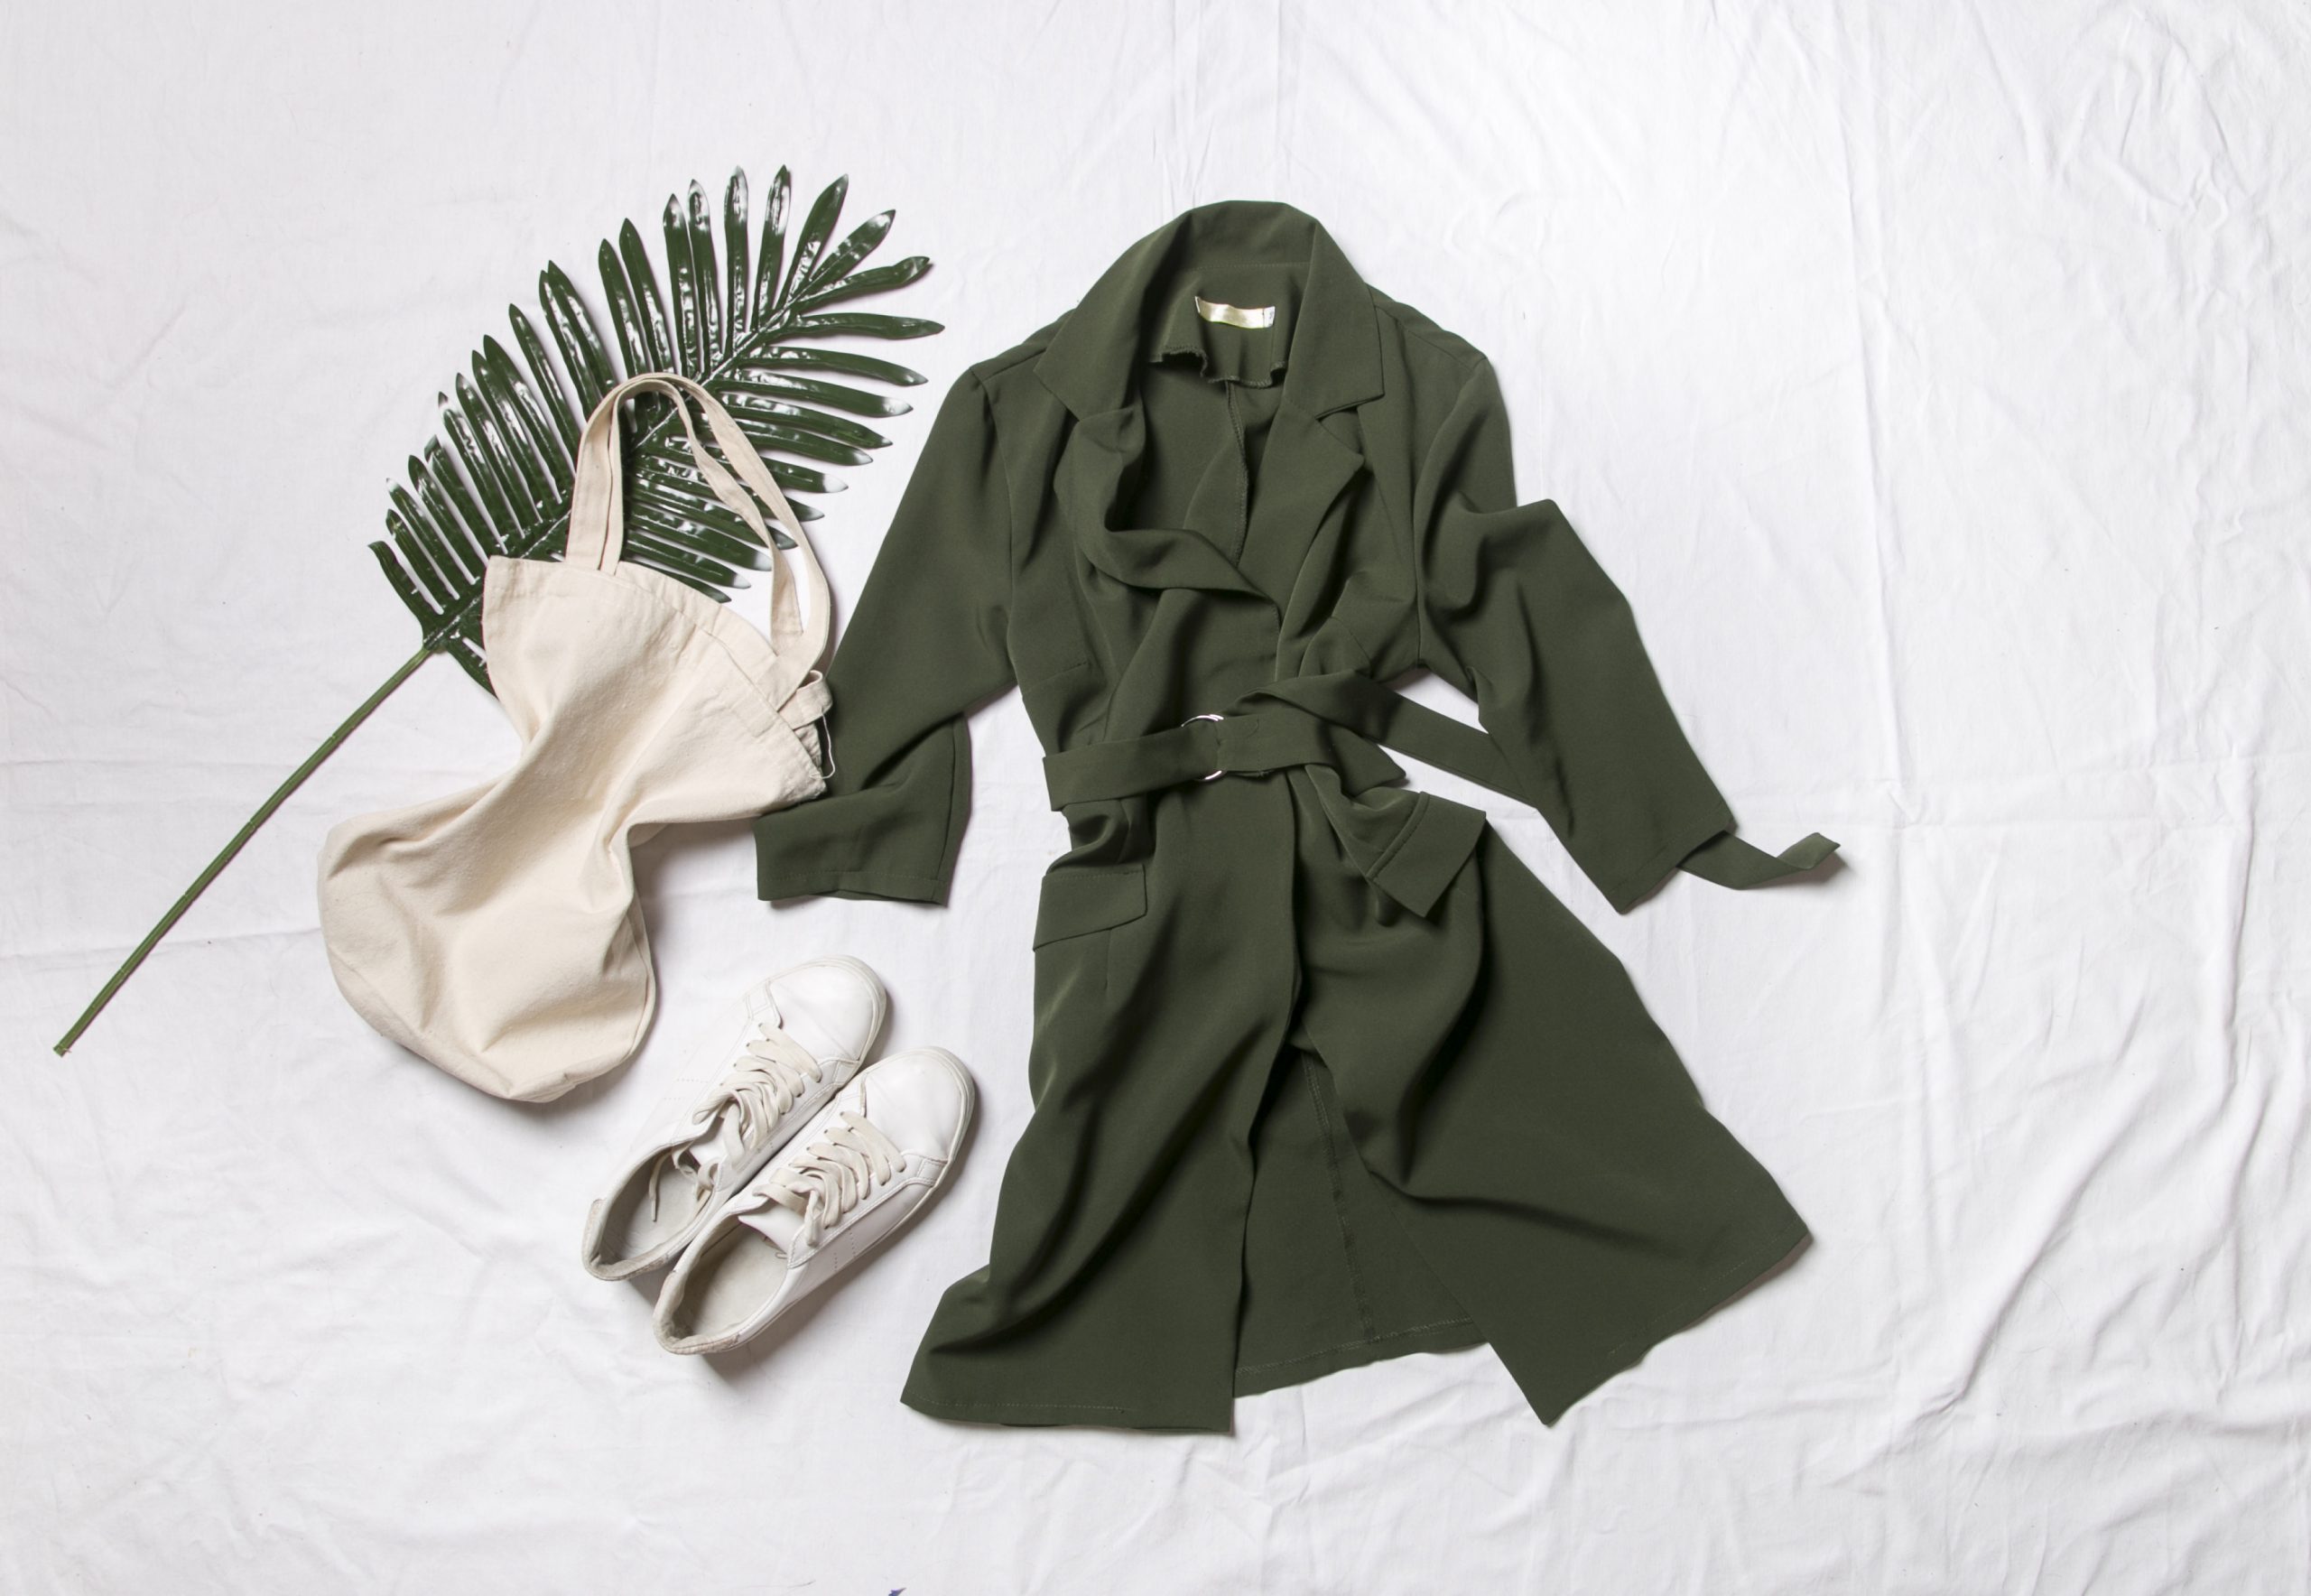
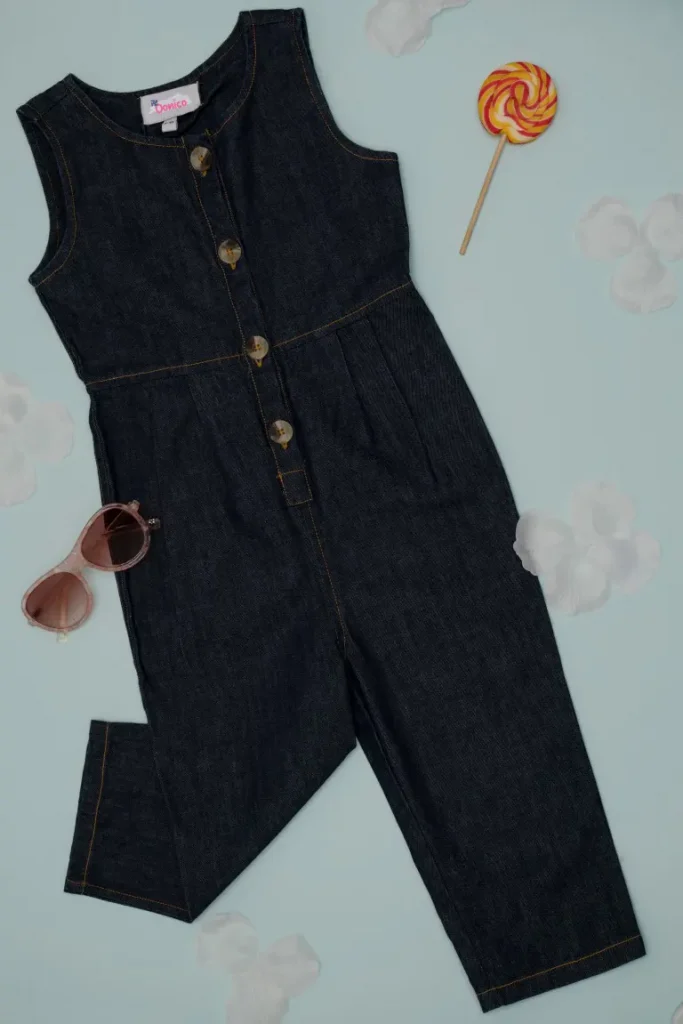
In this post, though, you’ll learn about the most intriguing way. The traditional flat lay method is what it’s called.
At this point, I’ll share the procedure that gave me perfect outcomes without a model or mannequins in clothing photography.
1. Planning and Preparation for the Basics of Photography
The photos will be unappealing if the product isn’t adequately prepared. It would help if you thought about how you want to accessorize your apparel before buying it.
If there are any creases in the material, you’ll need to iron the merchandise.
This might include:
- A tag that you don’t want to expose.
- Tape may be used to cover it up if necessary.
- Pins and clips may also be used to maintain the form in place.
Indeed, you’ve seen them all? You’re ready to take the next step now.
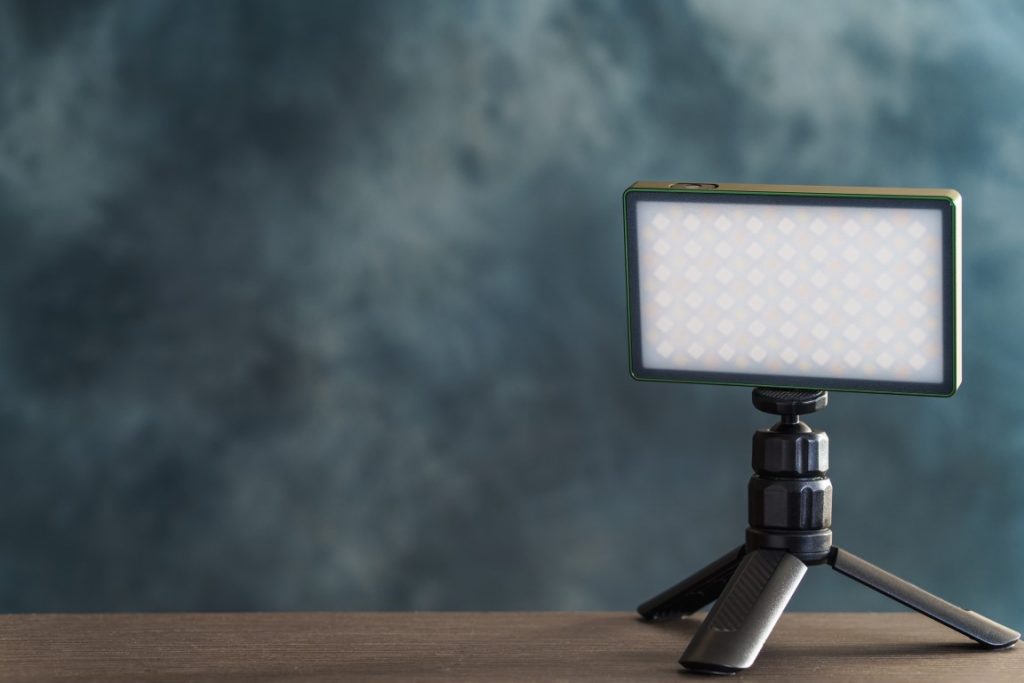
2. Prepare Your Photographic Clothing and Gear
In the second phase, you must focus on prepping your photographic equipment.
When it relates to clothes photography for e-commerce, you can’t only depend on the camera.
Equipment like tripods, light sources, and backdrops are also needed to enhance the photo’s appeal as other related items such as boxes.
Remember that viewers may get confused if you maintain such elements in the frame.
If you want to learn more about light sources for your product photography, product photography lighting will provide the ultimate guide for you.
3. Give a Natural Look
Tissue or paper may be used as filling materials to add volume and a dynamic appearance.
Simulate the inside arms of the gown, or even the legs of jeans or trousers, inside the bottom section of frocks.
To see this technique in action, check out the following short video clip.
@colezmrmn No mannequin, no problem. Just a whole lotta photoshop😂 #foryou #photography
♬ original sound – Cole Zimmerman
These materials are used as fillers to give the product a sense of depth and lift it out of its flat shape. As a result, a miniature 3D effect is created.
4. Make Your Photography Studio a Reality
In the 4th phase, you have to check that you will have set up your photographic studio appropriately.
You might begin by establishing a backdrop. Yes, I’d want to make use of the floor. This needs a thorough cleaning.
If a table is required, set it up according to your original plans.
Besides, you can find many inspirational backdrop ideas and tips from the article on backdrop Ideas for clothing photography.
The following video offers a clear idea for doing a clothing product shoot at home.
The next step is to set up your lighting fixtures near the desired shot. Is it acceptable to you? As a result, it’s time to move on.
5. In a Word, Light
The most OK lighting for low-lay clothes photography is undoubtedly ambient light.
It’s best to photograph your products near an open window if feasible. It’s also a way to save money.
In some instances, you may either use one light and maintain it on the same side of the surface, or you can use two lights.
I believe you already refer the product photography lighting-related articles on the best strobe lights for product photography, can I use LED lights for product photography? and the best ring light for product photography, in order to better understand how to combine multiple lighting sources for optimal results.
If you’re using two lights, set them 45 degrees apart on each side of the surface. If you’re using four lights, arrange them at four points on the surface.
Besides, a diffuser should be placed at the front of the lighting to ensure the light is evenly distributed throughout the product.
You’ll be amazed at how bright your merchandise is.
A bounce card can remove the shadow on the other side of the light.
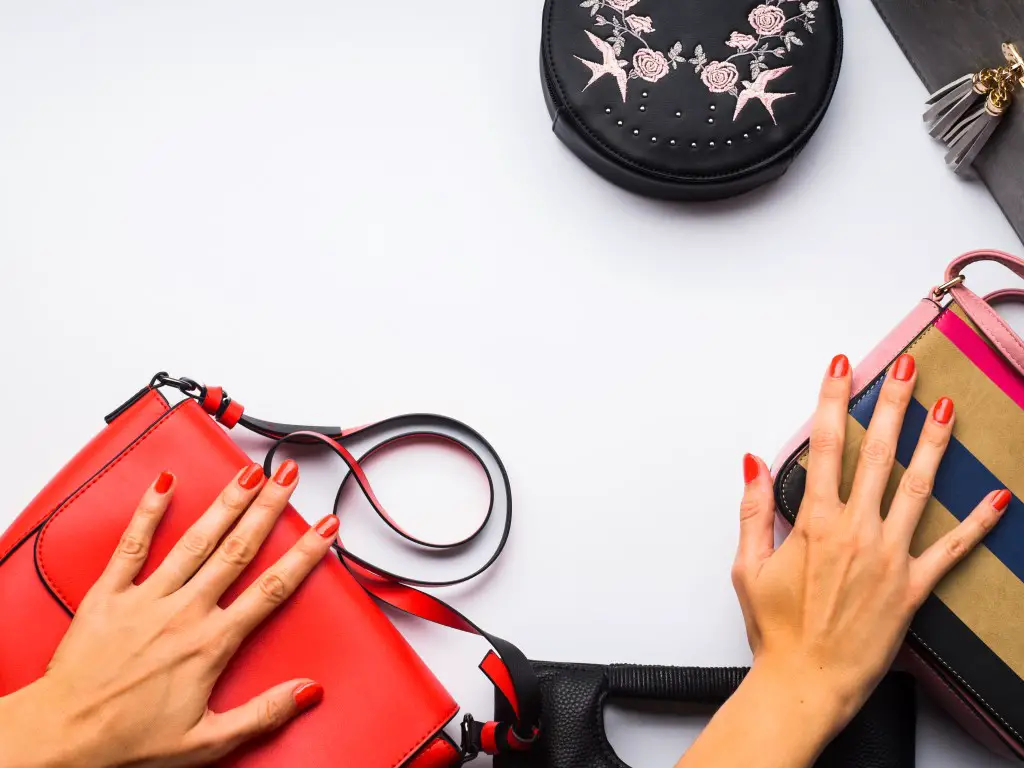
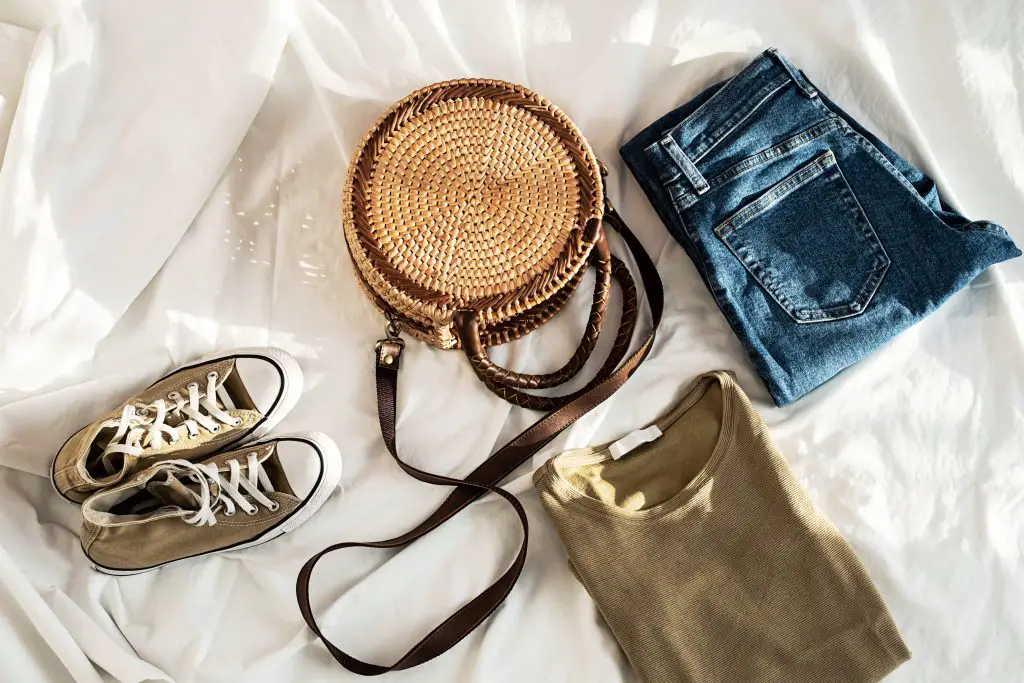
6. Props May be Used as Necessary
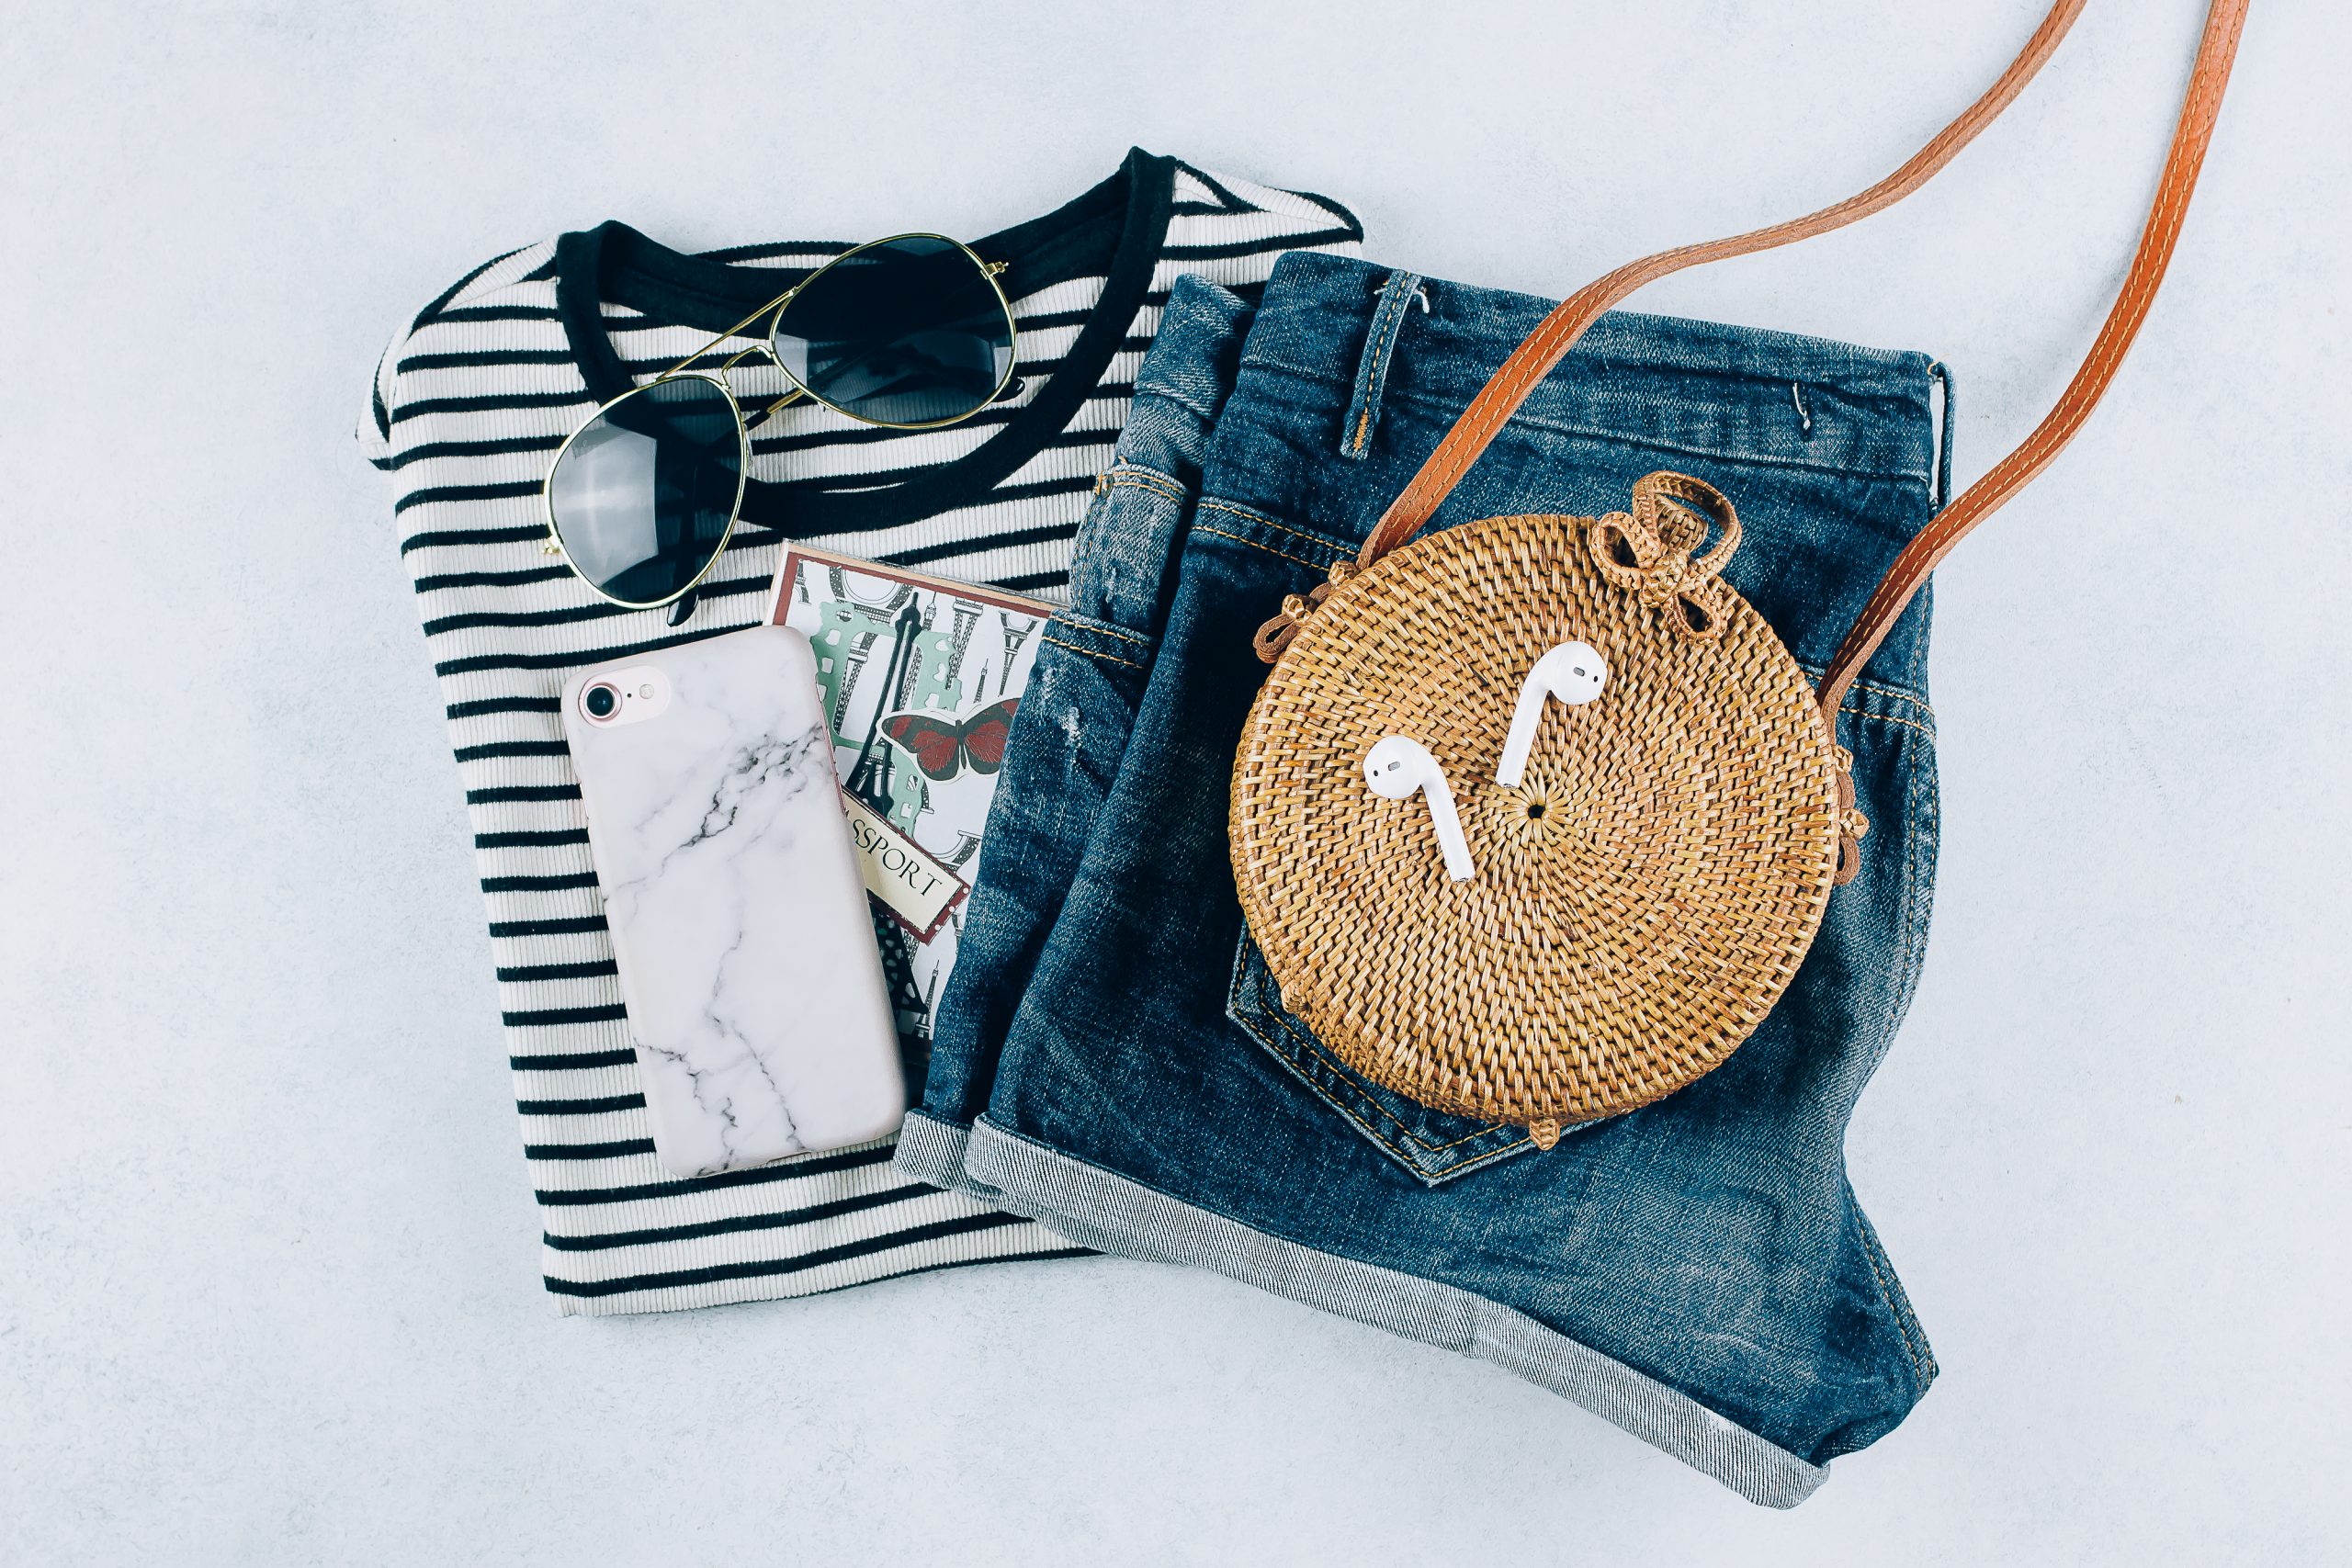
Feel free to use objects around the clothing if we need to do so. However, take a few notes to make sure everything is in tune.
Decorate the whole image to convey a brief tale.
If you’re shooting a tank top, you may use folded pants, a water bottle, and a pair of shoes as your props.
This way shows two images, one of a casual appearance and the other of what is needed for physical activity.
7. It’s Time To Go
Finally, your product is ready for the photograph; you’re all set. You get a polished appearance that is both attractive and functional.
Steps on How to Photograph Clothing without a Model
Here are a few pointers from my experience on how to photograph clothing without a model in the background:
Step – 1: Set Your Background
A white backdrop is a common choice for product photographs since it is the most common color.
Alternatively, if you need to photograph clothing without the aid of a model, you may use a pastel foundation to get this effect so that you may play around with the contrast between your foundation and your clothing.
Step – 2: Maintain a Straight Clothesline
To ensure that your clothesline is perfectly straight, you need to pay special attention to the edges.
In addition, you must keep up with the foundation’s leading edge (top, side, and base). As a result, the results of each shot will seem consistent.
Step – 3: Keep Your Clothes Centered by Aligning Them
As a result, you’ll need to ensure your clothing is in proper alignment.
Keep an eye on your shoulders. Make sure your shoulders are in a good position before you attempt to catch!
Step – 4: Correcting the Shades
It has a critical and profound impact on every piece of clothing, but it is especially true for fashion photography.
While achieving perfect focus and exposure in every shot can be challenging, color correction helps to address any discrepancies.
After completing the flat-lay clothes photography, apply color correction to match the desired colors, tones, shadows, and lights for an appealing and consistent presentation.
Step – 5: Creating a Spooky Effect
A flat-lay photo for a model is enhanced by various shadows, including Photoshop shadow effect, reflect shadow, standard shadow, and unique shadow.
In flat-lay picture editing, the photos lose their appeal and appear in a rough and wild state.
If the item’s picture has to be reshot or retouched, the shadow plays a critical role in drawing attention to the goods and increasing sales.
After that, go over all your images and ensure they’re all excellent.
What do you think of the results, and are you satisfied? Alternatively, do you have a problem with the photographs of clothing?
You now have two options:
- You may reshoot all of your clothing shots, which will require a significant amount of time and effort.
- Alternatively, you might try to get some help from a professional ghost mannequin editor or product photo editor.
Conclusion
Now you know how to photograph clothing without a mannequin.
Are you looking forward to using this technique in your next shoot? If you want to gain even more positive feedback from your audience, don’t forget to use these techniques.
To take more unique and creative clothing photographs, check out the article on clothing photography ideas for more inspiration and photography ideas for clothes.
Justin Parker is a professional photographer and has been in the industry since 2007. He attended the University of Georgia. Justin combines his passion for photography and his interest in writing to give life to this blog which talks about photography in order to help and inspire young photographers.