You all would agree that trust is so vital in any e-commerce business. We all love to convert our new customers into regular customers. However, the question is how to do so.
One way is to make a positive shopping experience and increment consumer loyalty by showing your clients precisely the thing they are getting. Specifically, addressing your product helps to remove confusion, limits returns. It also helps to build brand loyalty, which is so essential for the brand.
To learn more about this topic, let us move forward!
What is a scale in photography?
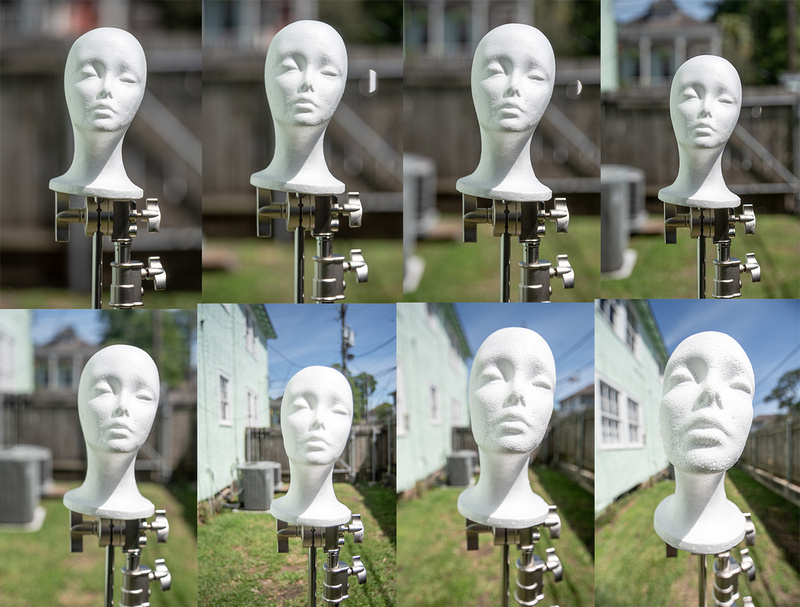
Generally, the term ‘scale’ defines comparative size. The scale assists our mind with understanding the size of an object. Especially the moment when displayed close to something else of a different size together in a similar picture. Photos need scale to accomplish that three-dimensional look on a two-dimensional product.
Well, have you ever noticed something, which is so beautiful, and you snap a picture of it? In the next moment, you just realize that it is much tougher to convey the three-dimensional photo of what your mind can see and eyes can see in two-dimension.
Why is the scale in photography necessary?
Sometimes, when we look to take the right photo, our minds can get in the way. This whole thing was tough for me to grasp at first. I am certain some of you could relate to this incident.
A feel of scale is when you operate factors human beings realize to help them recognize the size and distance of an object. Sometimes you can use it to establish a sense of the significance of what you are taking pictures of.

How do you show scale in product photography?
Photography works with just two dimensions. The world, then again, is seen in three dimensions. Missing that additional measurement can be nothing to joke about.
A conscious way to deal with photography-
Photographic artists commonly complain that they cannot precisely appear to make their photos look as great as reality. However, with a bit of training, you can shoot pictures that leave your crowd in amazement!
Utilizing Lines-
Lines have consistently been a significant component of any structure. They give a picture a feeling of development and can coordinate the watcher’s eye around a shot. Utilizing leading lines is additionally an approach to provide a feeling of depth as well as it also shows the distance. I get a quick review of the distance between products in the frame.
Altering up the perspective-
Now and again, catching the grandness of a scene requires an imaginative perspective. But unfortunately, many photographers neglect to investigate the possibility of mixing up the camera’s view. To solve this problem, a fantastic thing can be done.
Including the entire scene-
It is one of the bitter truths that shows the genuine size of a scene requires a bit of compromise.
Zooming in and catching gestures or the human component can make you lose the feeling of scale. Then again, zooming out can result in the picture losing any connection or interest.

The ideal approach to represent this is to know about it as you set up your shot. Equilibrium the products in the frame and choose what is the need and reason for the shot. Assuming you need to show the size of a scene, you likely will not have the option to make a tight effort that shows responses or feelings.
Showing Distance-
So what do you think? How might we tell in case something is far away?
Once more, it isn’t hard to perceive the distance. By and by, two-dimensional pictures tend to look incredibly level without giving a bit of consideration to what in particular is remembered in the frame.
Indeed, as a beginner, you can utilize the depth-of-field to give a feeling of depth. When the foundation drops off into a blurry thing, it assists the watcher with perceiving distance.
Depth-of-field indicates the measure of a region that is in the center of an image. You can ensure that the foundation drops out of concentration by utilizing one or by mixing various of the below strategies:
- Choosing a wide lens gap.
- Focusing on your matter
- By having a critical distance to the background behind your subject
Give a reference-
So how can you recognize that something is large?
Indeed, it’s not typically an issue; we don’t even think about it. Yet, in photography, we don’t generally have a similar chance to look around and feel the extent. This annoying little detail can imply that even a gigantic, fantastic miracle, in actuality, can look outstanding.
So how might we ensure that large size is appropriately valued? By remembering individuals or normal objects for a scene, the watcher can rapidly comprehend the scale.
Understanding lens bending-
A camera doesn’t see the same thing our eyes do. There can be a significant distinction between the picture and reality, depending on your lens and how much room you are utilizing.
Wide-point lenses can ruin perspective, making objects near the camera essentially greater than ones farther off. This can be utilized for your potential benefit for imaginative shots; however, it will destroy the feeling of scale.
The more you zoom using (a more extended focal length), the less contorted your item will show up. Shockingly, if you are taking pictures of huge structures or regular ponders, this has genuinely restricted application. It isn’t generally conceivable to run a few hundred meters not too far off to have space to zoom into 200mm when photography a tall structure.
Adjusting the margins–
There is, fortunately, a genuinely straightforward way out of this sizing dilemma.
A “margin” in this setting is the distance between your product and the edge of its picture, estimated in four directions: top, base, right, and left. We are now worried about the top margin.
By reflecting how huge the picture is inside a canvas. For consistency, you will need to work out an essential measuring guide that decides the margins of your things so that individuals can undoubtedly peruse your website and select precise sizes.
Making the sizing guide–
Stage 1. Make a new Photoshop record and set up a canvas to your current requirements.
Stage 2. Set the rule for the lower part of the picture. This is the place where the lower part of every one of your pictures will sit inside the canvas.
Leave some margin underneath the primary concern to permit a little space to breathe for your product; we suggest something in the area of 10%.
Stage 3. Then, set the biggest guide for your most excellent product pieces. We recommend utilizing a similar measure of top margin as base margin for the good of consistency.
Stage 4. Set your medium guide the amount you feel addresses a perceptible change in estimation from large to medium. It does not need to be proportionate to actual estimates, sufficiently essential to separate it from bigger or little products.
Stage 5. Lastly, set your littlest guide a similar distance away from the medium as the medium is from the big one. Ensure your product will, in any case, be noticeable at that size. In case it’s not, begin once again from the start with a bigger “big.”

How does scale effects product photography?
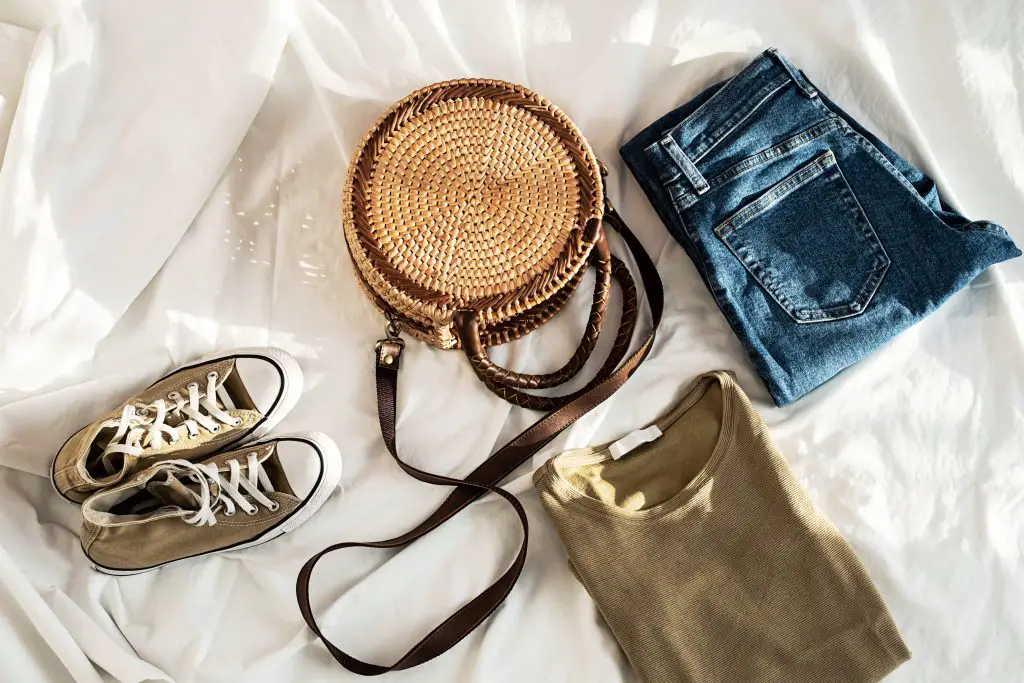
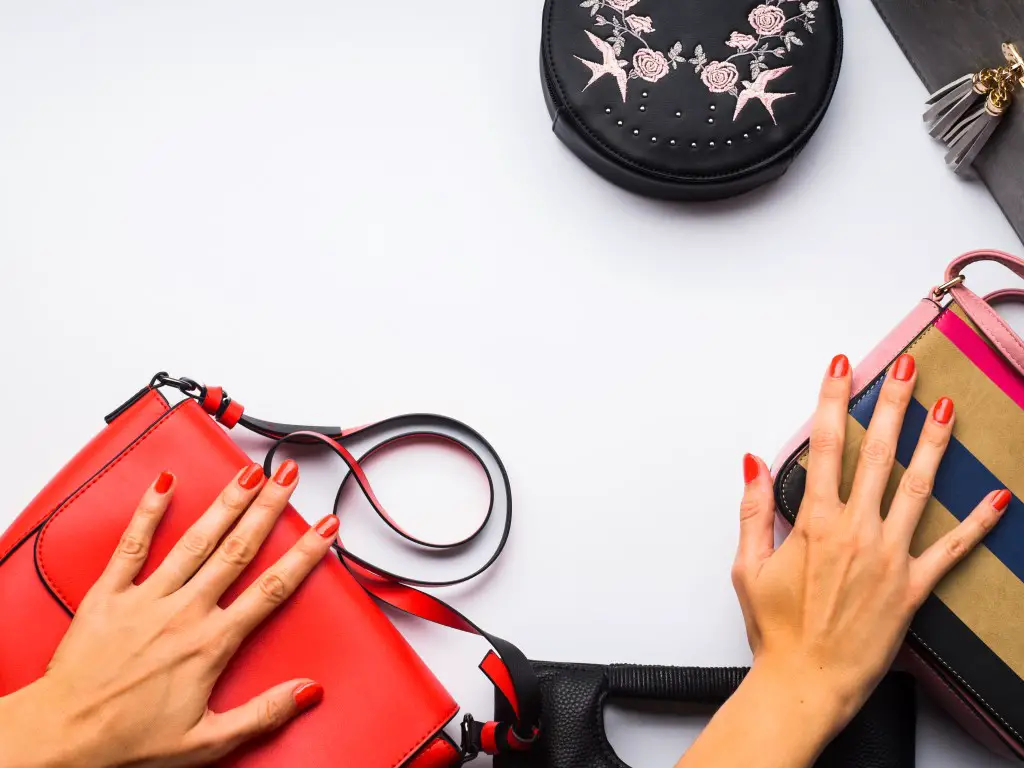
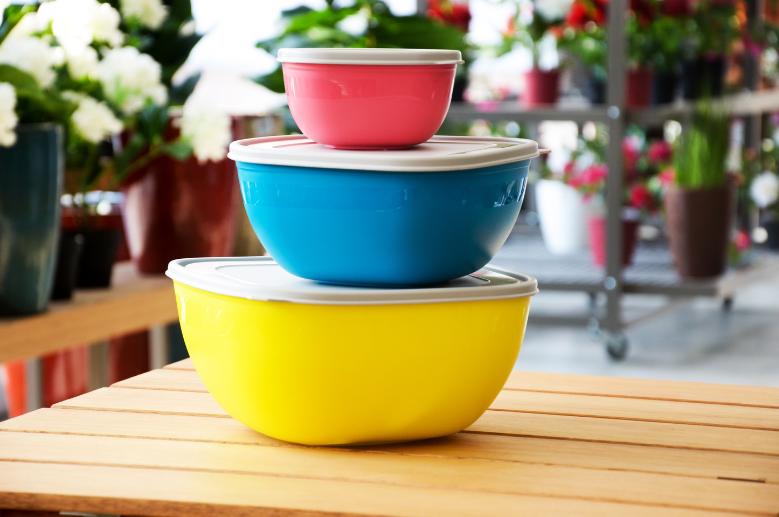
Scale in photography permit individuals to rapidly recognize little from large so that the client doesn’t wind up purchasing a clutch when they need a travel bag. It’s more about generating an overall impression of the scale that is easily perceived.
Always try to remember that the one objective of your photographs is to sell. Your clients might get confounded and leave a deal if your pictures are not clear.
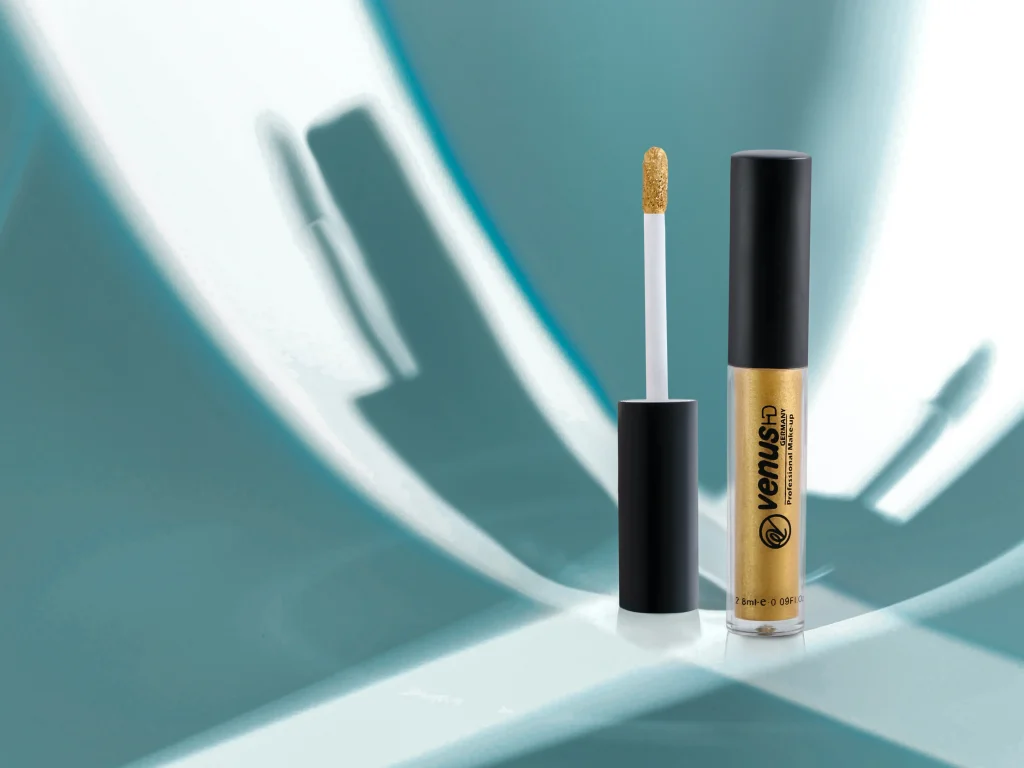
Precisely depicting your product is the initial step and an impediment that many brands and photographic artists face. A wristband that is 3 cm wide looks different when it’s really on a wrist. Try not to deceive your clients. Try to give them some excellent quality product photographs that show a feeling of size and scale.
One way to manage this is by putting an actual size on our product page; you can also put it on the product picture to show its size. In any case, that does not give the buyer a frame of reference.
Addressing genuine scale is an almost tough thing in a straight product photography shoot, as there is no reference accessible for the picture.
For the best outcomes, I would suggest moving to experts for our photography and after production.
Final words
Excellent product pictures are decided on their consistency, beauty, and exactness. The beauty makes a good impression, the surface permits a smooth shopping experience, and precision assembles trust.
I hope you will never struggle to present the size of your product in photography from now onwards. So now, keeping the words in your mind, start to take photos and build loyalty!
Justin Parker is a professional photographer and has been in the industry since 2007. He attended the University of Georgia. Justin combines his passion for photography and his interest in writing to give life to this blog which talks about photography in order to help and inspire young photographers.