I think Barlow lenses are an indispensable tool when you try to move next level in astrophotography.
A Barlow lens is an optical device that is used in conjunction with a telescope to increase the magnification of the image seen through the telescope. It means that no need to use a large telescope to achieve greater working distance.
So today I am ready to explain everything related to the Barlow lens for your astrophotography.
Let’s get started.
What is a Barlow Lens
A Barlow lens is an optical equipment that is used in astrophotography. Actually, it helps you to increase the effective focal length of a telescope.
In other words, it is essentially a diverging lens that, when placed between the telescope and the eyepiece. So, it has the ability to increase the magnification of your shot seen through the telescope.
The lens is named after its inventor, Peter Barlow, a British mathematician and physicist who lived in the early 19th century.
You can see the availability of the Barlow lens in different magnification factors, with the most common ones being 2x and 3x.
They are made of high-quality glass and are designed to produce a quality shot of your night sky event. You can use them with various types of telescopes, including reflectors, refractors, and more.
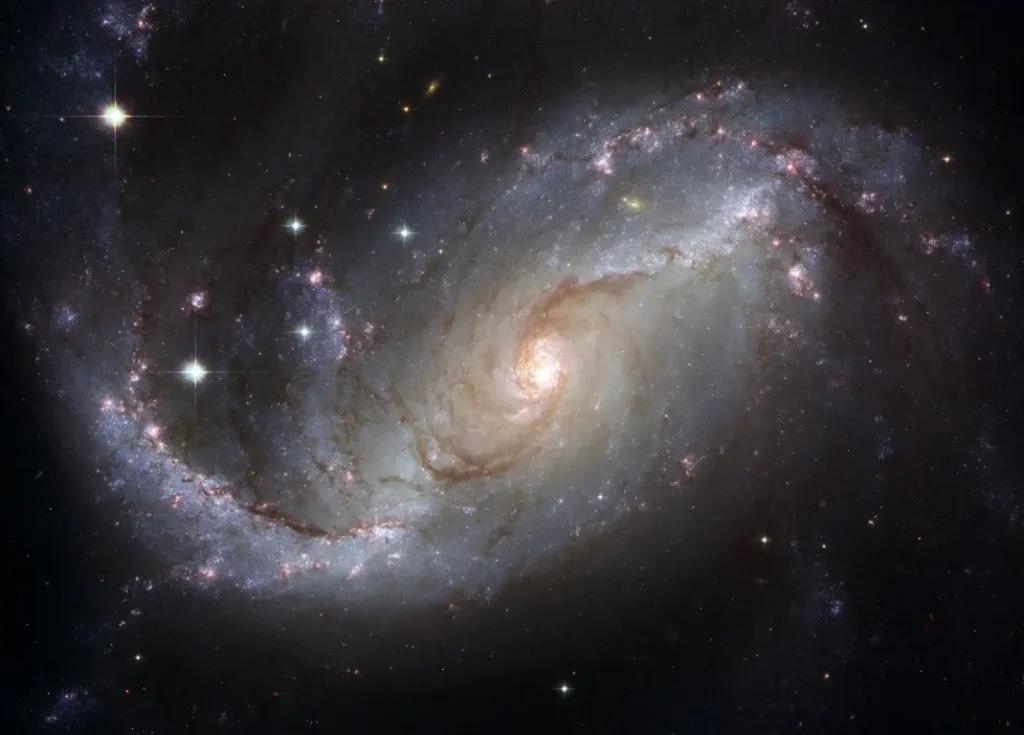
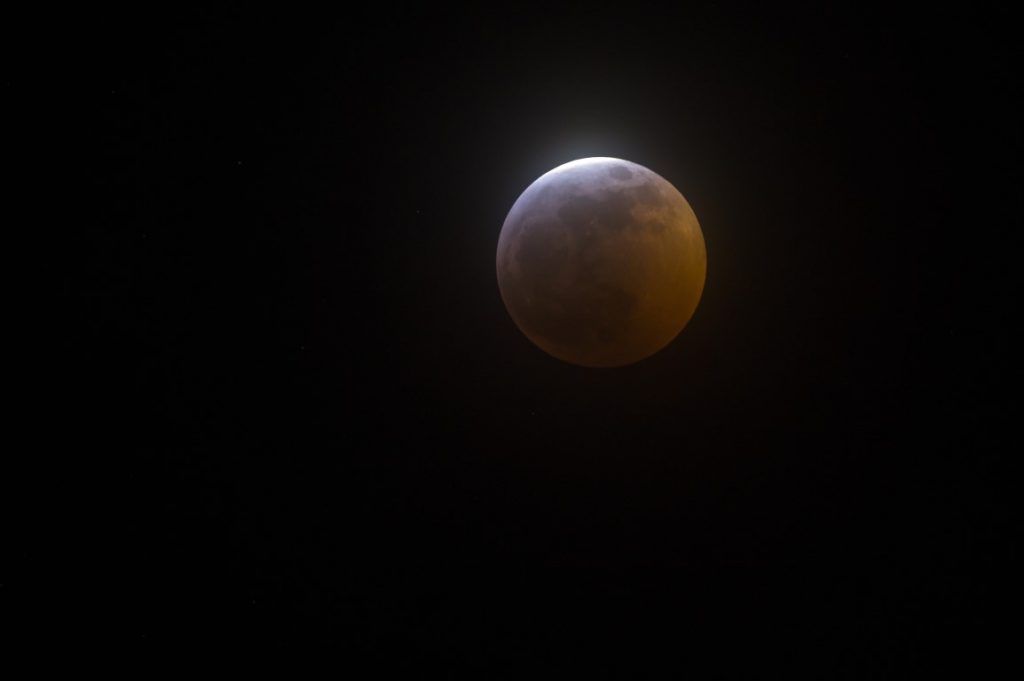
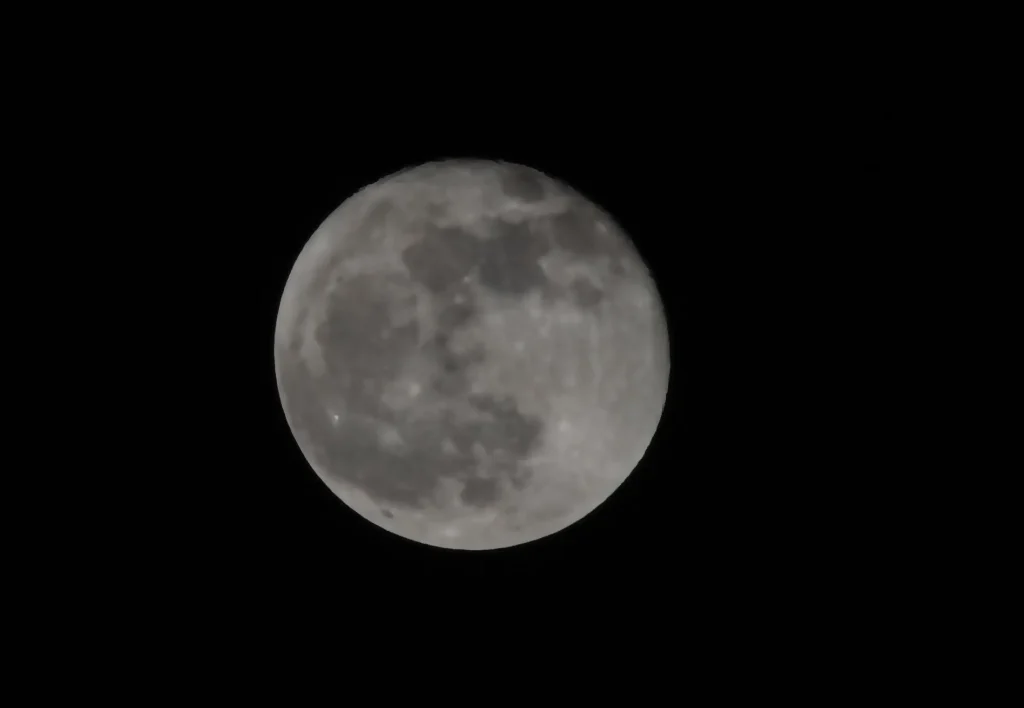
Barlow lenses are commonly used by amateur astronomers who want to observe celestial objects with greater magnification. Also, you can use them to capture detailed images of the moon, planets, and other celestial objects.
However, if you feel it’s better to know how to take shots of the moon in big, my article on photographers make the moon looks big is for you to plan your moon shooting.
Different Types of Barlow Lenses
Barlow lenses are typically available in 2x or 3x magnification, although you can also find lenses with 2.5x, 4x, and 5x magnification.
Additionally, the compatibility of a Barlow lens with your telescope eyepieces is an important factor to consider.
Some lenses are designed for 1.25-inch eyepiece barrels, which are the most common size for telescopes, while others are designed for 2-inch eyepiece barrels.
For most people, a 1.25-inch Barlow lens will be the best choice.
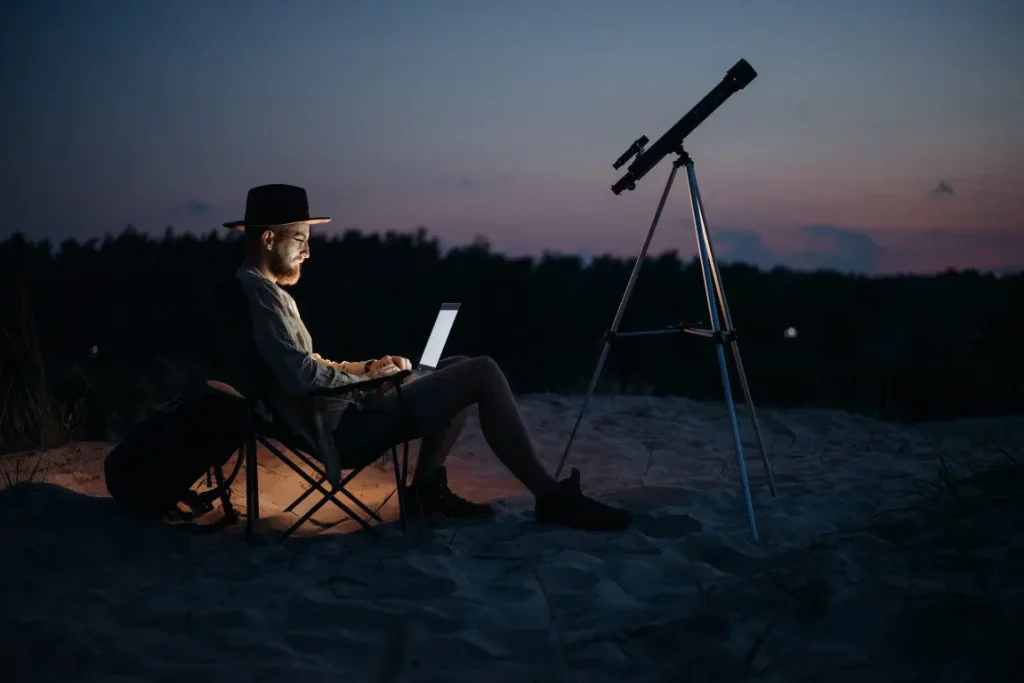
How to use Barlow Lens on Telescope
Using a Barlow lens on a telescope for stargazing or astrophotography is a simple process that only requires a bit of guidance.
Whether you’re interested in exploring the night sky or capturing stunning photos of celestial objects, a Barlow lens can be a useful tool.
I will provide you with step-by-step instructions on how to properly use a Barlow lens on a telescope so keep reading to learn more.
Choose the right Barlow lens: Make sure that the Barlow lens you have is compatible with your telescope. Check if it is designed for a 1.25-inch or 2-inch eyepiece barrel.
Select the eyepiece: When choosing an eyepiece you should consider that it will work well with your selected Barlow lens. Keep in mind that the Barlow lens will increase the magnification of the image, so you may want to use an eyepiece with a lower magnification.
Insert the Barlow lens: Insert the Barlow lens into the telescope’s focuser. You should confirm that it is firmly secured and aligned with the eyepiece.
Insert the eyepiece: Then you can Insert the eyepiece into the Barlow lens. After insertion, it should be securely fitted.
Focus the telescope: Adjust the telescope’s focus knob until you achieve a clear image.
Fine-tune the focus: Fine-tune the focus using the telescope’s focusing knobs until your shot is as sharp as possible.
Enjoy the view: Once you have achieved a clear and focused image, sit back and enjoy the view of the night sky!
However, you should remember to take care when handling your telescope and its accessories, and always follow the manufacturer’s instructions.
With a little practice, using a Barlow lens on your telescope can greatly enhance your stargazing experience.
As well as by referring below video you can get more about what I said above.
How to choose the right Barlow lens for Astrophotography
Actually, If you can choose the right Barlow lens for astrophotography you can greatly enhance the quality of your images.
So, here are some factors to consider when selecting a Barlow lens for astrophotography:
Magnification:
The magnification power of a Barlow lens is a crucial factor to consider.
The magnification level you need will depend on the size of the object you are photographing and the desired level of detail.
I think a 2x Barlow lens is a good starting point for astrophotography, but you may need a higher magnification power for more distant objects.
Aperture:
The aperture of the Barlow lens is also important, as it determines the amount of light that reaches your camera sensor.
A larger aperture allows for more light to enter, resulting in brighter and clearer images.
Compatibility:
You should ensure that the Barlow lens you choose is compatible with your telescope and camera.
Barlow lenses come in different sizes and fittings, so it is important to check whether the lens will fit your equipment.
Quality:
The quality of the Barlow lens can greatly affect the sharpness and clarity of your imaging. Higher-quality lenses will have better optical coatings and materials.
It can be resulting in quality and more detailed images. However, higher-quality lenses tend to come at a higher price
Budget:
Consider your budget when selecting a Barlow lens.
While higher-quality lenses tend to be more expensive, there are still good-quality lenses available at more affordable prices.
By considering these factors and doing some research, you can choose the right Barlow lens for your astrophotography needs and capture stunning images of the night sky.
Best Barlow lens for Planetary Imaging
There are several great Barlow lenses available on the market for your planetary imaging. Here I have listed some of the best options:
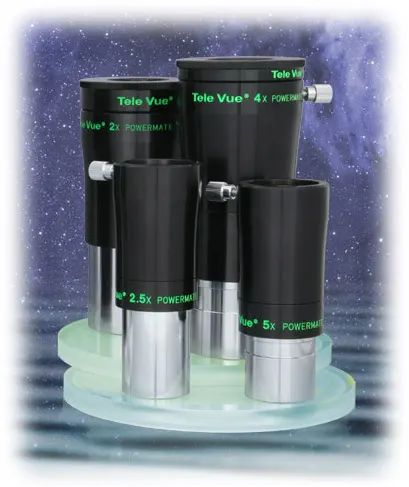
- Tele Vue Powermate: I can say that this is one of the top choices for astrophotography enthusiasts. It provides excellent image quality and has a variety of magnification options, ranging from 2.5x to 5x.
- Celestron Ultima Barlow: This is another great choice for planetary imaging, with a 2x magnification factor and excellent optical performance. It’s also compatible with a range of telescope models. So you can test it on the telescope that you have.
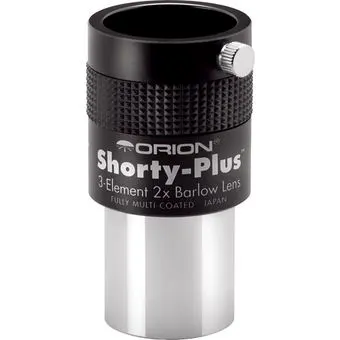
- Orion Shorty Barlow: This is a budget-friendly option for you. It offers good image quality and a 2x magnification factor. It’s a popular choice for beginners or those on a tight budget.
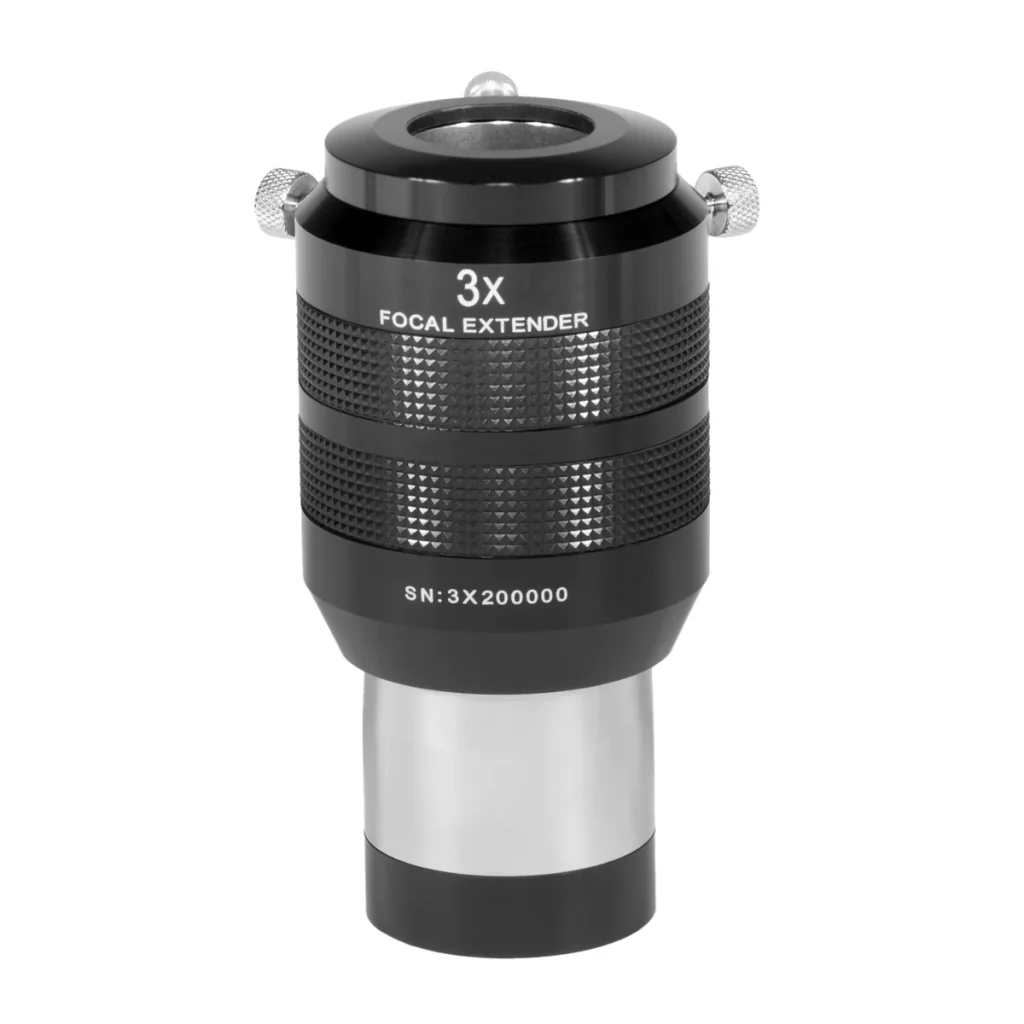
- Explore Scientific Focal Extender: This Barlow lens offers a 3x magnification factor and excellent image quality. It’s a bit pricier than some other options, but many users find it worth the investment for the high-quality images it produces.
Ultimately, the best Barlow lens for planetary imaging will depend on your specific needs and preferences.
It’s important to consider factors that I discuss earlier like magnification, optical quality, and compatibility with your telescope and camera when making your selection.
How to use Barlow lens with DSLR
Using a Barlow lens with a DSLR camera is possible, but it’s typically recommended only for lunar and planetary viewing.
When it comes to deep-space objects, the setup may become too slow, preventing you from using the long exposure times needed to capture the detail of galaxies and nebulas.
However, I also tried to capture celestial objects using a Barlow lens with a DSLR camera.
So, here I have listed the steps to use a Barlow lens with your DSLR camera.
- Firstly, attach your Barlow lens to your telescope’s focuser or diagonal. Here you should ensure that it is securely in place.
- Connect your DSLR camera to the Barlow lens using a T-ring and a T-adapter. The T-ring should attach to the camera body, and the T-adapter should attach to the Barlow lens.
- Then, adjust the focus of your telescope and camera until you achieve a quality image.
- Set your camera to manual mode and adjust the settings for astrophotography. This may include setting the ISO to a high value, adjusting the shutter speed and aperture, and using a remote shutter release.
- Once you have set up your camera, you can take a test shot and adjust the focus or settings as needed to achieve the desired image.
- Take multiple shots of the same object and adjust the focus and settings between each shot to capture different details.
- Finally, you can use image stacking software to combine your images into a single, high-quality astrophotography shot.
How does a Barlow lens affect focal length?
A Barlow lens increases the effective focal length of a telescope by extending the distance between the objective lens or mirror and the eyepiece.
For example, a 2x Barlow lens doubles the focal length of a telescope, while a 3x Barlow lens triples it. This results in a higher magnification for the same eyepiece, allowing for closer views of celestial objects.
However, it also reduces the field of view and makes the image dimmer. Therefore, it is important to choose the right Barlow lens for your specific telescope and viewing requirements.
Pros and Cons of Barlow Lens
I tabled the pros and cons of using the Barlow lens in astrophotography for your understanding easily.
| Pros | Cons |
| Increases the effective focal length of your telescope without requiring additional eyepieces | May introduce chromatic aberration and decrease image quality |
| Provides higher magnification for planetary and lunar viewing | Can result in lower contrast and increased image blur |
| Allows for closer observation of celestial objects | Can be difficult to find the right balance of magnification and image quality |
| Affordable option for increasing magnification | May require additional equipment or adjustments for optimal use |
| Can be used with both refracting and reflecting telescopes | Requires careful alignment with telescope and camera |
| Can be easily swapped out with different eyepieces for flexible viewing options |
Conclusion
In astrophotography, Barlow lenses play an important role in increasing the magnification of the telescope as well as improving the image quality.
They are versatile and can be used with different types of telescopes and with some cameras.
By using the right Barlow lens and technique, definitely you can capture stunning images of planets, lunar, stars, and other celestial objects.
By the way, if you want to know about moon photography one of my article on how do I take sharp moon photos is for your understanding.
When using a Barlow lens for astrophotography, it is important to choose the right equipment, technique, and conditions to achieve the best results.
Investing in high-quality equipment and taking proper care of it can also improve image quality.
Additionally, it is important to choose the right level of magnification based on the object and atmospheric conditions. With these tips in mind, astrophotography with a Barlow lens can be a rewarding and enjoyable experience.
Justin Parker is a professional photographer and has been in the industry since 2007. He attended the University of Georgia. Justin combines his passion for photography and his interest in writing to give life to this blog which talks about photography in order to help and inspire young photographers.