One of the most cost-effective and efficient ways to market your items is to use mannequins for product photography.
Mannequins retain the contour of your items, making your product photos seem more expert and consistent, enhancing the desire of buyers for these things.
To achieve our goal, I’ll use a straightforward technique involving merging two product photographs.
So, if you want to get the most out of your post-production workflow, you need to know how to shoot your items.
Best Mannequin for Photography
Your items must appear their best when photographed for online sales. If you’re selling clothing, you want your customers to be able to see themselves wearing the items you’re selling.
For every e-commerce business, but particularly for apparel companies, you need to provide the buyer with a sense of how the product will appear when it’s on.
So, how to photograph clothes without models? It may seem difficult at first, but everything falls into place with the perfect clothes mannequin.
For product photography, how do you pick the ideal ghost mannequin? Let me explain the many mannequin kinds so that you can choose the right one for your online business.
1. Dress Forms vs. Stand Mannequins
Dress forms and stand mannequins are both synonyms for the same thing.
However, mannequins and dress forms aren’t the same things, despite what some people assume. On the other hand, dress forms are made for dressmaking rather than commercial retailing.
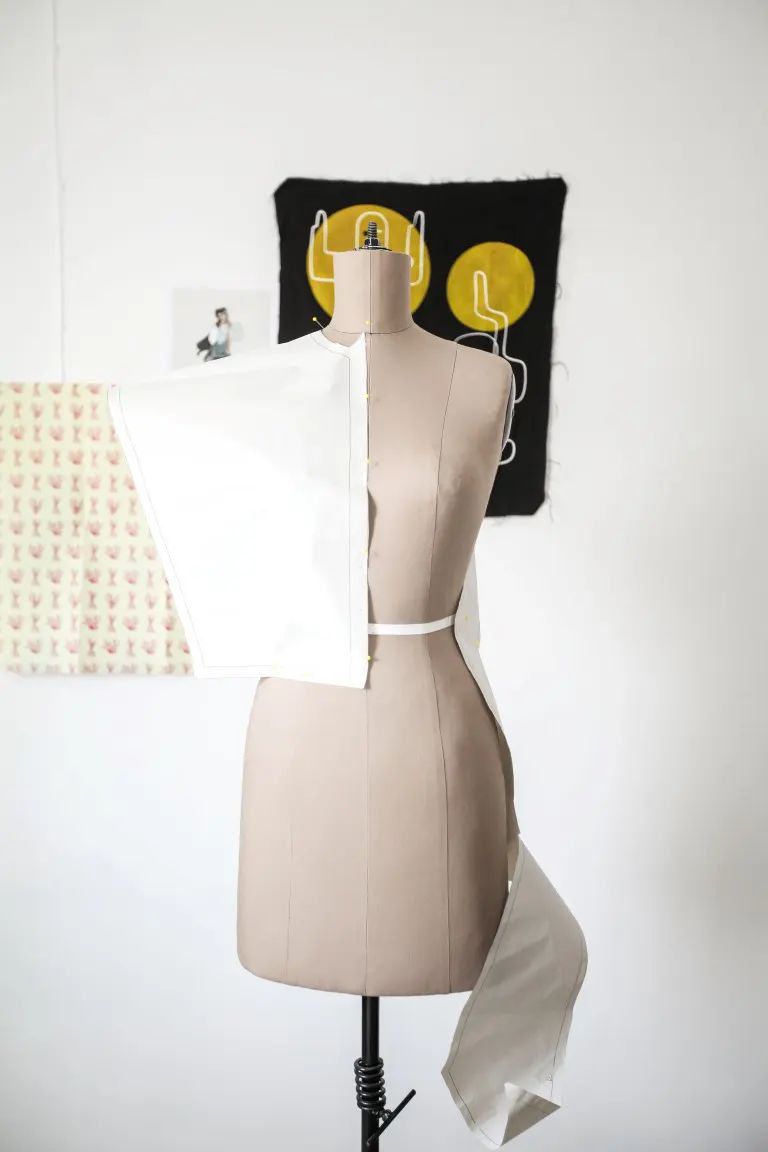
Therefore they serve a somewhat different function. The following comparison of Dress forms vs. stand mannequins will give you a clear idea for you.
| Dress Forms | Stand Mannequins |
|---|---|
| Use for designing, sewing, and tailoring clothes | Use for displaying clothes for photography |
| No head, arms, or legs | The full or partial body may have a head/arms |
| Composed of paper-mâché, covered with fabric such as linen and velvet. | It is composed of plastic, fiberglass, or other materials |
Typically, dress forms are rarely used for display, while stand mannequins are Commonly used for display.
However, if you lay your clothing in a dress form, it might conjure up couture or historical fashion images.
Dress forms are an excellent tool for displaying your unique selling proposition (USP) for custom or handcrafted designs.
So, this may not be the best realistic mannequin if the clothing were not constructed on a dress form.
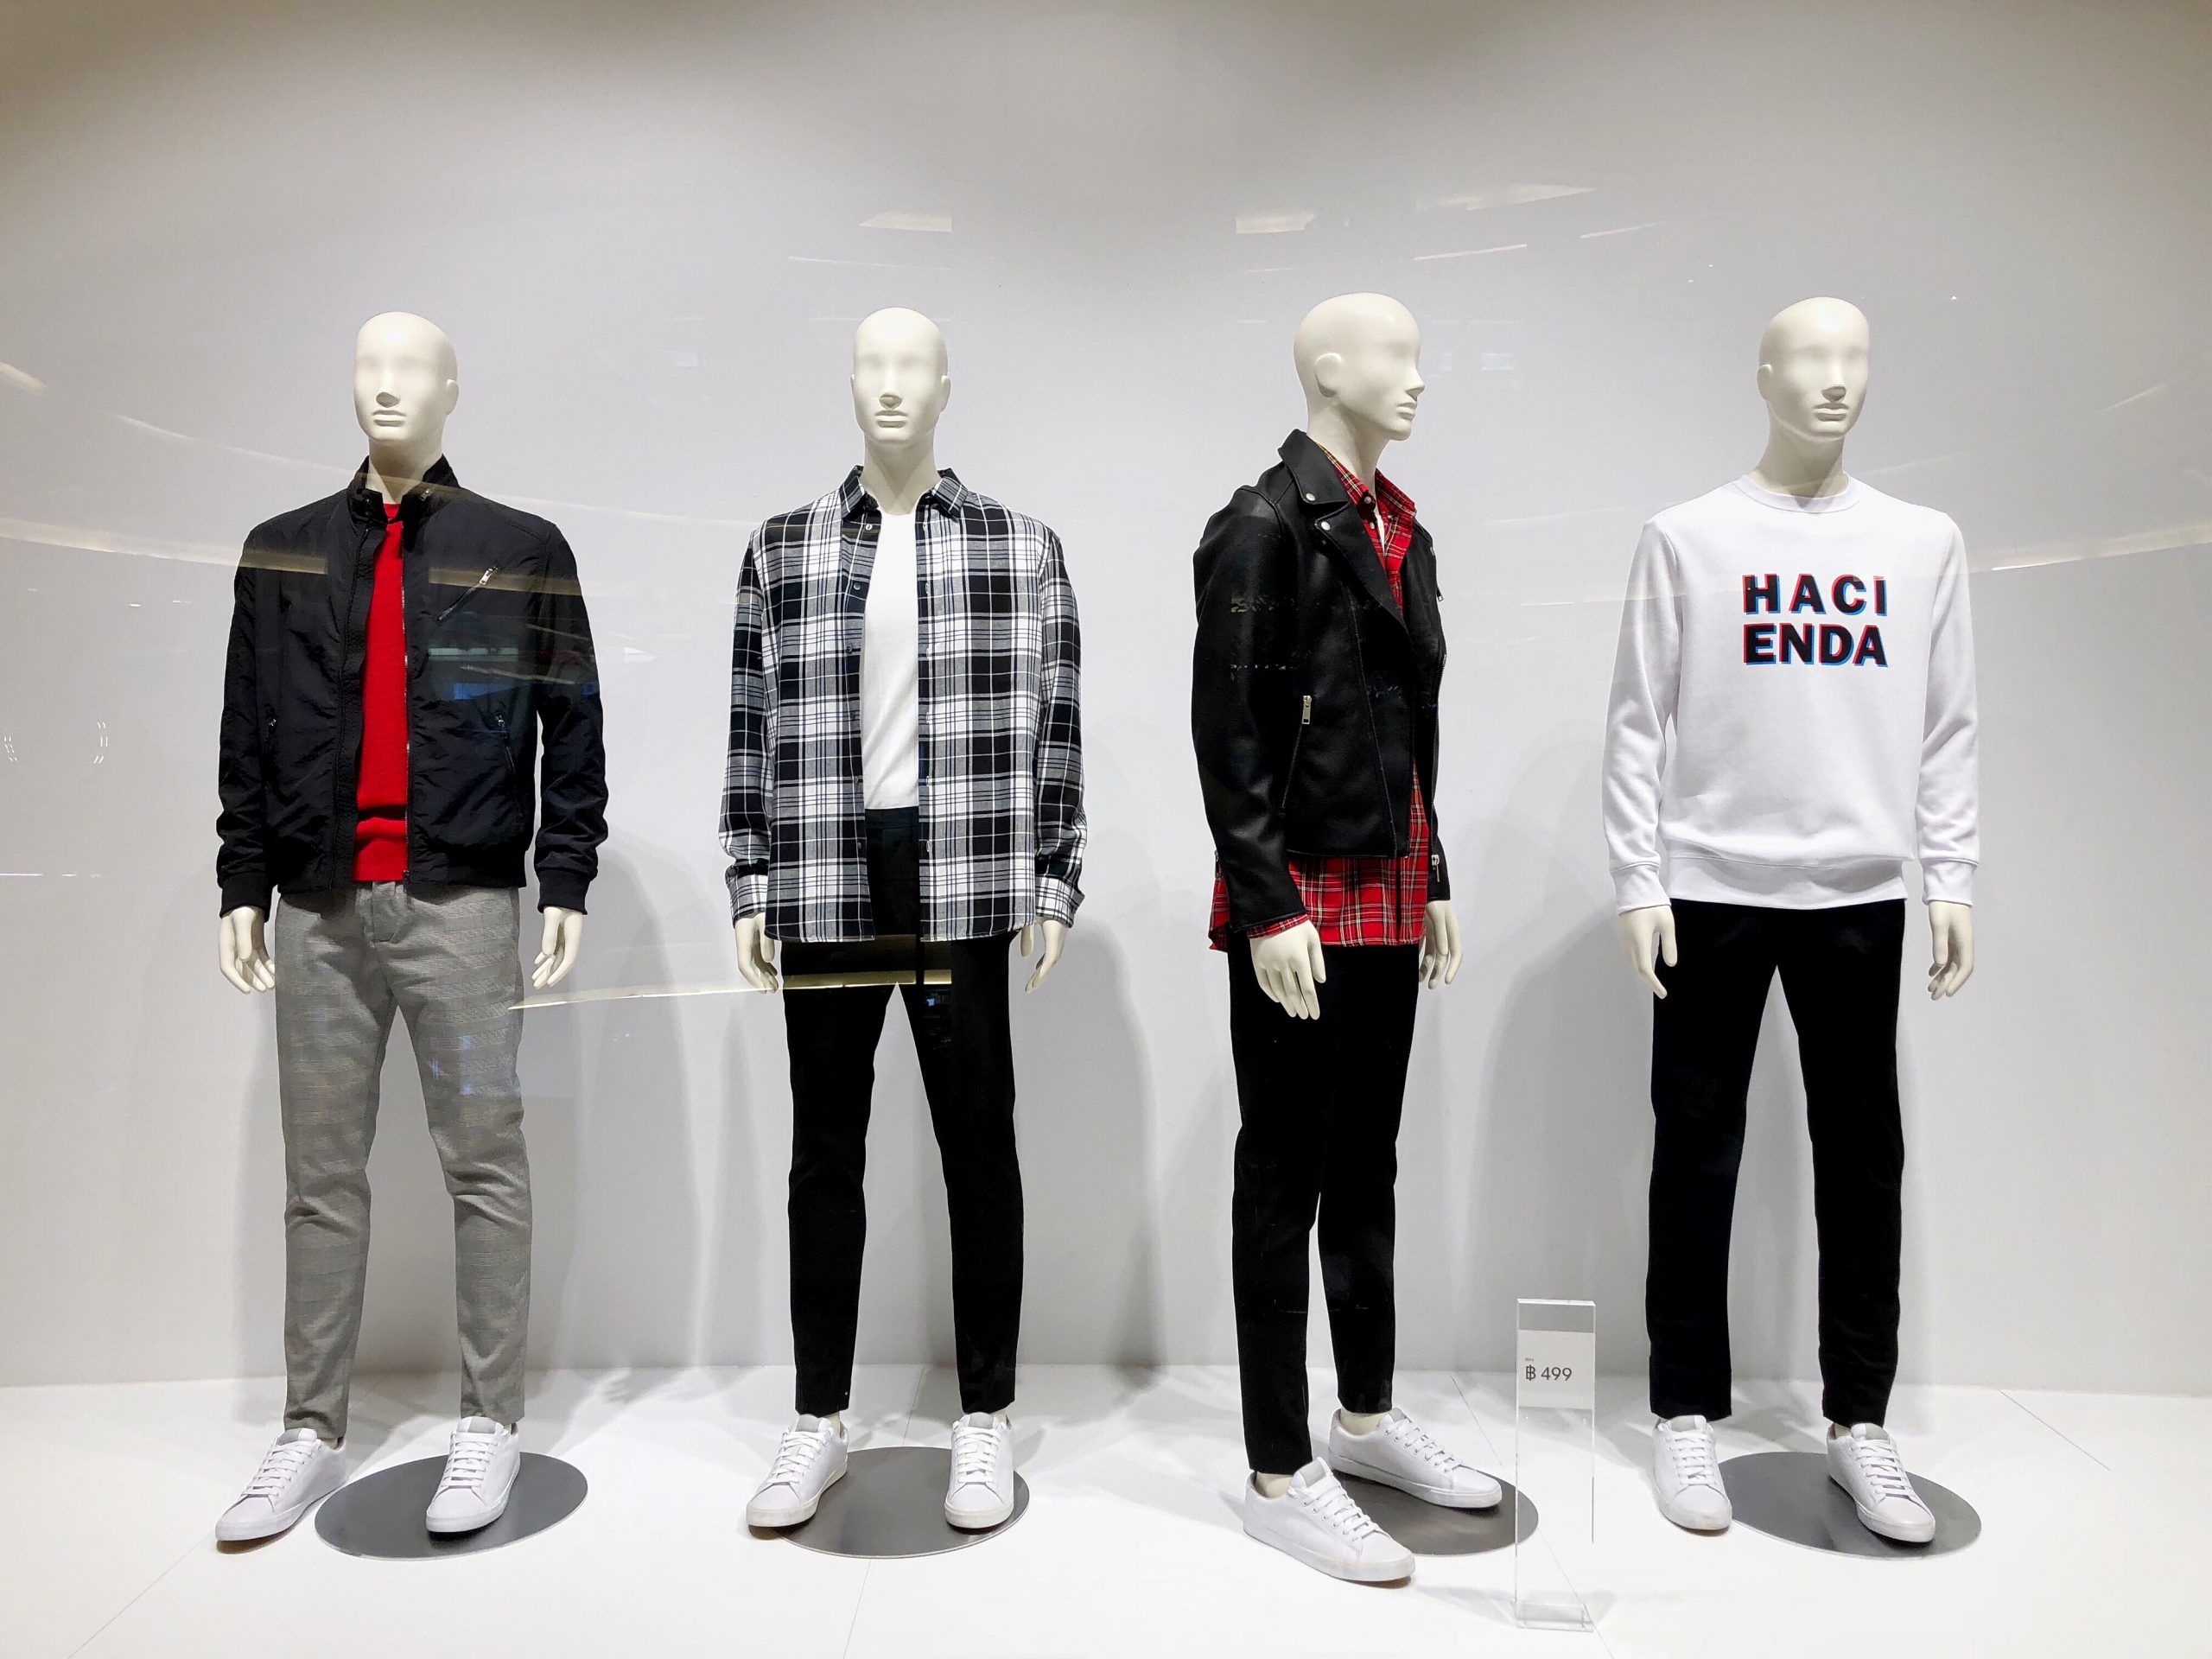
2. Mannequins with Torsos
Torso mannequins are precisely what their name implies: mannequins with simply the torso’s outline.
Many people choose this mannequin since it is simple to get, transport, and accommodate in any space.
Adaptability may be achieved by purchasing a mannequin’s torso with removable limbs.
Torso mannequins come in handy when you simply need to design clothing for the upper body. A full-body model would be required if you wanted to model pants, but this would be an adequate alternative if you’re primarily selling shirts.
Torso mannequins are the most affordable mannequins since they are small and easy to move.
How To Do Ghost Mannequin Clothing Photography
You may also use the ghost-mannequin effect for the product photos instead of mannequins, which might be distracting.
Images of this complexity may look impossible to duplicate to the untrained eye, particularly for amateur photographers. When you take every step a few times, the difficulty becomes manageable.
Ghost mannequin effects offer a product depth and reveal portions of the product hidden by a mannequin and model in a single image.
This is an excellent option if you want to give your e-commerce site a more professional feel and make it simpler for prospective buyers to imagine things in their thoughts.
Let’s take a deeper look at the process of arranging your photoshoot, shooting the proper images, and retouching your photos in Photoshop to get the ghost mannequin effect.
• Pick a Good Mannequin
Preparing your location with a good mannequin for the shot is essential.
1. Choose a High-Quality Mannequin
Make sure that you have a high-quality mannequin before you begin. The best images will be taken using a mannequin rather than a model.
2. Choose a Sturdy Mannequin
A consistent stance is difficult to achieve, even when using the same layout for all of your items.
Additionally, remember that you must digitally merge two pictures to get the ghost mannequin effect.
To begin, choose a mannequin that can stand up straight without stopping.
3. Putting a Mannequin in Different Poses
While conventional brick-and-mortar retailers may spice it up by using mannequins in various postures, removing the backdrop behind a mannequin, including its hip out but one of its arms bent, would make it seem out of place.
A mannequin with arms is also required if the product has sleeves, or else your photograph will seem out of place.
If this is what you want, the arms should hang awkwardly at your side rather than being 3D.
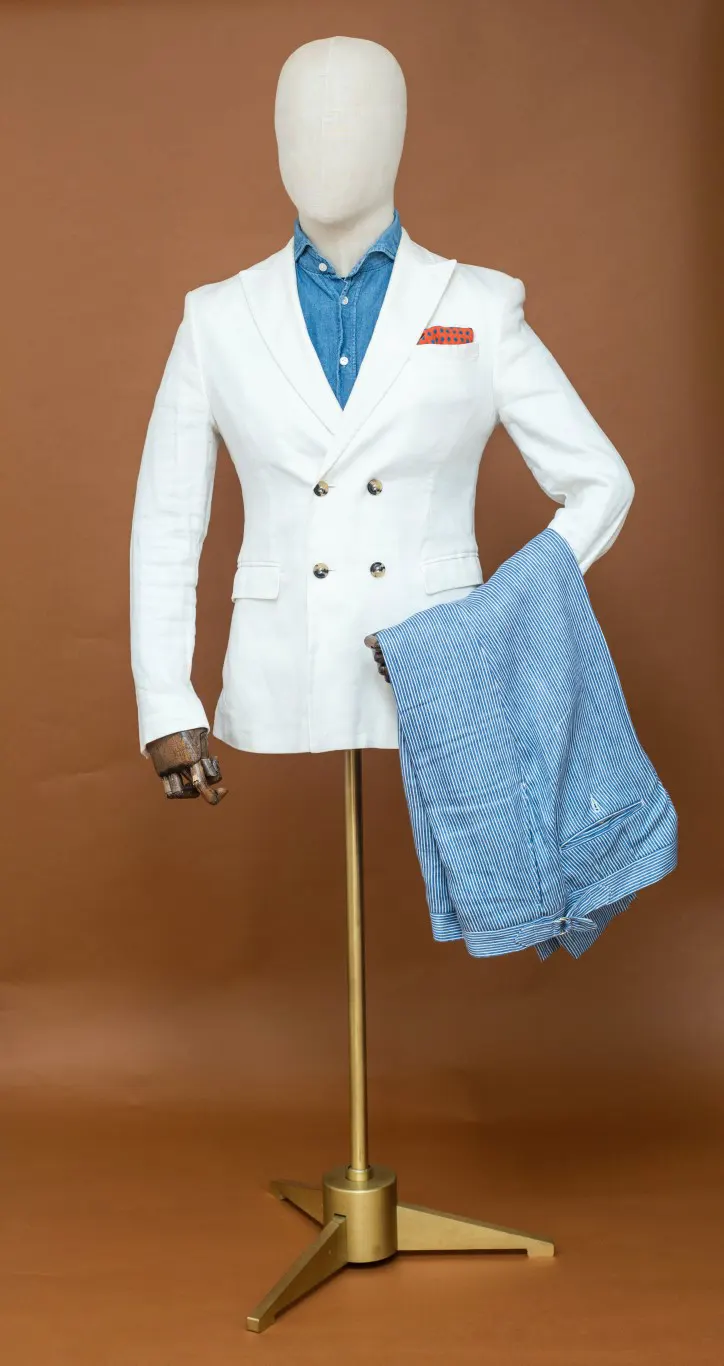
4. Using a Transparent Stand
Using a transparent stand for the bust while photographing shirts or jackets lets you see the back hem’s drape in the first picture you shoot.
You can use this to help align things in Photoshop in the editing stage.
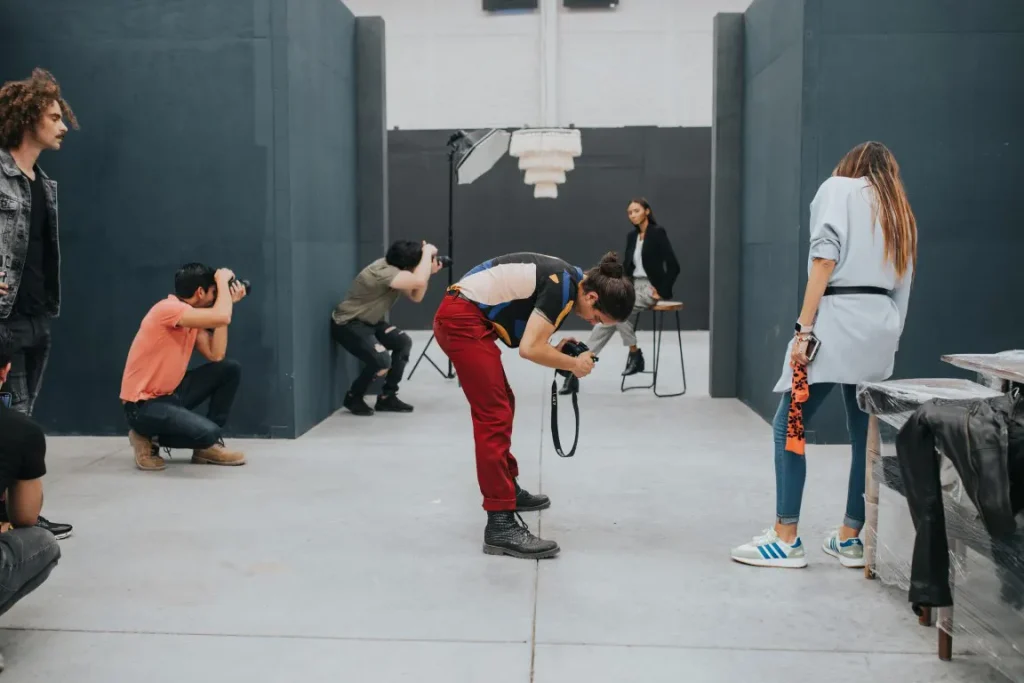
• Create a Studio in Your Home
Creating a studio in your home is easy, but there are a few things you need to consider before you get started.
1. Setting up a White Background
Try to use white color for your background. Make sure the colors aren’t overexposed, and each one is accurate to the product by using this method.
You’ll be able to precisely maintain your camera’s white balance calibration by using white.
Additionally, it makes it much simpler to erase the backdrop in Photoshop.
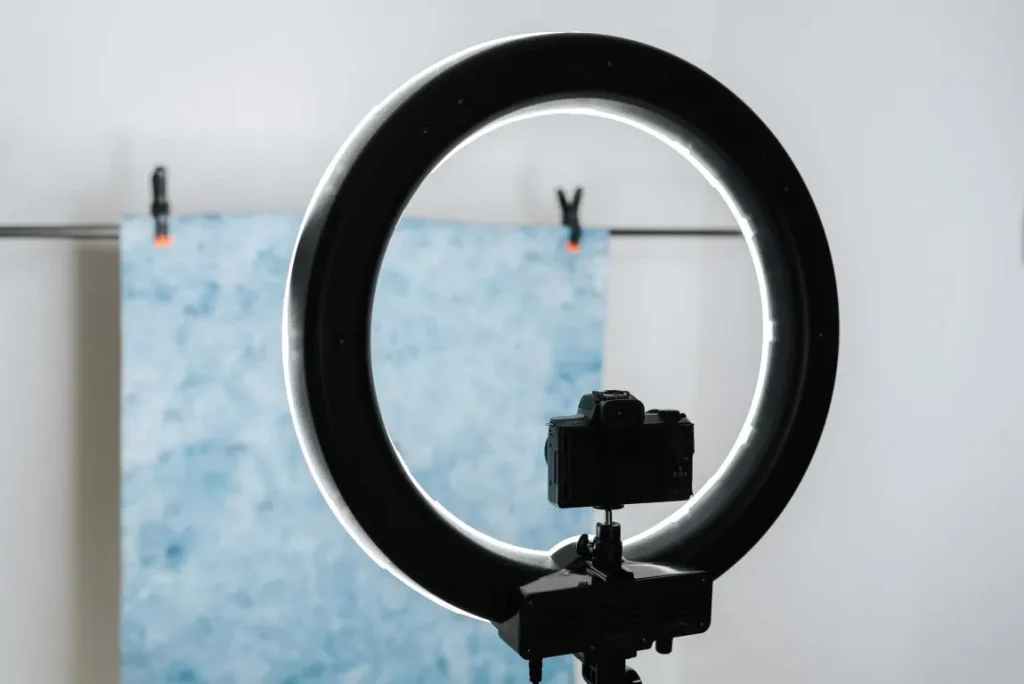
2. Add a Tripod
Use a tripod to ensure your camera is always in the same position.
To expedite the process, photograph all of your tops in one shot, followed by your bottoms, and lastly, your “whole body” ensembles.
3. Cover the Full Frame
The white background and the merchandise should cover the full frame if possible. Your product must be well-illuminated for the best results.
Check to see the guide on how to eliminate a shadow in your product photography if you’re utilizing it.
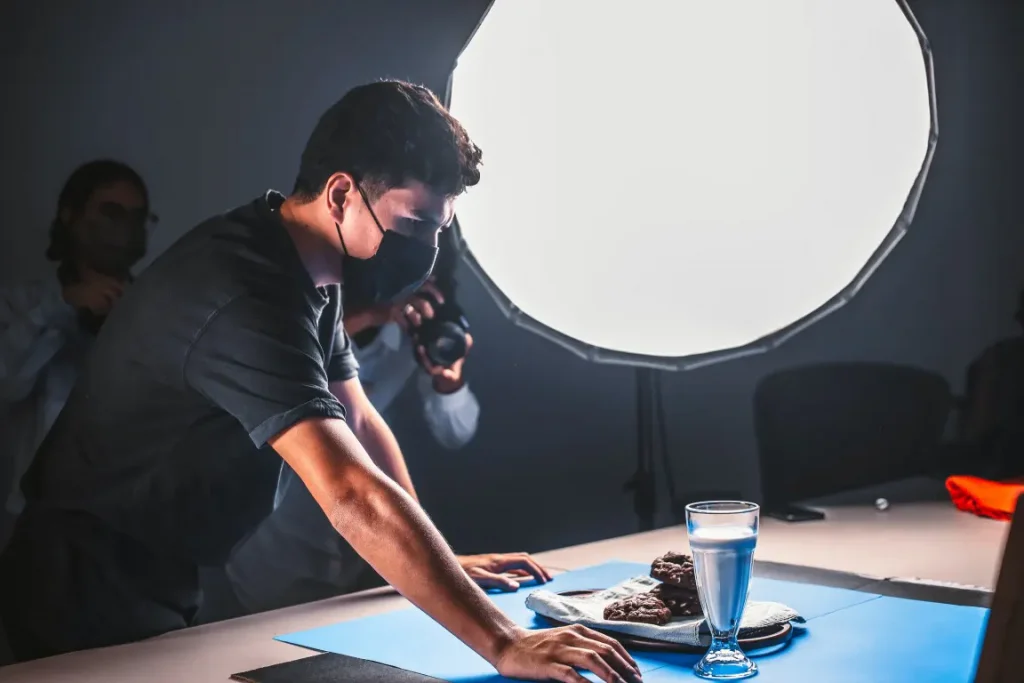
4. Pay Attention to Lighting
When it comes to lighting, utilize soft, diffused light to avoid harsh shadows and uneven illumination on the product. You can achieve this by using a softbox or a light tent.
You can also use a gray card or color chart to ensure accurate colors in post-processing.
Take a photo of the gray card or color chart under your lighting setup and use it as a reference when adjusting the white balance during editing.
If you want a clear and evenly lighted picture, place it five feet away from the background.
Review the previous blog post on product photography lighting if you are planning to use artificial lighting.
5. Make Sure to Iron Your Apparel Product
Take the time to inspect for wrinkles, smudges, and stains before you put the outfit on the mannequin.
Having a moist cloth and an iron-on hand can save you time and frustration in the long run.
Finally, dressing the mannequin while holding it up might be difficult, so having an additional hands-on hand can be beneficial.
• Understanding the Intricacies of Camera Settings
Use a low ISO, such as 100 to reduce noise and maintain image quality.
Besides, select a small aperture (higher f-stop number such as f/8 or higher) to ensure a greater depth of field, keeping the entire product in focus.
For white balance calibration, set your camera to the appropriate white balance mode, such as daylight or tungsten, depending on the light source.
This will help maintain accurate color representation in your photos.
• Just Snap Some Shots
A mannequin is preferable to a model because it is more stable.
To digitally sew the two parts together, it’s essential to be accurate while rotating the object precisely 180 degrees.
1. Take Photos of the Product from the Front
Taking a front-view photo of the outfit with the mannequin’s face towards the camera is the first stage. Step two is a little more challenging.
2. Face the Back of the Product towards the Camera
Redress the mannequin, but this time with the clothing inside out flip it around so that its back is facing the camera, and then take it off.
To see the tag region and the bottom back of the hem, you’re removing the tag.
3. Reverse the Instructions to Get a Back View
Reverse the instructions to get a back view of any clothing using the same procedure.
The merchandise should be photographed both on the mannequin’s back and the mannequin’s front to compare the two images later on in the process.
As long as the rear of your item is longer or broader than the forward in all areas, you will not be required to use a ghost picture of the back, as there will be no difference between the two shots.
After the images are taken, we’ll need to edit them to put everything together.
Learn how to utilize post-production retouching to produce a “ghost mannequin effect” for how do I take good photos of products to sell online by following this systematic instruction.
Besides, the following video shows how to capture appealing photography with a ghost mannequin effect.
Ghost Mannequin Effect Editing in Photoshop
This section will explain how to create the mannequin effect in Photoshop using the Tool. Let’s get started with the ghost mannequin tutorial!
Photoshop is used to open the picture, where I’ll experiment with the ghost mannequin effects.
The mannequins should be chosen carefully in this instance. They are of the highest possible standard.
- To get to the specified area of the layer, unlock it.
- Select the Tool to draw from the red box at the top of the toolbar to clip.
- Choose from the route using the keyboard shortcuts CTRL+ENTER.
- Remove the backdrop with a mask now that you’ve added one.
- The Pen tool may be used to choose the neck area.
- Then, using the ALT+DEL keyboard shortcut, pick the mask and fill it in with black.
- Now, open the second picture file in your browser.
- Lens correction may be applied from the filter option here.
- Adjust the dimensions. When you press CTRL+T, the procedure will begin.
- Layer 1 should be set to level 0, and WARP should be selected.
- Go ahead and save it.
Besides, the following video will show a simple guide on editing your product with a ghost mannequin effect.
Best Practices for Ghost Mannequin Photography
I got consistent, high-quality professional results with the following best practices – give them a try.
- Shoot in RAW format to have more flexibility in post-processing.
- Use a color chart or gray card to ensure accurate color representation.
- Maintain a consistent angle and distance between the camera and the mannequin for all photographs.
- Use a tripod to stabilize the camera and ensure sharp images.
- Review and adjust your setup as needed to achieve the desired results, and don’t be afraid to experiment with different techniques.
Conclusion
Ghost mannequin effects service is necessary for the fashion and clothing sector since it gives clients an accurate and faultless appearance.
This tech should be used most efficiently for both offline and online sales.
That’s why I’ve made it possible to master Photoshop’s ghost mannequin effect like a professional.
In addition to this, I’ve also included some vital photography techniques that can help you generate high-quality photographs in the region.
Justin Parker is a professional photographer and has been in the industry since 2007. He attended the University of Georgia. Justin combines his passion for photography and his interest in writing to give life to this blog which talks about photography in order to help and inspire young photographers.