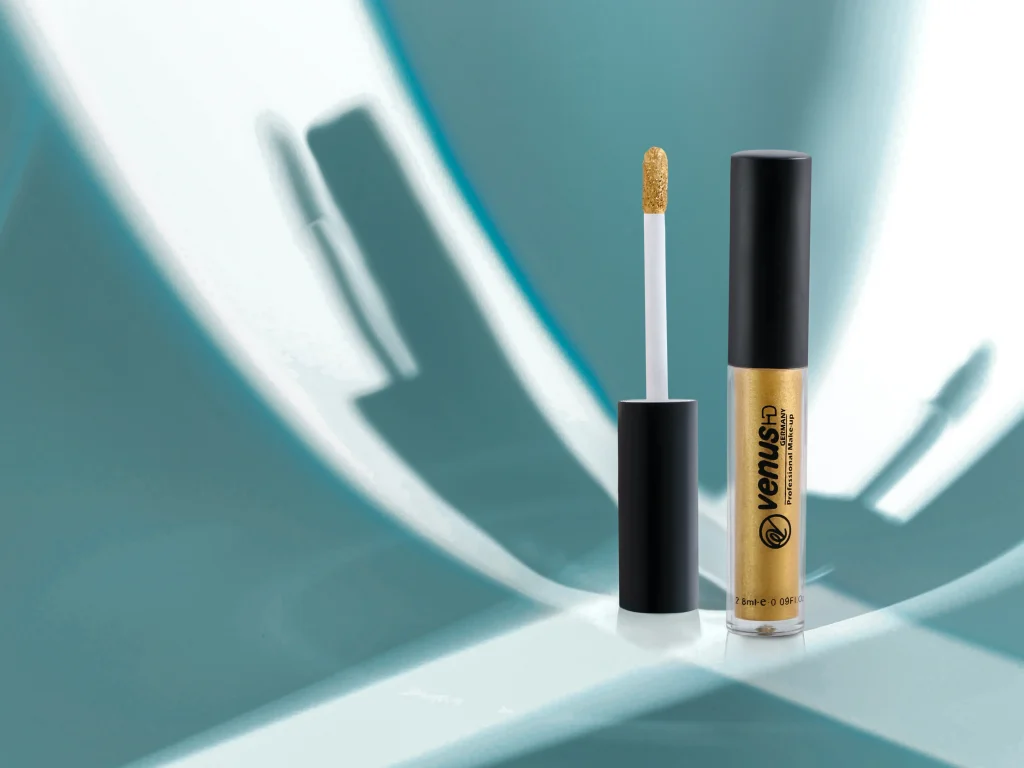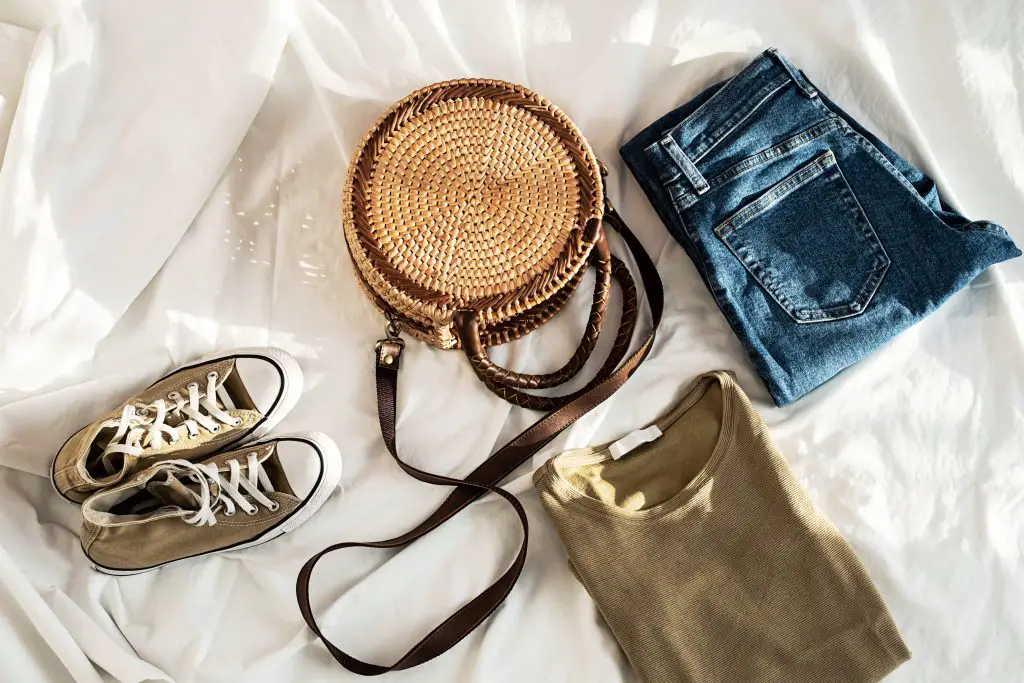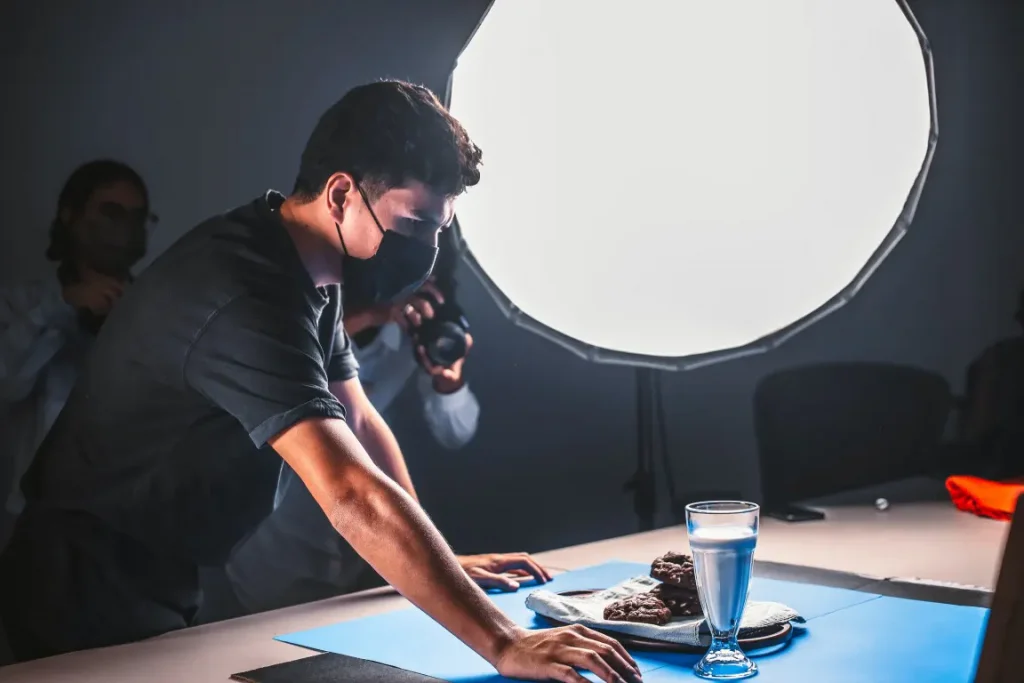
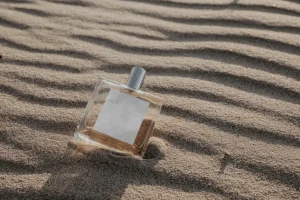
Take your product photography to the next level with the power of lighting!
Whether you’re using natural, artificial, continuous, or strobe light, the right lighting can make your products stand out and look more attractive to customers.
You may wonder why I am saying this so sure.
With my experience, understanding of the importance of lighting, and mastering the different lights available for product photography, it will be easy to make products shine perfectly.
In this article, I’d love to share some tips and tricks that you can use in product photography.
Let’s light up your product photography skills.
Mastering the Art of Natural Light Product Photography
Capturing amazing product photos with natural light relies on understanding how it works and how to use it to your advantage.
However, like with everything in the world, using natural light for product photography comes with both advantages and disadvantages.
Key Advantages and Disadvantages of Utilizing Natural Light for product photography
It’s worth understanding these pros and cons before planning product photography shoots under natural light.
It has always helped me shoot products more perfectly.
| Advantages of Natural Light | Disadvantages of Natural Light |
|---|---|
| Free and readily available | Difficult to control the quality and direction |
| Provide a soft, even light | Unreliable because of weather conditions |
| Cost-effective solution | Inconsistent results |
| The natural and pleasing effect |
As you see, natural light brings more benefits to product photography.
Now you may be thinking about how can overcome the disadvantages. Right? Well, let’s dive in.
Proven Techniques for Mastering Natural Light Product Photography
Here are the most effective tips I always try with natural light product photography.
1. Take Advantage of Golden Hour for Product Photography
The best times to shoot products using natural light are during the “golden hours” of sunrise and sunset.
Because during these times the light is warm and soft, and shadows are less harsh and pronounced.
2. Maximize Natural Light by Positioning the Product Near a Window When Taking Product Photographs
Position the product close to the window and make sure light is falling directly on the product.
3. Setting up with light modifiers
Take control of natural light around your product by utilizing light modifiers like umbrellas, soft boxes, and so on to get the desired effect.
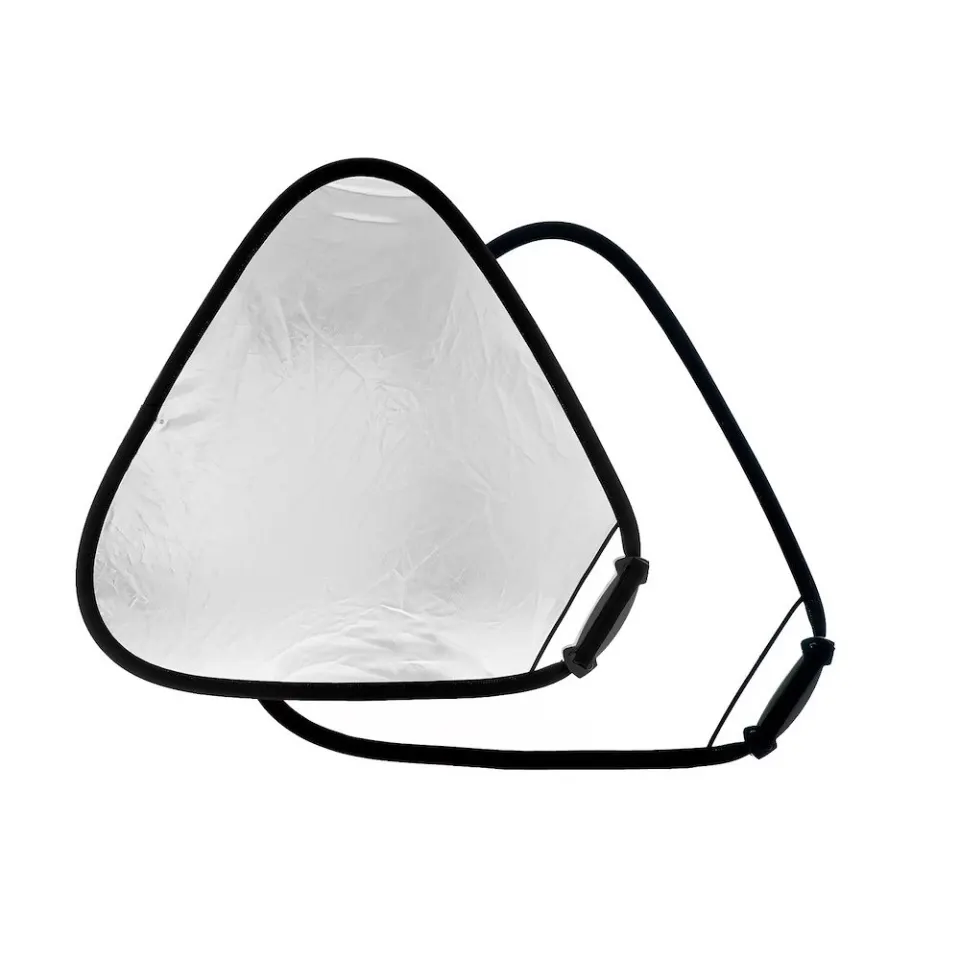
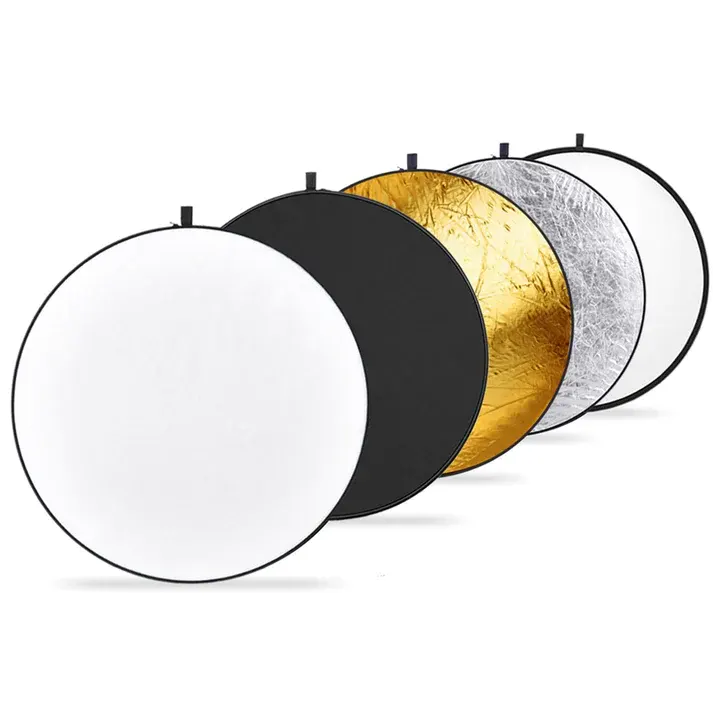
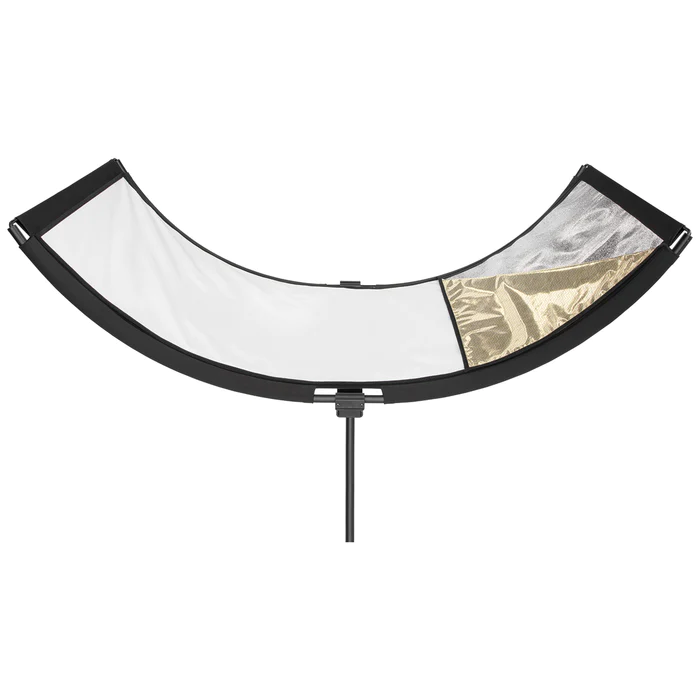
4. Use Reflectors
Reflectors can be used to bounce light back onto the product and fill in shadows.
If you wanna know about the best reflectors for product photography, I highly recommend considering these three options.
Source: manfrotto.com
Source: neewer.com
Westcott Eyelighter Reflector
Source: fjwestcott.com
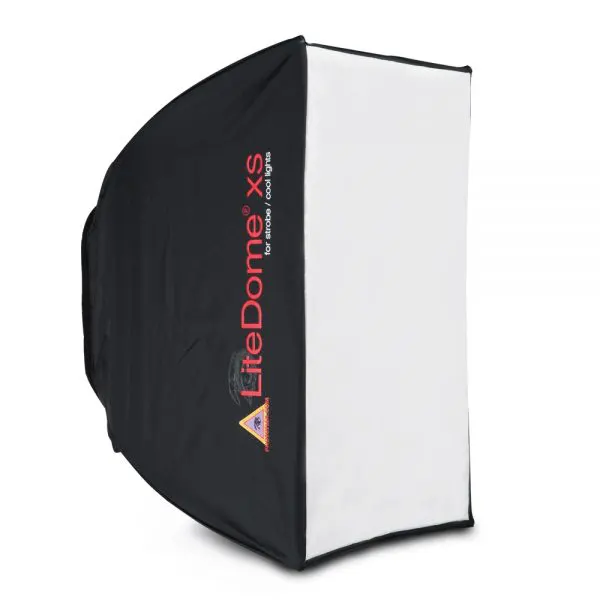
5. Use Diffusers
Diffusers can be used to soften the light and reduce harsh shadows.
When looking for diffusers to use in product photography, these are my top choices.
Source: photoflex.com
Source: manfrotto.com

Source: impactstudiolighting.com
By following these tips, you can effectively use natural light for your product photography.
Trust me! Your results will be beautiful and high-quality images that will help you stand out from the competition.
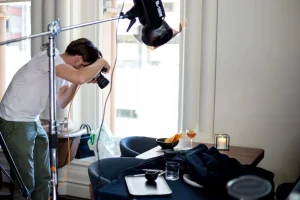
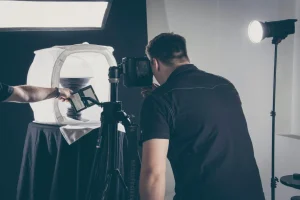
Choosing the Best Artificial Light for Your Product Photography
Artificial light is a versatile and essential tool in product photography.
There are three main types of artificial light used;
- Incandescent light
- Fluorescent light
- LED light
Let’s take a closer look at each type.
Pros and Cons of Using Artificial Light in Product Photography
1. Incandescent light:
This is the traditional form of artificial light, with a warm and yellowish light.
Source: adorama.com
Source: paulcbuff.com
| Pros | Cons |
|---|---|
| Can be dimmed easily | Consumes a lot of energy |
| Does not require special equipment or filters | Has a short lifespan |
| Can be used with a variety of color temperatures to match different shooting conditions | Emits a lot of heat, which can be a problem in enclosed spaces |
However, because of its low color rendering index and the significant heat generated by the lightbulbs, incandescent light is not a frequent light source for product photography.
2. Fluorescent light:
Fluorescent lights are known for their cool and bluish light.
Source: bhphotovideo.com

Source: shop.kinoflo.com
| Pros | Cons |
|---|---|
| Energy efficient | Can produce a color cast that may need to be corrected in post-processing |
| Long lifespan | Can flicker, especially with older tubes |
| Good for large-scale lighting |
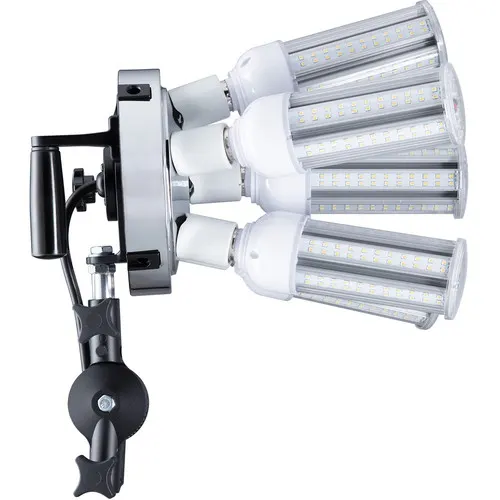
3. LED light:
LED lights are becoming increasingly popular in product photography due to their high energy efficiency and long lifespan.
Well, earlier I’d discussed using LED lights for product photography in this blog. I hope you have already read it.
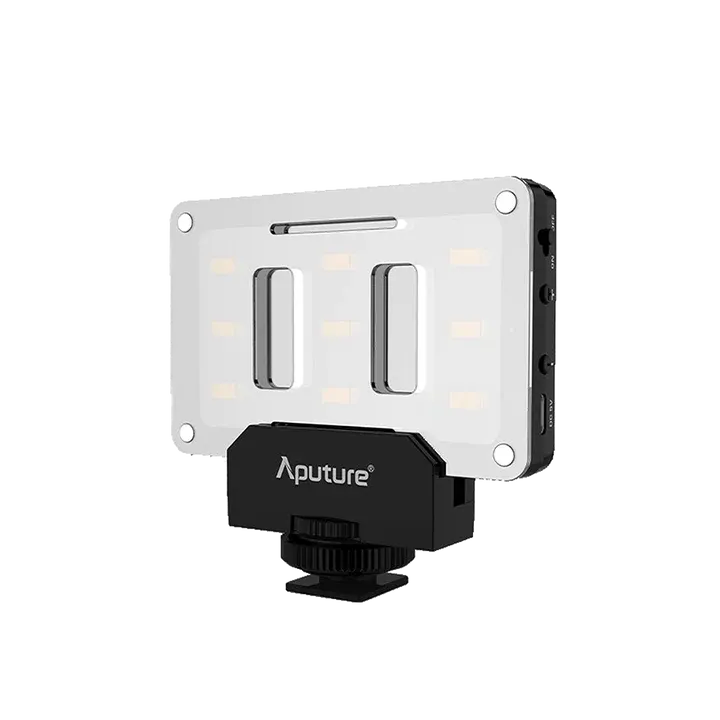
Source: shop.aputure.com

Source: godox.co.za
| Pros | Cons |
|---|---|
| wide range of color temperature options, from warm to cool | Can produce a color cast that may need to be corrected in post-processing |
| Good for small-scale lighting | Can be expensive |
| Can be dimmed easily | Can produce a strobing effect at high shutter speeds if the LED is not high-frequency |
Using artificial light in product photography is a complex and nuanced skill.
However, it will be easier if you get your own experience with a good understanding of the pros and cons of each type.
So, try to experiment with different lighting setups to create unique and striking images.
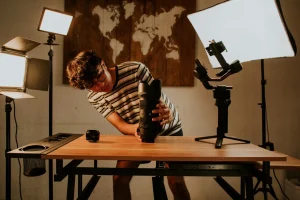
Tips and Tricks for Maximizing the Use of Artificial Lighting in Product Photography
Here are the best tricks that I’ve been doing when I use artificial light for my product photo shoots.
· Do experiment with Different Lighting Setups
Since all types of artificial light offer brilliant benefits, I tried to use different types of artificial light and experiment with different lighting setups like other professional photographers.
Yes, it gave me perfect photos of the products.
To more understand I will give you an example.
I used warm light to create a cozy atmosphere, while cool light is used to create a crisp and modern look.
· Consider the Color Temperature, Brightness, and Energy Efficiency of the Light
It is important to consider the color temperature, brightness, and energy efficiency of the light.
This can make informed decisions when choosing the best artificial light for your needs.
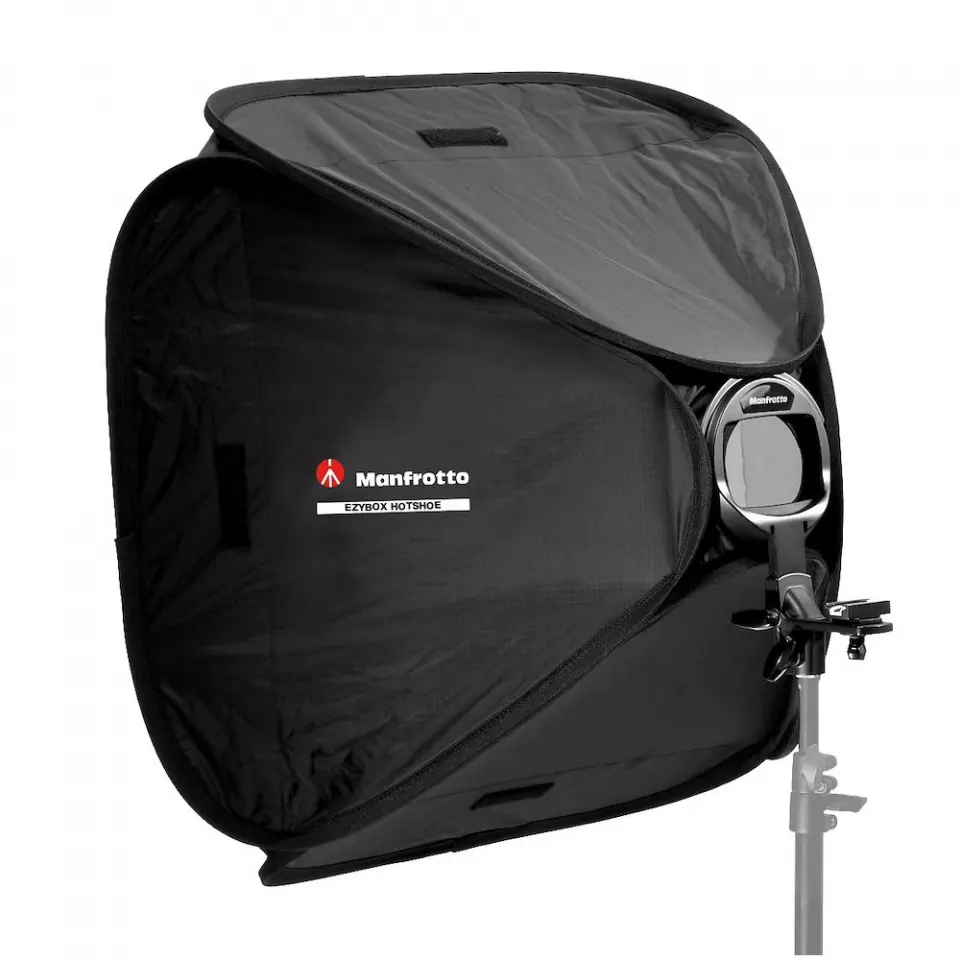
· Use Light Modifiers
I recommend using light modifiers like soft boxes, umbrellas, and snots to control the direction and quality of light.
It will control the final image and help to get your desired effects.
By the way, I have a guide on how to use a softbox for product photography too.
· Location of the Light Source and the Position of the Product
Well, I’ll explain more.
For creating a dramatic and moody image;
Place the product in a dark room and use a single light source to create a strong contrast.
For creating a bright and airy image;
Place your product in a well-lit room.
Keep in mind to use multiple light sources to create a soft and even light.
Besides, Lighting setups should be changed based on the type of your product.
For example, if you want to shoot a product with a reflecting or glossy surface, you may need a different lighting arrangement than a product that is matte or has a dull surface.
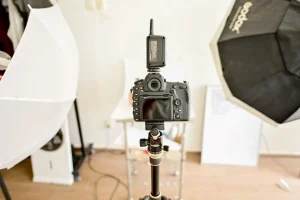
Continuous Light Techniques for Product Photography

Continuous light, also known as “hot light”, since it is a type of lighting that stays on continuously while a photograph is being taken.
So continuous light can use to illuminate the product and create a sense of depth and dimension.
Let me go over the most crucial advantages and disadvantages of employing continuous lights in product photography.
Major Advantages and Disadvantages of Continuous Light Techniques
However, keep in mind that these benefits and drawbacks may vary depending on the product type.
| Advantages of Continuous Light | Disadvantages of Continuous Light |
|---|---|
| Real-time visualization of the lighting effect on the product | Heat and shadows can be produced. |
| Adjustable lighting when the product is in place | Lighting that is less strong than strobe or flash lighting |
| Can give the product a sense of depth and dimension | It may be less adaptable than strobe or flash illumination |
| It has the potential to be more energy efficient than strobe or flash lighting | It is not as portable as strobe or flash illumination |
To find the best continuous light for product photography, I always consider the size of the product and the desired effect.
Besides, keep in mind to focus on the color temperature and brightness of the light before choosing it.
Wanna know about popular continuous light products for product photography?
Well, LED panels, softboxes, and ring lights can be included on that list.
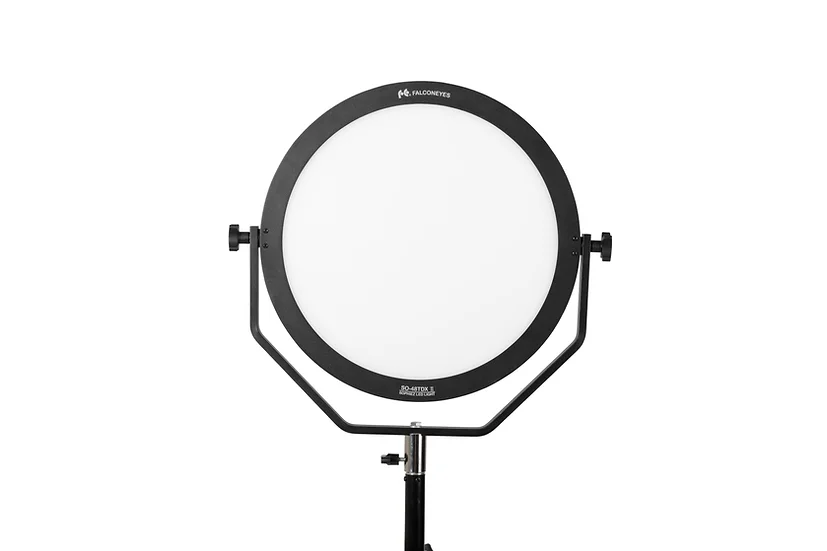
Source: falconeyeshk.com
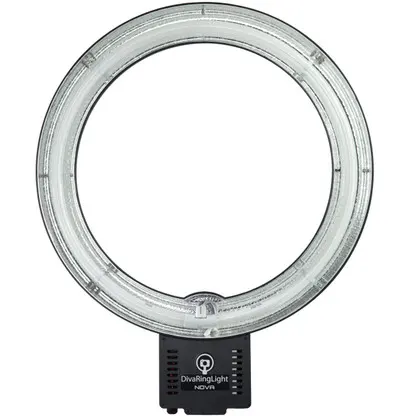
Source: divaringlight.com
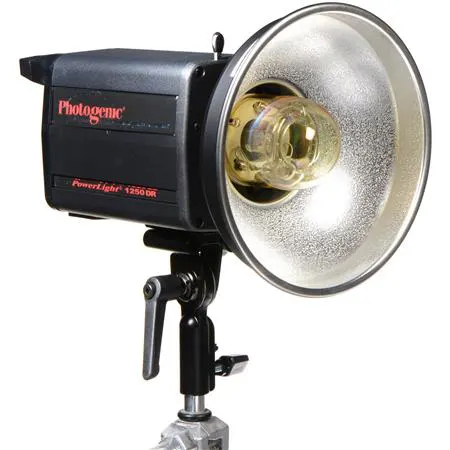
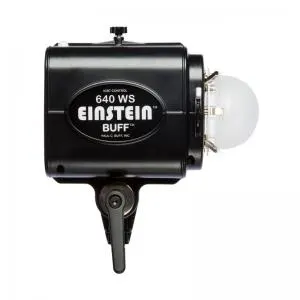
An In-Depth Look at Strobe Light in Product Photography

Source: profoto.com
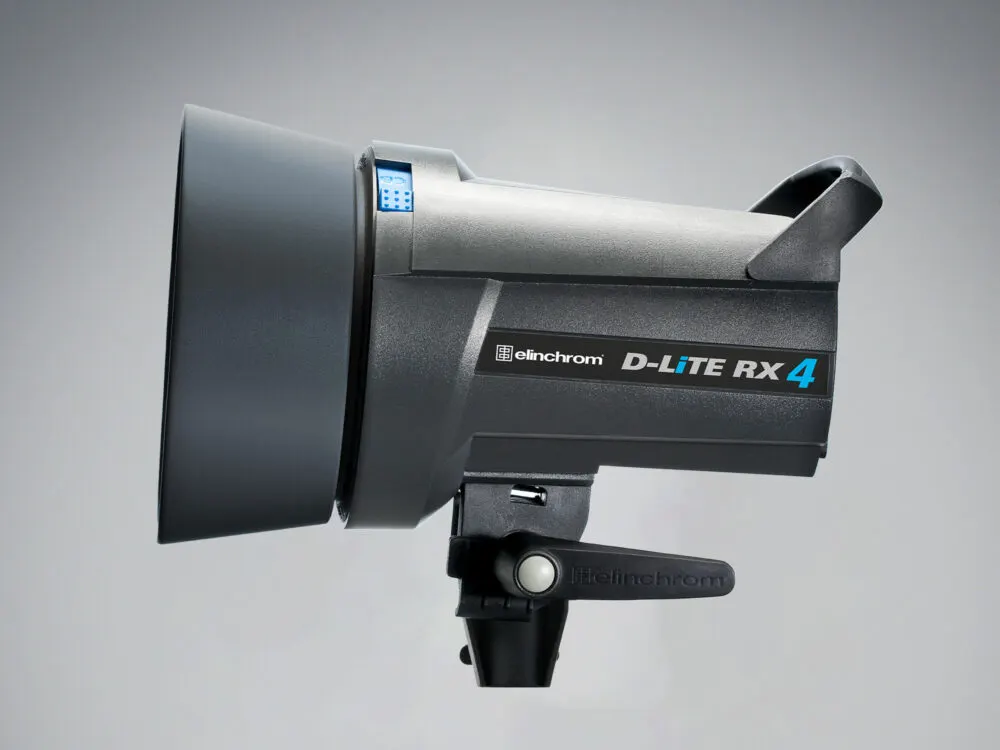
Source: elinchrom.com
Another name for a strobe light is the flashlight.
It is a type of lighting that emits a burst of light during exposure.
So, strobe light can use to freeze motion and control the lighting of the product.
Benefits and Drawbacks of Strobe Light
The use of strobe light in product photography has both advantages and disadvantages.
| Advantages | Disadvantages |
|---|---|
| Ability to freeze motion | Need for a triggering system |
| Higher power output | A more powerful power source is required |
| Precise lighting control | Lack of real-time lighting adjustments |
| Can produce more dramatic effects | It can be more expensive than continuous light |
I always try to overcome disadvantages when shooting products using strobe light by finding the best strobe light based on my product.
So, how do you pick the ideal strobe light for your product photography session?
Well, you need to consider;
- The size of the product
- The desired effect
- The power output
- The color temperature
- The recycle time
Mono light, strobe packs, and strobe heads can be recommended as some popular strobe light products for product photography.
By the way, since I’ve been using strobe lights in my product photography gear for quite a while now, I already wrote an article about the best strobe lights for product photography.
Conclusion
In conclusion, lighting plays a crucial role in product photography and can greatly affect the final image.
By experimenting with different types of lighting, natural, artificial, continuous, and strobe, and understanding their advantages and disadvantages, photographers can find the best lighting for their products and create professional and stunning images.
Justin Parker is a professional photographer and has been in the industry since 2007. He attended the University of Georgia. Justin combines his passion for photography and his interest in writing to give life to this blog which talks about photography in order to help and inspire young photographers.