Do you want to know the secrets to stunning skincare product photography?
Awesome, with this article, you’ll learn how to take your skincare product photos to the next level with creative techniques, styling, post-processing, and editing.
It will help to stand out in the e-commerce market and boost your sales with professional-looking skincare product photos.
Let’s dive in!
Basics of Skincare Product Photography
The basics of skincare product photography are essential to master if you want to take your skincare product photos to the next level.
1. Lighting for Skincare Product Photography
The first and foremost aspect of product photography is lighting.
Good lighting is crucial for capturing the true colors and details of the product.
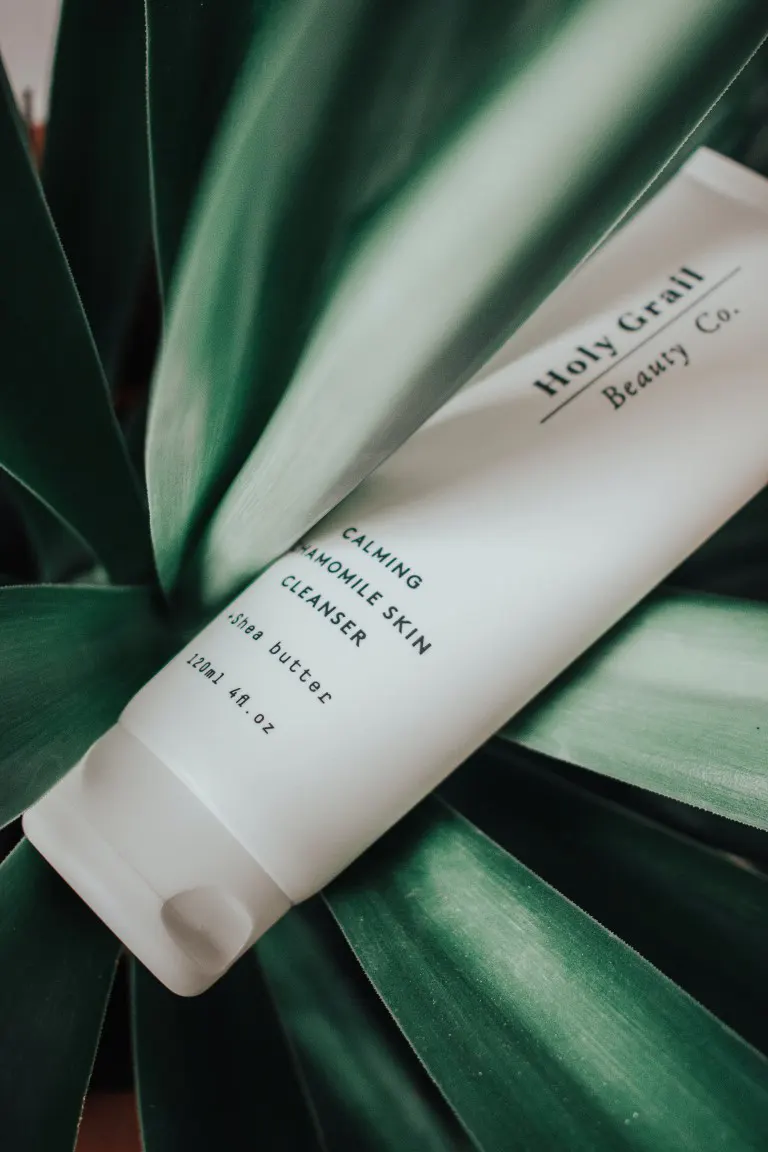
Natural light is the best for skincare product photography as long as it can brighten up the photography setup well.
However, if you’re shooting indoors, be sure to use a diffused light source.
2. Make a Professional and Creative Look
Next, the composition is key to making your skincare product photos look professional and creative.
A well-composed photo will draw the viewer’s eye to the product and help them focus on the key elements.
3. Camera Settings
When it comes to camera settings, use a high aperture value to create a shallow depth of field.
This will make the product stand out and blur the background.
This will also help to keep the product in focus while blurring any unwanted elements in the background.
4. Appearance Quality of Skin Care Products
Finally, when working with skincare products, it’s essential to keep the product clean and in good condition to avoid any imperfections in the final image.
Similarly making some changes to the overall look of a skincare product photo can help improve the product image.
So, how to do it? Don’t worry, I’ll tell you.
Enhancing the Overall Look of Your Skincare Product Photos
Proper styling is crucial for enhancing the overall look of your skincare product photos.
Let’s go through each step of creating a properly styled product image.
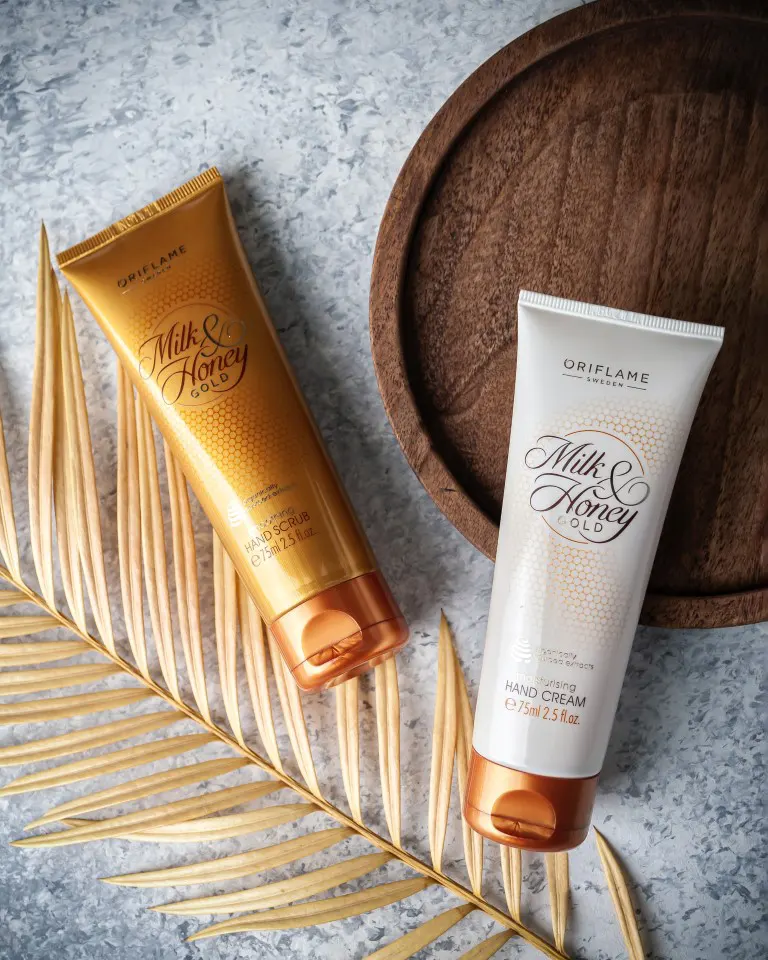
1. Selecting a Neutral Background
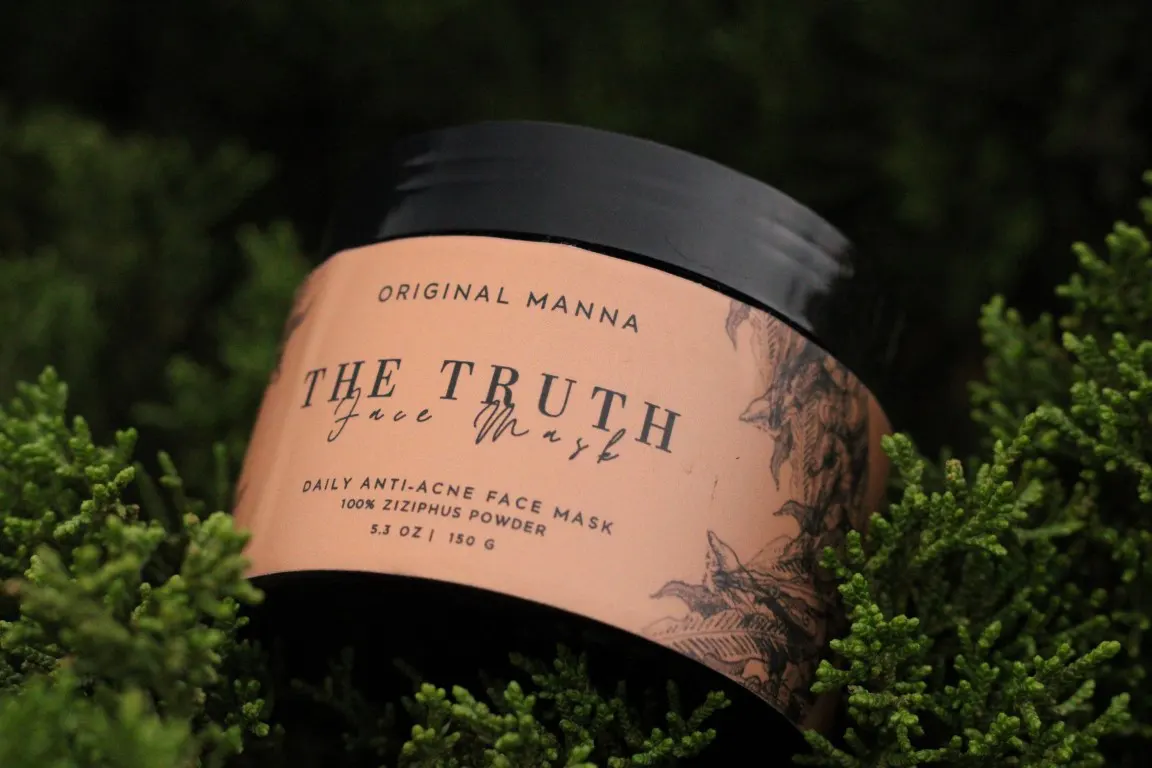
Start by selecting a neutral background that complements the product and doesn’t distract from it.
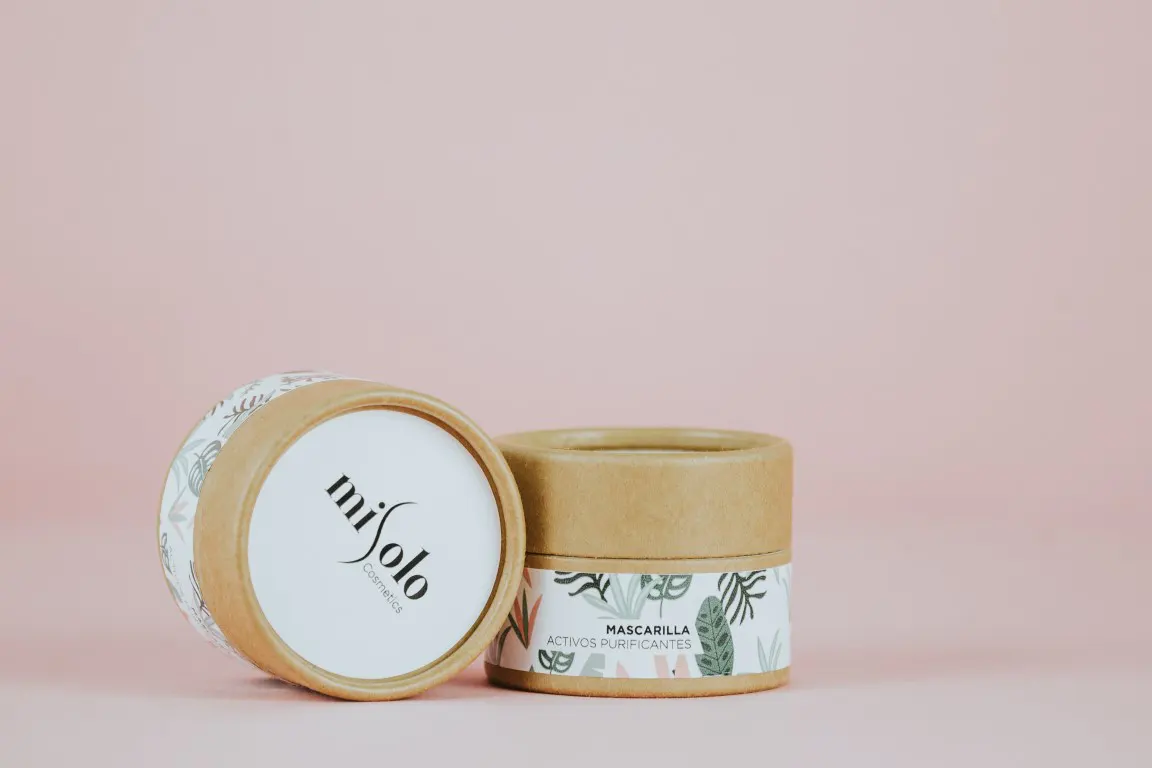
This can be a plain-colored background or a simple textured background.
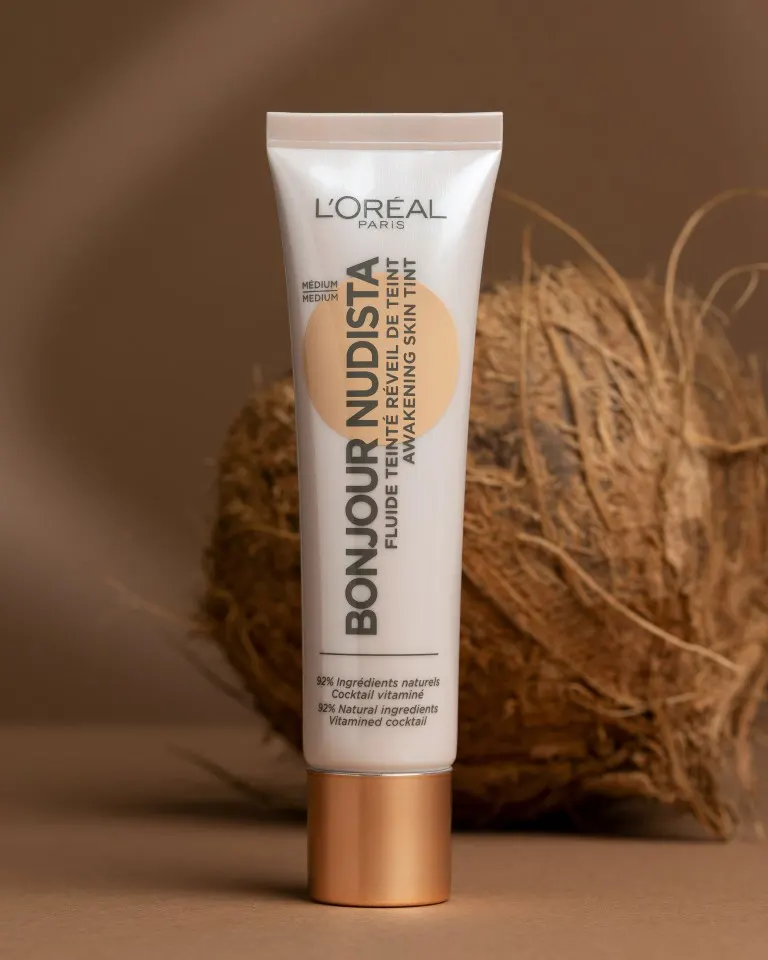
In the above photograph, I have chosen a pastel pink shade as the background color. Since the product is in a brown shade, it contrasts well with the photo.
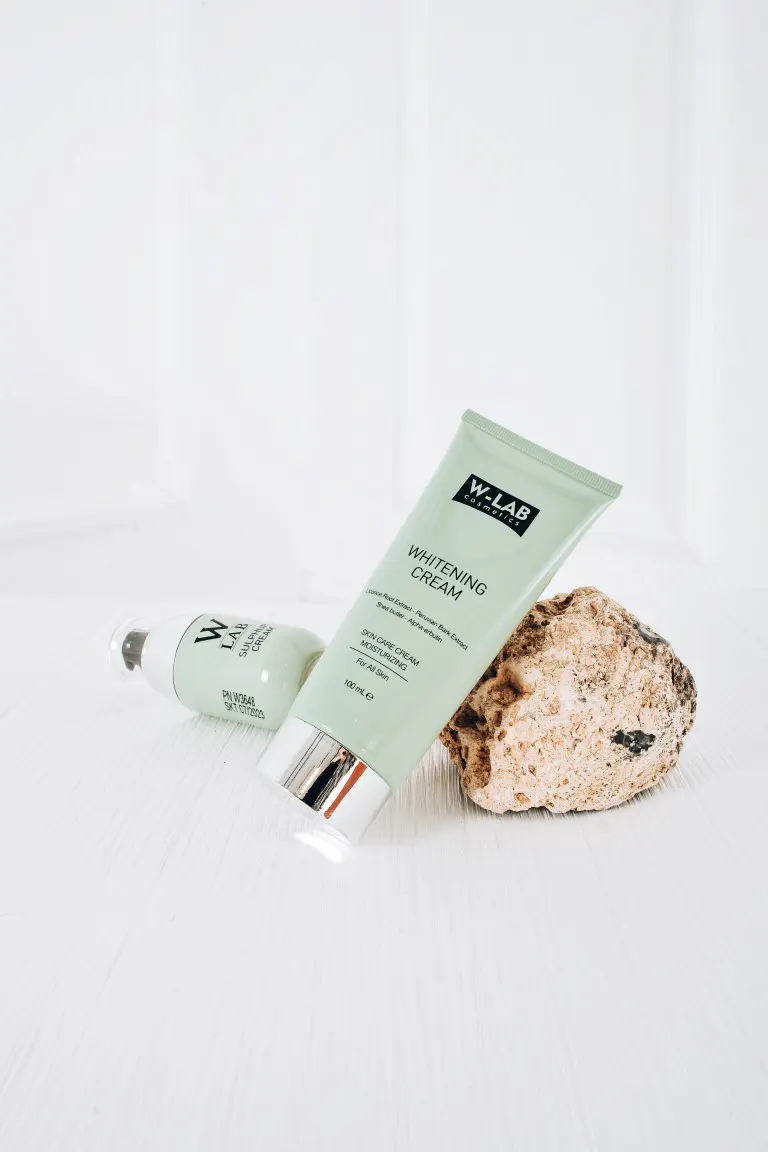
2. Styling the Skincare Product Itself
When it comes to styling the product itself, think about the key features you want to highlight and what message you want to convey.
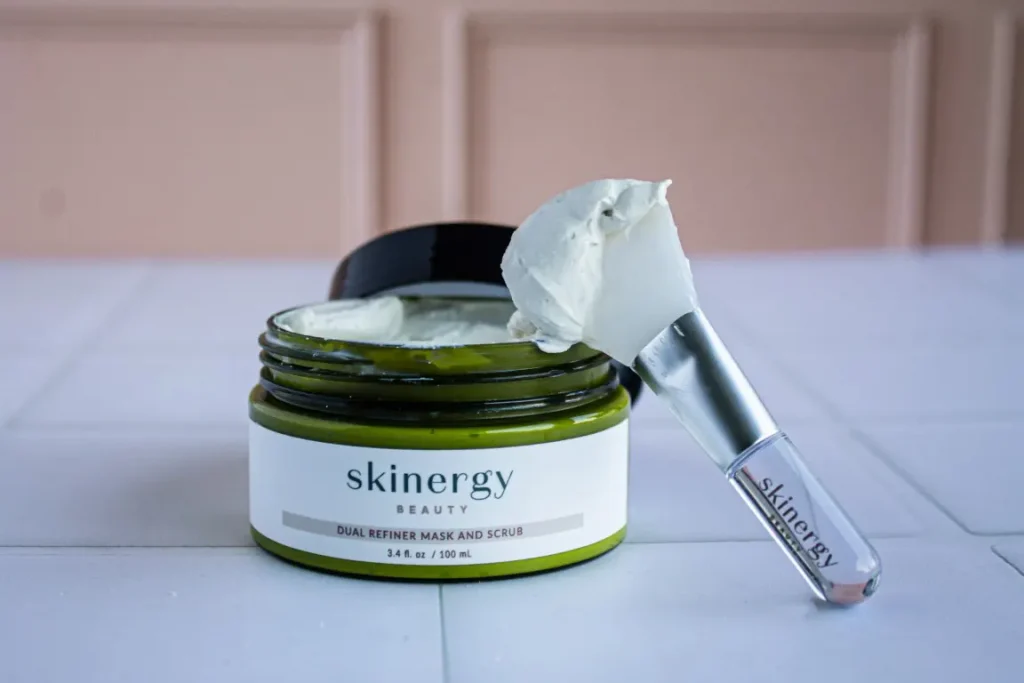
For example, have a look at the above photograph. I used a brush to denote the thick texture and consistency of the product.
Moreover, you can use a scoop or spatula to show the cream’s thickness or use a dropper to show the fluidity of the product.
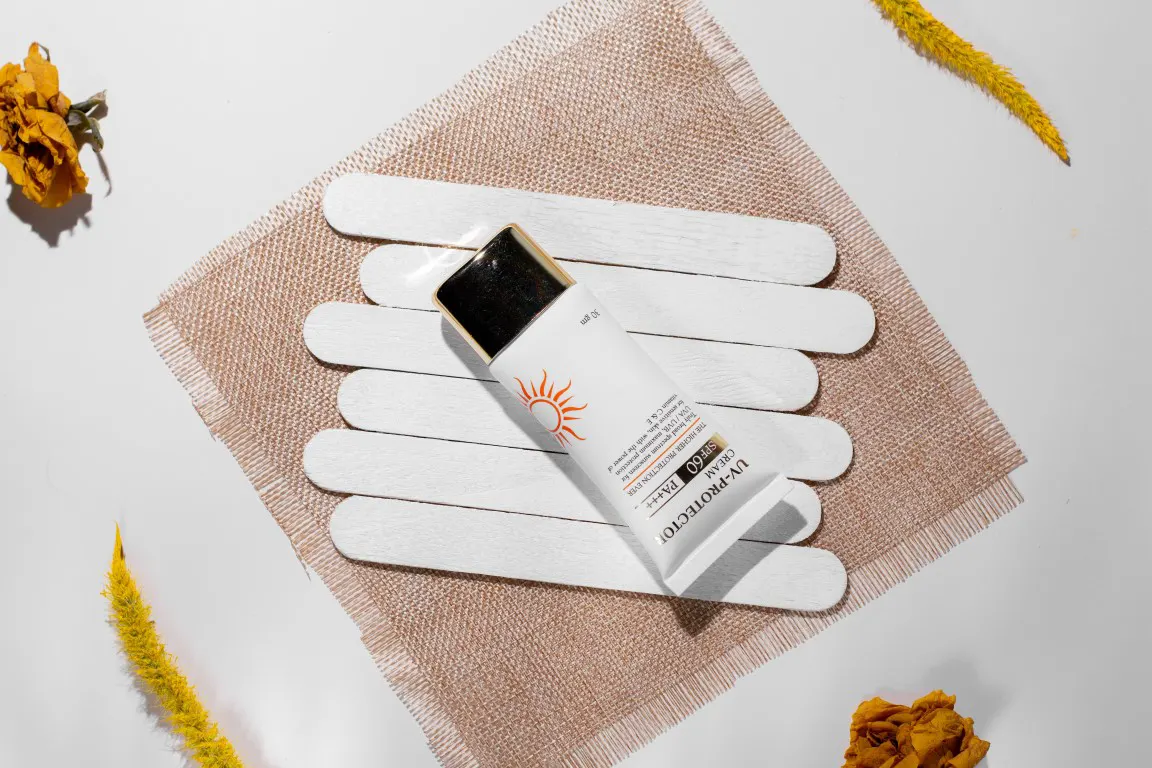
3. Creating Dynamic Compositions and Angles for Your Skincare Product Photos
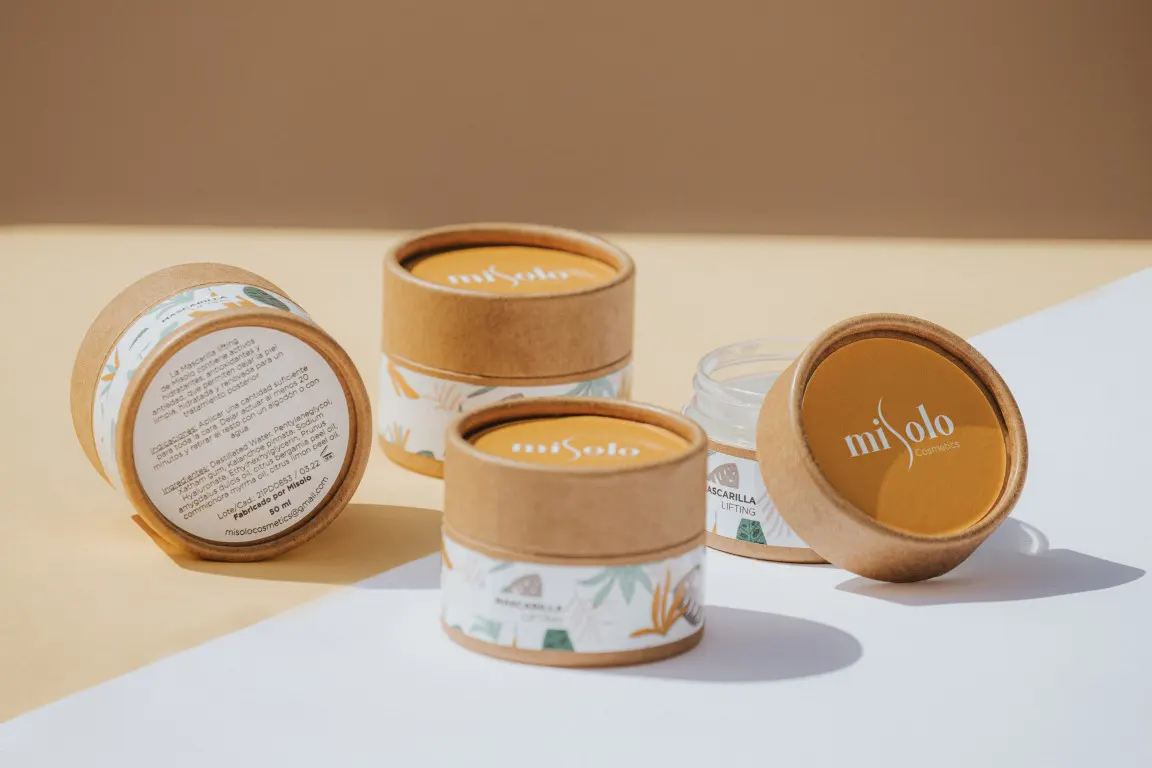
In addition, pay attention to the composition and angles of the product.
This can be done by playing with different angles, heights, and distances to create a more dynamic and visually interesting image.
However, it’s important to keep in mind that the focus should be on the product, not the background or props.
Advanced Techniques for Creative Skincare Product Photography
When it comes to creative skincare product photography, certain techniques can help you showcase the texture, consistency, and color of the product in a unique and eye-catching way.
The following techniques always help me to create visually appealing skin care product photos and effectively communicate the product’s key features in my skincare product photography.
1. Using a Macro Lens
One technique is using a macro lens to capture close-up shots of the product.
This allows you to show the details and textures of the product in a way that isn’t possible with a wide-angle lens.

I recommend the following macro lenses to you for a perfect skincare product photograph;
· Canon EF 100mm f/2.8L Macro IS USM
- Known for sharpness and accurate color reproduction
- Fast autofocus
- Image Stabilization to reduce camera shake and produce sharper images
If you are interested, you can check for the latest price of this macro lens.
· Nikon Micro-Nikkor 105mm f/2.8G IF-ED VR
- Good for sharpness and accurate color reproduction
- Vibration reduction to reduce camera shake and produce sharper images
- Fast autofocus
If this is the macro lens for you, check its current price.
Besides, Sony FE 90mm f/2.8 Macro G OSS and Tamron SP 90mm f/2.8 Di Macro 1:1 VC USD are also great choices for skincare product photography.
Keep in mind, all macro lenses depend on your camera brand.
2. Trying with Different Lighting Sources
Another technique is using different lighting sources to create interesting shadows and highlights on the skincare product.
This can be done by using a ring light or a lightbox to create a soft and even light that highlights the details and textures of the product.
Do you wanna know which ring lights are best for your photoshoot? If so, check out my article, about choosing the best ring light for product photography!
Besides using a ring light or a light box, I always try to use other light sources like natural lights, LED lights, and strobe lights depending on my skin care products.
You can read my comprehensive article on product photography lighting to get better knowledge on how to use different lights to illuminate your products.
3. Test with Different Camera Angles and Perspectives
You can also experiment with different camera angles and perspectives, such as shooting from above or on a side, to give a new perspective on the product and make it stand out.
For that, make sure to experiment with different styles that are suitable for skincare products. The product photography styles article will give you a good understanding of it.
4. Play with the Background and the Product Color
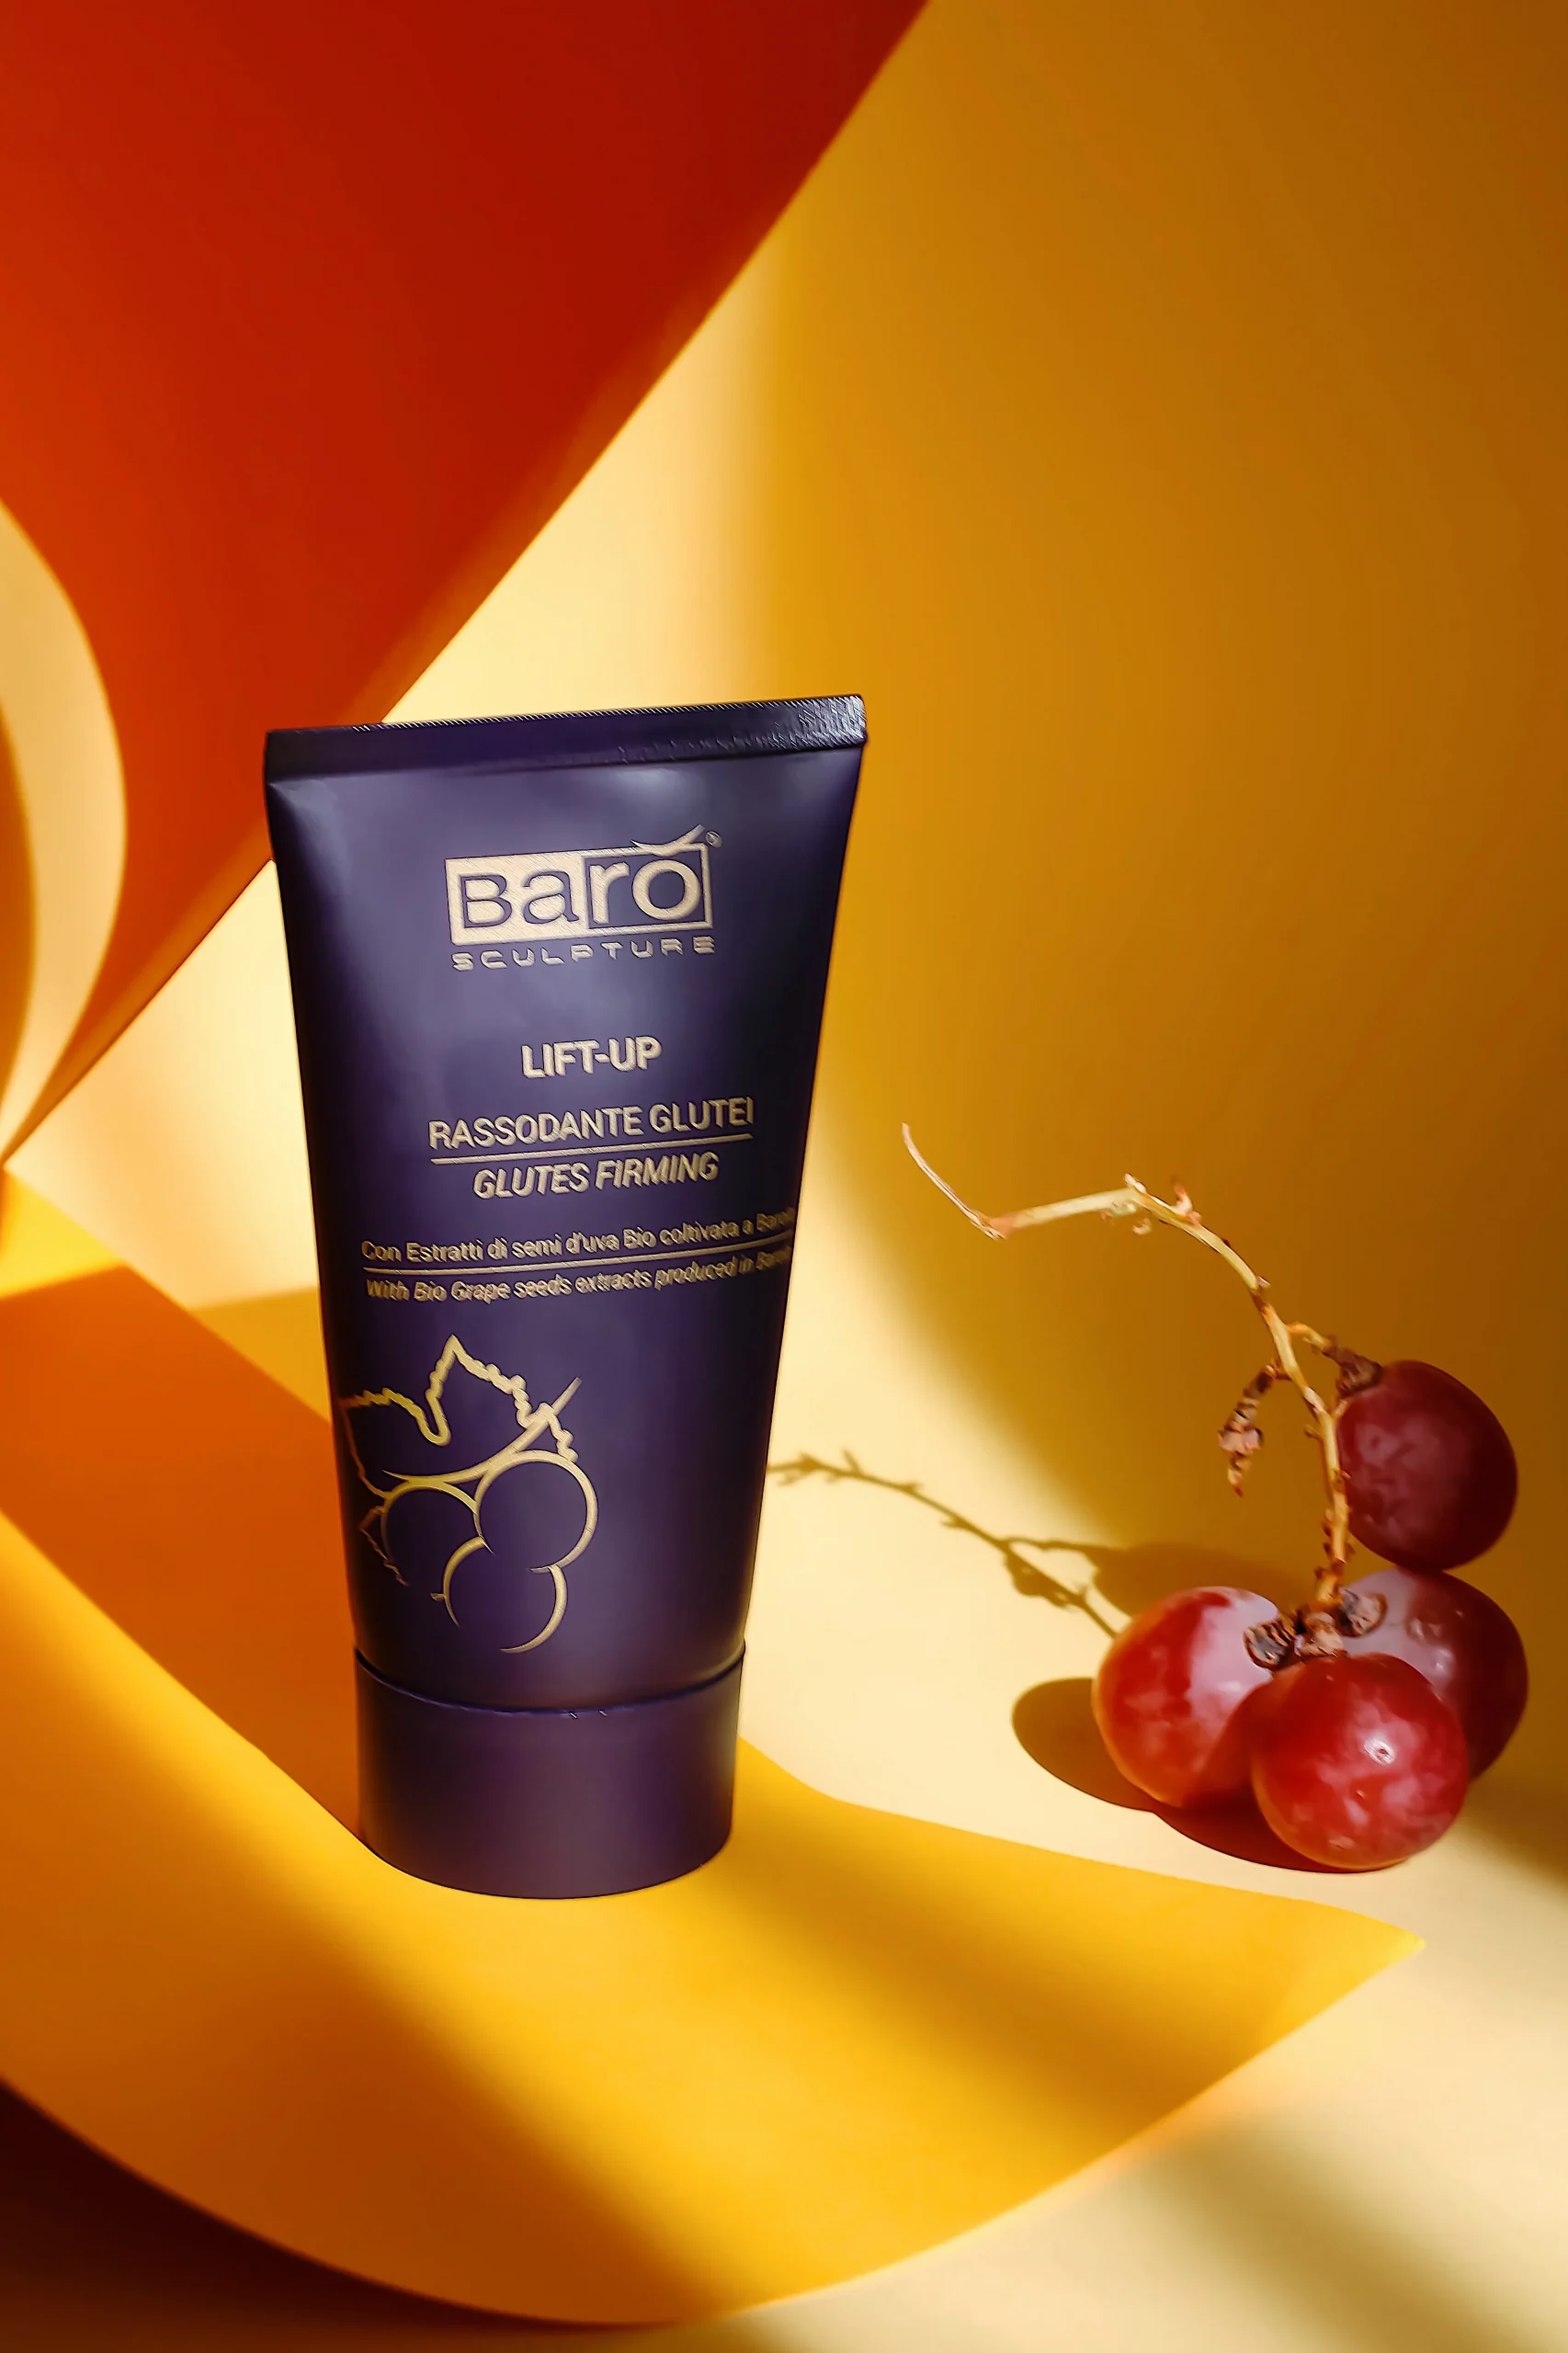
Finally, try to play with the color of the product, by using different colored backgrounds or props to create a contrast with the product and make it stand out.
Tips for Editing Skincare Product Photos
Post-processing and editing are essential steps in creating professional and visually appealing skincare product photos.
By using editing software such as Photoshop or Lightroom, you can improve the overall look and quality of your skincare product photos.
I will tell you the basic tips that I always use to edit my skincare product image to look stunning.
1. Adjusting the Brightness and Contrast
This will bring out the details and textures of the product, making it appear more vibrant and attractive.
2. Use the Clone Tool
The clone tool is perfect to remove any blemishes or imperfections on the product.
It will make the product look cleaner and more polished.
3. The Dodge and Burn Tools
These two tools can be used to adjust the lighting and highlights on the product, giving it a more natural and balanced look.
4. The Color Balance Tools
It can be used to enhance the colors of the product.
So, the color balance tool helps to make the product look more vibrant and true to life.
5. The Saturation and Vibrance Tools
This can also be used to make the colors pop.
It will give your skincare product photos a more striking and professional look.
6. Cropping Tool
Cropping the photo to focus on the product and removing any unwanted elements from the background.
7. The sharpening Tool
This is the last necessary basic tool in my editing and retouching software.
It can make the product look sharper and more clear.
However, experimenting with different presets and actions in Lightroom or Photoshop will help you achieve a specific look or style for your skincare product photos.
If you wanna the perfect guide for presets in lightroom, Lightroom Presets for Product Photography is the best article for you!
Conclusion
In conclusion, skincare product photography is an essential aspect of e-commerce and can make a significant impact on your sales.
This guide provided an overview of the technical and creative aspects of skincare product photography, including lighting, composition, styling, special techniques, and editing.
Keep in mind to take the key takeaways and don’t hesitate to experiment with these techniques to find the best approach for your skincare product photography.
Justin Parker is a professional photographer and has been in the industry since 2007. He attended the University of Georgia. Justin combines his passion for photography and his interest in writing to give life to this blog which talks about photography in order to help and inspire young photographers.