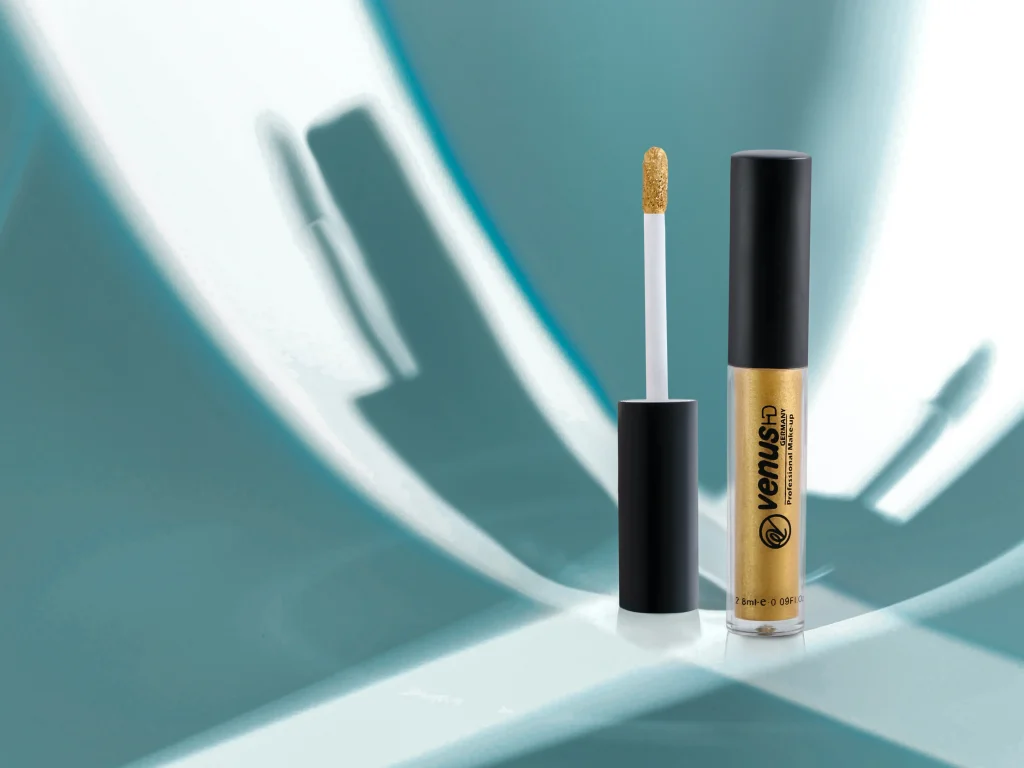
When it comes to product photography, the difficulty level of editing skyrockets, you will have to maintain uniformity and consistency, and quality needs to be at optimal levels. Achieving such work is not easy.
That’s why I started using the Adobe Lightroom photo editing application!
It’s not rocket science because everyone can use this app. Yes, I have seen nine professional photographers out of ten using it. But I also have seen many young and occasional photographers edit their shots on the Lightroom app.
Are you wondering why Lightroom is the best in the market when you have got a plethora of options?
This was my first question when I came across this app. I peeked into features out of curiosity, and I was smitten by the number of presets built into the editor. Application of these will help you create the most appealing product pictures.
If you are confused about using the Lightroom application, then don’t worry any further.
In this below discussion, we will familiarize you with Lightroom, the presets, and how you can enhance the product pictures’ beauty.
Lightroom presets for product photography.
According to your pictures ‘ requirements, you can choose from a modern, fresh preset to a darker, shadowy preset.
If you haven’t explored Lightroom yet, it’s time to know more about how these presets can revolutionize your photography skills and outcomes.
In most photo editing apps, there are a few preset options. These options will have balanced brightness, contrast, shadow, color saturation, exposure, and highlights.
By choosing one particular preset, all these balanced feature levels will be applied to the picture. Hence, you won’t have to change anything else unless it is required.
So, isn’t it amazing to have the presets in a photo editing app like Lightroom?
It is, and I can vouch for that! But presently, I’m not going into the details because there are many things to understand. First of all, let’s start with knowing a bit more about Lightroom and what it is.
- The lightroom application is both a photo management and editing tool.
- You can store, organize, and even upload the pics on different platforms.
- You can also edit the photos to perfection.
Yes, pixel-level clarification and beautification are not possible. But you can enhance the pics’ beauty and use them to flaunt your style!
Do professional photographers use Lightroom presets?
In the lightroom application, you will find several preset settings that will help you transform the picture to make it more appealing and charming. Be it the vintage or the modern style, the presets are truly incredible.
As these modes have the image editing attributes balanced in the proper ratio, you don’t have to change anything else. Furthermore, you won’t have to worry about the final look of the pictures since you can reset the settings if the chosen preset is not ideal for your pics.
Professional photographers use Lightroom presets to capture some of the best product pictures, thanks to these few advantages.
What are the benefits of using Lightroom presets for photo editing?
Before you start believing my explanations blindly, I think it will be best if you have a glimpse of how beneficial the Lightroom presets are.
- The presets are properly balanced in brightness, filter, contrast, sharpness, shadow, exposure, and more. So, all you need to do is select the preset, and the images will become about 80% edited.
- One of the main benefits that you can enjoy as a photographer is the simplicity of use. Lightroom presets are easy to apply, provided you follow the steps properly.
- You can use this feature from anywhere as the lightroom app is cloud-based. So, there is no need to have your camera or a PC to use the photo and edit it.
- The presets in Lightroom are varied and versatile. Therefore, they will allow you to create different stories with a single picture.
- These presets can be customized, which is another main reason for the accelerating popularity of this app.
How to use Adobe Lightroom for product photography?
Step 1: Opening the Lightroom app and then the catalog
You need to open the lightroom application first. Please do it through a laptop or PC. There is no restriction for the mobiles but editing and accessing the features will be a bit difficult.
If you are using this app for the first time, you need to create a catalog to store all the images of a particular product. You can even create multiple catalogs for different product collections.
Inside the catalog, you need to create a file folder having a name of your choice. For better identification, you can save the file with the product category. Inside that file, a sub-folder can be created as a specific or one particular product.
Step 2: Connect your PC to the camera
Since you will be taking the product photographers with the camera, you need to connect it to the PC. If your camera has wireless connectivity, then there is nothing to worry about.
But if there is no option for wireless connections, you can use the USB cable to make the connection. Once done, turn on your camera and make sure that the product is kept right at the line of focus of the lens.
You can assign copyrights, keywords, and other forms of metadata to the subfolder where the shot pictures will be stored.
Step 3: Start taking the product shots.
After you have saved the settings in Lightroom, you will find a bar popping up at the top, where you will have all the camera settings.
Starting from aperture to focus, you need to adjust the camera settings properly to capture the product’s image completely without any shadows.
Step 4: Apply the preset.
It doesn’t matter whether you have proceeded further with a single pic or a group of them. Open the preset menu and once you get all the built-in options, click on them to check whether the transformed image is at par with your requirements or not.
If you want to create your own preset with customized options, follow these steps:
- Click on the “Develop” tab.
- Once the pop-up menu opens up, click on “Presets.” It will be located on the left side.
- Click on the “Create preset” option.
- After this, name the preset and proceed with creating it.
Lightroom presets for product photography
Luckily, you will have multiple Lightroom presets that you cause in your product photographs. These are:
- Clean and white preset that will make any white background pictures have more contrast and brightness.
- Brightening the preset will help you edit the picture so that the product looks brighter, charming, and more appealing.
- Clarity present is another amazing preset you can choose from since the background will become white and the main image will become clear.
- Contrasting preset will help you increase the color contrasts so that all the features and shapes are accentuated.
- The noise reduction preset is also another amazing setting that will help you brighten the picture ten folds.
Final words
Editing the pictures right after photoshoot sessions is fun. Photographers love to play with different filters, contrasts, shadows, highlights, and so on. That’s where the Lightroom app fits in perfectly.
With the above discussion, you can now understand how beneficial these Lightroom presets are. Hence, I am certain that the next time you capture the product snaps, you will use the presets to accentuate and enhance the beauty. If you can’t understand, you can refer to this video.
Justin Parker is a professional photographer and has been in the industry since 2007. He attended the University of Georgia. Justin combines his passion for photography and his interest in writing to give life to this blog which talks about photography in order to help and inspire young photographers.