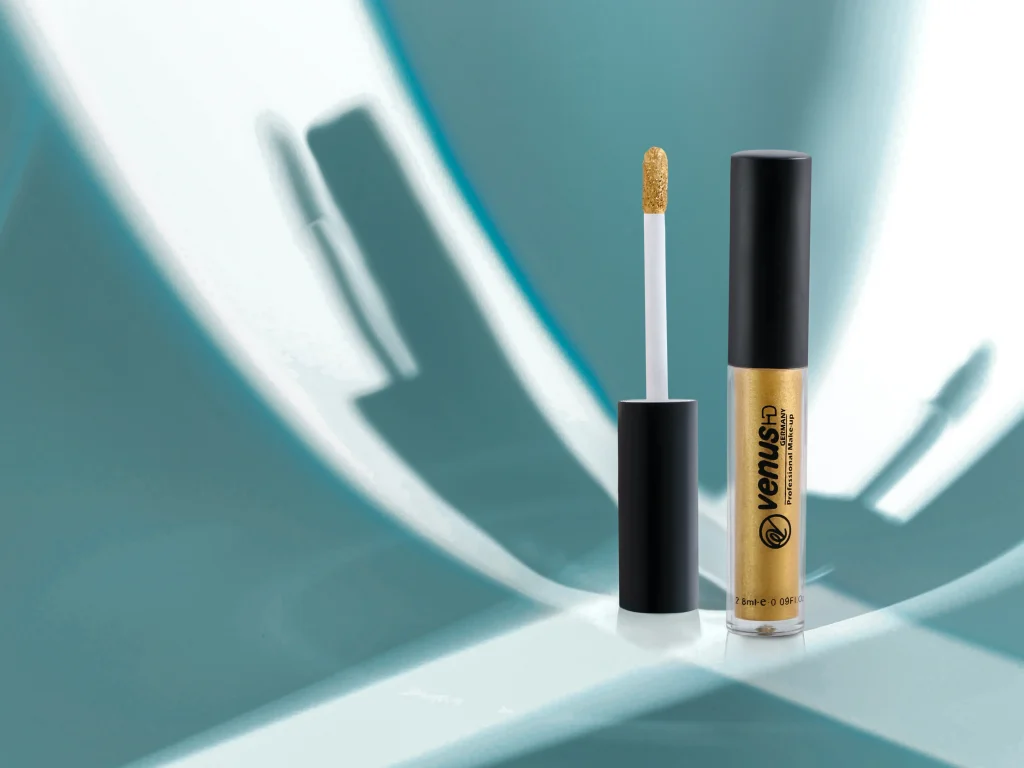
Do you know what customers look for when buying a product online? The customers expect to find the same level of details as they would get if they the product in real life.
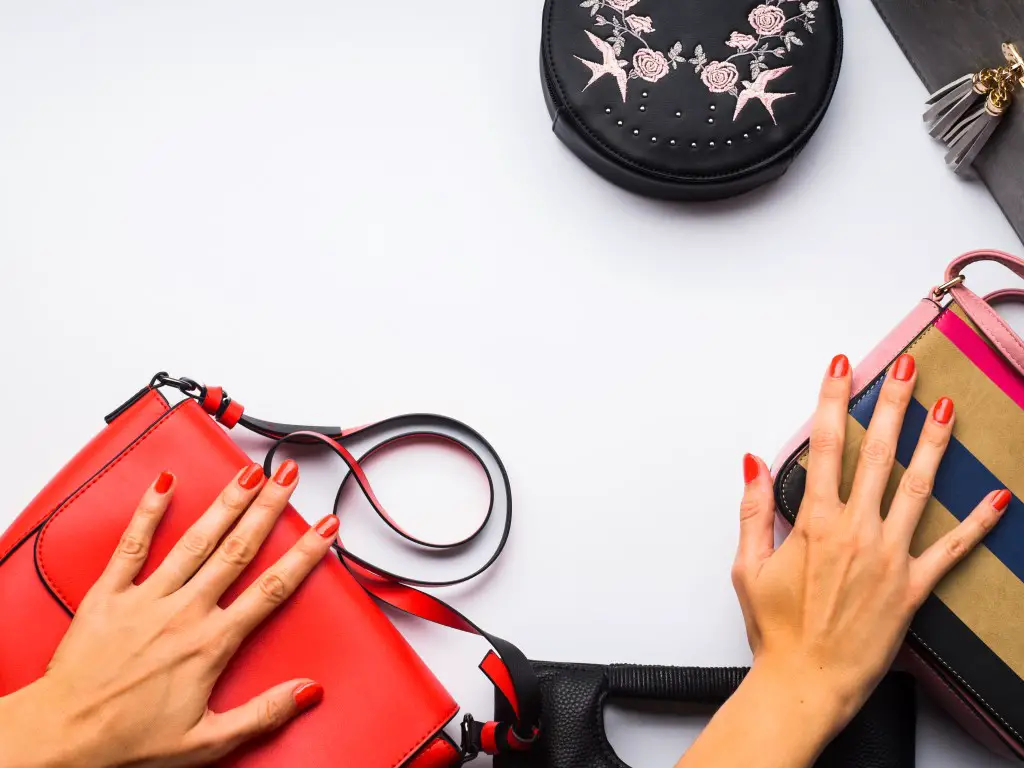
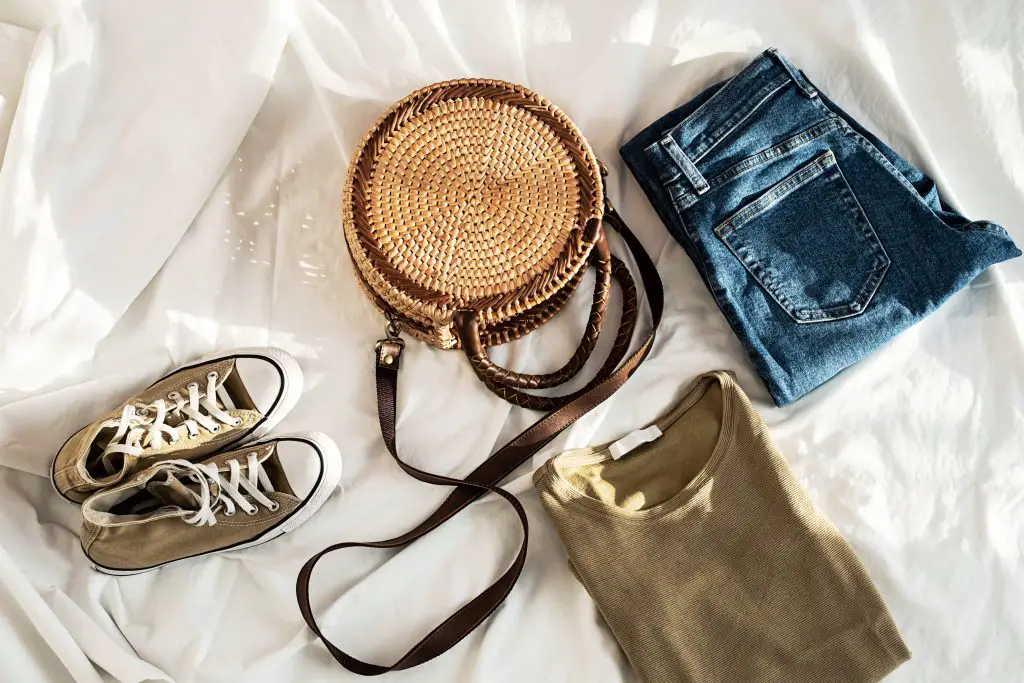
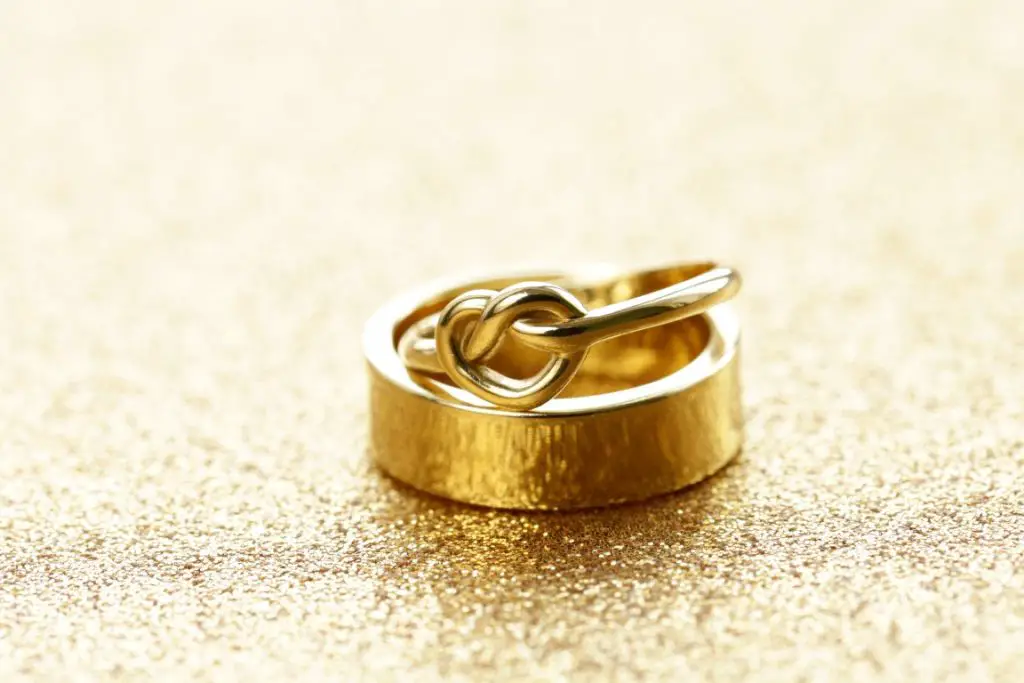
It is, however, quite challenging to provide details for smaller products such as jewelry, circuit and hardware components, or pretty much anything that sizes less than a couple of centimeters.

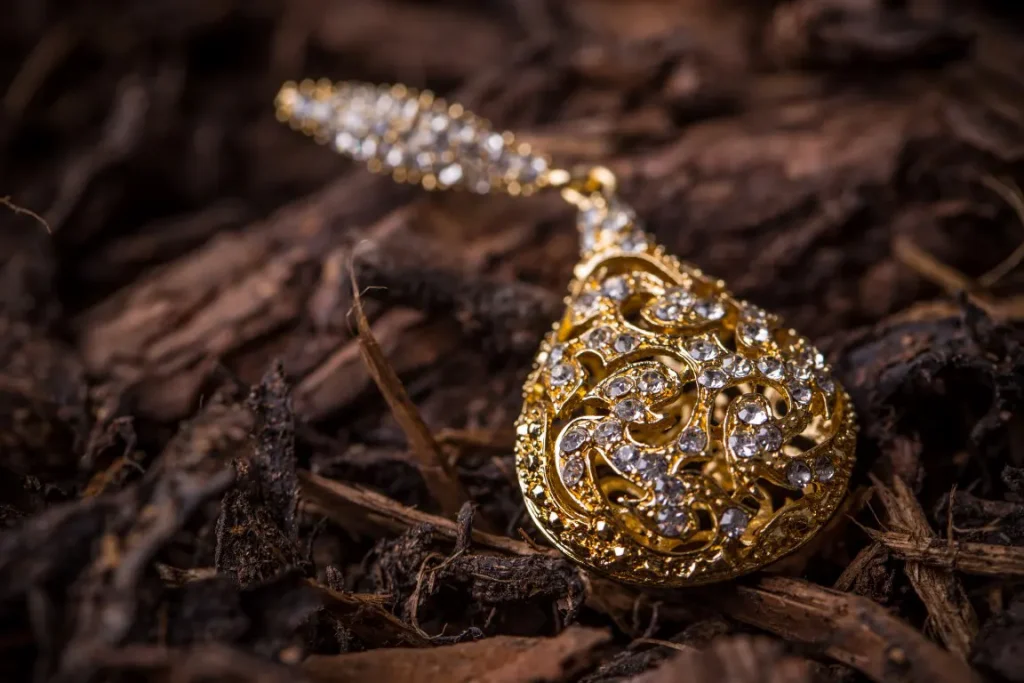
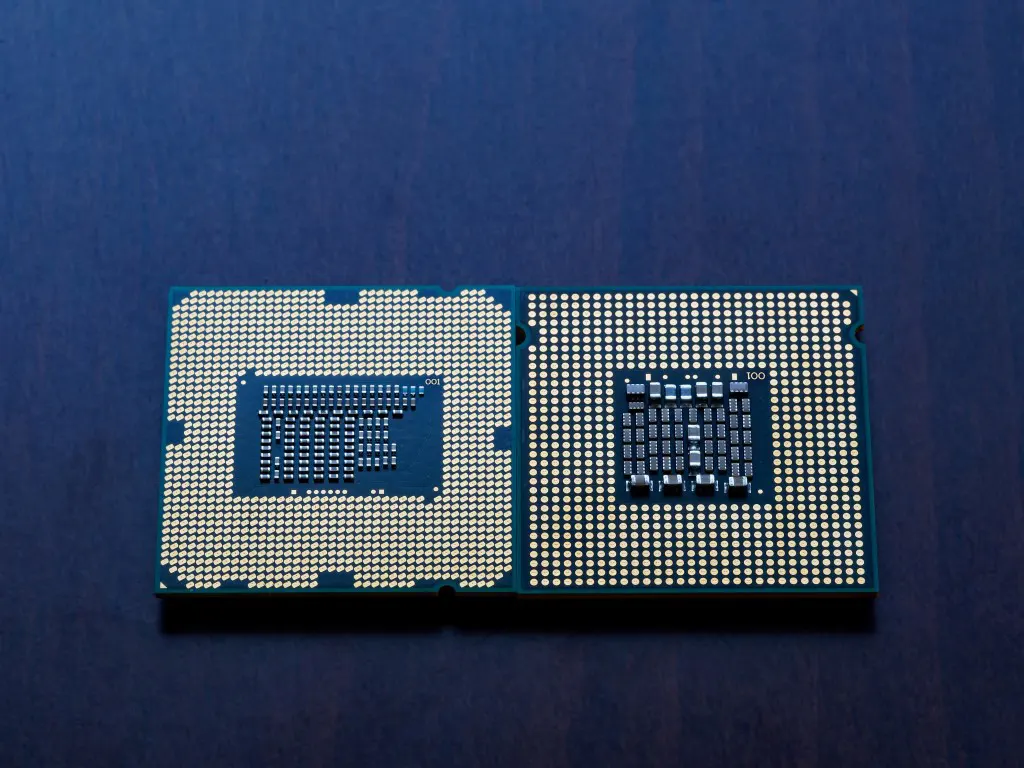
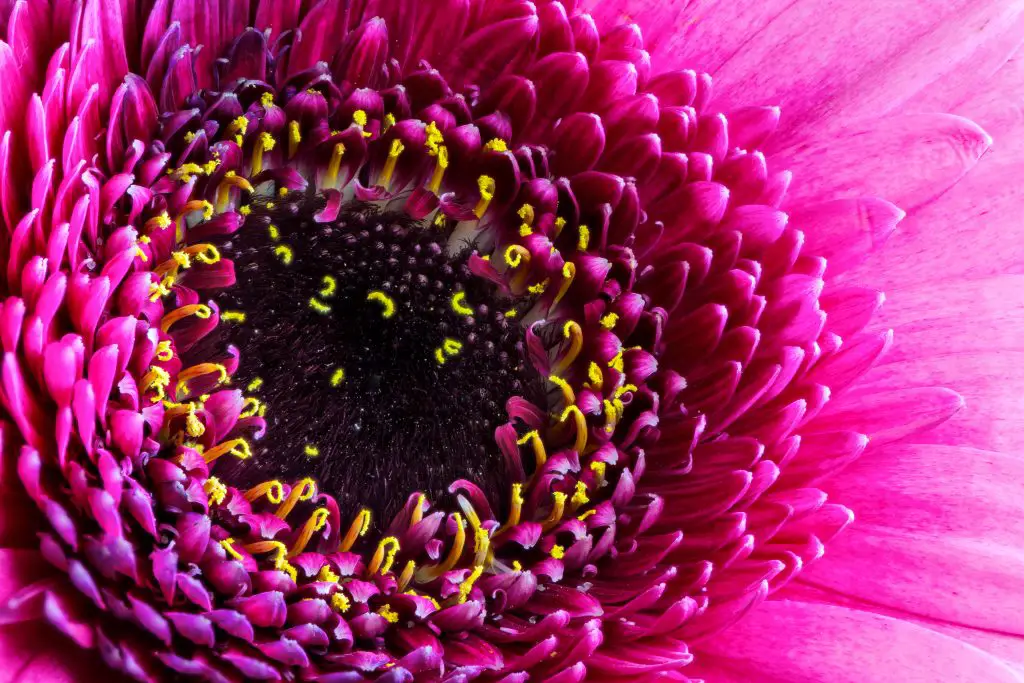
The solution to this issue is: macro shots of products. With the help of a macro lens, we can take pictures with details more refined than what the human eye can see.
If you are a business owner who sells smaller products, knowing how to do macro photography will boost your business.
What is Macro Photography
Initially developed for scientific research, macro photography is a form of up-close photography that takes sharp, consistent, and vivid images of tiny objects.
This is done with the help of a macro lens which is essentially a magnifying glass for a camera lens.
Usually, people refer to any well-detailed up-close image of a small object as a macro image.
How Do You Macro a Product Shot
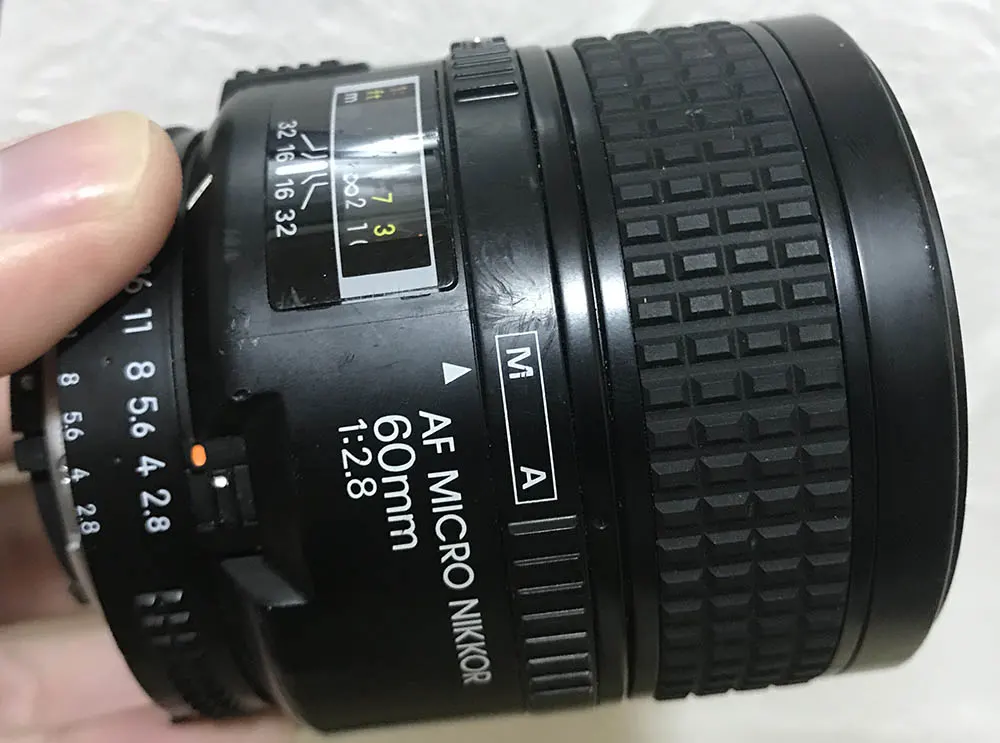
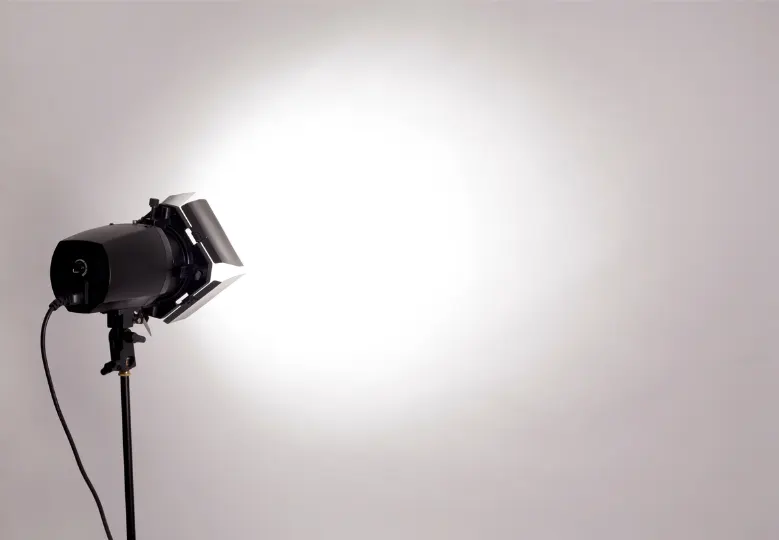
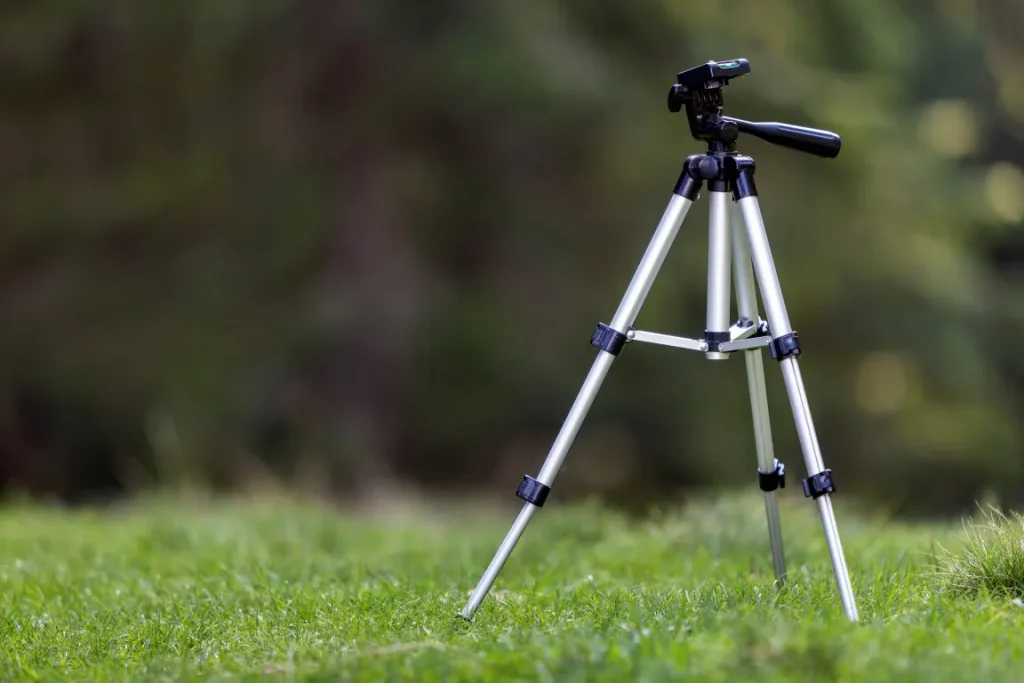
If you are to macro a product shot, the essential thing you need is an excellent macro lens. I would suggest the Nikkor 60mm 2.8. Pair it up with a good camera and necessary photography equipment such as a tripod, studio lights, etc., and you are good to go.
Having a macro lens doesn’t necessarily mean you will be able to take great macro photographs of your product. You still need to know some basic techniques to utilize your macro lens fully.
What Makes a Good Macro Lens?

A macro lens is a piece of essential equipment, so you have to know what to look for in it when you take a macro image of any product.
Following are the criteria you need to consider before buying a macro lens:
- Focal length
Most macro lenses have slightly longer focal lengths, allowing you to take up-close images from a slight distance.
The shorter the focal length of the macro lens, the lower the lens’s price and weight, but it comes at the cost of being closer to the object being photographed.
Macro lenses can be classified into three different categories based on their focal length:
| Short Macro Lenses(30mm to 50mm) | They are very light and cheap and can easily be used without a tripod but also requires you to be extremely close to the object |
| Intermediate macro lenses (80mm to 100 mm) | These are slightly expensive but work well even at a moderate distance. These are the lenses most optimal for macro product photography. |
| Long macro lenses( 140mm to 210mm) | These are slightly expensive but work well even at a moderate distance. These are the lenses most optimal for macro product photography. |
If the focal length is too less, then the need to close the distance between the object and the camera results in blocking the light; thus, a clear and crisp image cannot be obtained.
So what are the best focal lengths for a macro lens for taking product shots?
It’s 60mm, 90mm, 100mm, and 105mm. Any of these can be used with a cropped sensor to get similar results.
- Aperture
The aperture of a lens controls how much light can be captured. Having a high maximum aperture means that the lens can maintain focus even in low light conditions.
It also allows for photos in portrait mode, which makes your product’s photograph more appealing.
The usual maximum aperture of a macro lens is f/2.8
- Magnification
Magnification is needed to be able to maintain the reproduction ratio of the product.
The typical macro lens has a magnification of 1:1 which means that it creates a life-size image of your product.
This is especially appealing to buyers as it helps the minute details of your product pop out.
- Stability
Stabilization is essential because it compensates for movement while taking photos.
For macro photography, the lack of depth causes the image to lose focus from the slightest of movements. This will cause the image to become blurry if the image stabilization isn’t high.
To keep the camera stable, a tripod should also be used.
- Auto/ manual focus
Most macro lenses can automatically focus on the object, but some only offer manual focus.
If you are new to photography, I highly recommend getting a lens that can auto-focus.
If you are somewhat familiar with photography, then the manual focus is better for you. This is because the manual focus will be more precise.
Most lenses provide both options, so don’t be afraid to experiment with them.
Tips for Taking Macro Product Shots
Product photography with macro lens varies from traditional product photography, so you cannot treat them the same way.
For product photography with macro lenses, we don’t just want close-up photos of the product. We want to capture a well-detailed one. To do so, you can follow the following tips:
- Varying the Apertures
By changing the aperture, you can control how shallow your photos will come out.
If you are taking photos photographs of food, an aperture of f18-f22 is preferred.
For books, you can use an aperture of f8-f11.
A general rule of thumb is to vary the aperture from around f3 to f11 and check which amount gives you the correct exposure. Don’t be afraid to experiment with other ranges.
- Varying the Distance
We see the best results for macro photography when we are as close as possible to the object while taking photos of a product; that isn’t always the case.
Sometimes taking a few steps back can result in a complex blend between the product and the environment, making the image more appealing to potential buyers.
While you change the distance, make sure you refocus the lens, or else your product’s photo might come out blurry.
Take a bunch of photos from different distances and then compare them to see the best results.
- Taking shots at an angle
Instead of just taking front-facing images of your product, try to take the photo at an angle, preferably at a 450 angle.
This allows you to capture a lot more of the product in a single frame.
The magnification of the macro lens causes different levels of focus on other parts of the product depending on the size of the product, which gives a unique perspective of the product. - Full size vs. Cropped image
Whether a full-size image or a cropped sensor used image is better depends on the focal length of your lens.
If the focal length of your macro lens is around 60mm, you can use a cropped sensor to get a cropped image from a slightly larger distance for the best results.
A full-sized image will be far more detailed for focal lengths of around 90mm to 105mm. - Blurring out the background
Usually, when a macro lens focuses on your product, it automatically blurs out parts of the background.
This blur, however, is often inconsistent, which is bad for a product page.
Thus editing the photo after it’s taken to blur out the background uniformly is advised.
Moreover, you can fix the shadow, highlight, and sharpness of the image once it has been taken to enhance the product shots further.
Feel free to experiment with edits; however, make sure you don’t overdo it. Try to keep it natural.
Final word:
Macro lenses might be expensive, but the detail they bring to your photoshoots is worth the price.
If proper maintenance is carried out, then a single macro lens can last you a lifetime.
Photography is subjective. What might seem appealing to some might not be to others. The key to good product photography is to know your target audience and produce something they might like.
Adding macro gives you the option to experiment with shadows, focus, and level of details so that you can create the perfect photo for your consumers.
Justin Parker is a professional photographer and has been in the industry since 2007. He attended the University of Georgia. Justin combines his passion for photography and his interest in writing to give life to this blog which talks about photography in order to help and inspire young photographers.