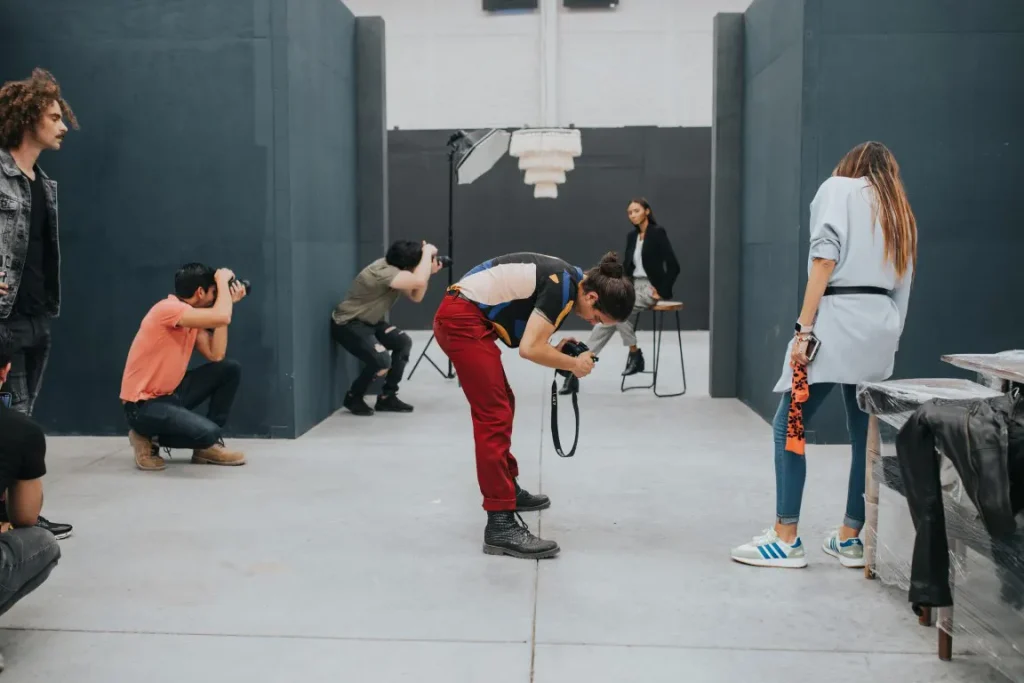
Transform your e-commerce game with high-quality product photography by using the right tools.
In this article, I’ll reveal the must-have equipment and techniques for creating professional, perfect shots that will help your brand stand out.
From cameras to tripods, software to advanced techniques, I’ve got you covered.
Learn how to elevate your product photography and drive sales today!
Which Camera is Best for Product Photography
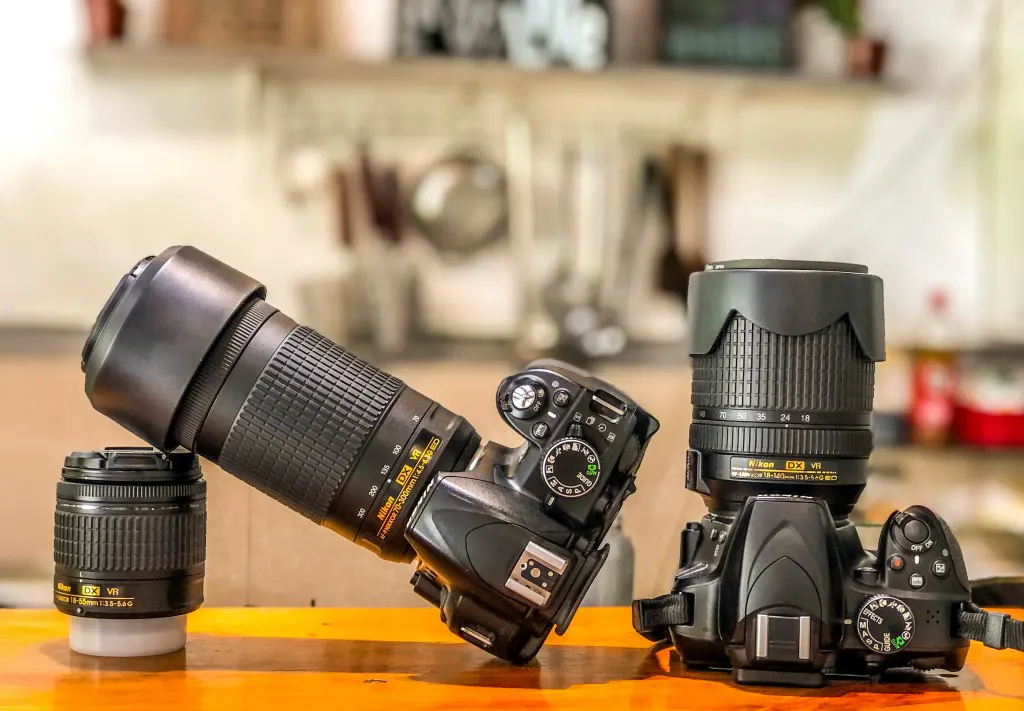
The camera used for a photo shoot can have a big impact on the final product image.
So, I always make sure to choose the best camera for my product photography needs.
If you wanna achieve similar results as me, it’s important to have a basic understanding of the different cameras available for use in product photography.
Don’t worry, I’d love to share my knowledge with you.
However, if you want to get an idea about the latest prices of these cameras, please click on the image of the camera you are interested.
1. DSLR Cameras
A DSLR camera is often considered the best option for product photography.
It has a wide range of manual controls, high resolution, and good low-light performance, which is the key reason for this.
Let me recommend the best DSLR cameras for product photography.
Canon EOS Rebel T7:

- Entry-level option
- 24.1-megapixel sensor
- 9-point autofocus system
Nikon D3500:

- Entry-level option
- 24.2-megapixel sensor
- Wide ISO range
- 5-fps continuous shooting speed
Canon EOS 5D Mark IV:

- More advanced option
- 30.4-megapixel sensor
- 61-point autofocus system
- 7 fps continuous shooting speed
These are my first choices for DSLR cameras and all are Built-in Wi-Fi and NFC.
However, the best DSLR camera will depend on your specific needs and budget for your product photography shoot.
If you wanna know more about DSLR cameras used in product photography, Which DSLR is Best for Product Photography article is for you.
2. Mirrorless Camera
Mirrorless cameras offer similar features to DSLRs in a smaller, more lightweight package.
When I go with a mirrorless camera for my product photography, the following cameras always give me the best results.
Sony A7 III:

- Full-frame mirrorless camera
- 24.2-megapixel sensor
- Built-in Wi-Fi and NFC
- 693-point autofocus system
- 5-axis image stabilization
Fujifilm X-T3:

- Compact and lightweight mirrorless camera
- 26.1-megapixel sensor
- Built-in Wi-Fi
- 425-point autofocus system
- 3-inch touchscreen LCD
Olympus OM-D E-M1 Mark III:
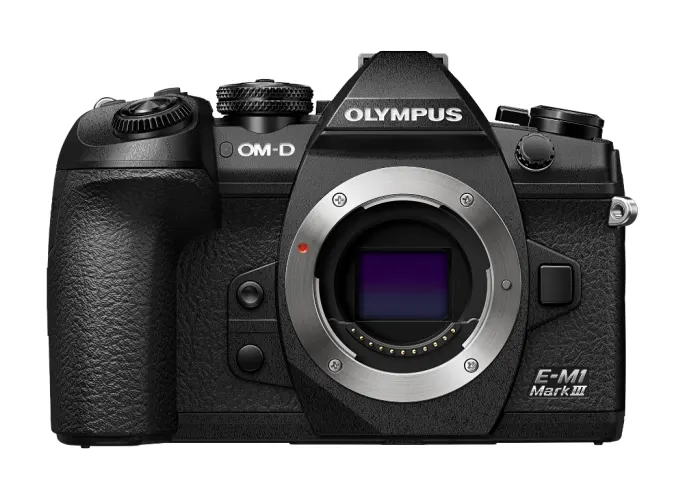
Source: getolympus.com
- High-end mirrorless camera
- 20.4-megapixel sensor
- Built-in Wi-Fi
- 121-point autofocus system
- 5-axis image stabilization
However, the best mirrorless camera will depend on your specific needs and budget.
3. Point-and-Shoot Camera
Point-and-shoot cameras are rarely used in product photography.
But for beginners or those working with a limited budget, I recommend using point-and-shoot cameras.
Because the following cameras work best for me when I’m planning a low-budget product shoot.
Canon PowerShot SX620 HS:

- 20.2-megapixel sensor
- Built-in Wi-Fi and NFC
- 25x optical zoom
- Intelligent IS image stabilization
Sony Cyber-shot DSC-H300:

- 20.1-megapixel sensor
- 35x optical zoom
- Optical SteadyShot image stabilization
- Built-in flash
Besides, the Sony Cyber-shot DSC-H300 offers a good zoom range and image stabilization, which is useful for getting crisp, clear photos of small products.
However, I always recommend investing in quality equipment, as it pays off in the long term when it comes to creating perfect product photographs.
Lighting Equipment for Product Photography
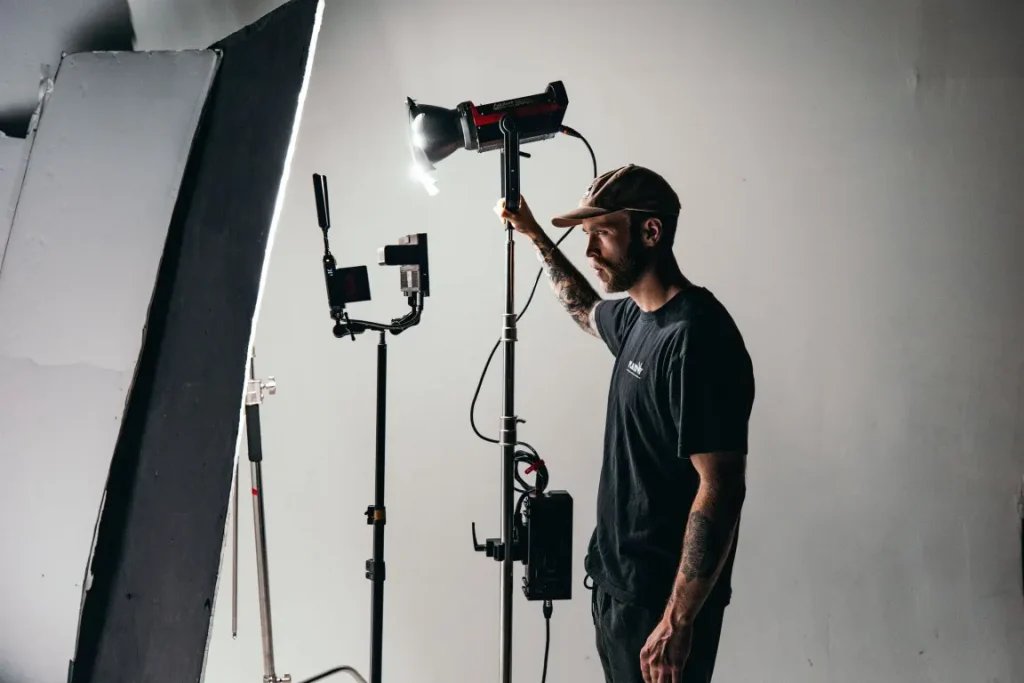
The right lighting can help to make your products look their best.
The ideal lighting for product photography is determined by the desired effects and the product to be photographed.
So, let me tell you about the key lighting alternatives for product photography.
1. Natural light
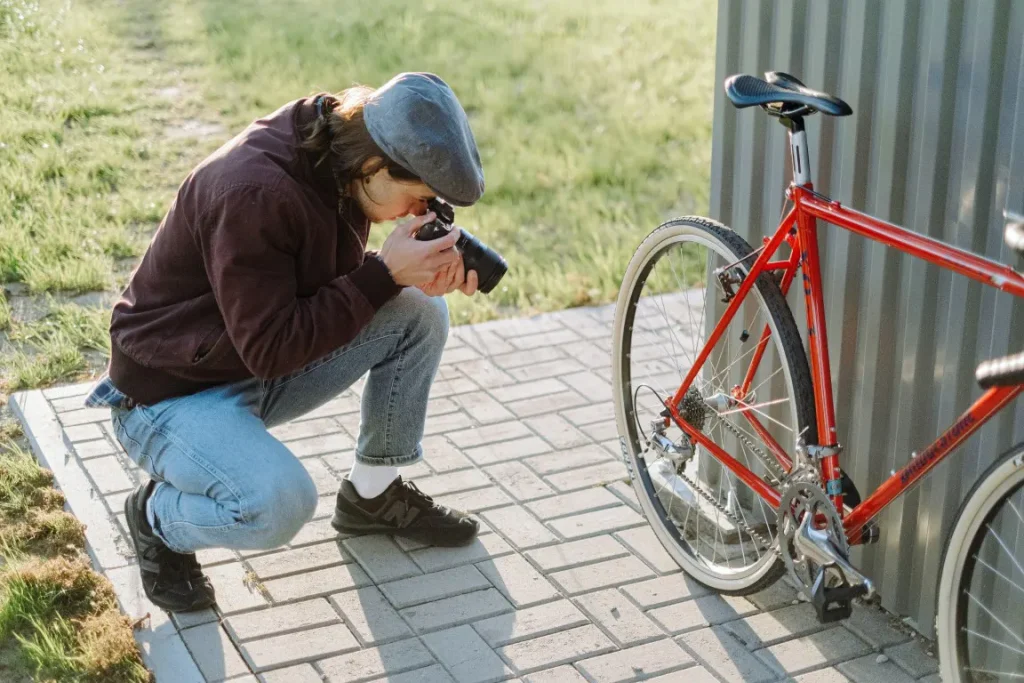
Natural light is great for creating a warm and inviting atmosphere.
However, it can be unpredictable and may not provide enough light for certain products.
2. Artificial light sources
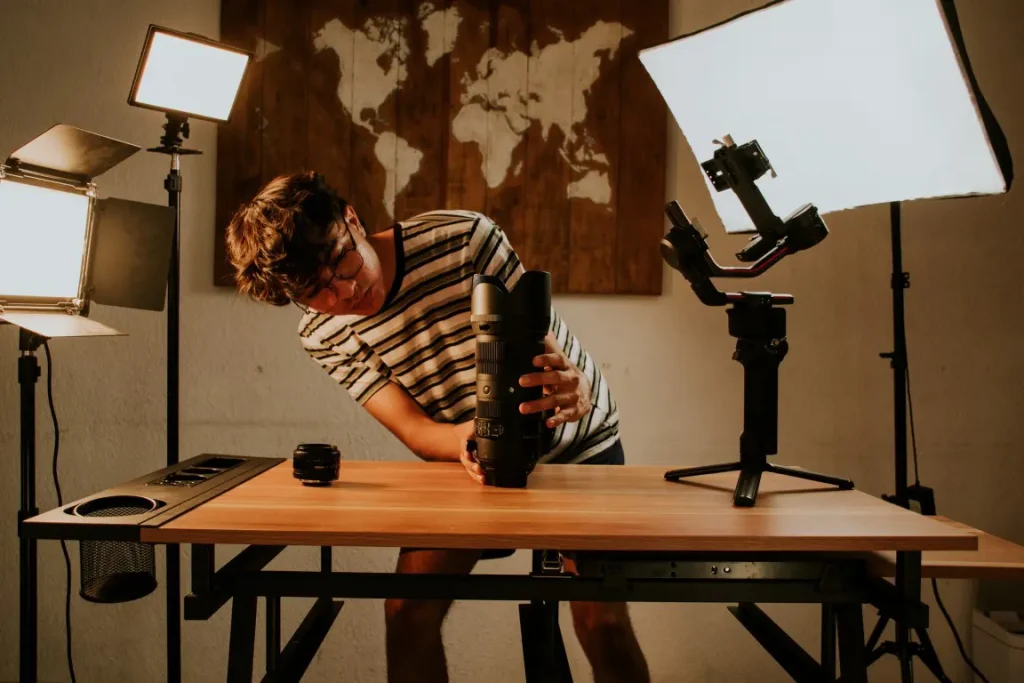
There are several options available to help you achieve the desired look and feel for product photography.
Artificial light sources, such as studio lights, can be used to create a more controlled environment, and are perfect for shooting products that require a lot of light to look their best.
Keep in mind, to consider the color temperature and direction of the light for getting the perfect shot.
If you wanna a deeper look into lighting options available for product photography, check out my latest article on Product Photography Lighting.
by the way, if you are interested to do a more cost-effective product shoot at home, you can go with a ring light.
I have a comprehensive guide on how you can choose the best ring light for product photography too.
Whether you are a beginner or a professional, the right lighting equipment will help you create stunning images
So, try to figure out what option will be best for your next product photography.
Creating the Perfect Setup with Tripods, Stands, and Backgrounds
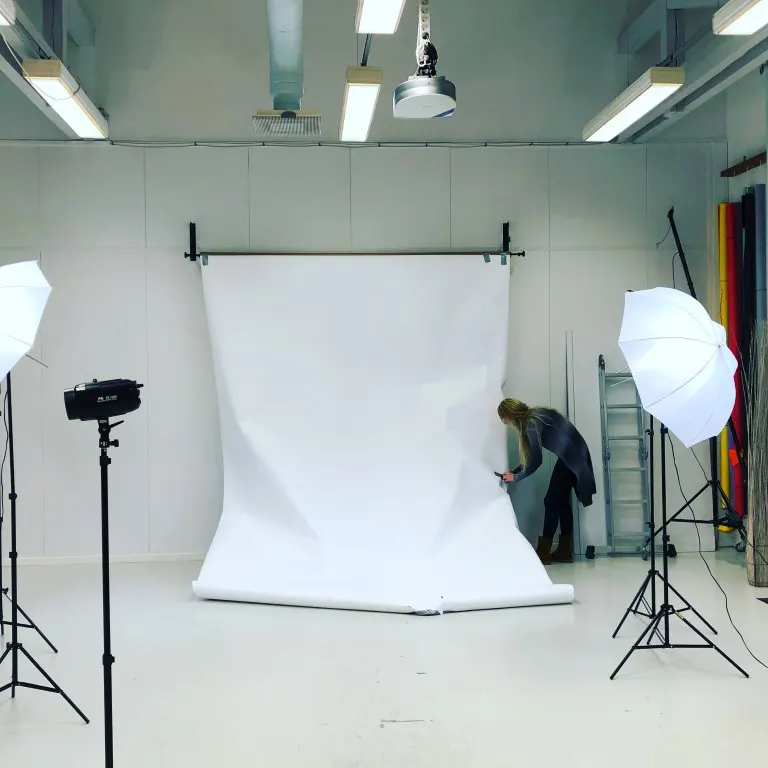
Tripods stand, and backgrounds are essential elements of any product photography setup.
1. Stabilizing Your Shots with tripods and Stands
Tripods and stands help to keep your camera steady and in the right position.
A good tripod is a must-have for product photography as it helps to keep your camera steady and eliminates camera shake.
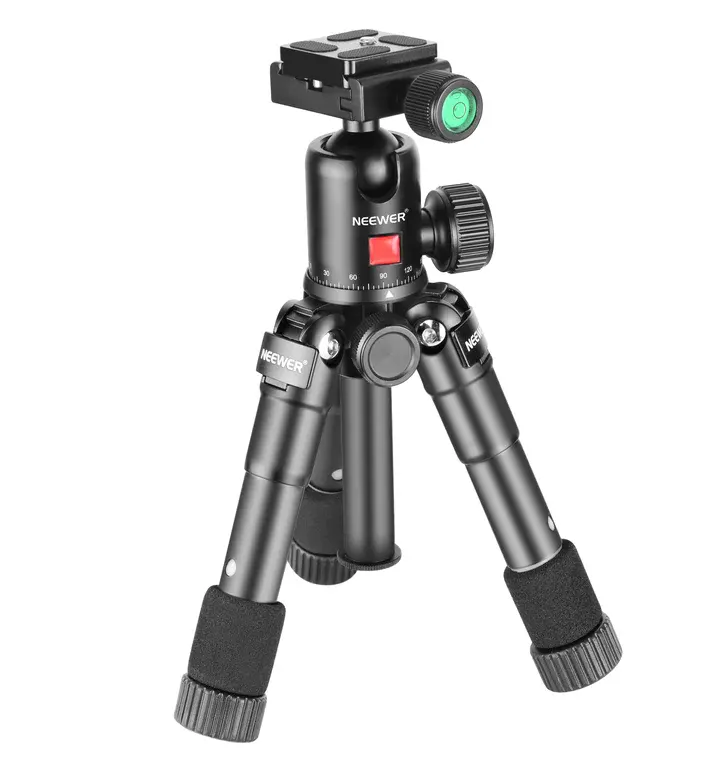
Tabletop tripod
Tabletop tripods are great for small products.
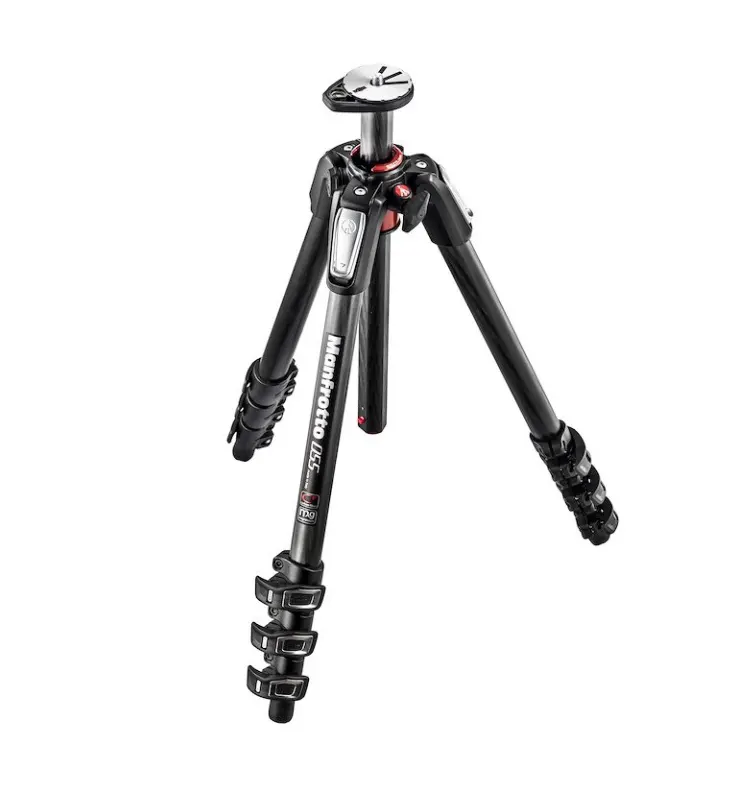
Source: .manfrotto.com
Source: gitzo.com
Source: neewer.com
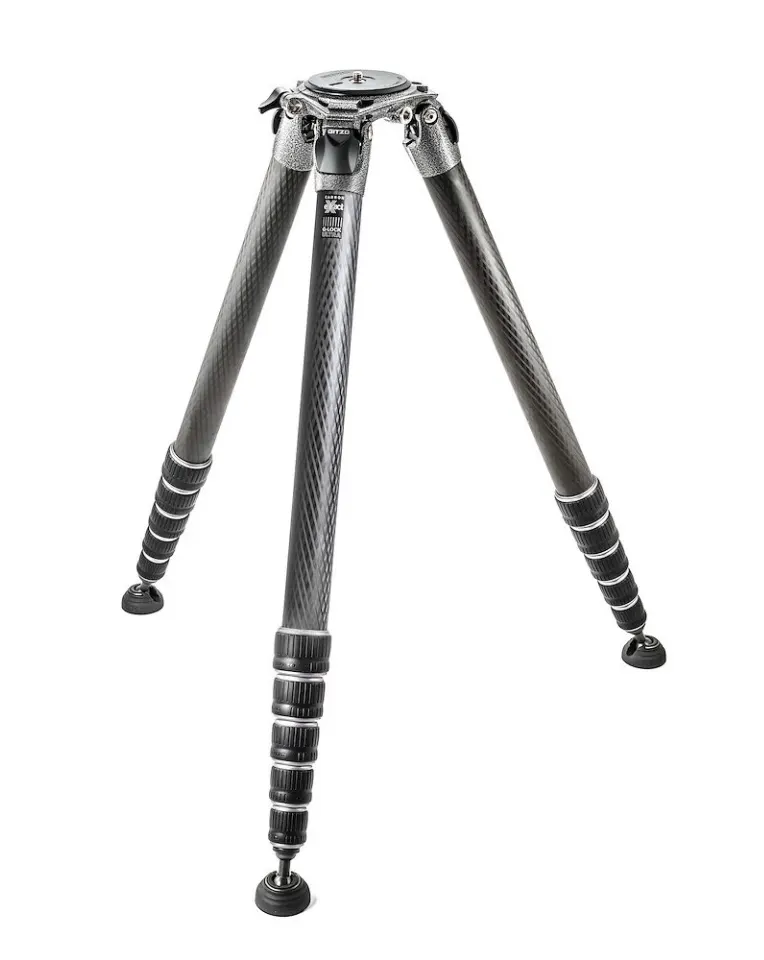
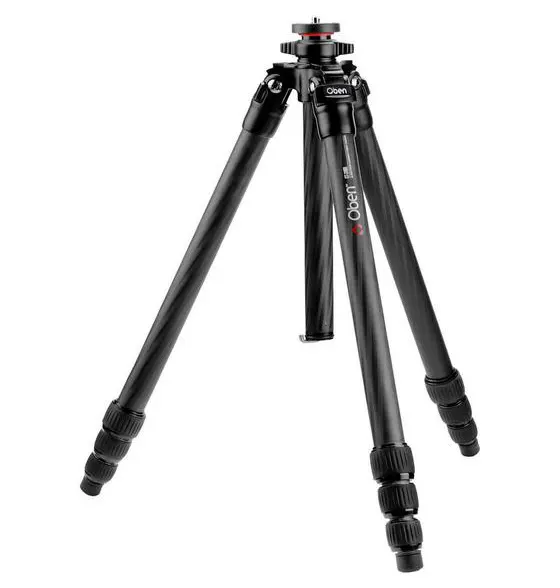
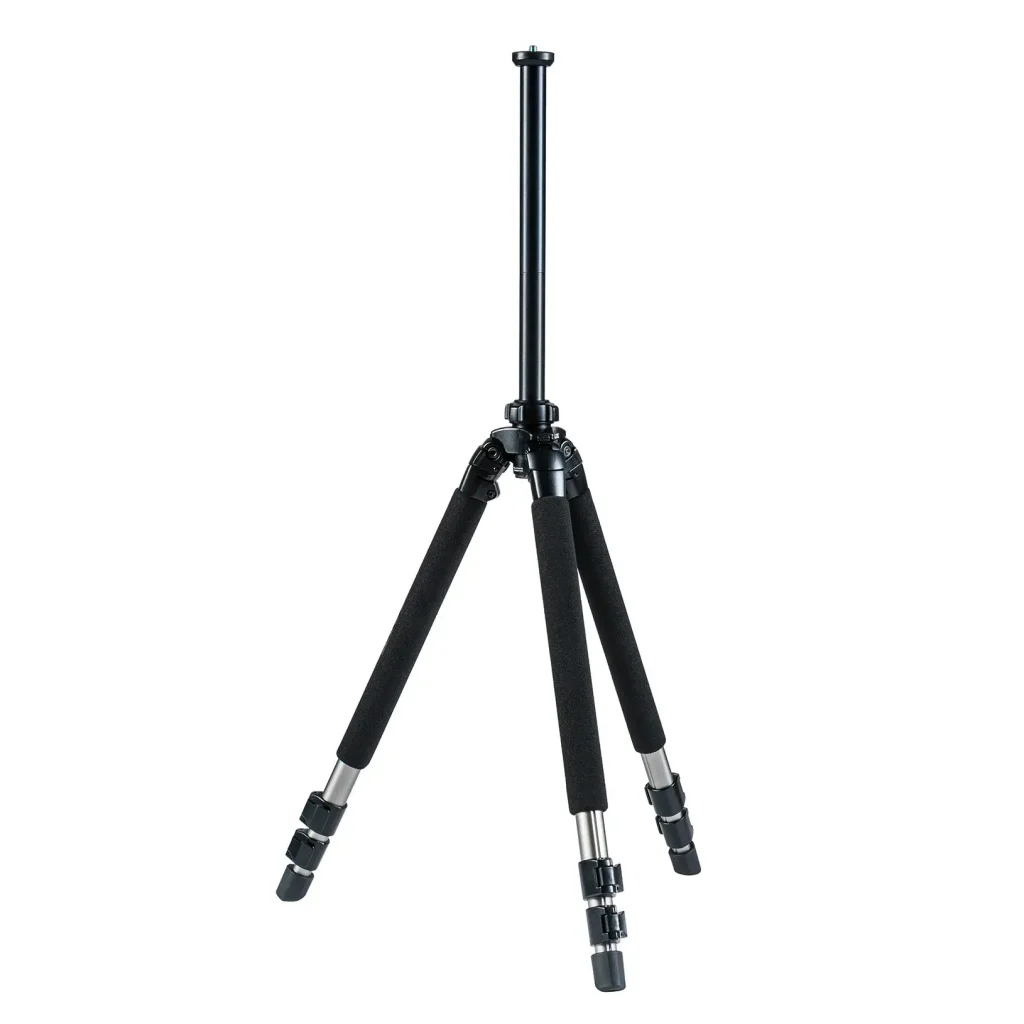
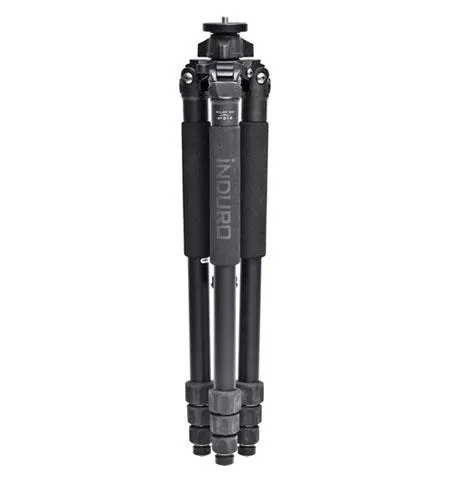
Floor-standing tripods
Floor-standing tripods are ideal for larger items.
Source: obensupports.com
Source: slikusa.com
Source: vanguardworld.com
Stands
Stands can also be used to support your products and keep them in the desired position.
It always depends on the type of products and the shooting environment.
2. Background Options for Product Photography
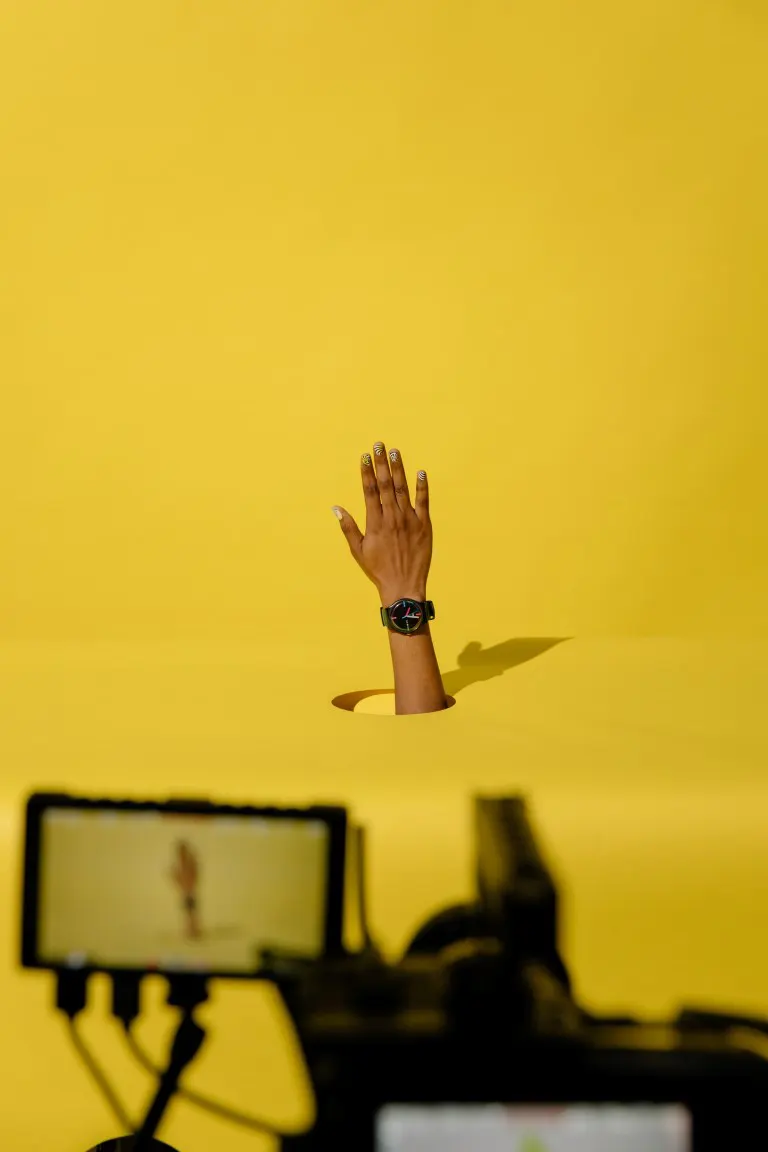
Backgrounds help to create a professional look and draw attention to your products.
When it comes to backgrounds, there are a few options to choose from.
Seamless paper backgrounds
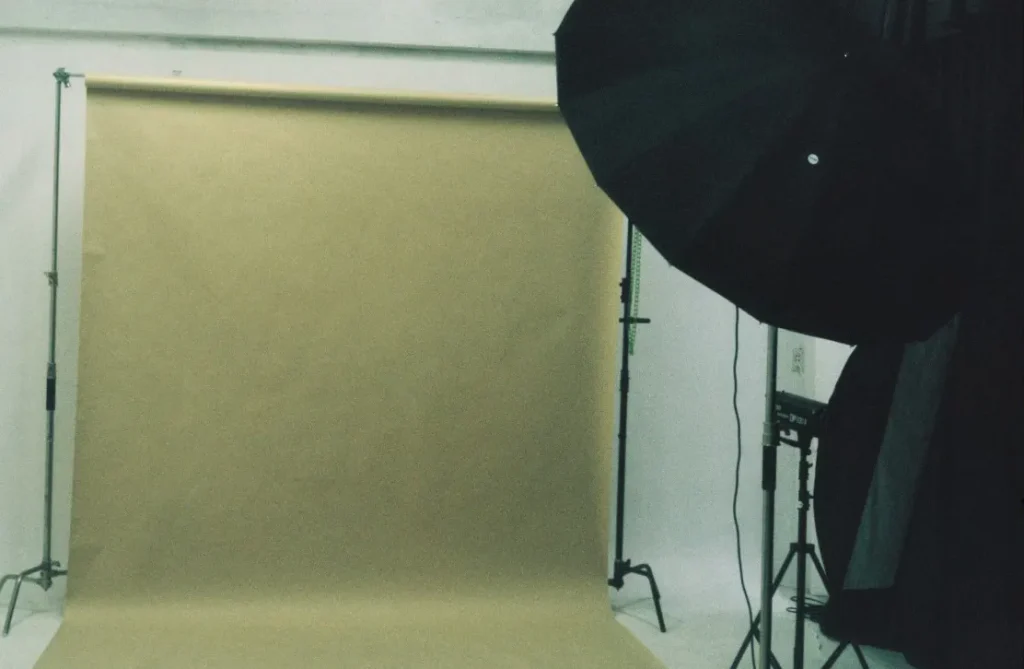
Seamless paper backgrounds are versatile and easy to use and come in a variety of colors.
Fabric backgrounds
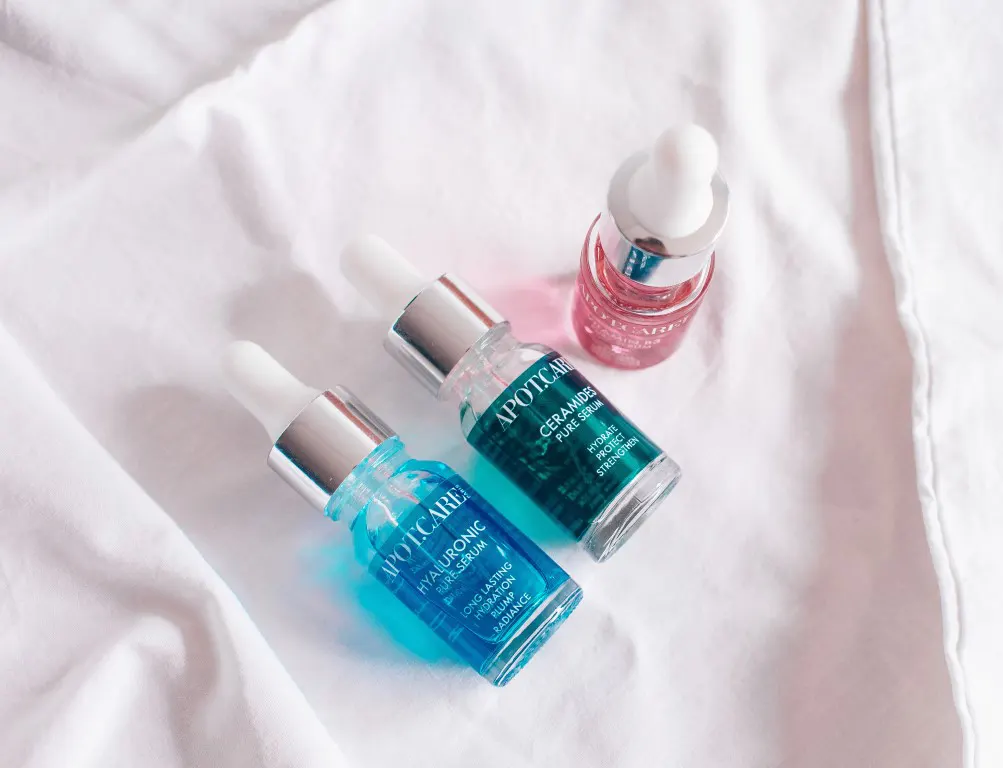
Fabric backgrounds are another popular choice and can be used to create a more professional look.
They come in a variety of textures and colors.
Fabric backgrounds can be easily folded and stored.
I hope you’ve read the 7+ Best Backdrop Ideas for Product Photography that will give you more inspiring ideas about backgrounds for your next product photography.
However, It’s important to experiment with different backgrounds and stands to find what works best for your products and your brand.
Necessary Studio and Software Tools for Product Photography
Studio tools and software are also essential for product photography to get a perfect product image.
1. Studio tools
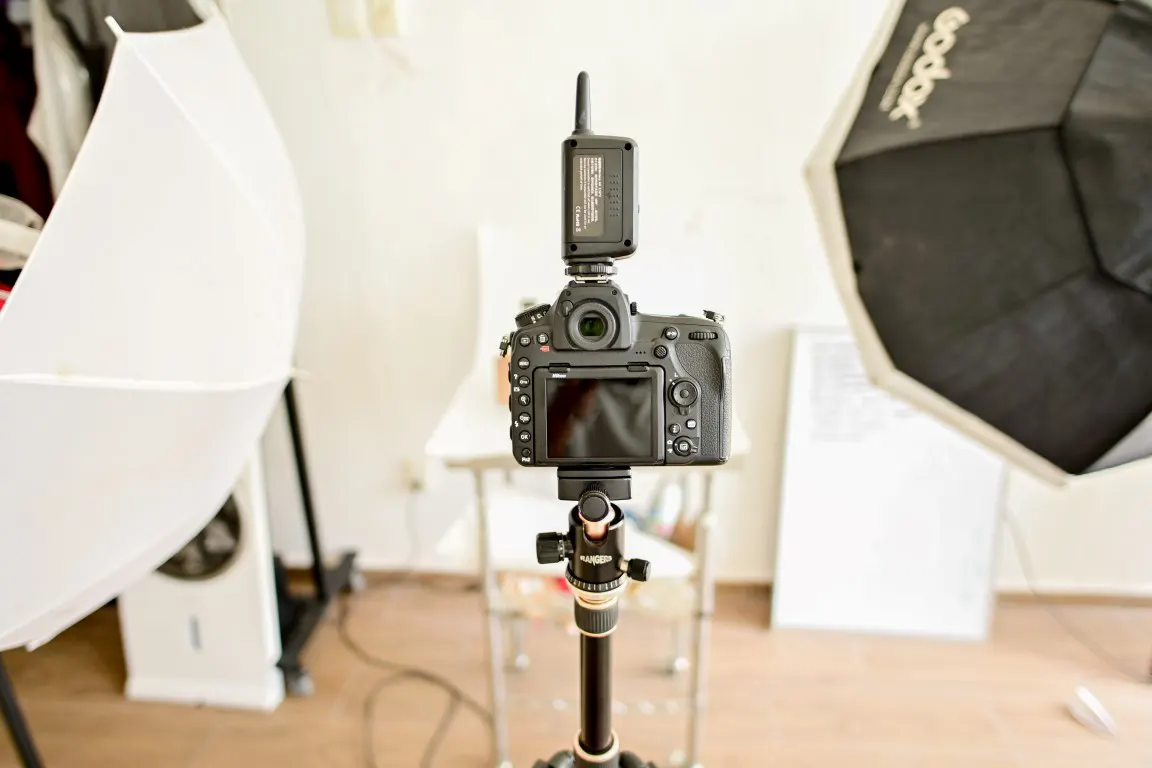
Studio tools such as light boxes, shooting tables, and turntables can be used to create a professional-looking setup and make it easier to photograph small or intricate products.
Lightboxes

Lightboxes are a great tool for shooting small items like jewelry or watch as they provide a controlled environment and even lighting.
Shooting tables

Shooting tables are perfect for small and middle product setups.
It allows you to take photographs from below, behind, or around the product without reflection.
Turntables

Turntables are great for creating 360-degree views of your products. You can just rotate the stand and take photos.
I have a guide on how you can make a 360 product photo. If you are interested, you can read it too.
2. Software tools
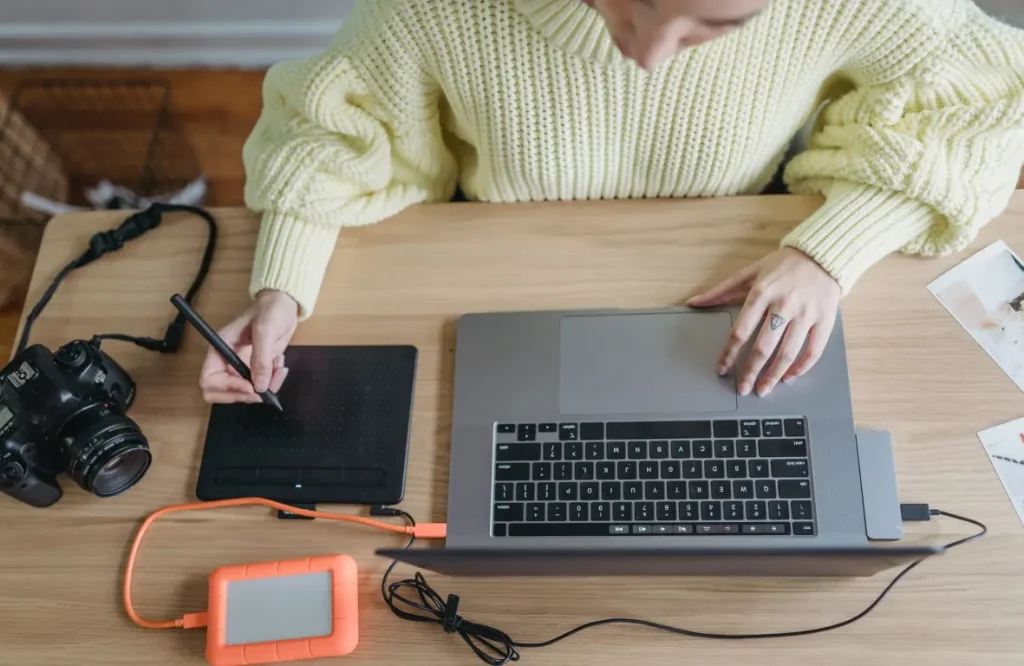
When it comes to editing and retouching your images, software tools like Adobe Lightroom and Photoshop are essential.
These tools can be used to adjust color, contrast, and brightness, and remove any unwanted elements from your images.
Lightroom
Lightroom is great for organizing and editing your photos.
I already wrote a whole article about Lightroom Presets for Product Photography, as this is my favourite editing software tool.
Photoshop
Photoshop is more advanced and can be used for more detailed retouching and compositing.
I tried various studio tools and software tools mentioned above for editing and retouching my product images.
Yeah, I was able to create beautiful, professional-looking product images that made my e-commerce business stand out and help drive more sales.
Creating Professional Product Photos on a Budget
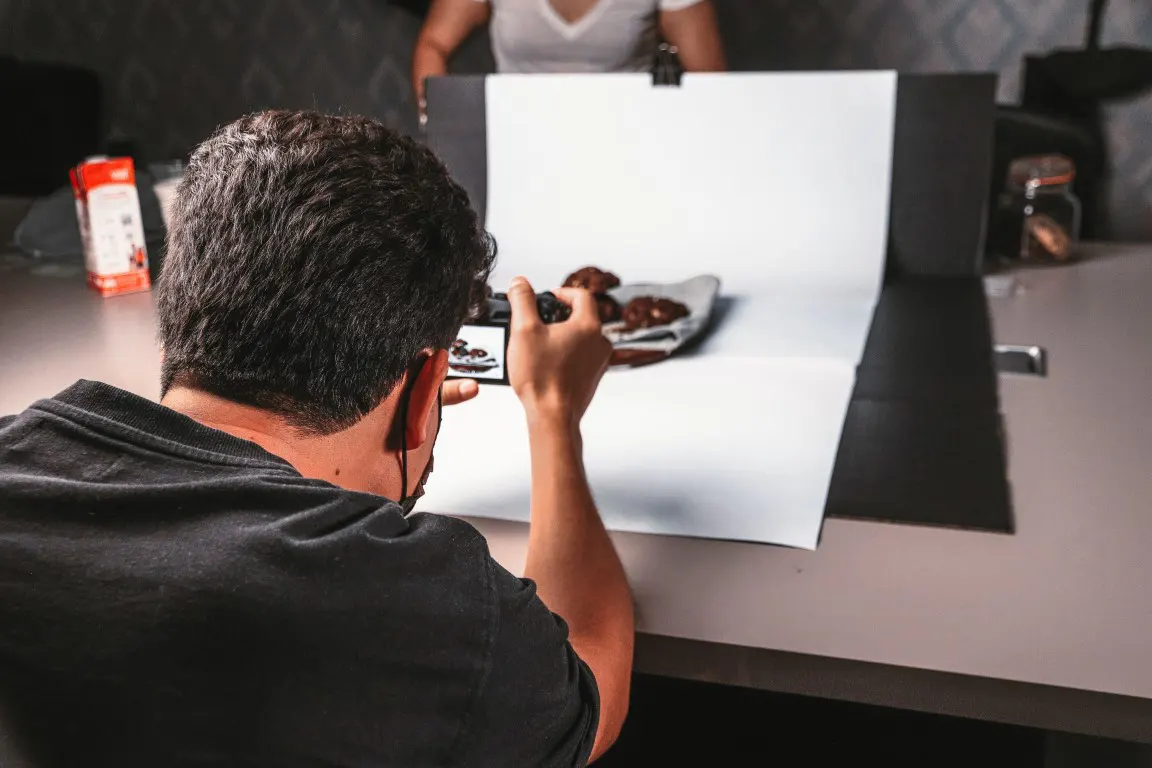
Creating professional-looking product images doesn’t have to break the bank.
With a little creativity and the right techniques, you can create stunning product photos on a budget.
Let me tell you advanced techniques that can be used to create professional-looking images on budget product photography.
1. Compositing
Compositing involves combining multiple images to create a final image that looks like it was shot in a single shot.
This can be used to create a more interesting image or to remove unwanted elements from the background.
2. Retouching
Retouching is another advanced technique that can be used to enhance your product images.
This help to remove blemishes, adjust lighting and color, and create a more polished final image.
There are several free and low-cost retouching tools available online, such as GIMP or Pixlr, which can be used to achieve professional-looking results.
3. Using natural light
Another way to create professional-looking images on a budget is by using natural light.
By shooting in natural light, you can create beautiful, warm images that look great without the need for expensive studio lighting.
Additionally, you can also use a reflector to control the light and create interesting shadows.
Conclusion
In conclusion, having the right tools and techniques for product photography is crucial for creating professional, perfect shots that will help your brand stand out.
This article has covered all the must-have product photography tools, from camera and lighting equipment to tripods, stands, backgrounds, studio tools, and software, to advanced techniques such as compositing and retouching, that are essential for e-commerce businesses to drive sales and improve their online presence.
Justin Parker is a professional photographer and has been in the industry since 2007. He attended the University of Georgia. Justin combines his passion for photography and his interest in writing to give life to this blog which talks about photography in order to help and inspire young photographers.

