Product photography is one of the most important and blooming parts of marketing. With time, product marketers are brainstorming different ways to make product photos more attractive.
One of the most trending and hyped styles of product photography in the recent era is taking 360-degree product photos.
This is comparatively a new concept of photography that has been embraced by people very fast because of provides the advantage of seeing the whole picture from all angles.
This concept is more successful in product photography because the customers are being able to see and judge the product from every angle with more transparency.
If you are looking for ways to perfectly pull out a 360-degree product photo, you are at the right place.
In this article, we will share with you a complete guide on, how do I make a 360-degree product photo perfectly. Explore!
How I Make a 360-Degree Product Photo?
Usually, a 360-degree product photo is made by placing the product on a turntable and taking picture of it covering all four sides and the edges of it. And then, combined using a software application.
Here, we give you a step-by-step guide for the perfect 360 degrees shot of your product. So, all you have to do is to,
- Figure out at what angle of light your product will look the best on all sides.
- Then, place the camera on the tripod accordingly.
- Also, make sure you choose the right background that highlights all the features of the product’s outlook.
- Don’t choose a backdrop that is similar to the color of any of the sides of the product. Because then, it will not be able to showcase the product in the best way.
- Besides, just taking pictures of the four or five sides of your product will not help you pull out the best 360 product photo.
You will have to take pictures of all the edges of your product as well to feature its entire picture perfectly.
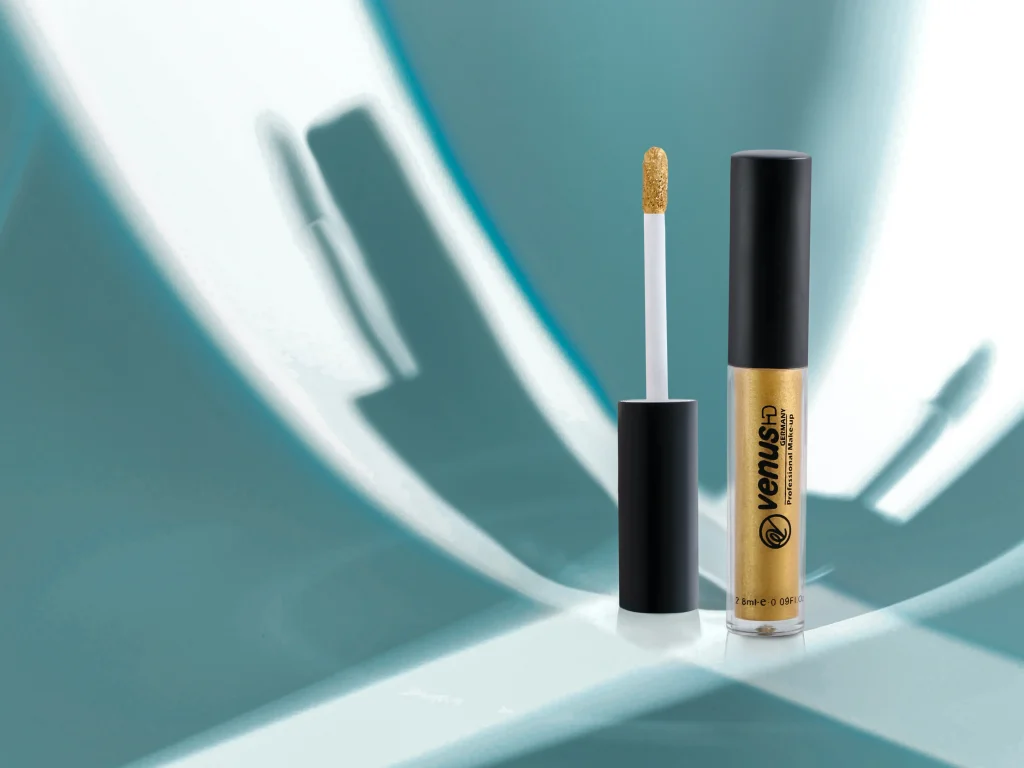
What Is 360 Degree Product Photography?
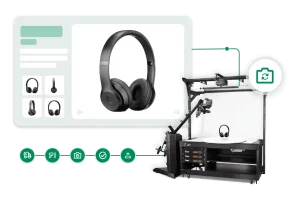
Source: 1worldsync.com
360 product images refer to a series of still pictures of products taken by multiple clicks on a specialized 360 rotating photo turntable that rotates on a single plain.
The 360 photo turntable spins and stops automatically on different levels of specified degree intervals.
And the pictures of the product are taken in those specific intervals for the perfect shot.
Once all the shots are taken, they are combined and animated using a product photography tool or software.
This software combines the pictures as per the sequence of shots.
And create the 360 animated image that delivers a motion effect while being a quick series of product images from different angles.
What is the difference between 3D and 360 product photography?


The main difference between 3D and 360 product photography is in the depth of the field and the viewpoint.
In 3D product photos, there is more depth of the field of a single angle or viewpoint of the product.
A 3D product image looks as though it is placed on the screen at a single angle. But in the case of 360 product photography, they miss creating this depth of the field.
However, 360 product photos provide several viewpoints and thus, the option to explore the product entirely from all angles.
The advantage of 360 product photos is that it bears complete transparency as you will not miss any features of the look of the product.
But 3D products just look attractive in the eyes compared to normal product images.
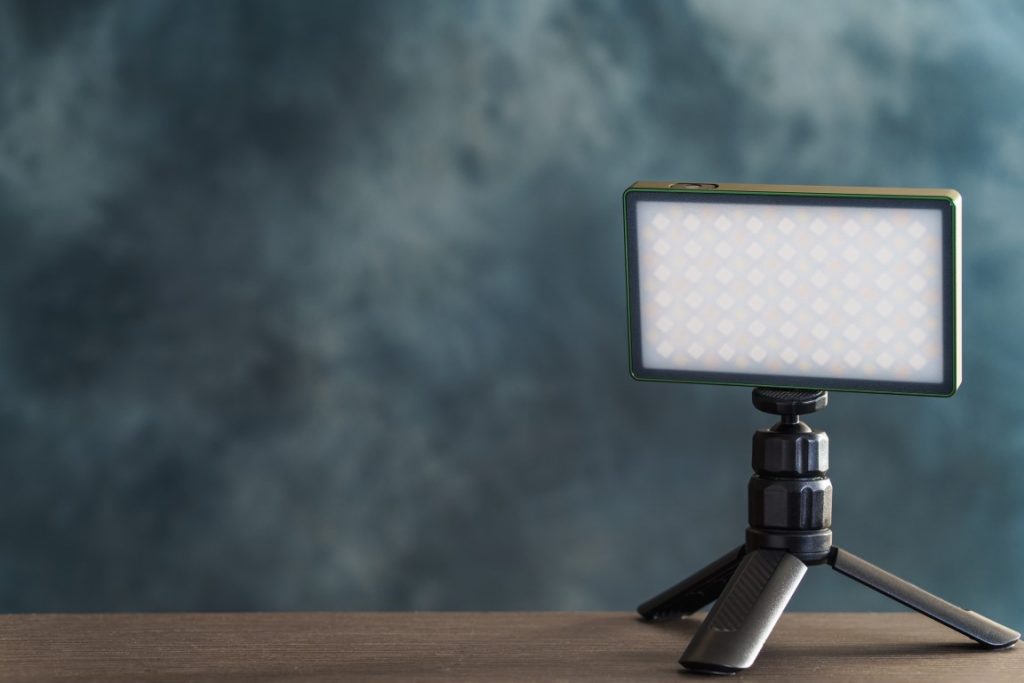
What Tools Do You Need for 360 Product Photography?
For pulling off a perfect 360 product photo, the tools you will need are the following:
- A good resolution camera
- A 360-photo turntable
- A tripod for the camera to be on the same angle steadily for the pictures of all sides
- A perfect background
- Proper lighting
- 360-degree photography creating and editing tool or software.
DIY Turntable for 360 Product Photography?
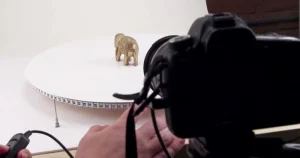
Source: petapixel.com
We are aware of the fact that 360 photo turntables are more expensive than they should be and it really drags you behind in opting for 360 product photography.
Don’t worry, as we are here with the solution to that problem as well. How about creating a DIY turntable for your 360 product photography by yourself?
If you are scared about how good it would be and how much it might cost you, there is good news for you.
Creating a DIY 360 photography turntable surprisingly will not cost you more than 15 to 20 bucks.
If you think I am joking, then check out the list below of the items you will need to create.
- An IKEA lazy susan called a SNUDDA of 10$
- A 130cm long cloth tape measure of not more than 2$
- Some sheets of white 24×36-inch construction paper
- Glue gun or sticky putty.
Now, let’s dig into the steps to create your 360 product photography turntable. Here we go!
Step 1: Attach the measuring tape to the outer rim of the lazy susan circularly using scotch tape.
Step 2: Mark the point where the measuring tape starts on the lazy susan.
Step 3: Now place a stick beside the lazy susan to match the marking. If you are confused about what type of stick to use, you can use a cotton bud, a pen cap, or a paper clip.
And thus, your DIY 360-degree photography turntable is ready to roll. You see, it was that easy to make.
This 360 photography turntable will not rotate by itself. So, you will have to spin with your own hands before every click. Spinning a turntable is not a really difficult job, is it?
How Do You Take 360 Product Photos?
Taking a 360 product photo gets really easy when you have a 360-degree photography turntable and a shutter remote for the camera.
You will need the shuttle remote for a quick and easy click of each of the images from the series.
Because grabbing the camera body to click so many pictures for so long will be very frustrating and time-consuming.
Therefore, a shuttle remote to attach with the camera that you can hold in your hands and easily click will make the work a lot easier for you.
Now, let’s come to the steps you will need to follow to make the perfect series of images for the 360 product photos.
Step 1: Choose a good and neutral colored background, preferably white and place the turntable at an adequate distance from the background on an ergonomic height.
Step 2: Place the product on the turntable and check at what angle of lighting the product looks the best.
Step 3: Place the stick near the starting point of the measuring tape attached to the rim of the turntable.
Step 4: Observe at which angle of the camera, your product looks the best and set the camera on the tripod accordingly.
Step 5: Attach the remote to the camera and take it in your hands in a way that you are all set to press it.
Step 6: Now, all you need to do is to turn the table every time with your hands matching each of the centimeter marks on the measuring tape, and take a picture using the button of the remote. That’s it!
Once you are done rotating the turntable completely 360 degrees and again come back to the starting point, your job is done.
Now, just combine all these photos using your 360-degree photo creating and editing software and you are good to go!
What is 360 view software, and do you need it?
Once you are done with creating your 360-degree product photograph, you will need to make sure the customers are able to see it the way it should be seen.
And that does not happen automatically just by uploading the 360-degree image. If you upload it just as it is, it will show only the series of pictures in the customer’s view with no 360 effects.
So, to make sure your customers are also able to explore the images in 360, you will need a 360 view software application called 360 image viewer.
The main function of the 360 image viewer is to play in the customer’s browser in order to let them be able to interact and explore the product from several different angles with their control of the mouse or finger.
You will find the HTML code that loads the 360 view software on your product web pages. You just have to set it up and you are good to go.
How can 360-degree product photography benefit your business?
As said before 360 product photos are very popular and well-accepted nowadays due to providing the customers with transparency.
They deliver better customer satisfaction and attract more customers because of transparency.
Final Words
I hope I was able to help you with all the necessary information you need to start with 360-degree product photography.
Thanks for reading till the end!
Justin Parker is a professional photographer and has been in the industry since 2007. He attended the University of Georgia. Justin combines his passion for photography and his interest in writing to give life to this blog which talks about photography in order to help and inspire young photographers.