Taking a picture of what you’re eating has become an increasingly popular pastime. These trends are open to everything that catches sight and entices the tastebuds.
Aside from a decent camera and well-presented food, your next goal should be to use Instagram-worthy dishes.
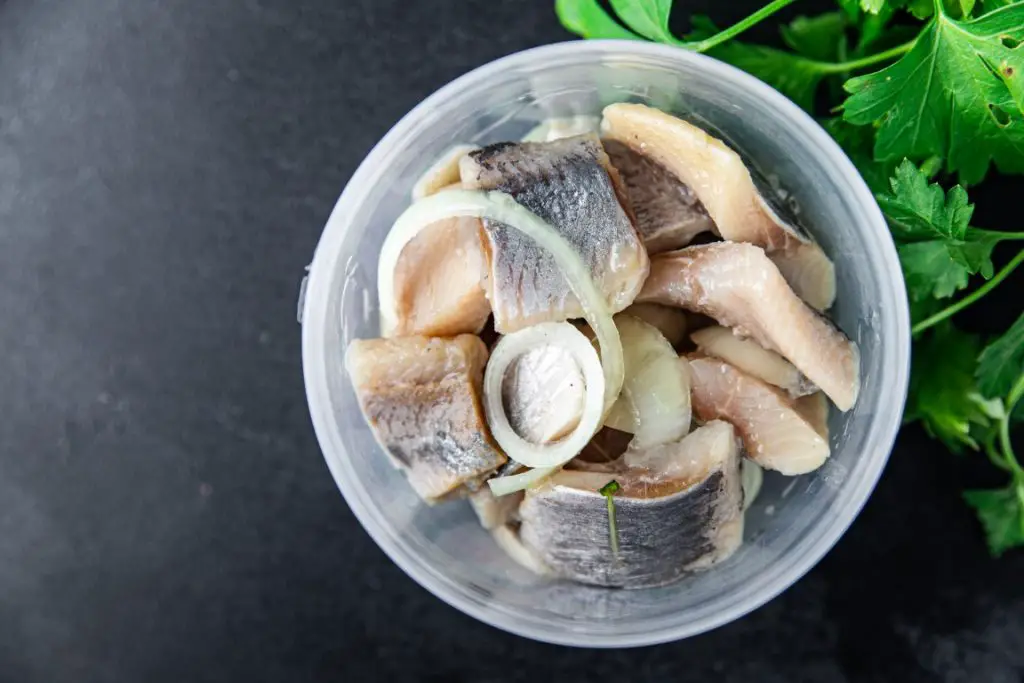
Plates come in a variety of shapes and sizes. So, how can you know which is the best?? Using it for its intended purpose. Because of the plate’s simplicity, the food that serves on it stands out.
Let us look at some of the plates that may transform the appearance of the food you serve on them.
What Color Plates Are Best For Food Photography?
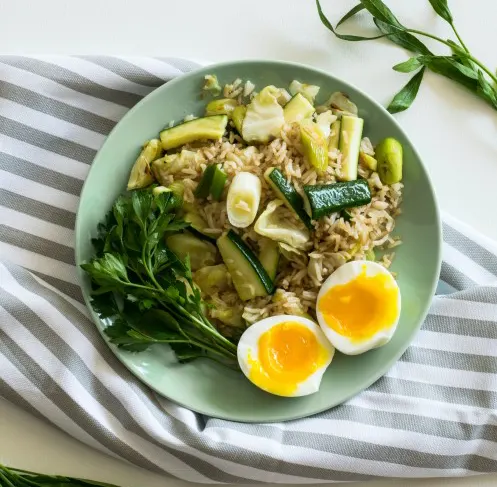
For Salads, Pesto Pastas, And Other Green Foods
Best Color:
Yellow.
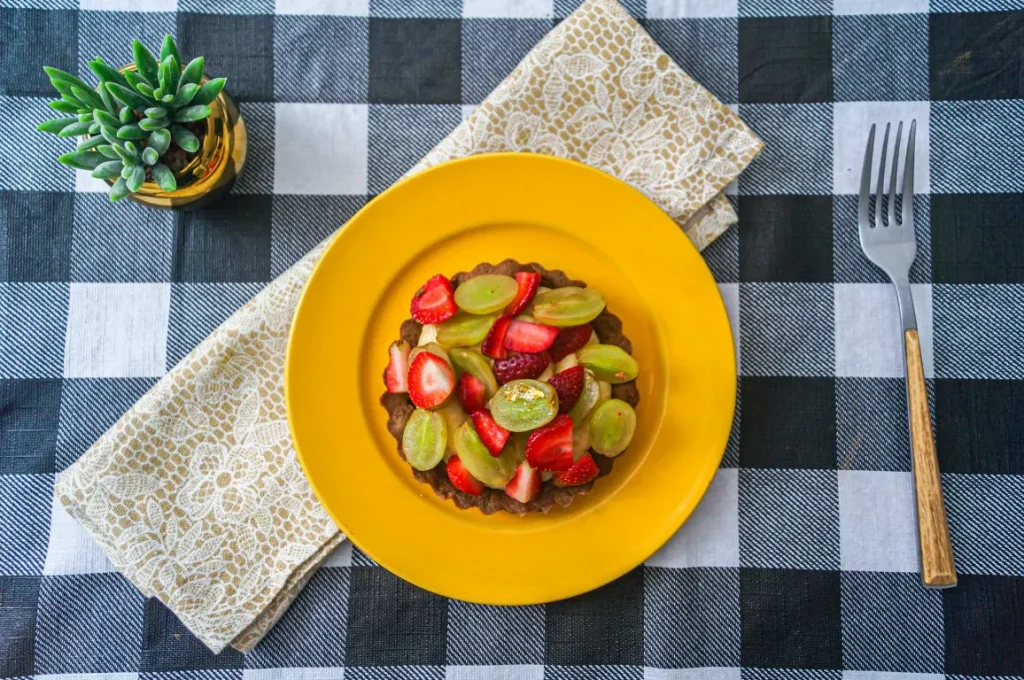
When yellow and blue are mixed, they produce green, which may be used to make any hue within yellow and green. When it comes to color theory, yellow and green are similar and share pigments; therefore, they complement each other well.
For Orange And Yellow Foods Such As Eggs, Curries, And Salsas Made With Corn Or Mango
Best Color:
Blue.
A bright, warm blue may accentuate colors such as yellow and orange. Because they are so far apart on the color spectrum, they provide a striking contrast that heightens the drama. If they are too far off in temperature, they might conflict and produce a sour atmosphere.
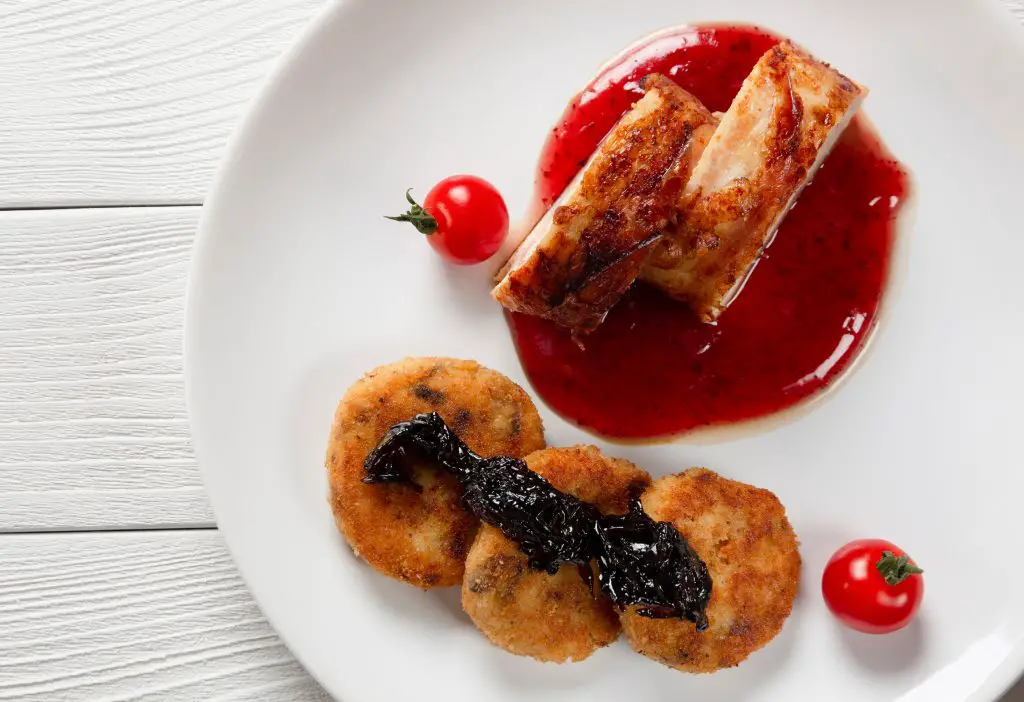
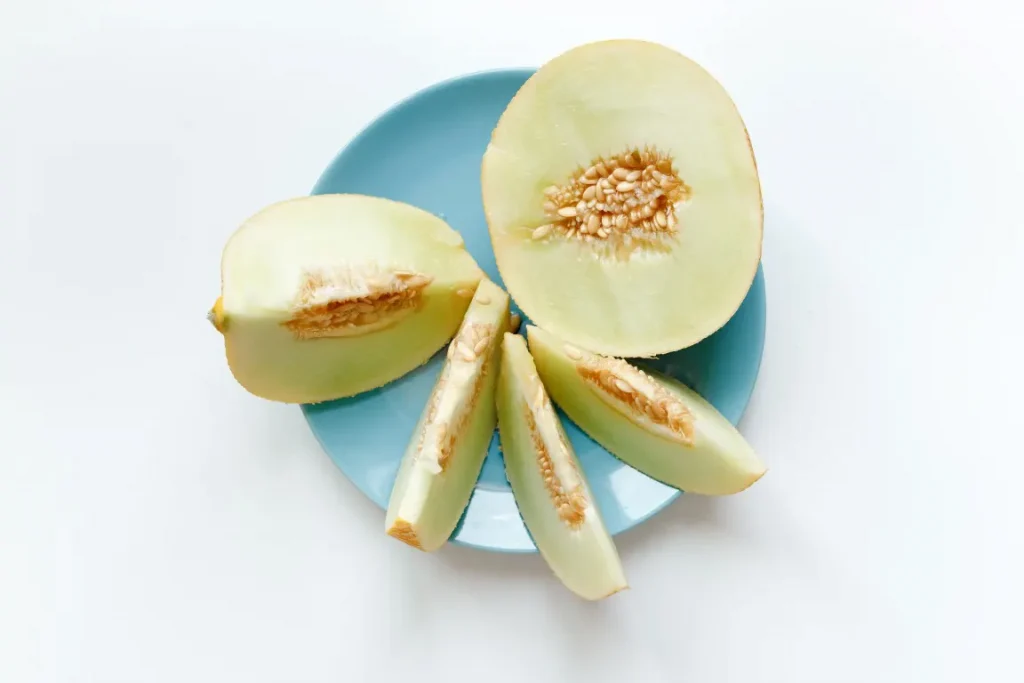
Are White Plates Best For Food Photography?
White plates, which are the most prevalent, are the simplest.
Their bareness is like a blank canvas on which we may slap anything we choose to put on it. It enhances the visual appeal of the meal. This ancient plate’s sole flaw is that pale yellows and greens don’t stand out.
How To Pick The Perfect Plate For Your Food Photos?
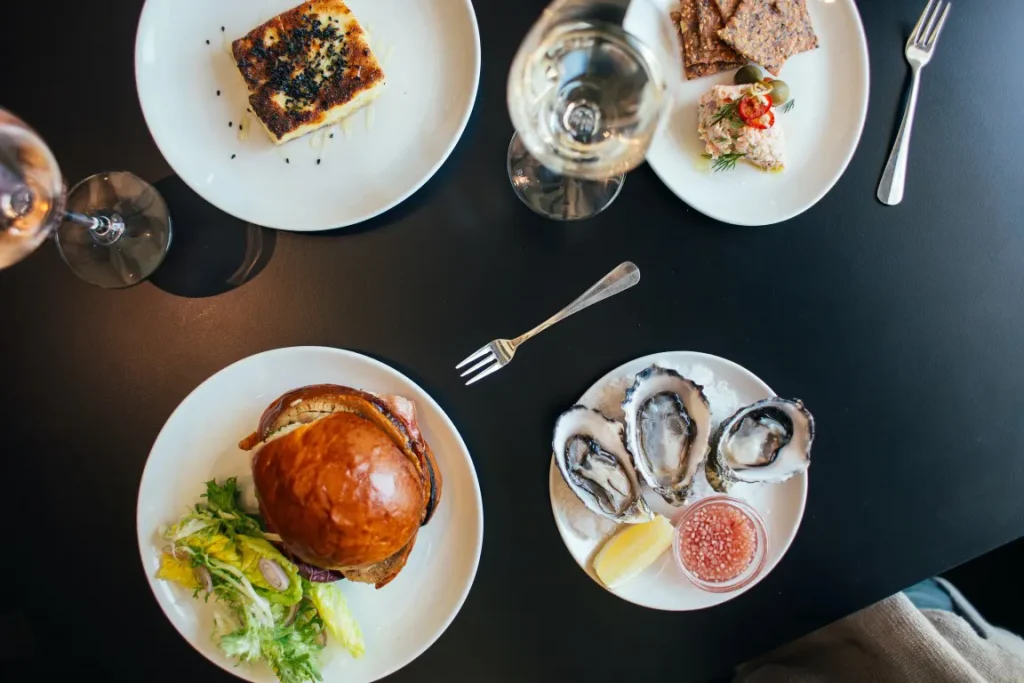
More prominent Is Not Always Better
This is the most basic and critical plating tip there is. Professional prop stylists virtually never use a dinner dish as a prop.
Unless it’s a rib-eye steak, or you’re aiming for a professional restaurant and following their plates & serving sizes, salad plates are our go-to choice.
There are two reasons for this. Having a smaller plate makes it easier to obtain a clear picture of what you’re eating when it comes to food presentation. Secondly, since the plate is compact, you can fit more food on it without leaving much space around it, making it seem fuller.
What is your new catchphrase? Cheesecake Factory isn’t a place like yours.
More shot means less plate. Salad plates and dinner plates may be used interchangeably, so don’t be afraid to mix and match. Whatever appears excellent in front of the camera wins.
The Base Of A Plate
What do we want people to see when they are photographing a hamburger? A bowl of pasta will need you to lift the camera to get a clear view of the contents.
We all know this, yet it’s something that comes up often in class. Using a dish that has a more bottomless bowl or higher lip and shooting at a low angle can cause your photo to lose essential details.
What is your shooting angle? That’s the first item you need to figure out about your set.
We beg you to use a tripod if you have one. It will transform how you see the world via your camera’s lens. If you don’t, purchase a tripod first and then determine however you want to view your photo.
Lower angles need a flat plate or low rims; larger angles necessitate rimmed plates or low bowls.
Careful With Patterns
A passion for exquisite dishes is a must for working in the table prop rental industry, and we offer a wide selection.
When it comes to serving food, there’s a delicate line between an elegantly presented piece of cake and an overstuffed platter that looks like it came straight out of the 1960s Jello cookbook. You like your grandmother’s china, but you can’t use it in every photograph. Enough is enough.
The Food Has To Stand Out From The Crowd
You’ve purchased a purple salad dish to break up the monotony of white plates. Cool! Alternately, that’s a bad idea. It all relies on the subject matter.
If the color enhances the aesthetic appeal of the dish, you’re set to go. If not, it’s time to move on.
As a photographer, your objective is always to concentrate attention on the part of the image that you want your audience to notice first.
How Do You Photograph Food On A Plate?
This video provides you good idea about how get shots of food on a plate.
You’ve arrived at the proper spot if you’re hunting for some simple food photography tips.
Here are a few fundamental approaches and helpful hints for improving your food photography.
Whatever kind of food photography you’re doing, whether for a personal cookbook or a food-related blog, this guide will assist ensure that you achieve the results you desire.
Artificial Light That Is Too Bright
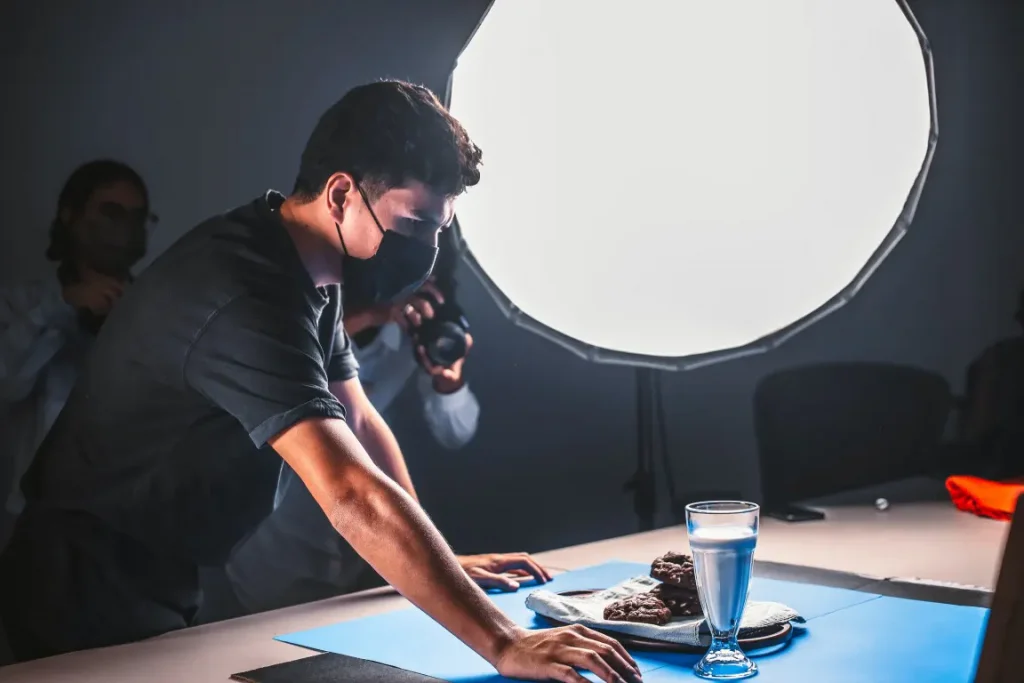
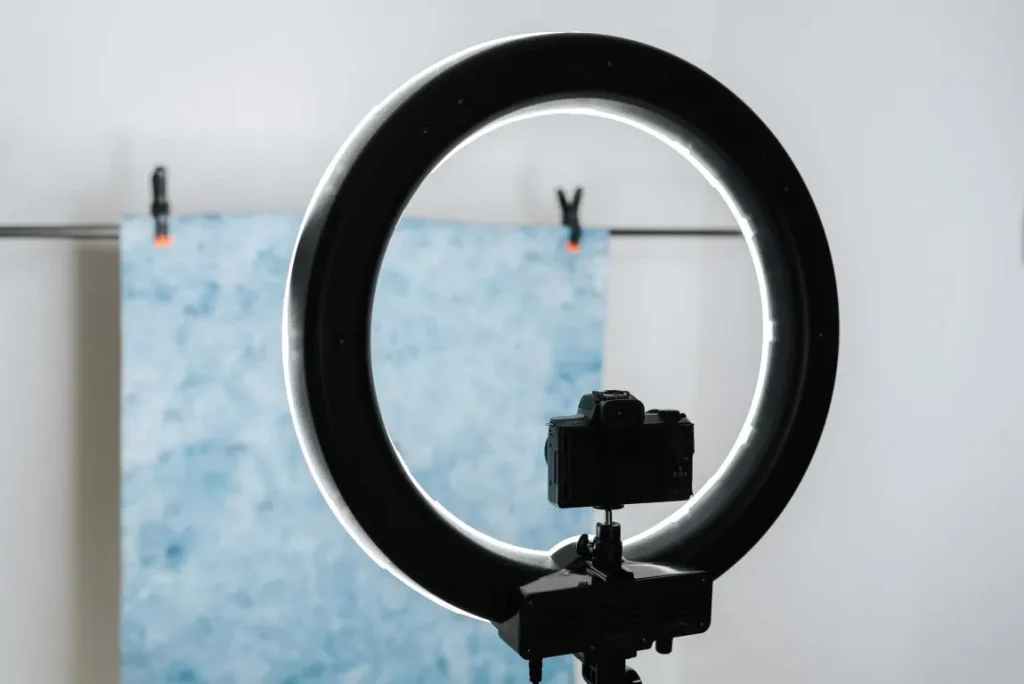
When it comes to food photography lighting, it’s critical to get it right the first time around, just as in any other kind of photography.
Some photographers prefer natural light because of the superior quality it provides.
To save time and effort in post-processing, some photographers use artificial light, which provides constant lighting & white balance all through the photography.
Furthermore, artificial light for food photography frees the photographer from having to adhere to strict shooting schedules.
If you must use artificial lighting, avoid using a direct flash or, even worse, an overhead tungsten light. Flash and a reflection or bounce card are essential.
If you point the flash at the meal, the lighting will fall forcefully, obscuring the finer details and making the dish seem lifeless and unappetizing.
The most excellent technique to direct light toward the meal is via a reflector. Try different perspectives, settings, and light levels to find what works best for your food photography.
Not Using Fresh Ingredients
The aesthetic of the food is the most crucial consideration when it comes to food photography tips, so make sure that everything you picture is in tip-top shape.
Having wilted lettuce or a damaged tomato in your salad will destroy your shot, so don’t try to figure out such an angle that will disguise the problems.
To save time and effort, utilize the freshest ingredients.
After The Meal Has Been Prepared, Begin Shooting
As a result, you’ll lose out on several picture chances if you wait until the meal has cooled down before photographing it.
Don’t wait until the dish is done cooking to begin prepping the ingredients! Some foods don’t look their best after they’ve been cooked.
Even if you add a garnish, the dish may still seem flat and dull if you don’t photograph the cooking process. Raw or undercooked foods might seem more delicious than a prepared meal.
Overdosing On The Saturation
It’s not uncommon for food photographers to make the mistake of oversaturating their images to make them seem more appetizing with all the vibrant hues.
In general, bright colors make food seem better, but you should avoid oversaturating your images, which will make them look strange and unnatural. Try to come as near as possible to the actual colors.
Finally
If you have made it to the end of this post, you’ve learned all you need to know about photographing food like a pro. Keep an eye on the light and the composition, and you’ll be all set. In this manner, your food photos will glow!
Justin Parker is a professional photographer and has been in the industry since 2007. He attended the University of Georgia. Justin combines his passion for photography and his interest in writing to give life to this blog which talks about photography in order to help and inspire young photographers.