Investing in a high-quality camera bag should be one of your first purchases, regardless of whether you are a casual amateur who only takes your camera on vacation once a week or a filled professional who shoots from dawn till sunset every day.
Do You Really Need A Camera Bag?
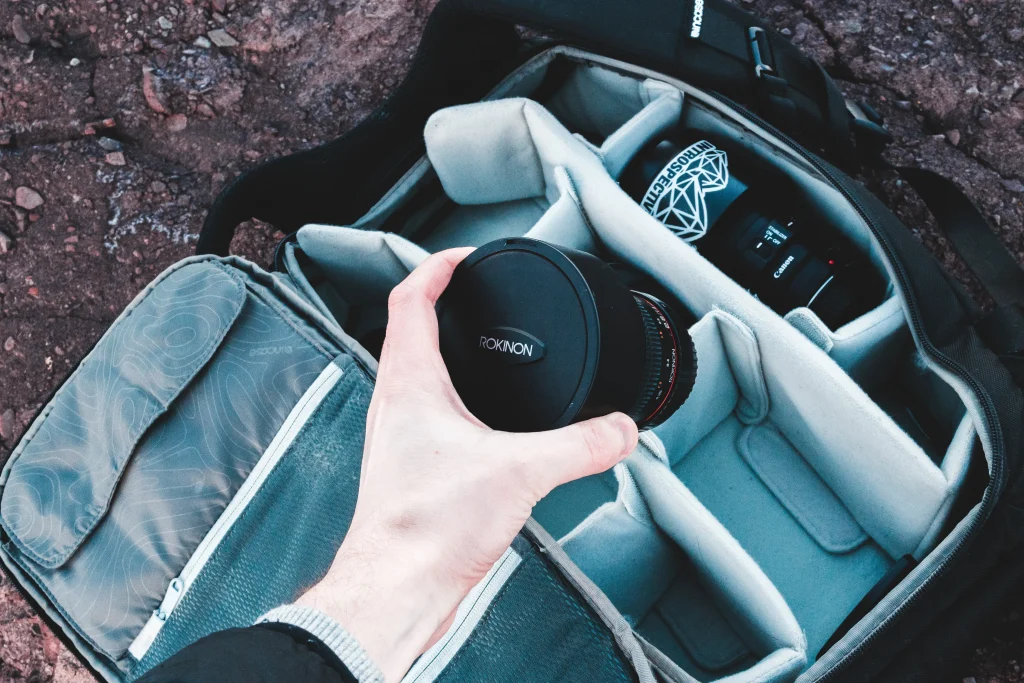
Whether or not you could really use a camera bag for the camera and lenses is a common one. Let me lay out the facts for you. With one camera and one lens, you question whether it’s safe to put your camera in your handbag simply.
A specialized camera bag with your equipment has the following five advantages.
- Protect
This is the most critical factor. Avoid bruising and other forms of injury.
- Transport
It’s not a good idea to wear your camera around your neck. It is considerably more convenient to carry your camera around in a case.
- Access
Getting your camera from your backpack might make it less likely that you’ll use it.
- Looks
You take pride in how you display yourself. People don’t need to be seen carrying unattractive bags.
- Conceal
Having a high-quality camera is something you don’t want others to know. Don’t let the fact that you’re taking pictures of strangers on the street give away your identity to would-be burglars. To keep your camera out of sight, consider using a non-traditional camera bag.
How Do I Choose a Camera Bag?
After purchasing a new camera or lens, you’re ready to get started with your new gear. Since a decent bag protects your equipment and may be used to keep your photographic gear when not used, you now wish you had purchased a new bag for your purchases.
Camera bags may not be quite as simple as they seem, but they are an essential consideration that should be considered. Photographing may be more fun when you use the correct bag to carry your equipment, making the experience more enjoyable.
You can no longer purchase a generic shoulder bag! To make a long story short, we now have a plethora of options available in the form of bags that come in all shapes and sizes.
How can you know which is best for you? Is one better than the other for your equipment requirements?
1. Dimensions of a Camera Backpack
How much gear do you even have, and do you intend to bring it all along or just a portion? Keep this in mind while looking for the right-sized bag for your needs. What more equipment will you need in the future, such as new lenses or cameras? Are you going to include a flash system, for example?
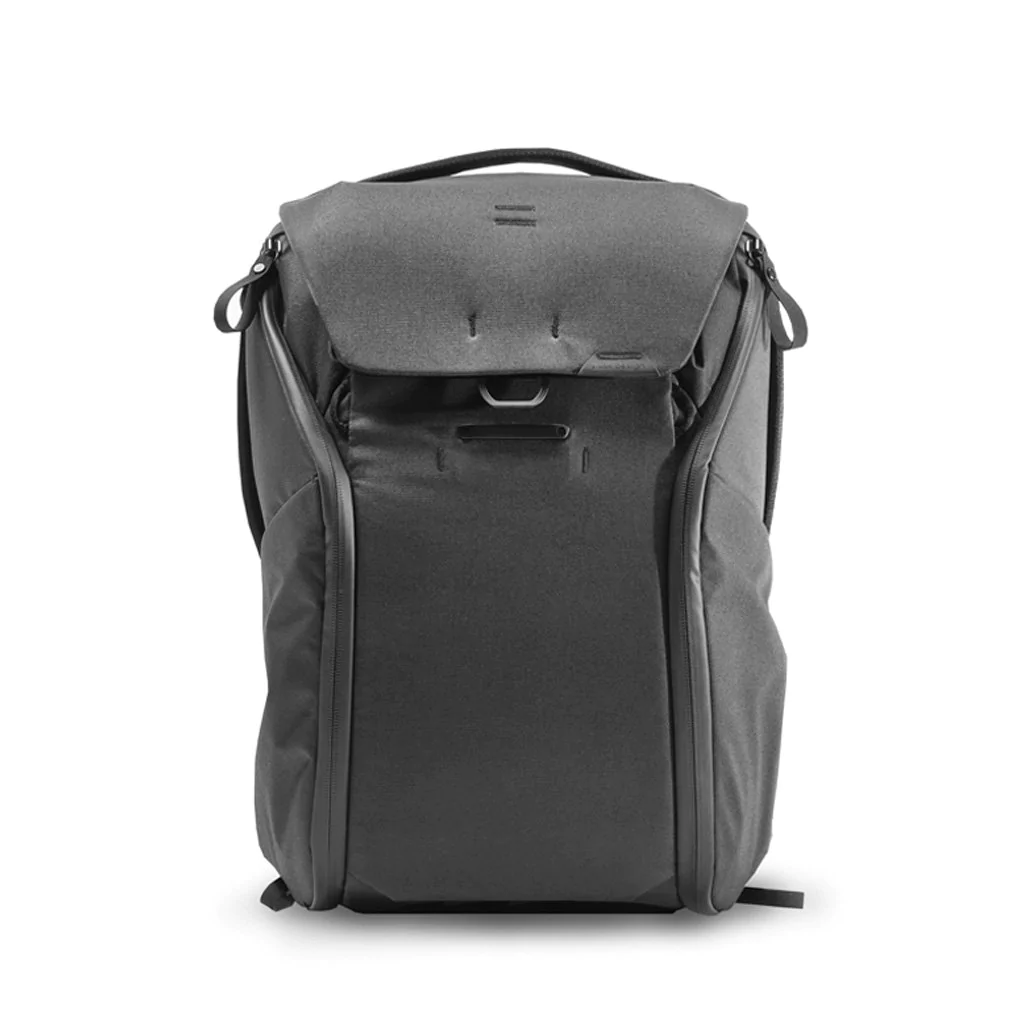
Source: peakdesign.com
- You’ll need a giant bag to fit everything in your bag, so keep this in mind while you’re making your shopping list. However, remember that the more stuff you pack, the heavier your luggage will be.
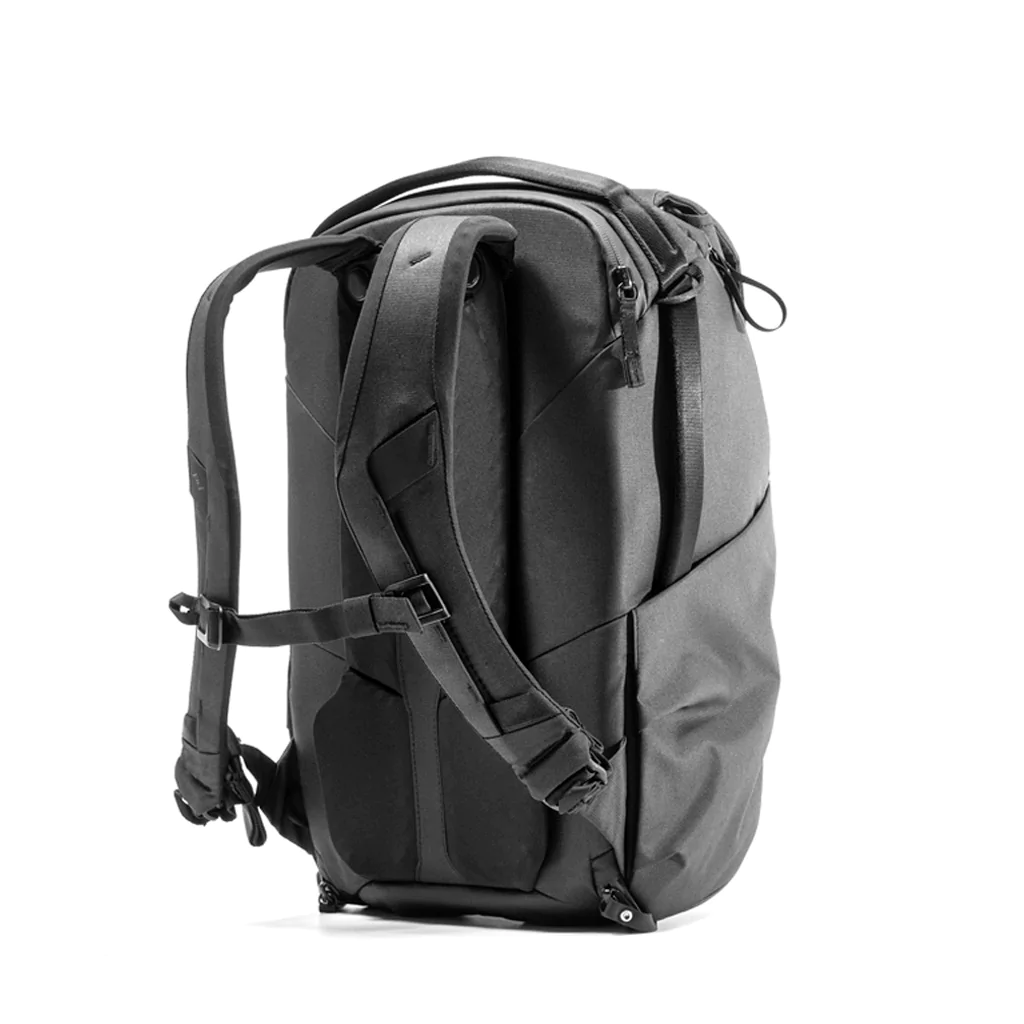
- Make sure you check the bag’s depth before purchasing if you plan on using a pro-sized or hooked body.
- You can usually find out from the manufacturer whether the bag is suitable for pro-sized or grip DSLRs by looking at the list of what it can hold.
2. In The Style Of The Camera Bag
Choosing the right bag size is not that difficult. The most challenging part of picking a bag is deciding on a style, and here is where many people get stuck.
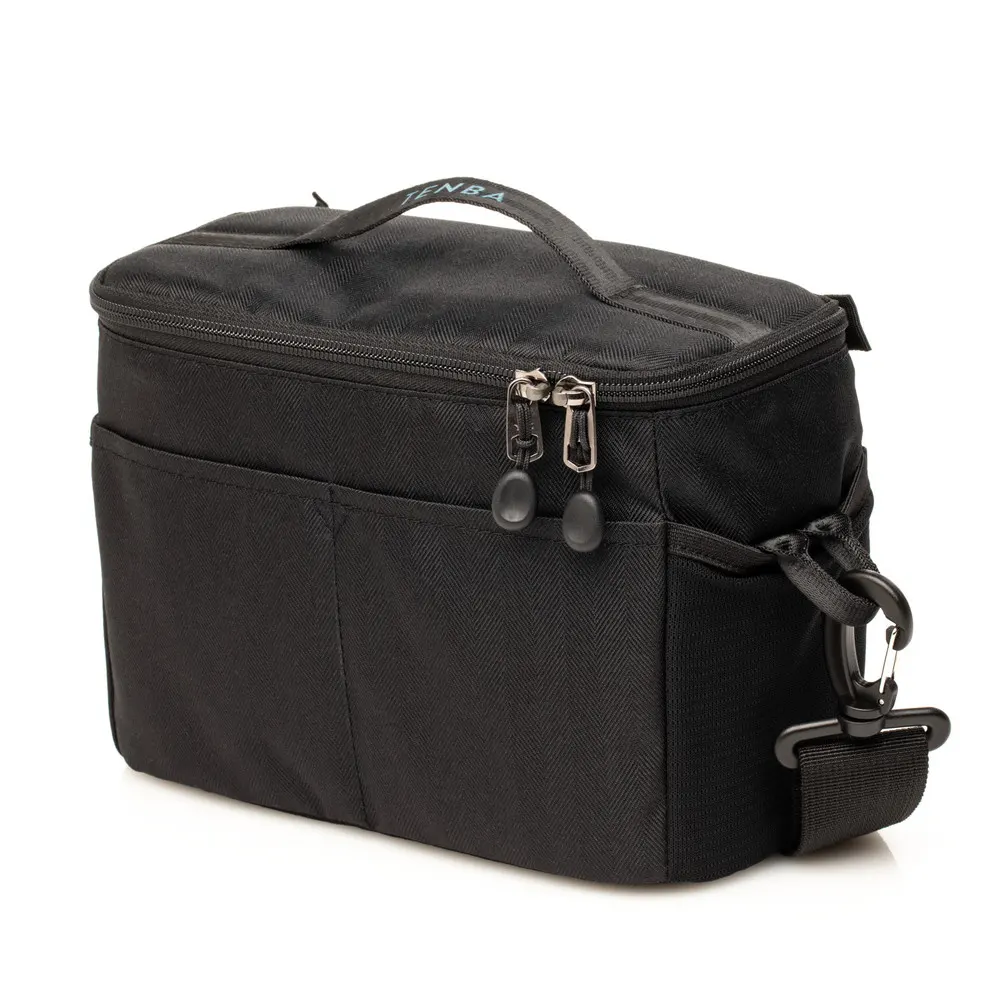
Source: tenba.com
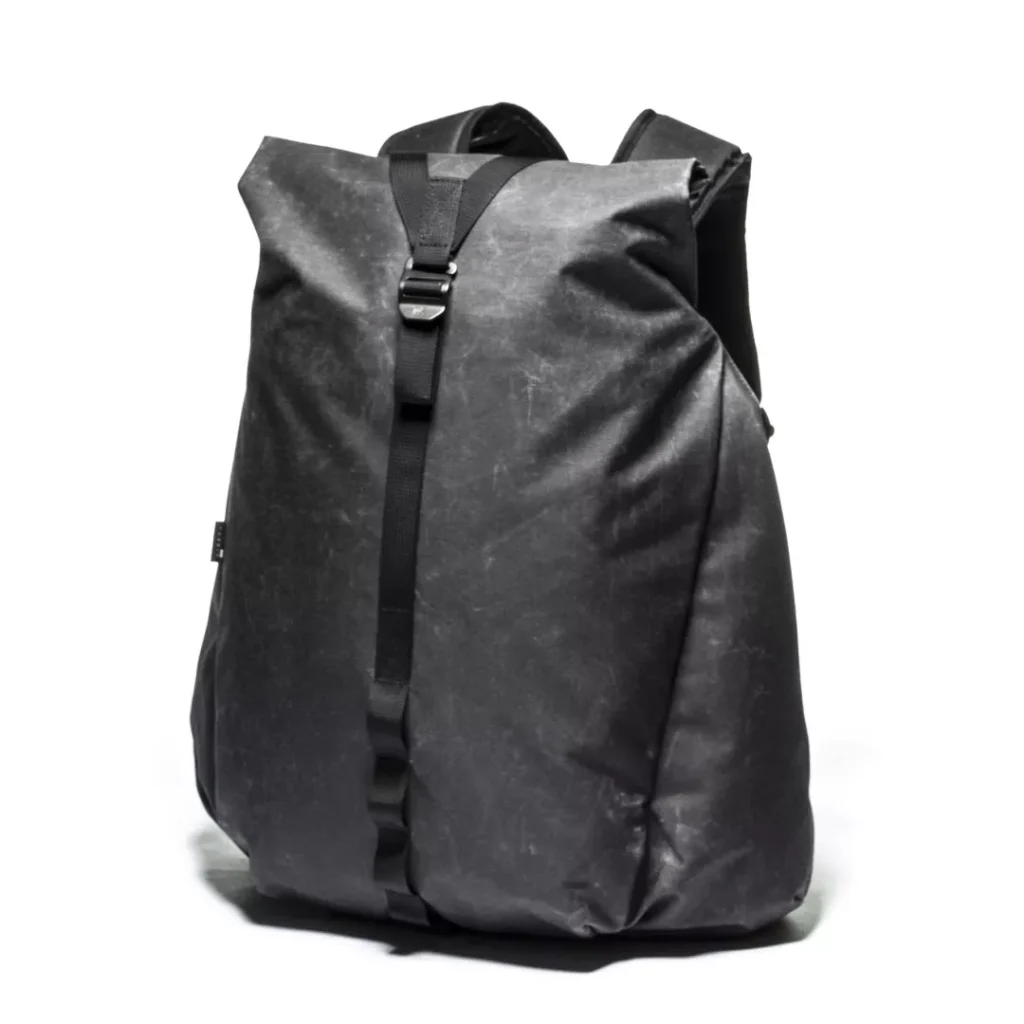
Source: wotancraft.tw
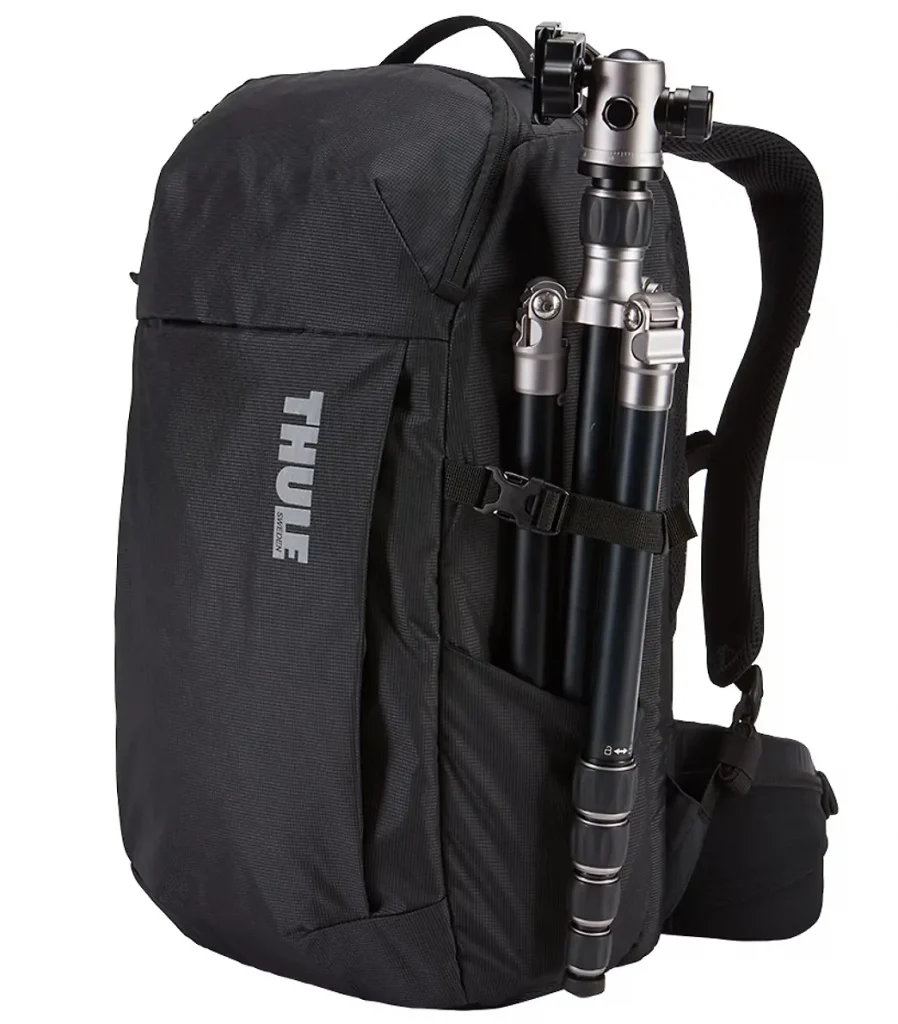
Source: thule.com
There are so many options that it boils down to personal preference. Shoulder bags may be preferred by one individual, while another prefers backpacks.
A bag’s aesthetic might influence how much gear it can hold, so keep this in mind when making your final purchase.
What Should I Keep In My Camera Bag?
The camera bag of every shooter should contain a few necessities. Before you go, please read over our checklist to make sure you didn’t leave anything important out.
1. Batteries and Storage Devices are Always a Good Idea
You’ll rapidly run out of space on your camera’s memory cards if you become overexcited when confronted with an incredible scene.
Another possibility is that you will take additional shots and discover that the card you brought is already complete since you forgot to delete the images from a prior session.
If you avoid these issues and continue shooting indefinitely, always have extra memory cards on hand. The same is true of electrical power and battery storage.
2. A Small Tripod

Source: bhphotovideo.com
A full-sized tripod is cumbersome to carry along all the time. Keep a little one in your backpack to guarantee that you are always without a tripod! Travel versions may be easily folded up for storage and are still helpful given their lack of stability.
This kind of tripod may be used in places where a full-size one would be unable to in low light.
3. Lens
To get the best photos possible, it is essential to have one additional lens for a camera with such a removable lens.
This is a secondary lens if something happens to your primary lens and you want more flexibility in terms of focal length.
4. Notebooks That Can Withstand Water Immersion
As a field researcher, taking notes is a great idea. You may keep track of places you’ve been to or shots you’d want to attempt in the future. However, when you’re outside, the weather might be a challenge.
If you’re taking notes on your phone in the rain, it’s going to be difficult, and your notepad will be wet.
Waterproof notebooks may be purchased online for a meagre price. So you don’t forget anything, you may take notes fast and efficiently.
What Makes A Good Camera Bag?
You’ll likely want to utilize a camera roller bag for a videographer who travels by airline. Backpacking landscape photographers will need a sturdy shoulder backpack to hold their gear and distribute some weight on their hips rather than their shoulders.
Even smaller slings bags that can hold a camera, a meal, and perhaps two lenses would make city slickers happy.
1. On The Outside, There Is a Water Bottle Compartment
The more time you spend outdoors, the more likely your water bottle may leak and ruin your pricey gear. In addition, if your bottle of water is in the backpack, you would have to stop for a sip or refill. This may be convenient for some, but it’s not necessary.
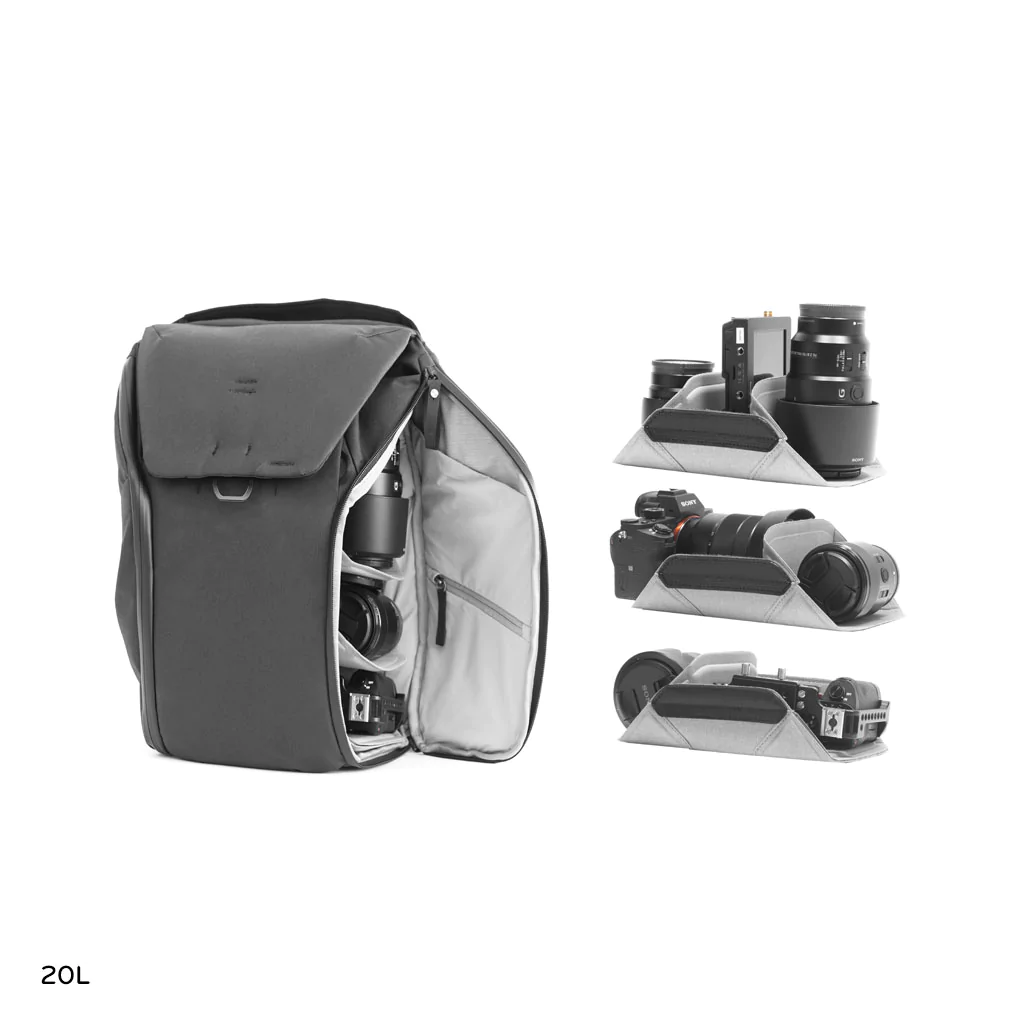
2. Interior Adjustable Areas
Camera equipment is constantly evolving. If that is true, then the best bag is one that can evolve with the times and not become a relic of the past.
As your collection of lenses and camera bodies grows, you’ll appreciate the adjustable partitions and padding on many camera backpacks. They are pretty adaptable and keep your stuff from slamming against each other as you walk.
How Do I Keep My Camera Safe In A Backpack?
Things could turn dangerous for both you and your equipment in the fields if you don’t prepare beforehand. The following are my recommendations for protecting yourself and the camera from harm.
1. Everything Must Be Dismantled
Disconnect your camera’s lens from the body. Remove the battery from your device. Take your camera strap off. You may save unnecessary wear on the camera’s threads and mechanical components by dismantling all of the camera’s components.
Additionally, you won’t have to worry about your camera draining your battery mid-flight if you use this method. Good to get into the swing of things.
2. Each Component Should Be Cushioned With Something Soft
The most important thing to remember while traveling with your camera and lenses is to keep them protected from damage. Some individuals use cushioned inserts, while others prefer to cover their camera equipment with fabric.
We recommend any of these two methods for the most excellent possible preservation of your equipment.
If you don’t have any of that, use a cotton t-shirt as your first layer, followed by a sweater or something similar with additional padding. While packing, if you don’t have insert dividers, place a few soft objects between each component to provide some additional padding.
How Do I Take Care of My Camera Bag?
The best place to keep your camera is a dry, warm place. If possible, keep your luggage out of the direct sunshine and away from heat sources. Make sure you don’t keep the camera in a chilly vehicle overnight.
1. Organize The Bag
- Once you have picked which bag to bring, you’ll need to prepare it for the upcoming expedition. Adjustable partitions and inserts are standard in most camera bags.
- These are usually attached to the bag’s inside walls using velcro — peel them off and reattach them in whichever arrangement you choose.
- Keep your valuable bodies and lenses well enclosed; you don’t want your belongings bouncing about and getting damaged, so keep more miniature goods in different compartments to prevent losing them during travel.
2. Take Only What You Require
It may seem self-evident, but you do not need to bring all your belongings. Camera equipment is delicate and prone to breaking when pressed against heavier goods in a bag.
Leaving all of your belongings behind helps you pack light and reduce the risk of harm.
3. Make Sure Your Tools are Dry
- The fact that camera equipment dislikes water is self-evident. This is why weatherproofing is always a priority when designing specialist camera backpacks.
- In inclement weather, if your bag may not have a high level of water resistance, the contents will almost certainly become wet.
- We cannot always foresee the weather, and walking out on a rainy day with a typical backpack full of photographic equipment is risky enough.
- When packing your suitcase, you will want to consider adding a layer of waterproofing.
The most straightforward approach is to store your gear in a clean plastic shopping bag inside your backpack – but this method isn’t perfect, and moisture may build up inside plastic, which is just as terrible! It also creates another obstacle when getting to your gear.
Finally,
A digital dry cupboard can be a good idea if you reside in a very moist area. The humidity within these electrically controlled enclosures is regulated to assist you in caring for the camera. Even if you don’t dump your devices in the lake, excessive wetness may negatively affect them. Moisture is controlled via a computerized dry cabinet. In addition, they provide a haven for valuables such as lenses while they are not in use. The more capacity a dry cabinet has, the more costly it is.
Justin Parker is a professional photographer and has been in the industry since 2007. He attended the University of Georgia. Justin combines his passion for photography and his interest in writing to give life to this blog which talks about photography in order to help and inspire young photographers.