When I’m planning a photo shoot for a restaurant or cafe, food photography lighting is one of the first things that comes to my mind.
I will go through the basics of food photography setup and lighting in this article. Then I’ll extend the article with portable food photography lights, how you can choose the perfect light for a food photo shoot, a few advanced techniques, light temperature, and more.
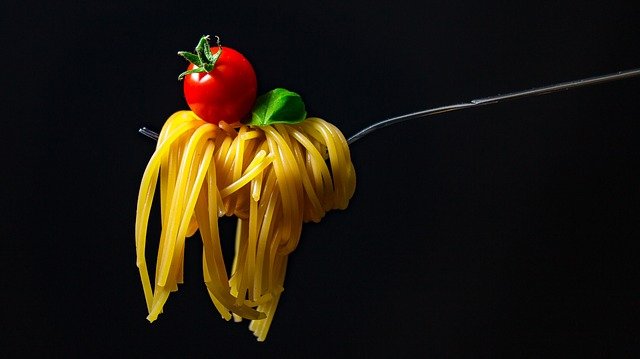
My tip: When I’m capturing food photos, I try my best to use diffused natural light
I always do research to find out new techniques in photography. Following is a video I found, and I even tried them out in a few food photography shoots.
What Color Light Is Best For Food Photography?
Between 2,700 and 3,500K while photographing foods with artificial light is best.
CRI (Color Rendering Index) ratings of at least 82 are required to preserve food’s natural hue.
Please note that choosing the most suitable food photography props will help you to overcome some problems that arise with lights in food photography.
Basic Light Setup For Food Photography
I use different types of light setups to photograph food for my clients. However, basically, there are three types.
- Aspect lighting
- Backlighting
- Backlighting From The Side
To describe these three setups, consider the dial of a timepiece.
- Aspect Lighting
Side lighting may be visualized by placing your light at an angle of around 9:00. 3:00 is also an option. But in the West, we read from right to left. Because our eyes initially focus on the brightest region of a picture, our light should come from our left side.
This isn’t a hard-and-fast guideline. Depending on the composition of your shot, each side will impact how the light appears.
Try shooting a photo with your light set to 9:00 and then moving it to 3:00 the next time you point. Take a look at your finished product and notice the difference.
My tip: Try to get the benefit from side lighting.
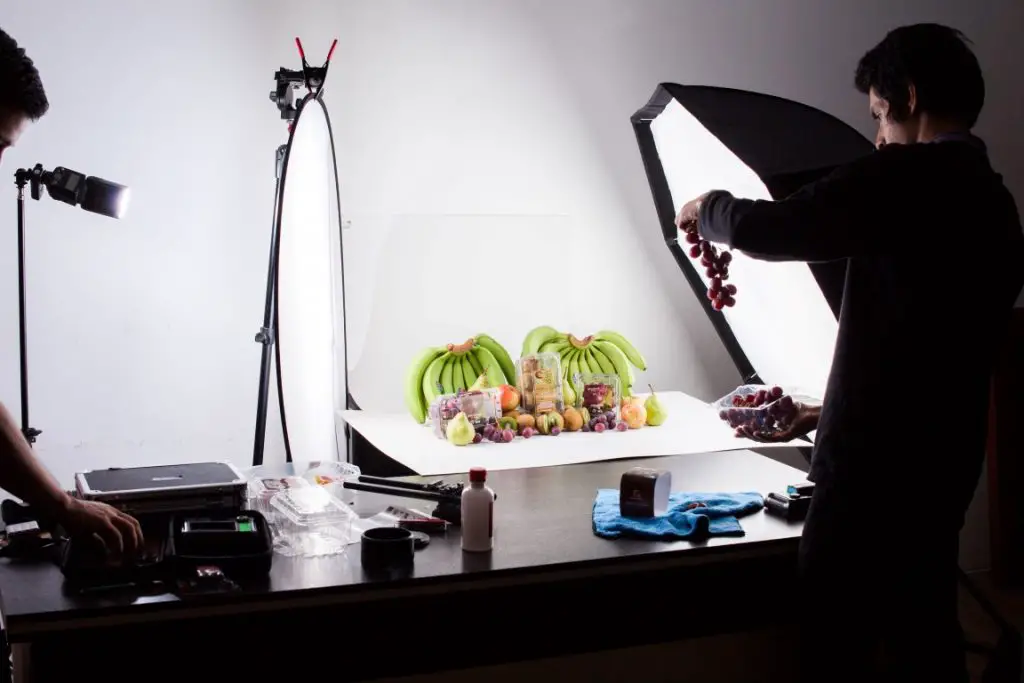
To get this, I place a massive softbox near my working area. The softer the light, the larger the light source.
Another thing I recommend is, when it comes to food photography, using a soft light source is necessary.
Following is a set-up for food photography with soft boxes to get light from both the sides of food.
The natural part of the light back onto your scene by placing a reflector and bounce card across from where it is coming from. If you want more or less of a shadow, you may move it closer or further away. There is always a need for shadows, even if the scene is entirely white or brilliant.
- Backlighting
When you place your light above your meal at midnight (12:00), you’re using backlighting. Smooth and silky, this is an excellent option for liquid foods such as drinks or soups, where the added shine brings out the liquid qualities and textures.
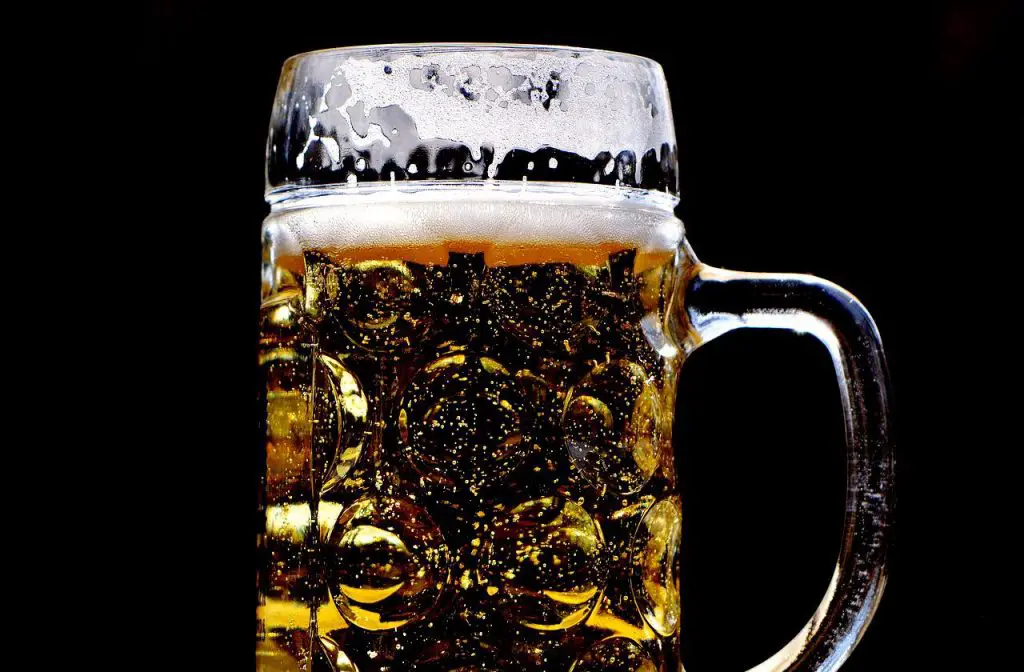
The photo of the beer glass above is one of my photos that was captured using the “backlighting” technique.
By the way, how do you take good pictures of drinks is a question that many ask from me. So, I’ve already shared my experience in an article
If you don’t apply a neutral density filter, you may find that your picture is overly brilliant and blown out in the rear and too dark in the front. It may also seem washed out if you shot with too much light, which occurs when you overexpose.
Sometimes, I also feel too much meditation during the meal is a problem. It might be challenging to balance colour contrasts when using backlighting. As a result, it is helpful to be conscious of these issues while using backlighting.
Well, I found a perfect video that discusses the color theory in food photography. I’ll share it with you.
- Backlighting From The Side
You may get this look by putting your light at 10:00 or 11:00 and combining the two previously described lighting approaches.
Using this technique, you get both the shine of backlighting and the danger of overexposure in the background. Because the light is entering from an angle, you don’t need to reflect that much light onto the front of the meal.
Your light source is on the other side of the reflector. There are a few things you may experiment with to determine what kind of shadows you’d want to cast.
Portable Light For Food Photography
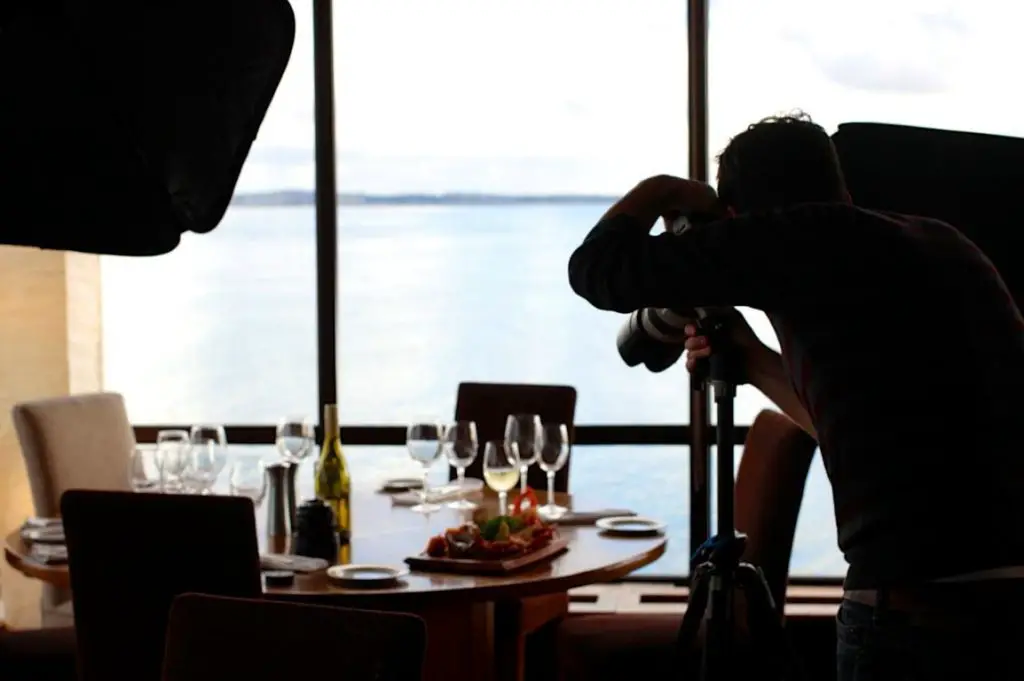
As a photographer, I often travel to my clients’ places, especially to restaurants and cafes, for food photo shoots.
So, portable light is always come in handy. Basically, I prefer lightweight, easy-to-carry and the best portable light sources.
My top picks;
This LED light panel is just around 11 oz and it can be carried even in a small pocket in my jacket.
- A Desk Lamp With A Wide-Angle LED
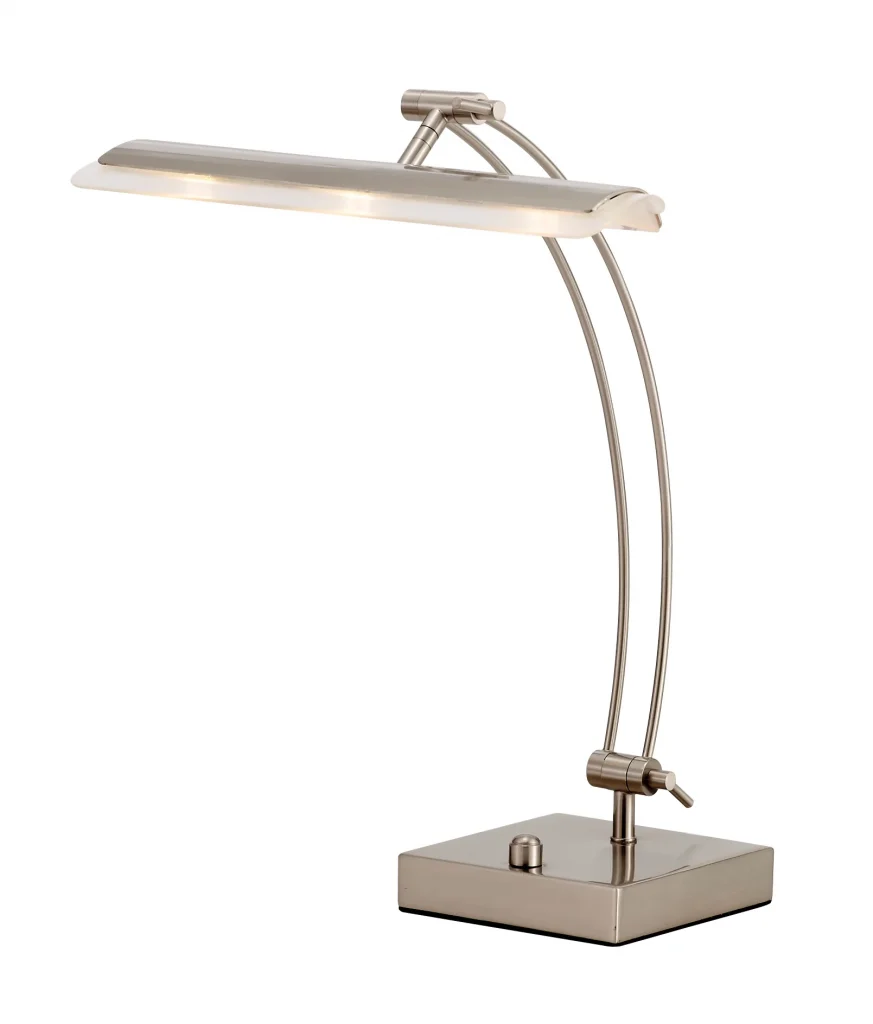
Autonomous Ultra-wide led desk light is one of the finest on the market for portability. About 1200 lumens are produced by 120 LEDs (4014), which need 15 watts of electricity. Cast aluminum and metals make up the complete frame.
It is possible to choose one of four colours of light bulbs. You may choose from five different brightness levels on this portable desk light, which has a lifespan of more than 50,000 hours.
- The Stella Go Portable Table Lamp

Is there anything better than a little desk lamp? Light your way to new heights thanks to the Stella Go LED portable light bulb. Battery-powered, this light consumes very little electricity.
There are no ultraviolet lights to be found! You won’t feel a thing since there are no heat emissions. It is simple to recharge the light using a Qi-certified charging station. To use this Philips-powered desk lamp, you should not need to change the bulb.
What Lighting Should I Use For Food Photography?
It’s ideal to utilize diffused natural light while taking photos of your cuisine.
In terms of lighting, it’s the most aesthetically pleasing, attractive, and budget-friendly option for food photography.
My Tip: Phone flash should be avoided at all costs. A bland and unappealing appearance will be the result of your meal.
I think now it’s the best time to discuss light temperature with you.
Impact of Light Temperature on Food Photography
If someone asked me the secret for more appetizing food photographs, I’d say “it’s the perfect light temperature!
How Different Light Temperatures Affect the Look of Food
Basically, there are two main types of light based on the temperature;
| Cool light in food photography | Warm light in food photography |
|---|---|
| Higher Kelvin values | lower Kelvin values |
| emphasizes the blues and greens in an image | emphasizes the reds, oranges, and yellows in an image |
| Ex: salad with fresh greens and blueberries | make food look more appetizing and comforting |
| Suitable for raw ingredients, seafood, or any food items that are naturally cool in color | Suitable for baked goods, grilled meats, and hearty meals |
| Ex: a freshly baked loaf of bread or a sizzling steak | Ex: freshly baked loaf of bread or a sizzling steak |
Adjusting Light Temperature in Food Photography (A few advanced techniques from me)
I’ve experienced, when the light is too warm or too cool, food doesn’t look appetizing. So, understanding how to adjust light temperature is key to creating appealing and balanced food photographs.
Here are five techniques that I use to adjust the light temperature in my food photoshoots:
- White Balance Settings:
You can choose from preset options like ‘daylight’, ‘cloudy’, ‘shade’, etc., or manually set the Kelvin value to achieve the desired effect. Most digital cameras come with this option.
- Color Gels:
I often carry color gel on my camera gear. These can be placed over the light source to alter the color temperature.
A blue gel can cool down a warm light source, while an orange gel can warm up a cool light source.
- Post-Processing:
I use Adobe Photoshop to post-process my photos. Besides, you also have options like Adobe Lightroom, etc. However, it’s always best to try and capture the image as accurately as possible in-camera.
- Time of Day:
As I mentioned in the beginning, I always try my best to use diffused natural light when capturing food photographs.
Early morning and late afternoon light tends to be warmer, while midday light is cooler. So, I schedule the photoshoot based on the food type and type of photos I want.
- Reflectors and Diffusers:
By using a gold reflector you can bounce back warm light, while a silver reflector will bounce back cooler light. In contrast, a diffuser, can soften the light and reduce harsh contrasts, which can help balance the overall light temperature.
Lighting to Photograph Different Types of Food
Now, let me share the different types of lights I use for different types of food.
Lighting Techniques for Photographing Drinks
Backlighting and side lighting are two powerful techniques in food photography. But since I already discussed these two techniques earlier, I’m not going to repeat them.
In addition to these two techniques, I use reflectors to significantly enhance my drink photography.
Reflectors are used to bounce light back onto the subject, helping to fill in shadows and evenly distribute light. So, when capturing photos of drinks, I use reflectors as they can help to illuminate details that might otherwise be lost in shadow.
You may find different reflectors in different colors, each producing a different effect.
A white reflector will bounce back soft, neutral light, while a silver reflector will bounce back a stronger, cooler light.
A gold reflector, on the other hand, will bounce back warm light, which can be useful if you want to add a warm glow to the drink.
My tip: For more appealing photographs of drinks, try to use all these three techniques (backlighting, side lighting and using reflector) at once.
I recommend you read my article about how do you take good pictures of drinks to know more about how I do drink photoshoots.
Lighting Techniques for Photographing Baked Food
Normally, baked food are with varied textures and warm tones.
I’d say, diffused natural light is often a great choice for photographing baked goods.
Because it provides a soft, even light that can highlight the texture of the food without creating harsh shadows.
For me, diffused natural light is effective for items like bread, muffins, or pastries, where the texture is a key part of the appeal.
My tip: Usually, I place the baked goods near a window with indirect sunlight for the best results.
I captured this photo of a cupcake when I went on a picnic with my kids. By the way, I also have a guide on how can you do food photography with a phone. So, I suggest you read it too.
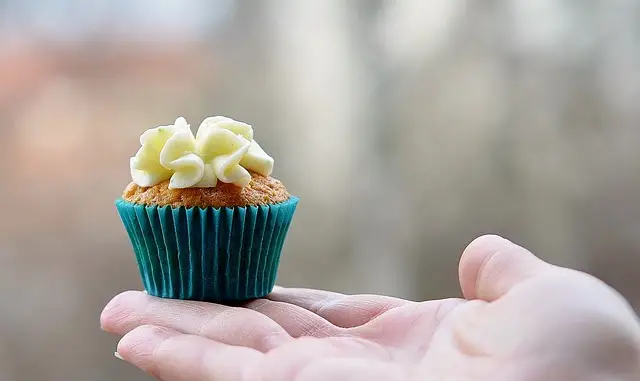
The natural light enhanced the freshness and crispness of the cupcake in the photo.
On the other hand, Direct light can also be used to create more dramatic images of baked food.
I have done many food photoshoots by casting strong shadows, just to take the best from shadows, (well, this needs a bit of experience).
This can be particularly effective for items with interesting shapes or patterns, like a lattice pie or a braided loaf of bread.
By the way, if you are going to use artificial light for a baked food photoshoot, I’ll recommend warm light, since it can enhance the crispiness of backed food.
My tip: Side lighting can emphasize texture and create depth, while backlighting can highlight the shape of the food and create a sense of dimension.
Lighting Techniques for Photographing Meat and Seafood
Most of the time, I use warm light when photographing meat and seafood. It can enhance the natural colors of the food, making it look more appetizing.
For instance, warm light can bring out the rich reds and pinks in a steak or the vibrant colors of a seafood dish.
When talking about the techniques, I’d recommend side lighting. The main reason is, it can bring out the texture of food. More importantly, side lighting can create shadows that highlight the contours of the food, making it look more three-dimensional and appealing.
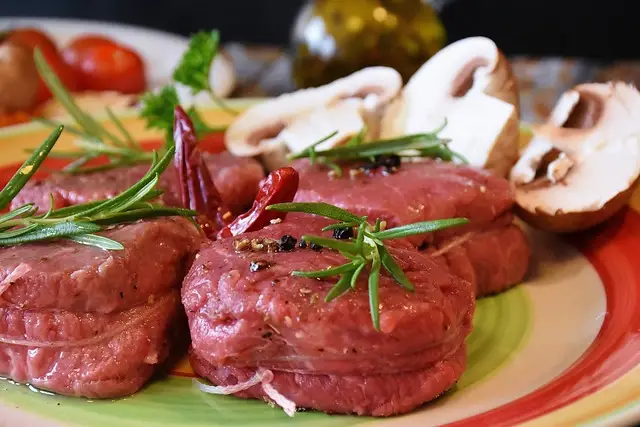
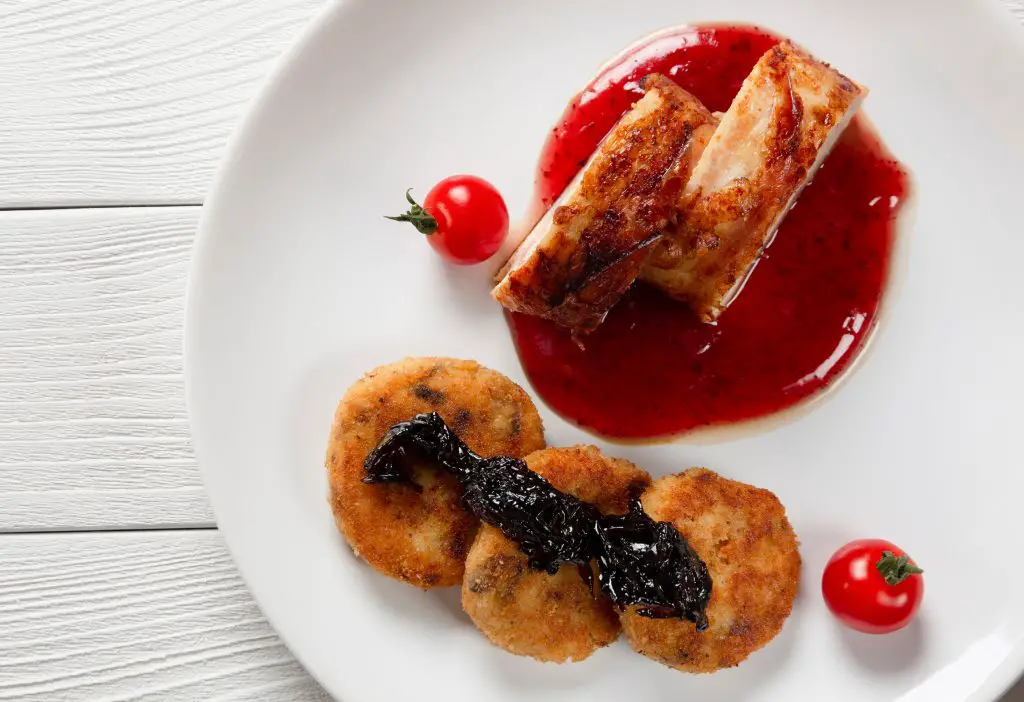
When capturing the above photo of the meat dish, I used warm light as well as a side lighting technique to add a more appetizing look to the photo.
On the other hand, backlighting can also be used to create a sense of depth and make the food look more three-dimensional. This can be particularly effective when photographing dishes with layers or height, like a stacked burger or a seafood tower.
So, based on the dish, I choose either side lighting or backlighting.
My Tip: When photographing meat and seafood use a small mirror or a shiny reflector to add a sparkle to the food.
I always use this trick specially for seafood dishes, as it can create the illusion of freshness and wetness like the food has just come out of the water.
For meat, a well-placed sparkle can highlight the juiciness of the dish and make it look more appetizing
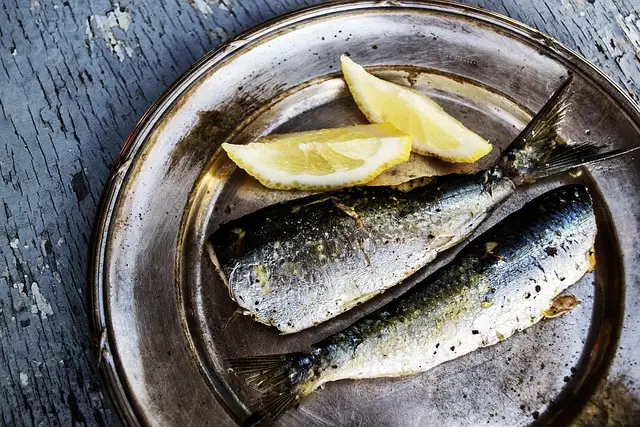
I used a silver color reflector at the 4’O clock of the dish. This method added a shine to the fish, that made the dish more appetizing.
Do You Need A Softbox For Food Photography?
Getting the right amount of light onto the set is essential, but you also need to sculpt & shape that light to obtain the most satisfactory results. For food and yet still life photography, most photographers utilize a softbox.
By the way, if the word still life is new to you, I already have an article about what is the difference between product photography and still life.
Which Softbox Is Good For Food Photography?
It is preferable to have a large softbox like Octagon Softbox 48″ than a little one. Lights may be softened and diffused using this attachment. It is almost as big as a window, so we like this 48-inch softbox so much. This will give your whole food set up a natural glow while evenly illuminating it.
Best Softbox Size For Food Photography
Generally speaking, a softbox must be around the same height as your object; for example, a headshot or a half shot might need softboxes around 18 to 24 inches, while a full-body image could require multiple softboxes in the 48-inch or more range.
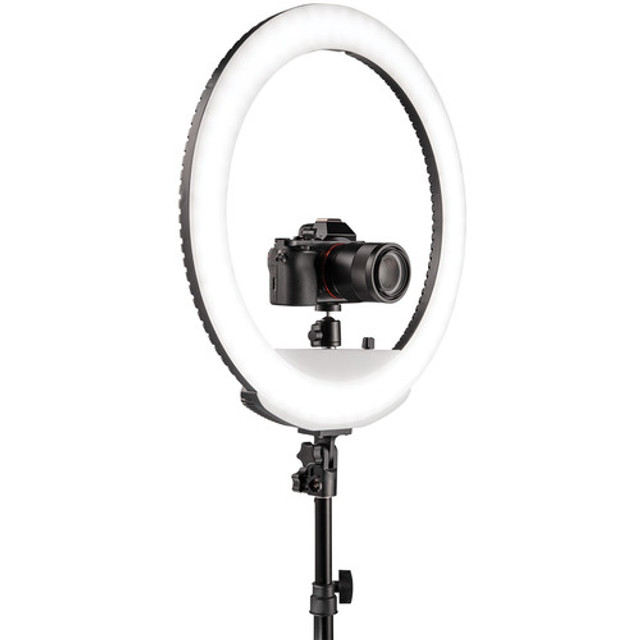
Can You Use A Ring Light For Food Photography?
Ring lights are an absolute must if you routinely photograph food, regardless of your client’s requirements.
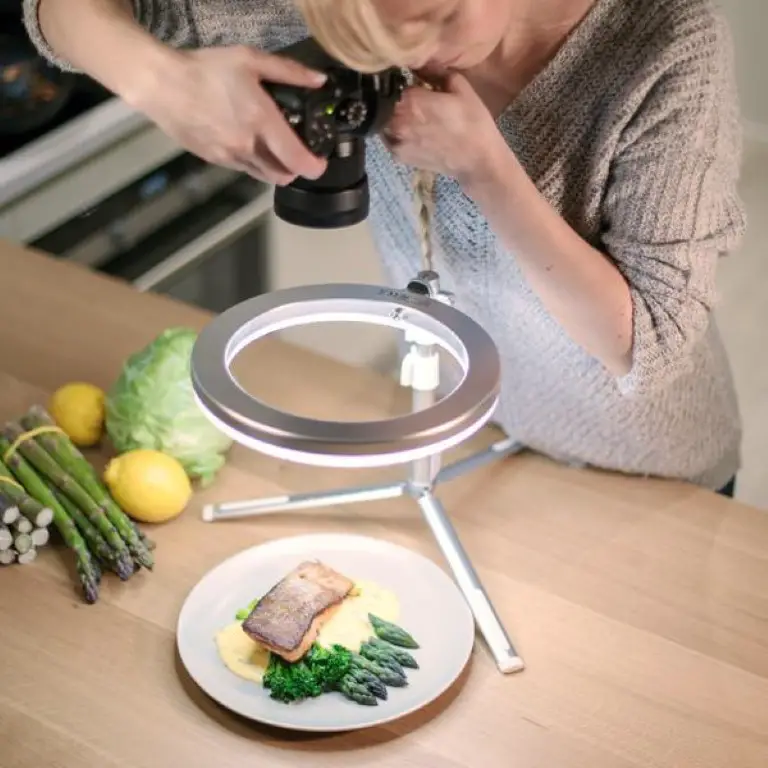
Food photography benefits from the use of ring lights. A bright, sometimes wash of light covers the subject, erasing all shadows.
However, understanding how to use a ring light to photograph food might be a challenge. Light and shadows may be diffused using a three-light setup that includes modifiers.
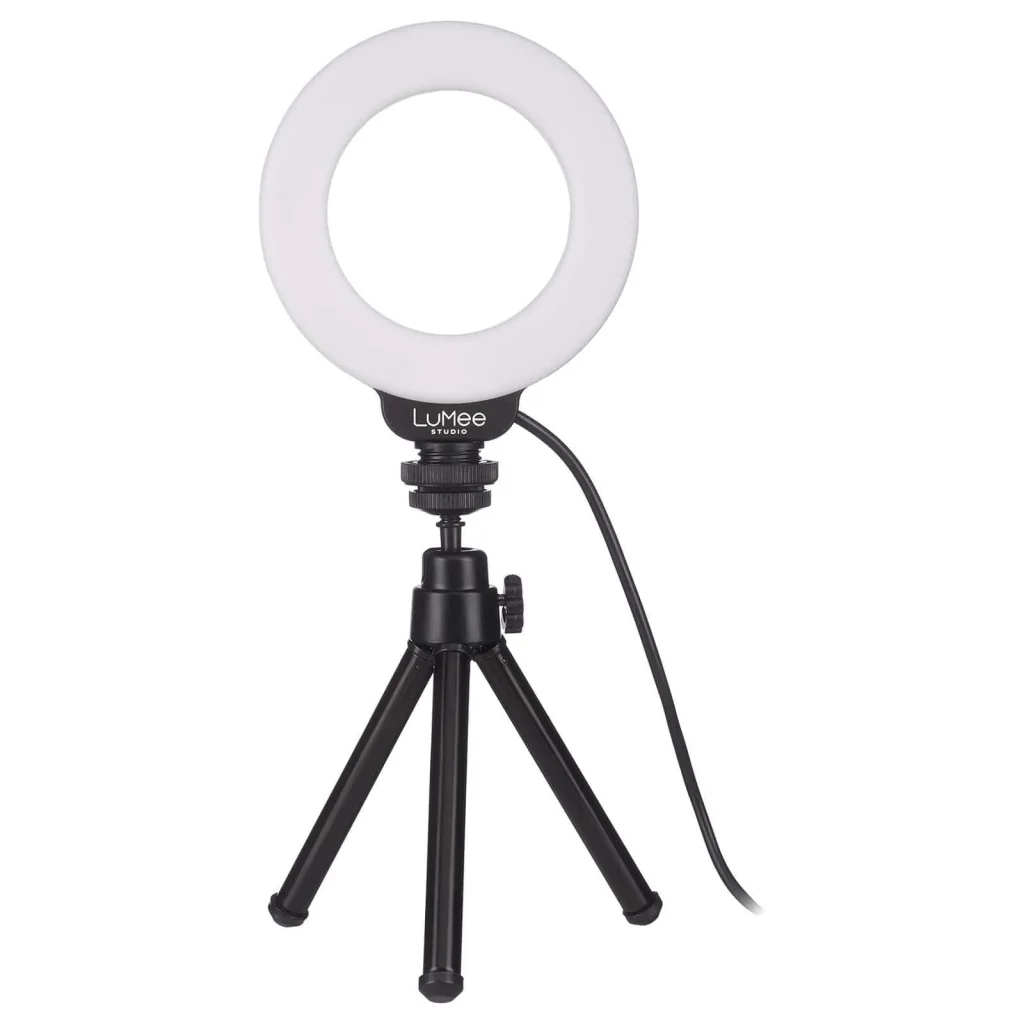
Which Ring Light is Best for Food Photography?
Both on-camera and off-camera ring lights exist, and I’ve been using them in various ways since both these have pros and cons according to the way we are using the camera and light.
So, what exactly is the distinction?
| On-camera Ring Light | Off-camera Ring Light |
|---|---|
| Can attach the ring light to the camera (to the hot shoe of your camera.) | Can’t attach the ring light to the camera. |
| Small and lightweight | Mount the ring light on a tripod. |
| Ideal for macro photography or taking an on-site portrait. | Excellent for the beginners of using ring lights, mainly when you utilize them as an extra light for the first time. |
| While you’re clicking away, it goes around the lens in a circle. Most on-camera ring lamps are strobes, which create far more powerful bursts of light. | Offer a constant light source. |
In addition to on- and off-camera options, you must choose between a strobe and a steady LED light for your ring light.
Softbox Or Ring Light For Food Photography
The canopy lighting system is not sufficient to use lighting equipment for photography or filmmaking. “What is the difference between a softbox and ring light?” is an excellent place to start. You may choose the lighting setup that best suits your needs with our assistance! Once you get familiar with the many aesthetics each one may bring, you’ll be able to recognize them apart.
| Softbox Lighting | Ring Lighting |
|---|---|
| Provide soft, focused light on your subject. | creates a circle of lights with really no light in the center. |
| Can guide the light in any direction, because softboxes can be set up anywhere around the camera and subject. | A camera placed amid the ring may provide equal lighting on a subject. There will be no shadows in the middle of the subject. |
| A wide variety of lighting effects may be achieved without the harshness of the naked flash or the “spill” of the shoots and roots umbrella, all without the need for a diffuser. |
You can also use a vast softbox and an off-center ring light to create “flat” lighting. However, we’ll focus on using ring lights with the lens correctly oriented and softboxes offset from the camera’s center for this tutorial.
Having read this, you should have a good idea of what sort of lighting you need and how to achieve it. Before exploring alternative options, we recommend beginning with this kind of illumination.
Softboxes are generally required for most photography and filmmaking; however, if you need a circle light for highly specialized applications, you may wish to utilize it rather than a softbox.
Finally,
Remember, the goal of lighting in food photography is not just to illuminate the subject, but to tell a story and evoke a mood.
By carefully considering your lighting choices, you can create images of foods that are not only visually appealing but also convey the comfort associated with food.
To get the most out of your food photography, you will need to refine your setups with some experience and a few modifications.
FAQ:
How Do You Light Overhead Food Shots?
Take a moment to consider how you may acquire a better view of your topic or location from above. Filmmakers commonly employ a crane to get dramatic overhead views, but you can use anything in your home or yard to get a new perspective and a bird’s eye view of the action. There are various ways to do this, such as ascending the stairs, putting up a ladder, or standing on a table or countertop.
How Do You Use Led Lights For Food Photography?
Look for “Shutter Priority Mode,” “TV,” or “S” on your camera’s mode dial. The camera lens will be able to manage the intensity of an LED sign because of the proper quantity of light entering the lens. However, try “Manual Mode” or “M” if this mode does not work for you.
How Do You Shoot Food With Continuous Light?
Continuous lights are a good option if you shoot in a studio or under dimly lit conditions. In these instances, continuous lights have adequate power and are pretty beneficial in seeing how your light illuminates the area in real-time.
Justin Parker is a professional photographer and has been in the industry since 2007. He attended the University of Georgia. Justin combines his passion for photography and his interest in writing to give life to this blog which talks about photography in order to help and inspire young photographers.