Are you seeking proper lighting techniques for your next jewelry photography shoot?
Awesome, I’ll explore today, the various types of lighting available and provide tips for achieving the best results in jewelry product photography.
From natural light to studio setups, understanding how to use different lighting techniques can elevate your jewelry photography to the next level.
Without further ado, let’s dive in!
Types of Lighting for Jewelry Photography
When it comes to lighting for jewelry photography, my first choice is natural light.
However, it varies depending on the type of jewelry product.
So, let’s take a look at both options available for jewelry photography lighting.
Choosing the Right Option for Jewelry Photography
Natural Light
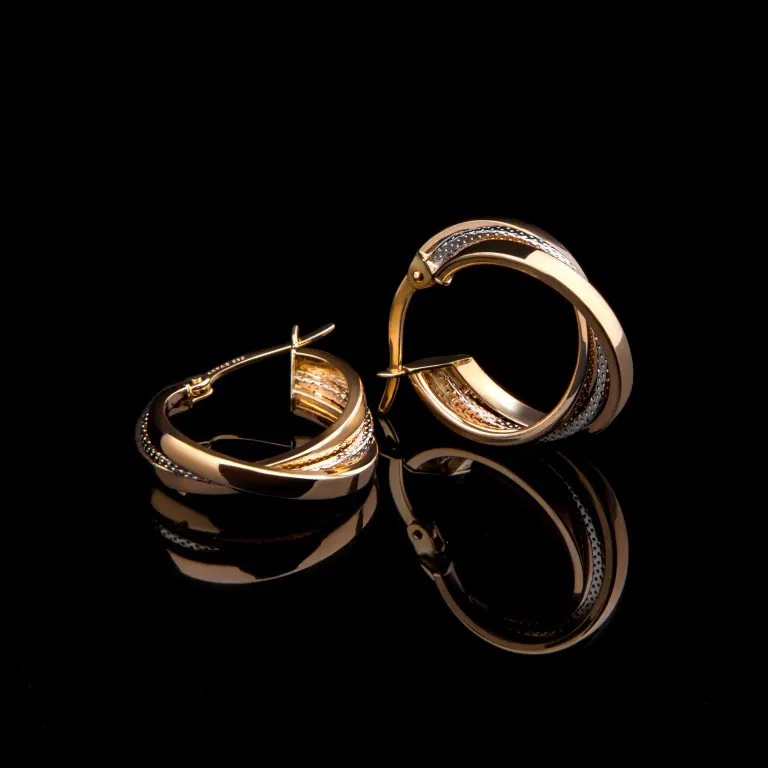
Using natural light, whether it’s from a window or outdoors, can create a beautiful jewelry photograph.
Because it provides a soft light that highlights the intricate details of the jewelry pieces.
It’s perfect for budget product photography.
Studio Lighting
Studio lighting is another option.
This allows for more control over lighting.
So, desired lighting effects can be easily achieved by using the right lighting tools.
Besides, studio lighting gives a variety of setups such as soft boxes and umbrellas.
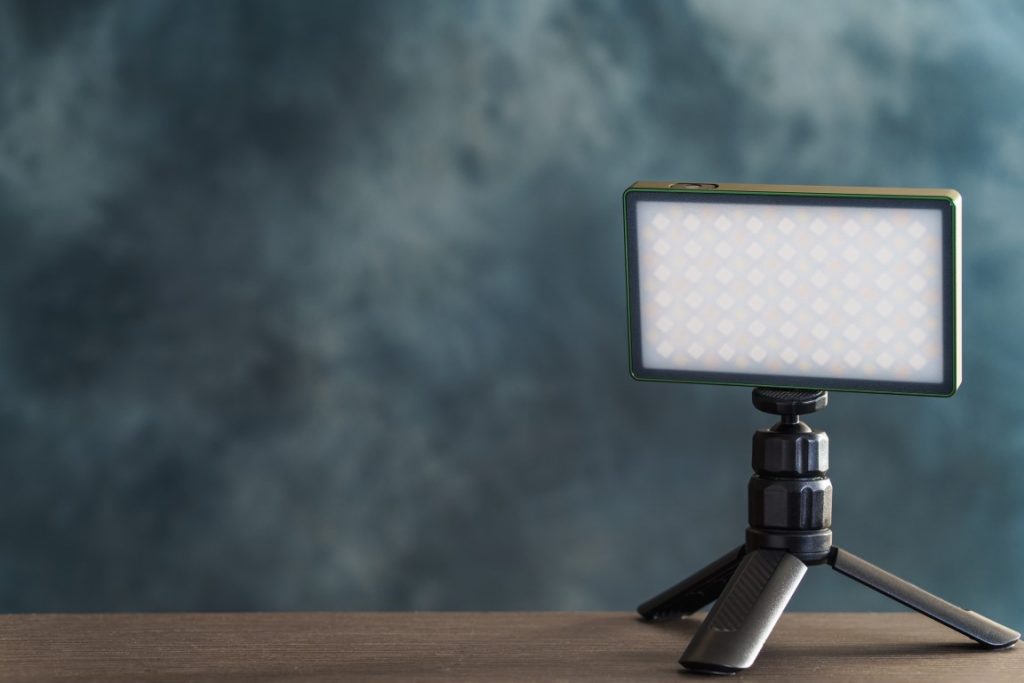
LED Lights in Jewelry Photography: Pros and Cons
LED lights are also becoming increasingly popular in jewelry photography.
They offer a brighter, more consistent light source and are energy efficient.
| Pros | Cons |
|---|---|
| Consistent and efficient light source | May be expensive to purchase and set up |
| Provides good color rendering and accurate color representation | Can generate heat which can cause issues with certain types of jewelry |
| It can be adjusted to achieve different lighting effects | Depending on the intensity and the distance from the subject, shadows can be harsh and require additional lighting or retouching to soften them. |
| LED lights have a long lifespan and low power consumption, which makes them a cost-effective option in the long run | Not all LED lights are dimmable, which can make it hard to control the intensity of light or to achieve certain lighting effects |
I think you have already read Can I use LED lights for product photography article, if not, go through it for detailed knowledge about LED lights for product photography.
However, regardless of the type of lighting you choose, it’s important to understand how to use it effectively to achieve stunning results in your jewelry photography.
Don’t worry, I’d like to share with you the most desirable advanced lighting techniques that can be used in jewelry photography.
Achieving High-Quality Jewelry Photographs with Advanced Lighting Techniques
Let’s go through the most important techniques.
1. Soft Lighting vs Harsh Lighting: Which is Best for Jewelry Photography?
If you want your jewelry photographs to be more natural, then soft light would be a good choice. But, if you prefer more dramatic jewelry photos, then I strongly recommend harsh lighting.
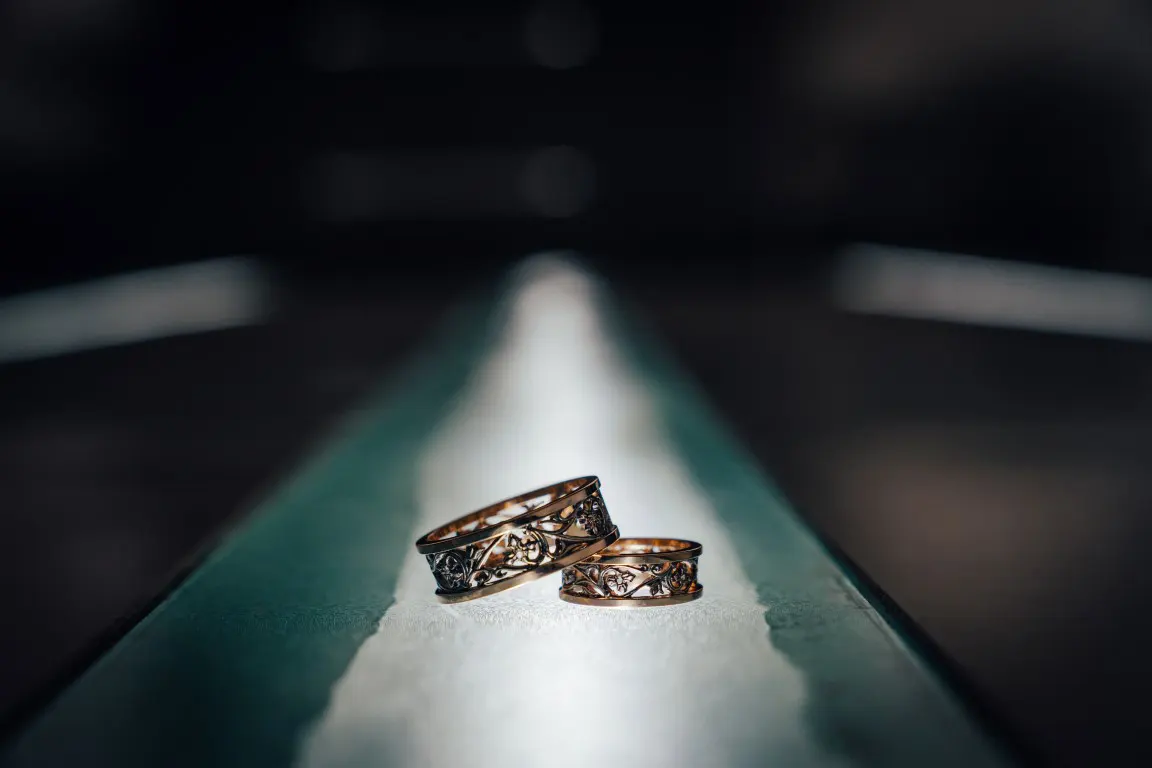
2. The Power of Backlighting in Jewelry Photography
Backlighting is also a popular technique.
It can be used to create a halo-like effect around the jewelry, highlighting its details and making it stand out.
Besides these two techniques, the following techniques give me inspiring results in my jewelry photography.
Source: flickr.com
- Pay attention to the position of the light source and the angle at which it is hitting the jewelry
- Experiment with different lighting setups to find the perfect one that will help to create stunning jewelry images
- Consider the type of jewelry that is photographed
- Find out how the jewelry product looks in different lighting settings
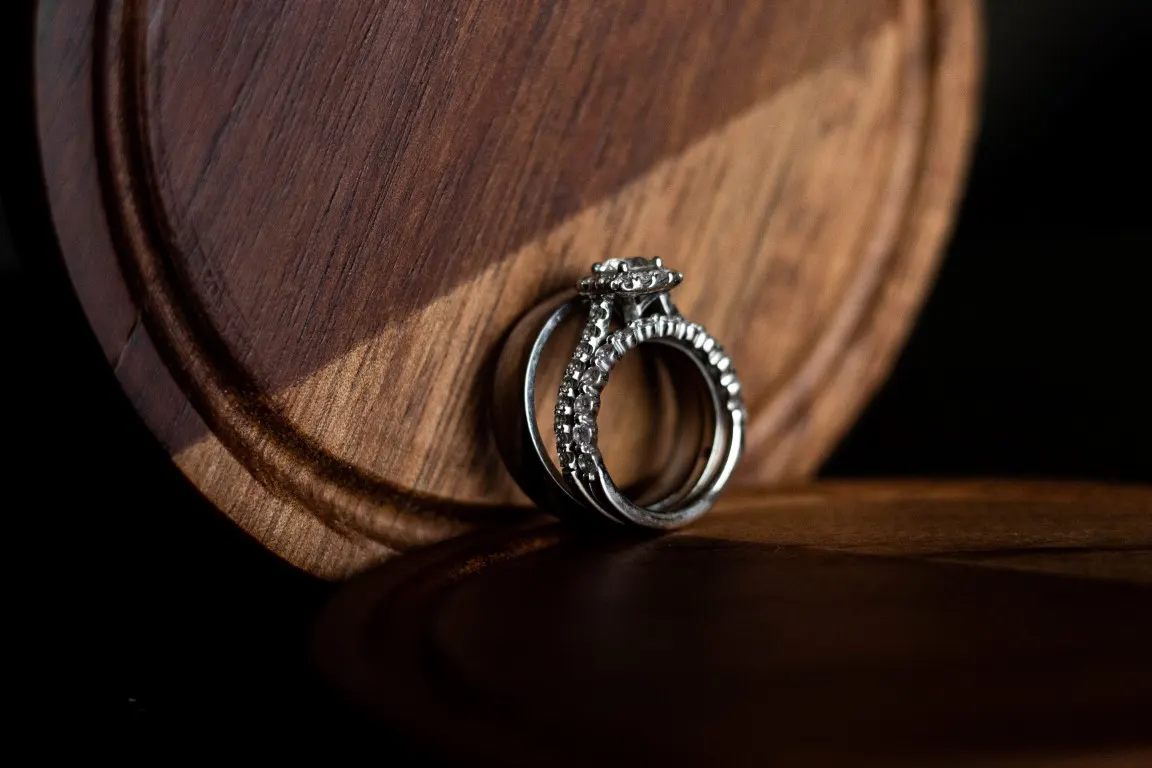
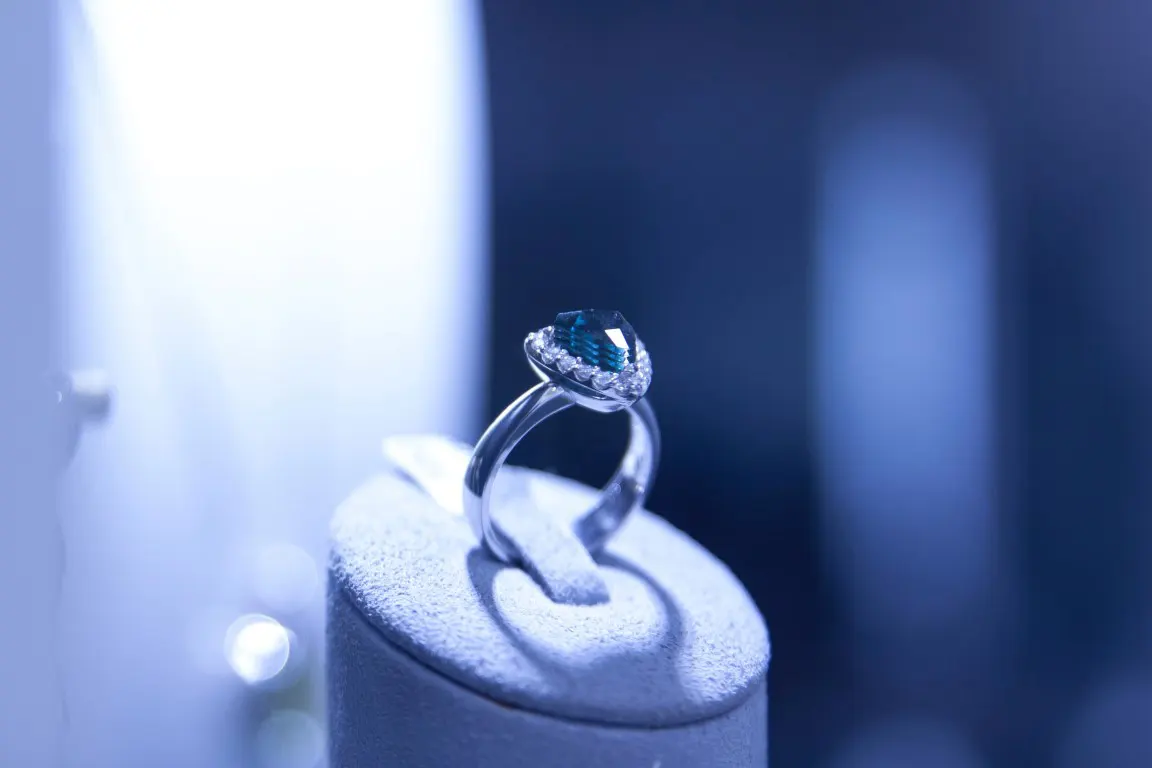
For example, a diamond ring will sparkle differently in soft lighting than it will in harsh lighting.
However, if you wanna get better results from lighting effects on jewelry, remember to use your cameras and other equipment more accurately and effectively.
The Role of Camera Settings and Equipment in Jewelry Photography
The role of camera settings and equipment in jewelry photography cannot be overstated.
So, let’s go through the most important settings of the camera and the necessary equipment.
1. The Basics of Camera Settings for Jewelry Photography
Choosing the right aperture, ISO, and lens can make all the difference in achieving high-quality images.
However, the camera settings used for shooting photos vary from camera to camera.
So, here are some basic adjustments you can make to optimize your camera settings.
Aperture
A wide aperture (low f-stop number) will create a shallow depth of field, making the jewelry stand out against a blurred background.
ISO
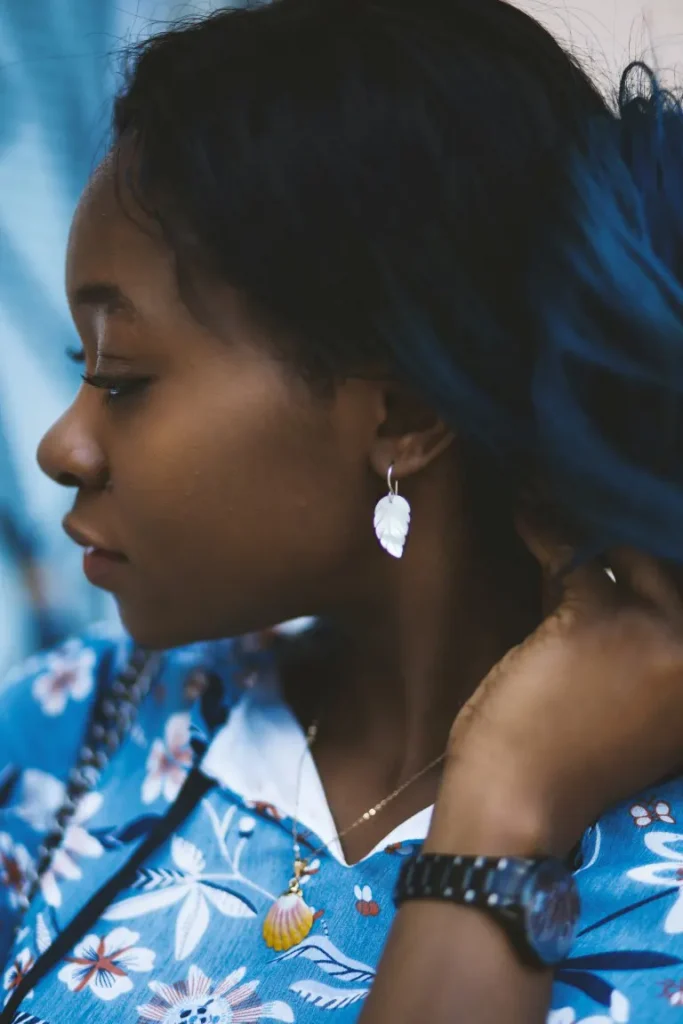
A higher ISO will allow you to use a faster shutter speed.
This is important when photographing moving jewelry such as earrings or bracelets.
2. Camera Settings Based on Lighting
It is also important to note that the type of lighting you are using will also affect your camera settings.
Camera Settings for natural light
when using natural light, it is better to use a higher ISO to compensate for the lack of light.
Camera Settings for Studio lighting
Here, you may need to adjust the aperture and shutter speed to achieve the desired lighting effects.
3. Equipment Essentials for Jewelry Photography
Cameras
It’s important to consider the resolution and image quality, as well as the camera’s ability to shoot in manual mode and capture fine details.
Besides, a high-resolution camera with a large sensor size will be able to capture more details and produce higher-quality images.
With the right techniques, even your smartphone can deliver stunning jewelry shots.
Check out our How to Take Photos of Jewelry with Your Phone article for all the pro tips and tricks to elevate your next jewelry photography shoot!
Lenses
The right lens will depend on the type of jewelry you are photographing.
For example, a macro lens is ideal for close-up shots of small details, while a wide-angle lens can be used to capture the overall design of a piece of jewelry.
A wide aperture, such as f/2.8 or wider, allows for a shallow field depth, which can help isolate the jewelry piece from the background.
So, take your time to understand the settings on your camera and how they can be adjusted to achieve the best results in jewelry photography.
Best Tips for Improving Jewelry Photography
Wanna take more stunning jewelry photos?
Here are my tried and true tips for capturing the perfect shot every time.
- Use a lightbox for diffused and even illumination
- Edit images using software to correct lighting and color issues, crop, and resize
- Style the jewelry with props and accessories to complement the jewelry
- Pay attention to the background, a plain background will help the jewelry stand out
- Use a macro lens for close-up shots of small details
- Familiar with the settings on the camera and how they can be adjusted to achieve the best results
Follow these tips to improve your jewelry photography and achieve stunning results that will help you stand out in the industry.
Jewelry Photography Lighting through Real-World Examples
One of the best ways to learn about jewelry photography lighting is through real-world examples.
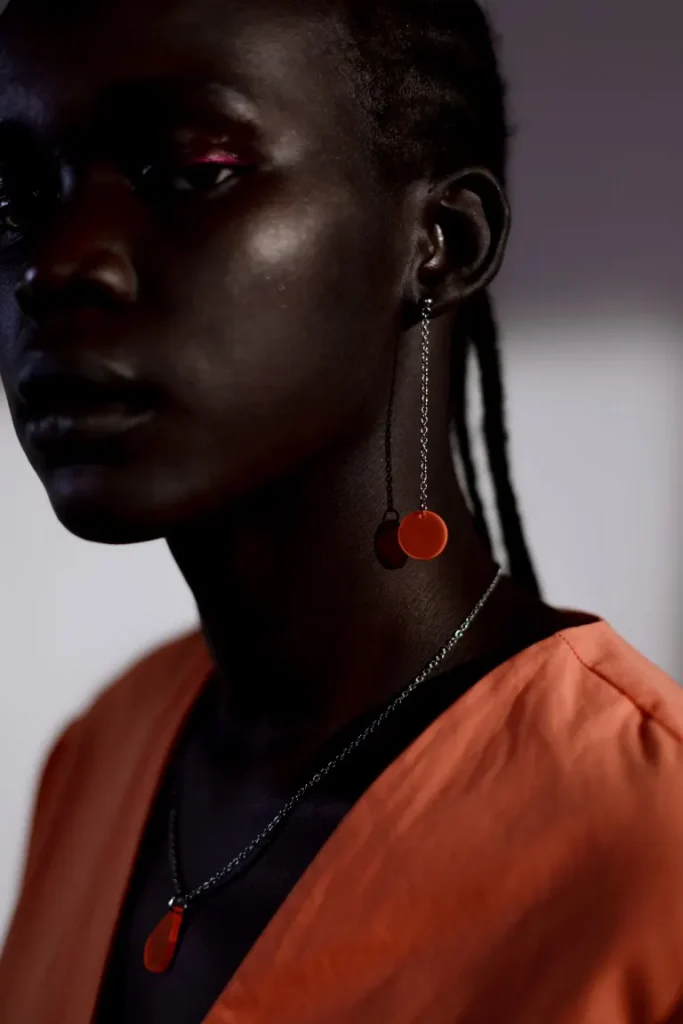
Tiffany & co.
Source: tiffany.com
Chain product photography using the best possible harsh light
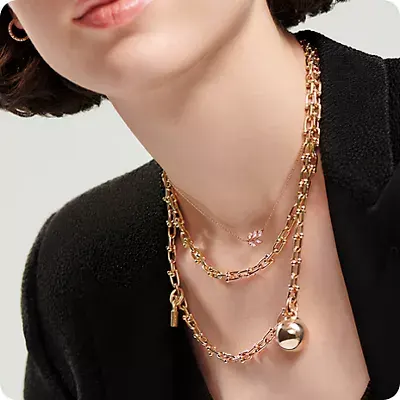
Cartier
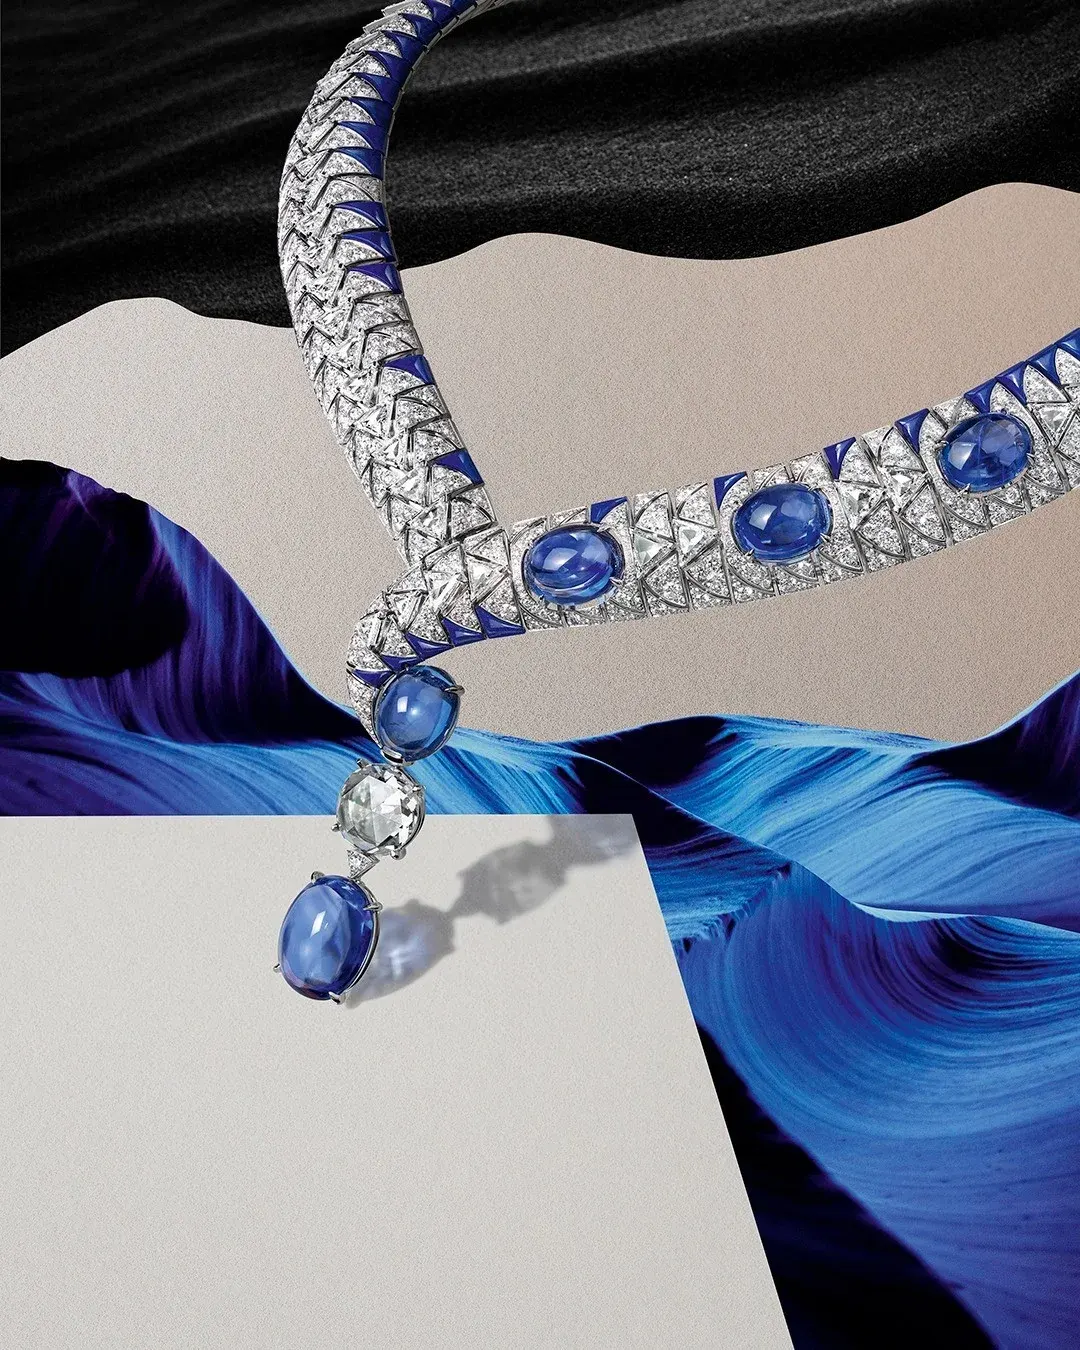
Source: cartier.com
The necklace photo highlights the craftsmanship and beauty of the piece in a more creative way
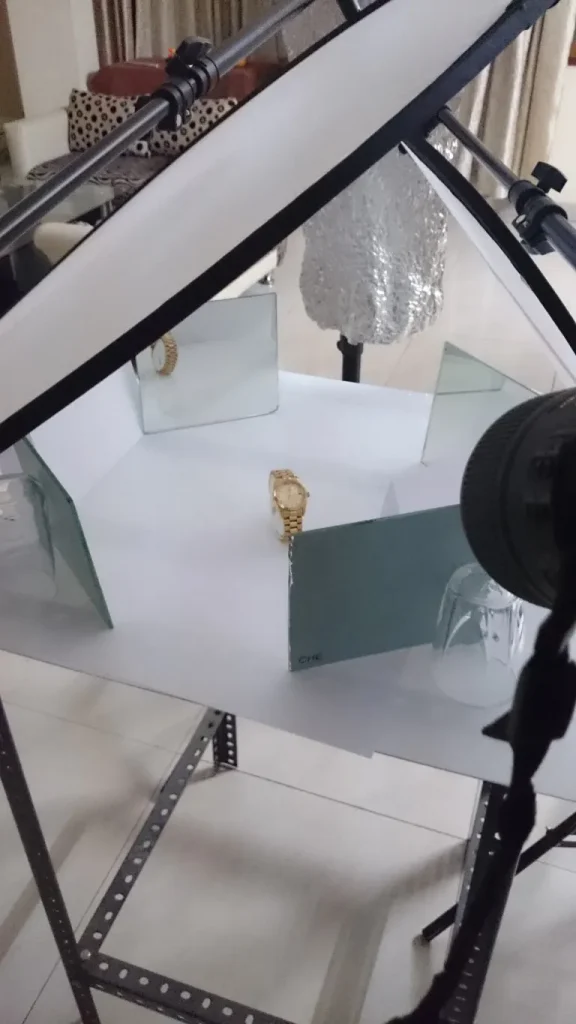
Rolex
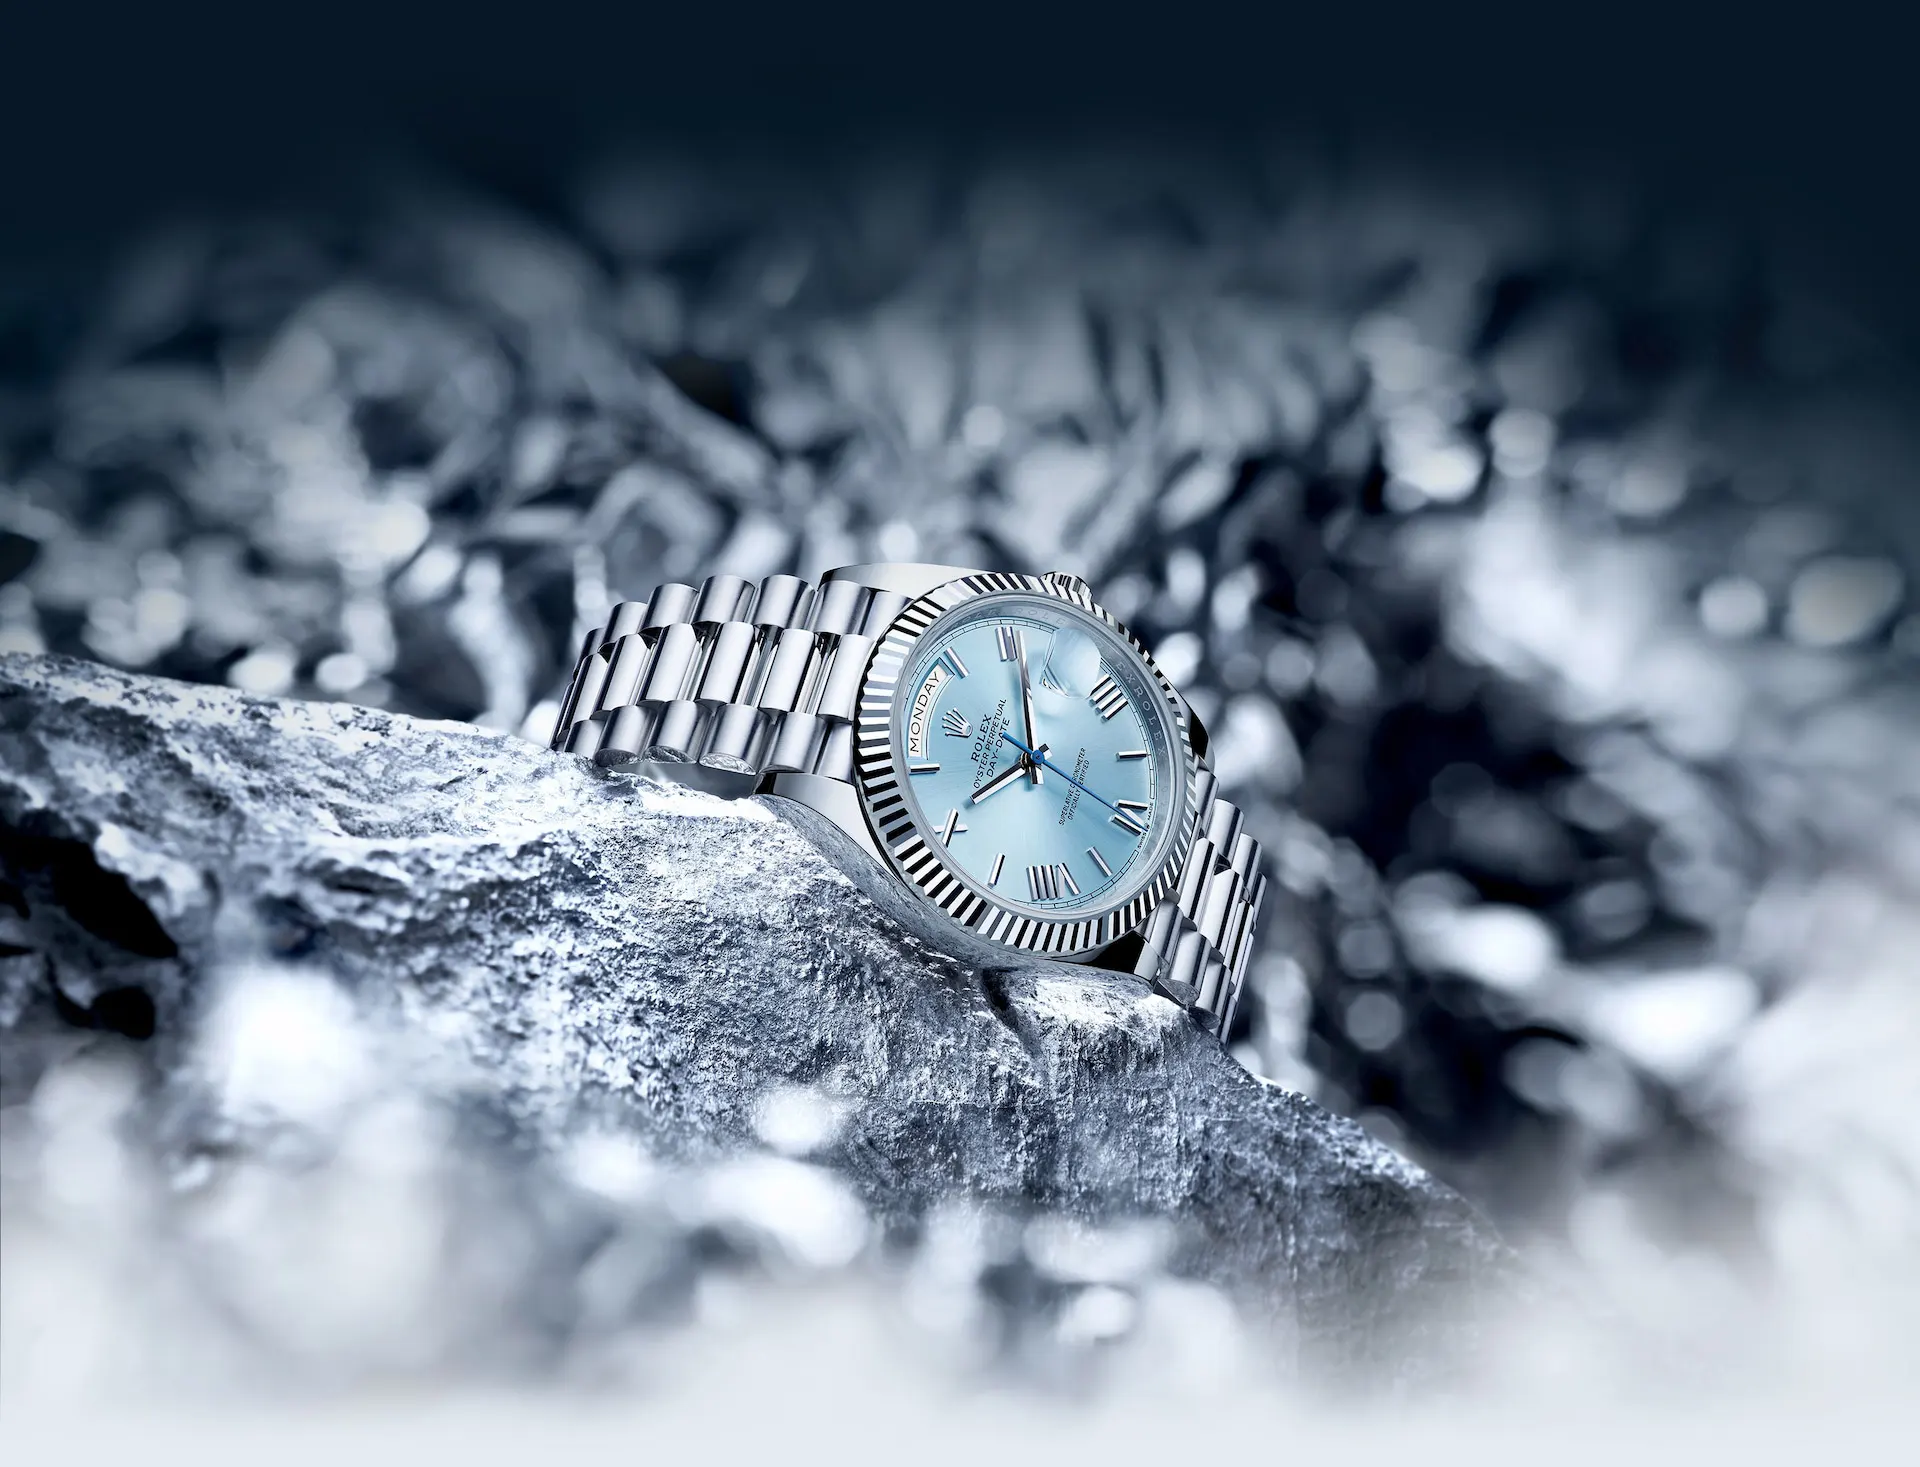
Source: rolex.com
A photograph of a watch with good use of light with a halo effect on the jewelry
These images of top jewelry companies will help you understand how to apply the concepts and techniques discussed in this article for professional-looking jewelry photographs.
They will also give you inspiration and ideas for your jewelry photography shoot.
Conclusion
This article has covered the key elements of jewelry photography lighting, from types of lighting to techniques and equipment.
Remember to experiment with different lighting setups and angles, pay attention to the background and styling of the jewelry and follow the tips and tricks provided in this article, and study real-world examples through case studies for more stunning results.
Justin Parker is a professional photographer and has been in the industry since 2007. He attended the University of Georgia. Justin combines his passion for photography and his interest in writing to give life to this blog which talks about photography in order to help and inspire young photographers.