If you want to learn cool photography, then learn how to use a spotting scope, why you should need it, and much more.
However, if you do not know what spotting scope means, then let’s read that first.
In this article, I’ll explore everything you have to know about spotting scopes in photography from the experiences I gained from using spotting scopes in my photography journey so far.
Let’s dive in!
What Does Spotting Scope Mean, and How It Can Benefit You?
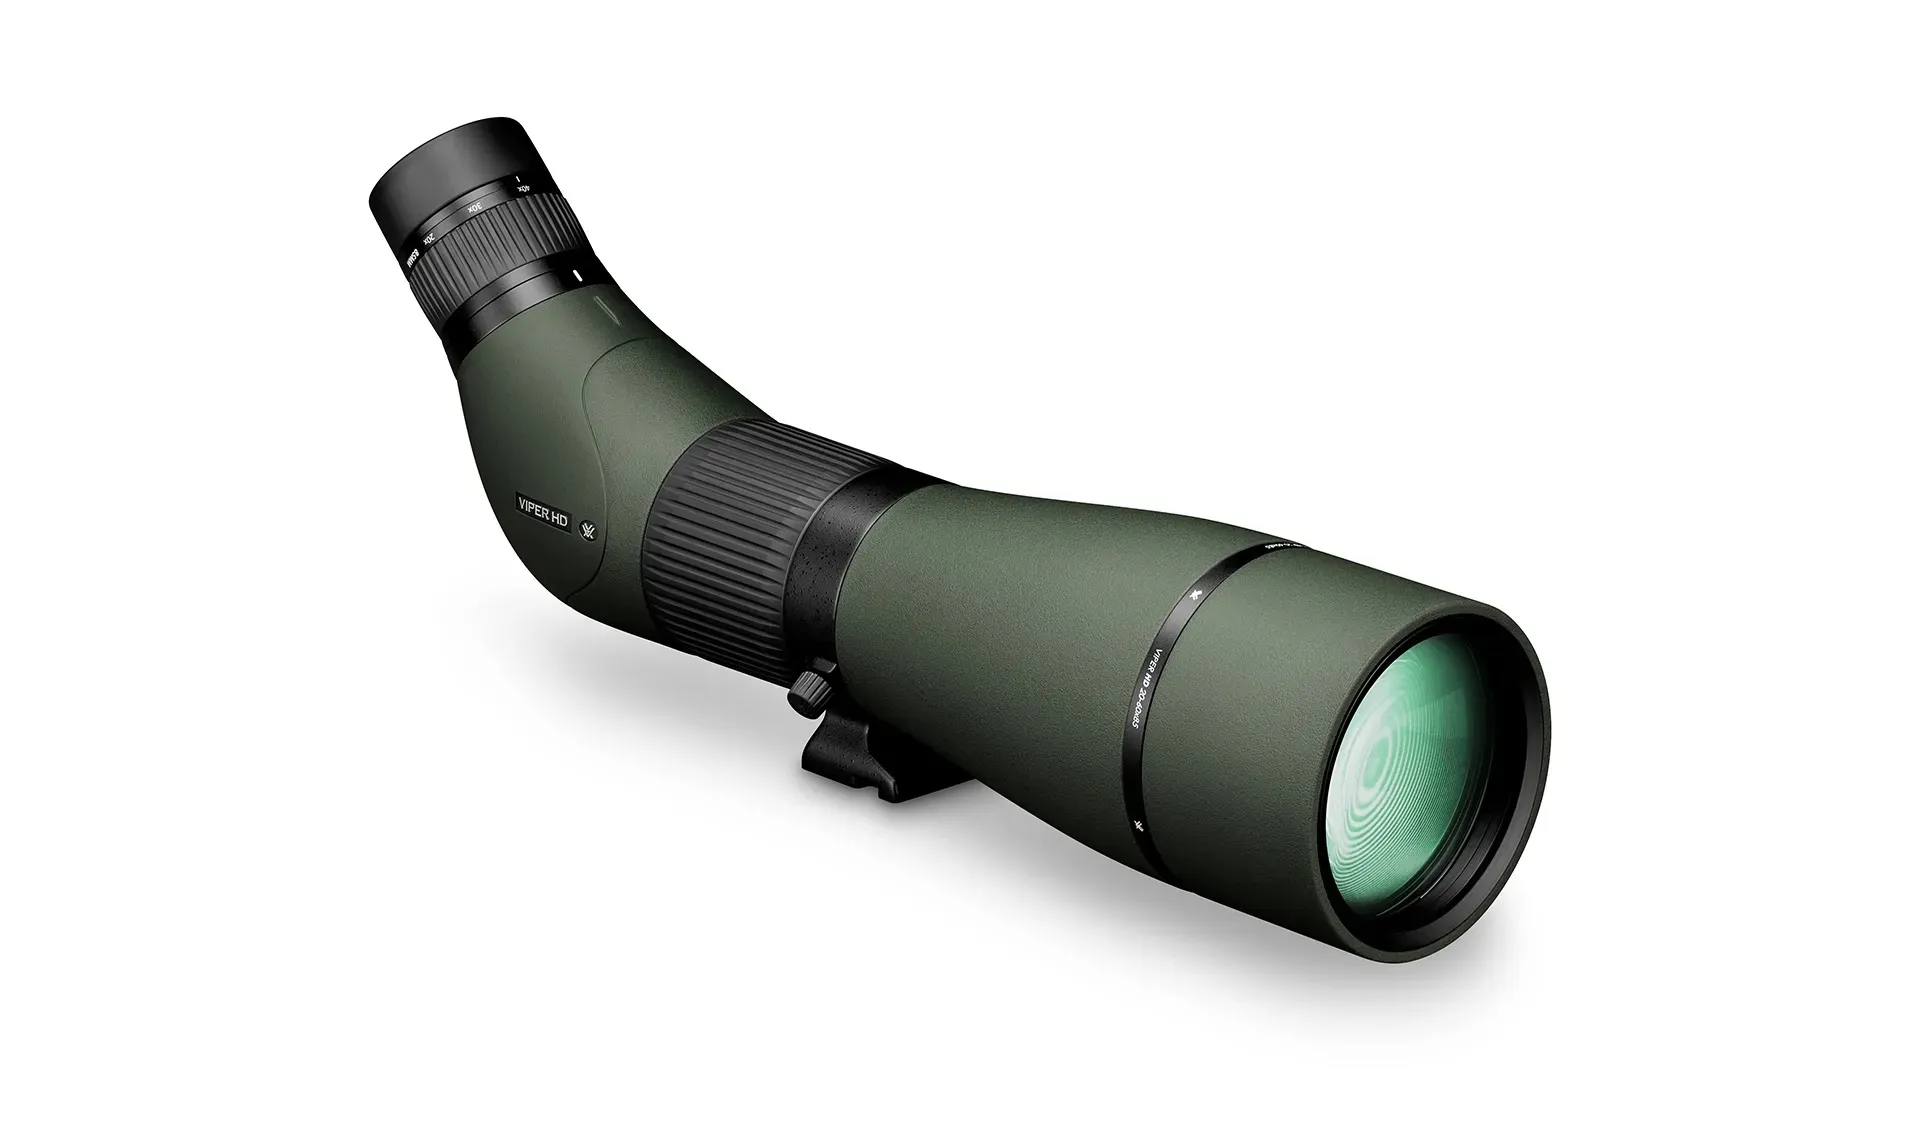
Source: vortexoptics.com
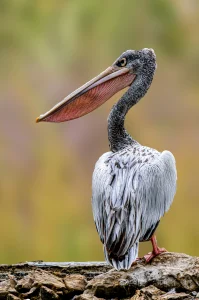
The spotting scope is a smaller telescope that works as a larger telescope to form the image. Besides that, it produces an upright image than the telescope, resulting in your task of taking photographs becoming easy.
Moreover,
- The lenses are far much better as their lenses work against humidity, refraction, and dust particles.
- It is easy to adjust and suitable to take natural photographs.
- As per the expert’s review, a spotting scope is the best way to shoot the natural world.
Thus, we have rounded up the important things regarding spotting scope, which you should know about. So, read on.
How Do You Use a Spotting Scope?
A spotting scope is basically used to take a picture of nature and wildlife, as it offers great magnification than binoculars.
Thus, you will become handy in most situations such as shooting, hunting, birding, viewing landscapes, digiscoping, and some astronomy as well.
Spotting Scope Tips for Use in Photography
Let me share some tips that I’ve used to capture cool photographs using a spotting scope. You might find them useful as well.
- Choose the right spot to take pictures.
- When you are shooting wildlife, you need to have a still camera; even a slight shake can blur the whole photograph. Thus, pair the scope with a tripod for the right photography.
- Consider the atmosphere as on humid or foggy days having blur vision is common.
- Keep your eyes on the shot, as shooting wildlife is more about patience.
My Tips: Use manual focus to create unique effects, like bokeh or selective focus
How to Take Photos through a Spotting Scope?
Shooting outside is always exciting but frustrating too if you are unable to take good photographs for the whole day.
So, I’ve shared a short guide on taking photos with a spotting scope.
1. Choose the Right Camera
Not all cameras yield the best photographs when I use them with a spotting scope. Thus, if you are shooting with a spotting scope, choose DSLR or Smartphone to avoid frustration.
At the same time, point-and-shoot used to take full advantage of a smartphone camera, as they are highly advanced now than in the past.
The camera and Smartphone both can give ease to bring out the quality image.
2. Keep Things Steady
Perhaps you know that while shooting, you need to keep all things steady to take the best photograph. If you’re new to digiscoping, then probably you’re not aware of how to do this.
The slight shake can spoil the whole moment of capturing the shot. And that’s because of higher magnification. However, when you have added a tripod, things can be easy for you.
If you think you can hold the camera for a full-day long, then you would indeed end with blurry photos.
My Tips: For crispy shots, you need to look for things that keep your camera still and calm.
3. Add Lens Hood
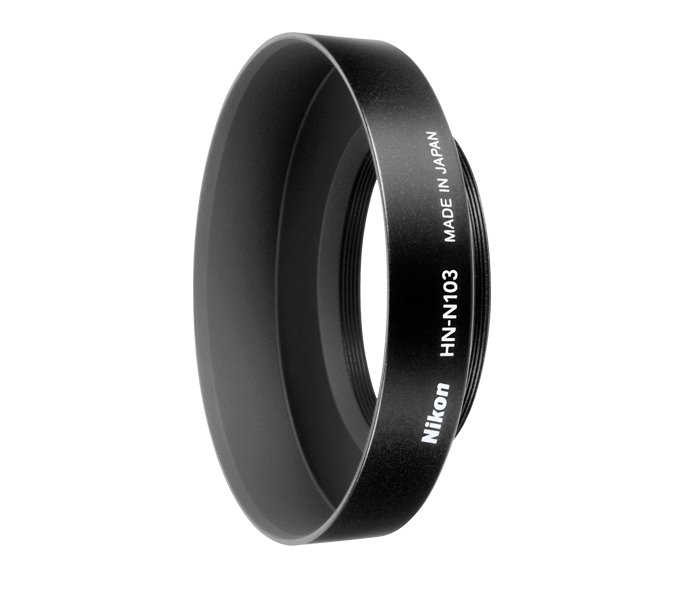
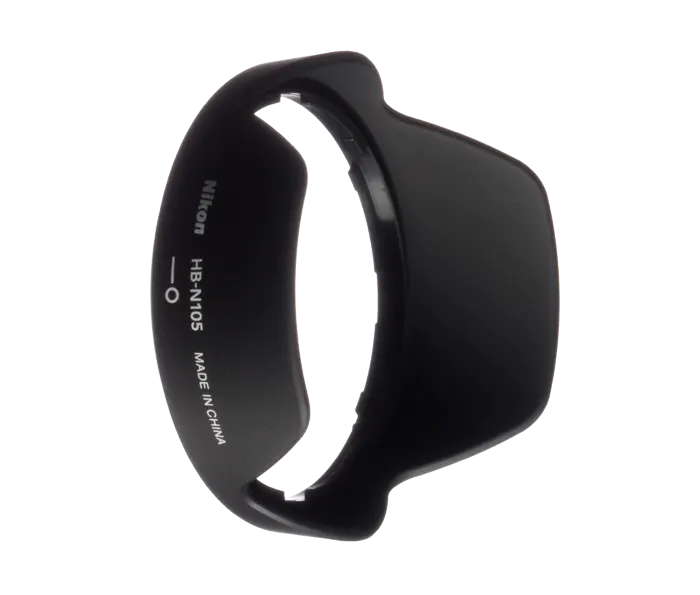
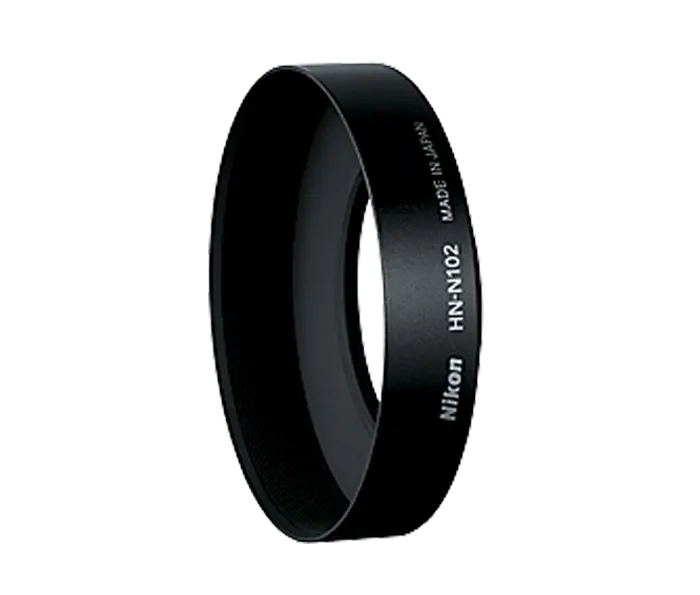
Source: nikonusa.com
I always try to use lens hoods in my adventure photography when I use a spotting scope.
However, it becomes critical when you are using digiscoping.
You might need plenty of light to get a clear image, and it should be coming from the right source. However, excessive lights may ruin the quality of your picture and you don’t find yourself good.
My Tips: Use a simple lens hood to get clear and balanced lights for photographs.
4. Choose the Right Adapter
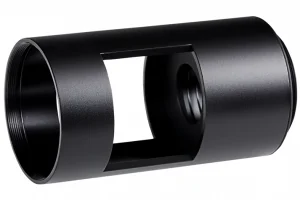
Source: praktica.com
Having the right adapter with the camera is also critical for a good photo shoot.
You will find from the range of adapters in the market but choose one that goes perfectly with your camera type ad model.
How Do You Connect a Camera to a Spotting Scope (or Digiscoping)?
If you’re using a DSLR camera, so look at the step-by-step guide to attach it with a spotting scope.
Step 1- Connect the Adapter
Before attaching the camera, your first step is to connect the adapter to a spotting scope. You will find various adapter types that fit with telescopes with a manual guide.
However, if you choose Nikon adapters, then read the guide and fit the FSA-L2.
Step 2- Connect the Camera
Once your adapter is connected, then connect the camera with a spotting scope.
With Nikon versions, your camera straight fits with an adapter, but for the scope, use a T2 adapter in Nikon and Nikon F to fit the camera with the adapter.
Step 3- Make Settings in the Camera
After connecting the camera to an adapter, do the desirable settings on it. Most cameras come with a manual guide, so you can read instructions and adjust them accordingly.
Besides, in changing light functions, aperture mode is the best to adjust.
Step 4- Turn on Auto ISO
Well, you cannot adjust the aperture with a spotting scope, but with auto ISO settings, you can do it without relying on the shutter speed.
My Tips: Make sure to limit ISO 1600 with a shutter speed of 1/500 sec for the best results.
Step 5- Frame Your Shot
With the huge magnifications with digiscoping, finding the frame can be difficult.
Thus, move your telescope until you find the best frame for a shot with the viewfinder.
Finally, take your shots!
Why Might You Want to Use Digiscoping?
Having a clear and close-up shot of birds or nature from a long distance is simply satisfying.
Not only this, birds are unaware of your presence, so you might receive an opportunity to shoot them uniquely, and they behave naturally an obvious delight to watch.
Detailed photography and close capturing are the important benefits that might push everyone to use digiscoping for getting mesmerizing collection.
Best Practices for Digiscoping
For the best wildlife photography, one must use the given tips to get the most out of digiscoping.
- Use tripod
- Try correct diameter
- Buy the best spotting scope for photography
- Choose the right camera
- Focus
- Add filters
- Do practice
- Be calm
- Overcome the dark apartment and movement in photos
My Tips: Regularly check for alignment issues or lens damage and seek professional help if needed.
DSLR vs. Smartphone for Digiscoping

Source: praktica.com
Now, if you are in confusion about what to choose, a DSLR or a Smartphone for digiscoping, thus, for ease I’ve compiled some of the pros and cons of both so you can choose the best for you.
DSLR for Digiscoping
During my adventure photography shoots, when I utilized DSLRs for digiscoping, I discovered both advantages and drawbacks of employing DSLRs in this context as follows.
| Pros | Cons |
|---|---|
| • Perfect for experienced photographers • Get higher-quality images • Have more control over images | • Expensive • Take time to upgrade |
Smartphone for Digiscoping
Source: konuscopes.com
The following facts were found when I use my smartphone for digiscoping. I hope they will be useful for you.
| Pros | Cons |
|---|---|
| • Perfect for point-and-shoot photography • Easy to use • Help to make necessary adjustments • Make videos and pull out images from it | • May not give high-quality images • Not perfect for clicking any kind of image |
How Do You Use DSLR with a Spotting Scope?
All you need is to just follow these steps.
- Connect your camera with an adapter
- Adjust F-ratio
- Adjust contrast
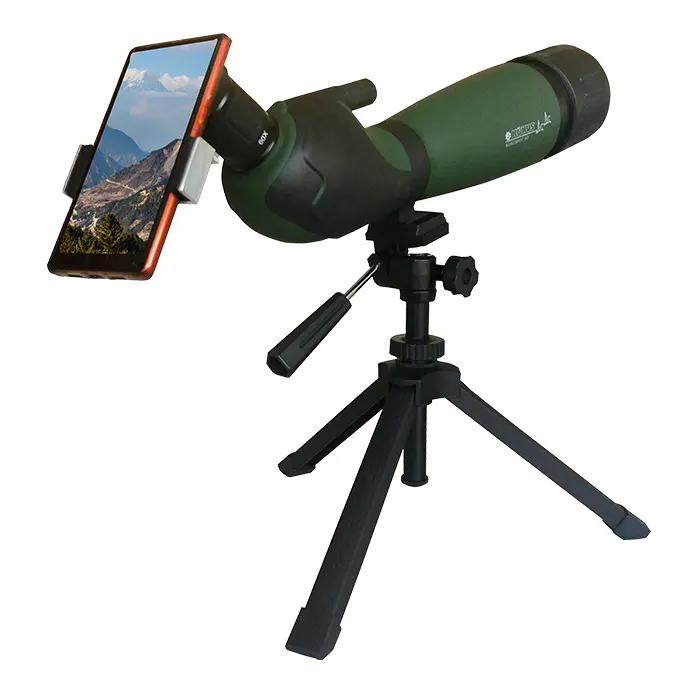
How Do You Use a Smartphone with a Spotting Scope?
It can be done easily with the following steps.
- Use a tripod to stabilize the camera
- Pre-focus on contrast and lights
- Be patience
- Shot with Hipstamatic app
Besides, if you are interested in sharp photography of birds, a spotting scope is perfect. Having the right smartphones and following some techniques, it will make for cool bird photography shoots.
Check out how to take pictures of birds with a smartphone to know more about smartphones and techniques I found in bird photography.
Troubleshooting Tips When Using Spotting Scope
During my shoots with a spotting scope, I encountered a lot of challenges.
So, I’ve experimented with different ways to overcome those. I’d love to share my most successful solutions to common problems.
- If your images are shaky, ensure your spotting scope is securely mounted on a sturdy tripod.
- For poor lighting conditions, try adjusting your camera settings (ISO, shutter speed, aperture) or use an external light source.
- If you’re having focus issues, try adjusting the focus manually or use the autofocus lock feature if your camera has one.
Besides, I found an interesting video guide on digiscoping with a spotting scope. You can refer to it too.
Conclusion
In conclusion, this article offers comprehensive insights into using a spotting scope for photography, drawing from my experiences.
It covers equipment selection, digiscoping with DSLRs and smartphones, and provides practical tips and solutions to common challenges.
Whether you’re a novice or an experienced photographer, this guide aims to enhance your spotting scope photography journey.
Justin Parker is a professional photographer and has been in the industry since 2007. He attended the University of Georgia. Justin combines his passion for photography and his interest in writing to give life to this blog which talks about photography in order to help and inspire young photographers.