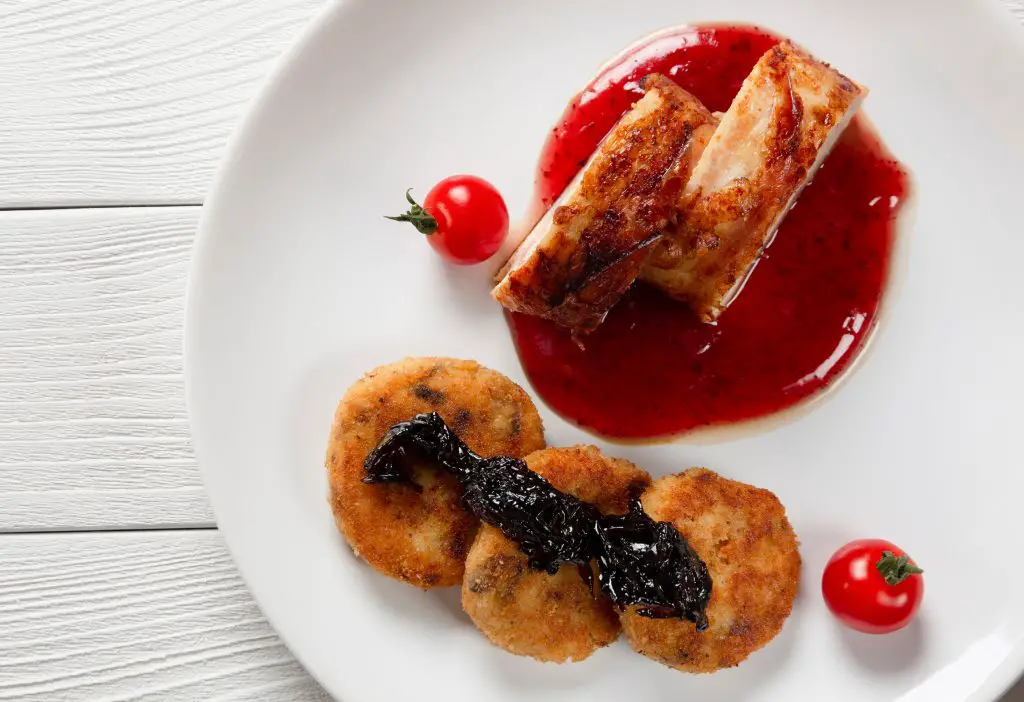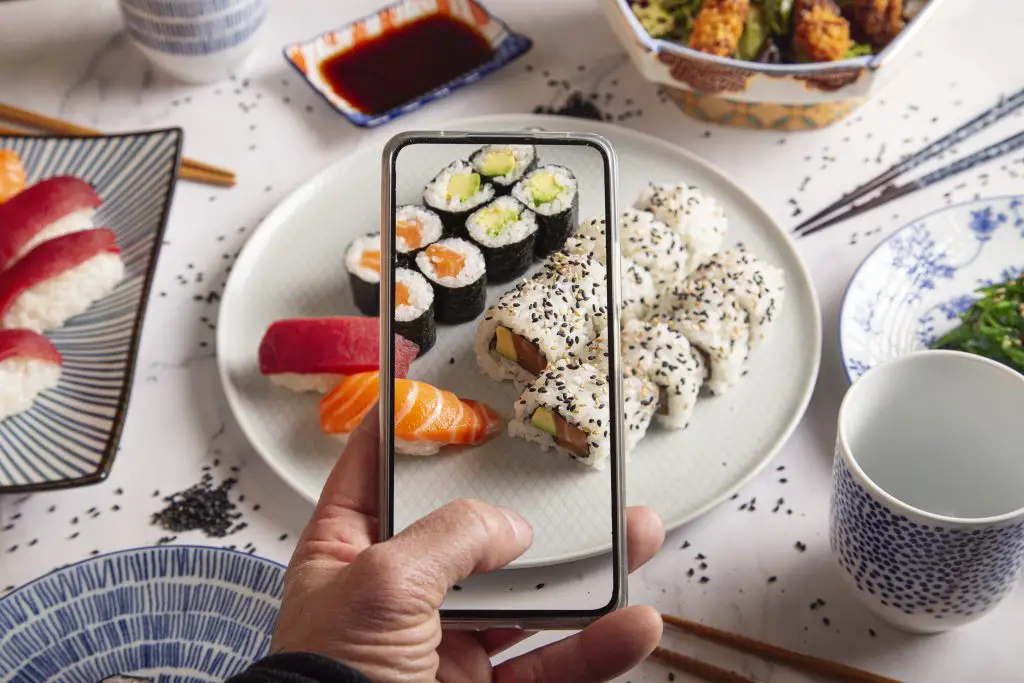
Yes! Taking professional-quality food photos with a smartphone using the available light on your phone may seem easy, but it’s tricky.
Even if you’re a beginner, you may use a few easy strategies to produce mouth-watering photographs.
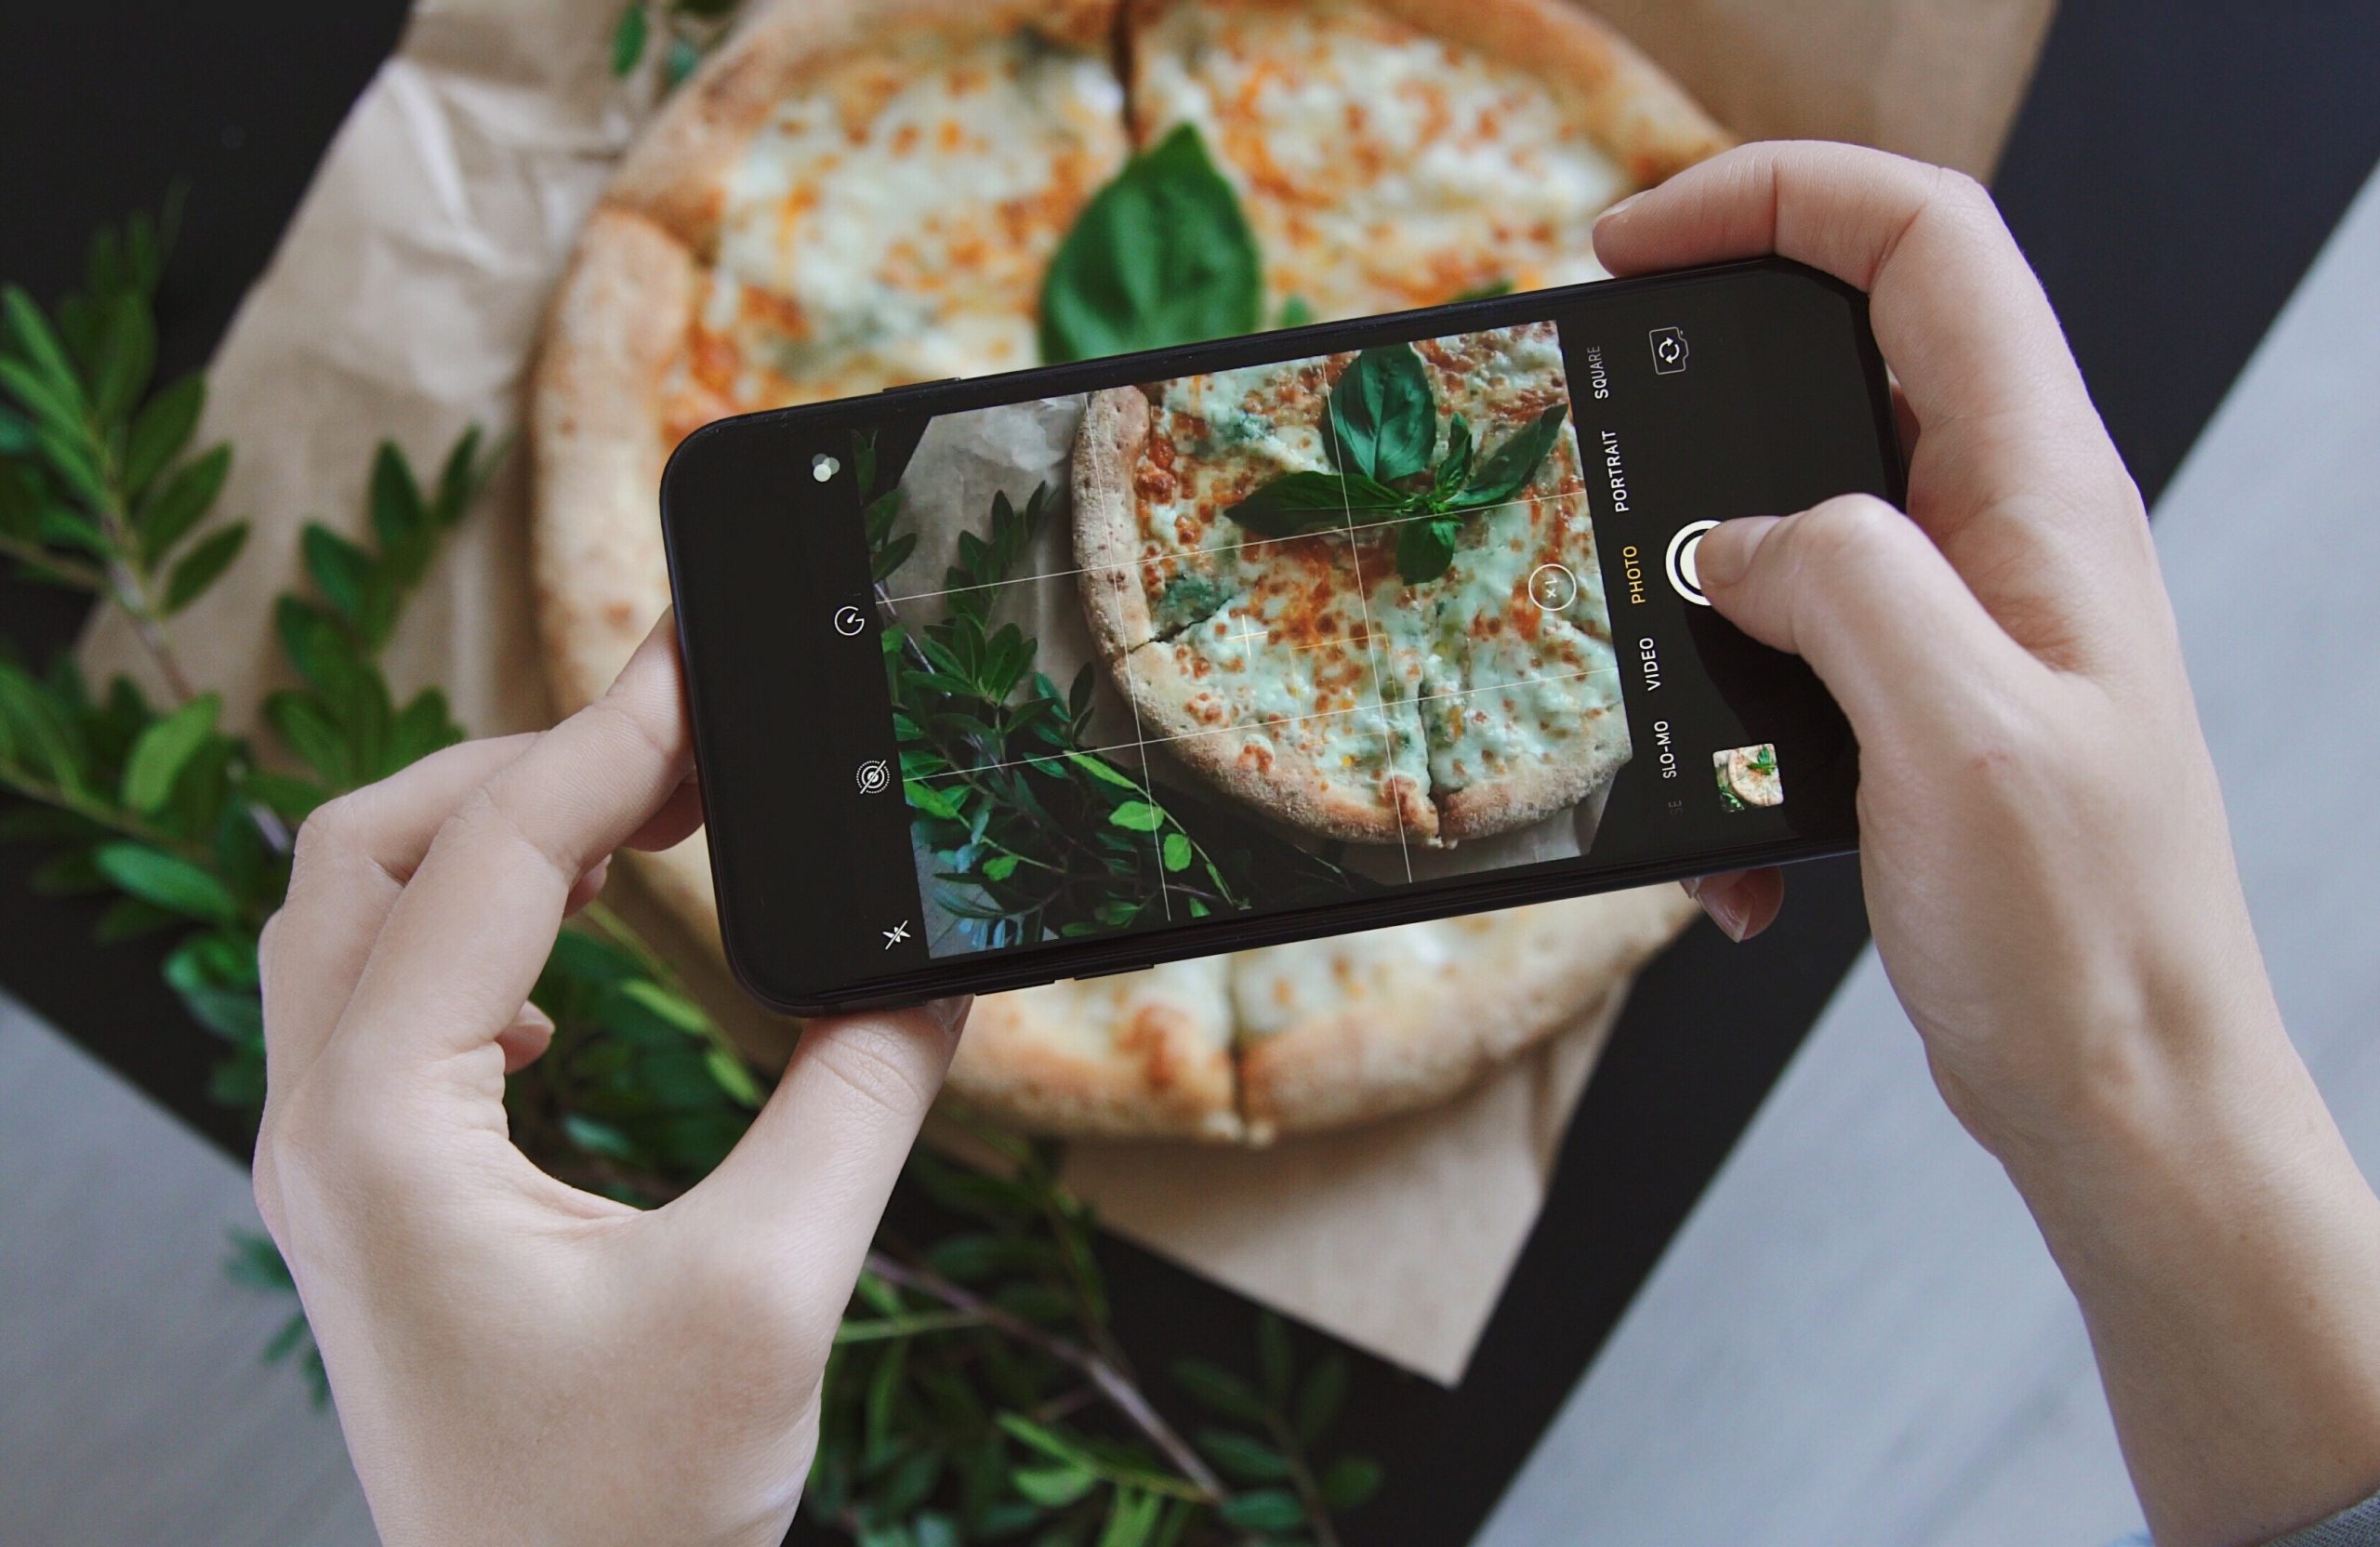
You can produce narrow depth-of-field effects using settings such as ‘Portrait’ on most smartphones these days, while various lenses may also be employed for diverse compositions.
Keep scrolling! You can utilize all of the professional food photography tips and tricks provided here regardless of whether you have an Android or an iOS device.
Food Photography With iPhone
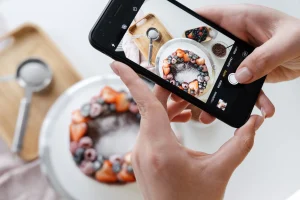
iPhone food photography frequently needs some degree of post-processing.
In either Photoshop or Lightroom, you may perform this kind of editing. Photo editing programs such as Instagram and VSCO may also be used to enhance your photos.
You can also edit your food images on your iPhone if you utilize the essential tools.
• What are the Essentials of Using an iPhone for Perfect Food Photography?
You don’t need much more than an iPhone and whatever you’re serving up to get started in iPhone food photography.
To improve your food photography, you will need a few more equipment items.
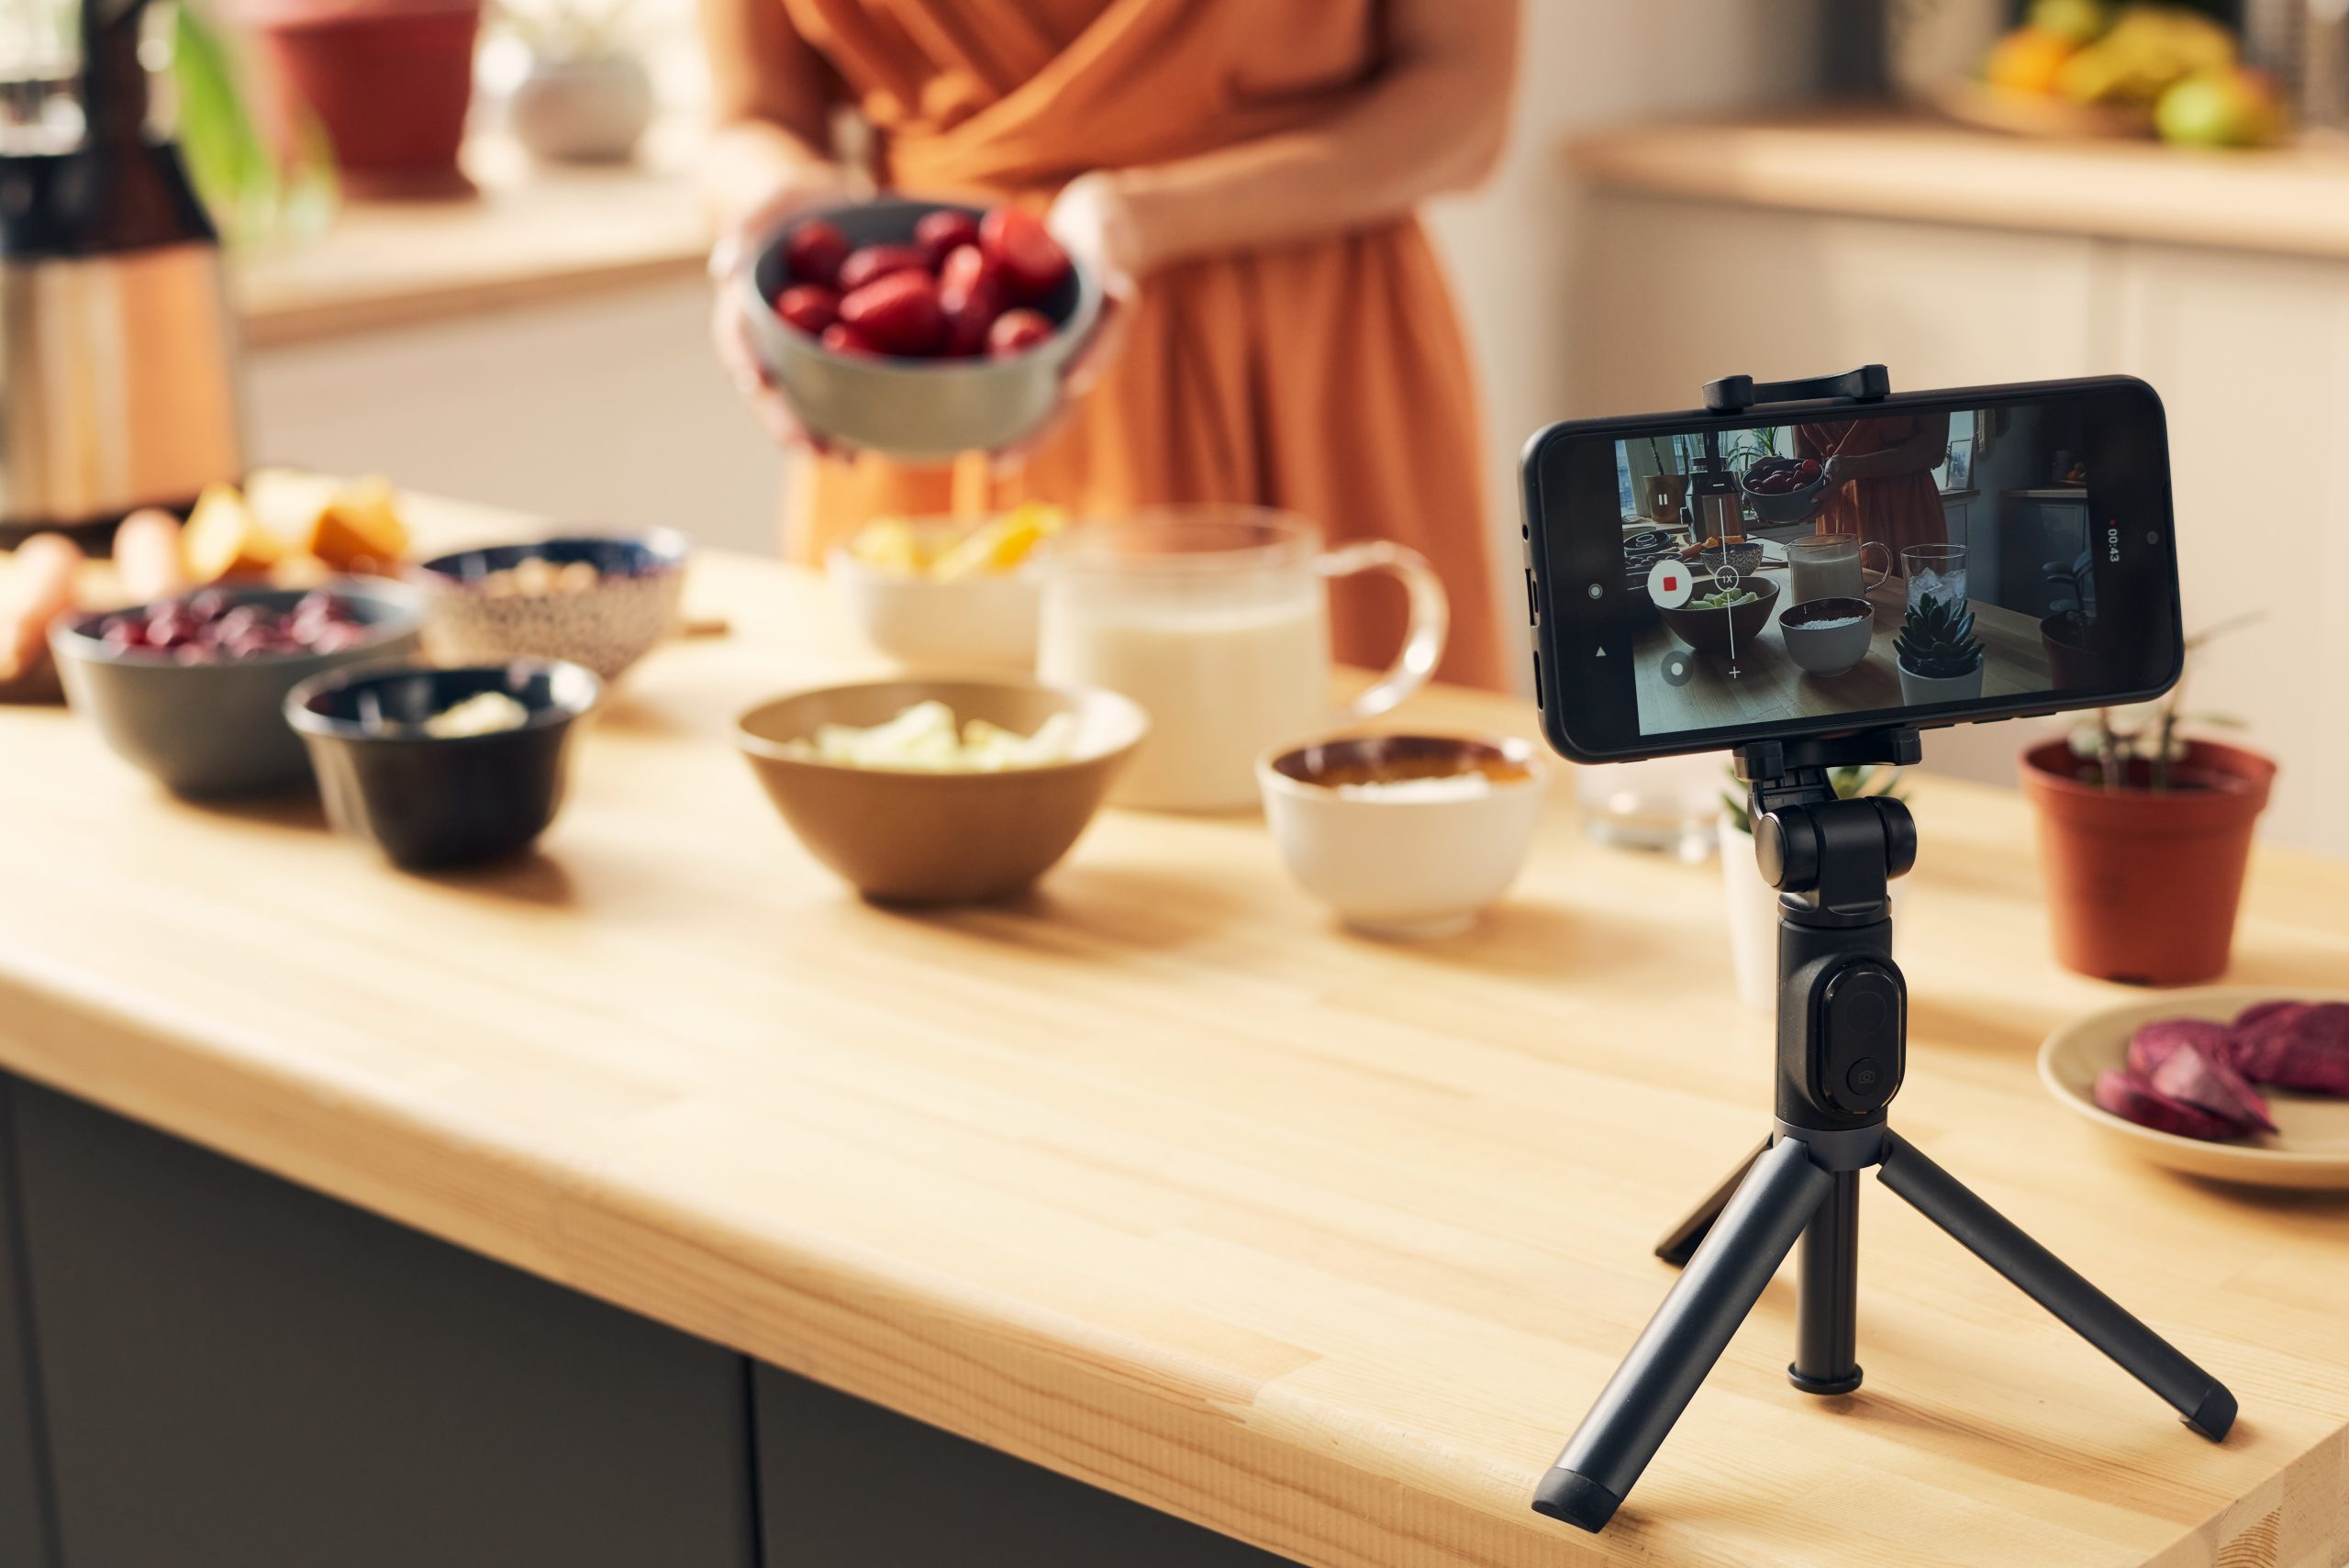
1. A Tripod with such a Rotating Central Column:
Any tripod will do for sharp food photography, but a movable center column on the tripod will allow you to take shots and films from above with no need for your hands.
2. A Camera Holder That May be Used to Photograph from Above:
For food photography, Manfrotto has created a clip that can be attached to the tripod’s middle column.
This is critical if you’ve ever had to retrieve your phone from a bowl of soup!
3. A Shutter that Can be Opened and Closed Remotely:
Camera shaking may be reduced by using affordable remote shutters.
You can also use the time in the camera app as an option.
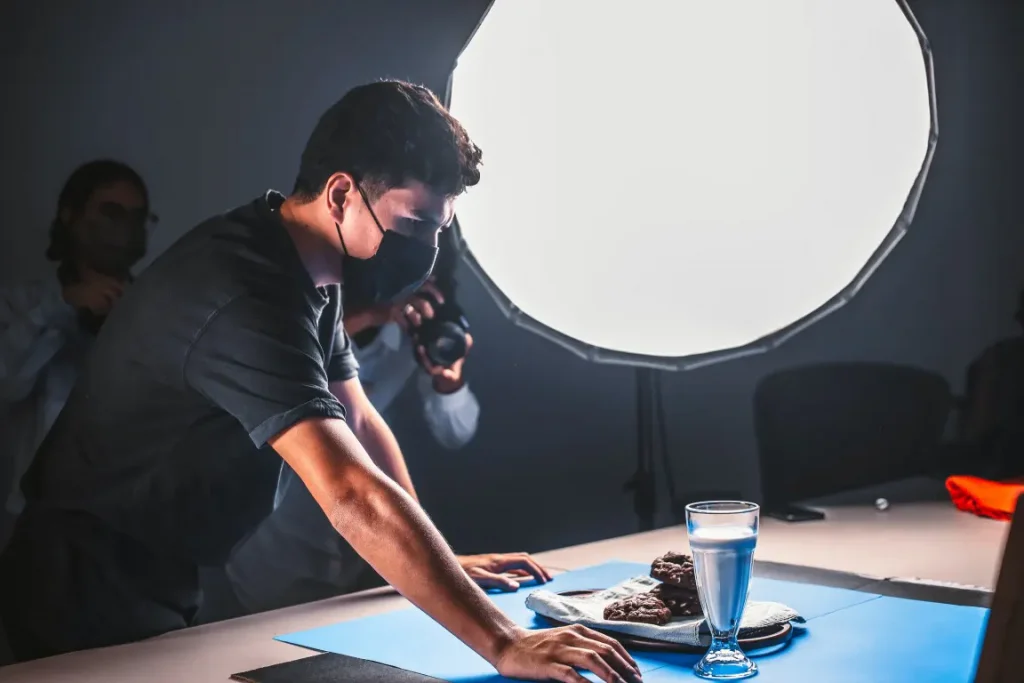
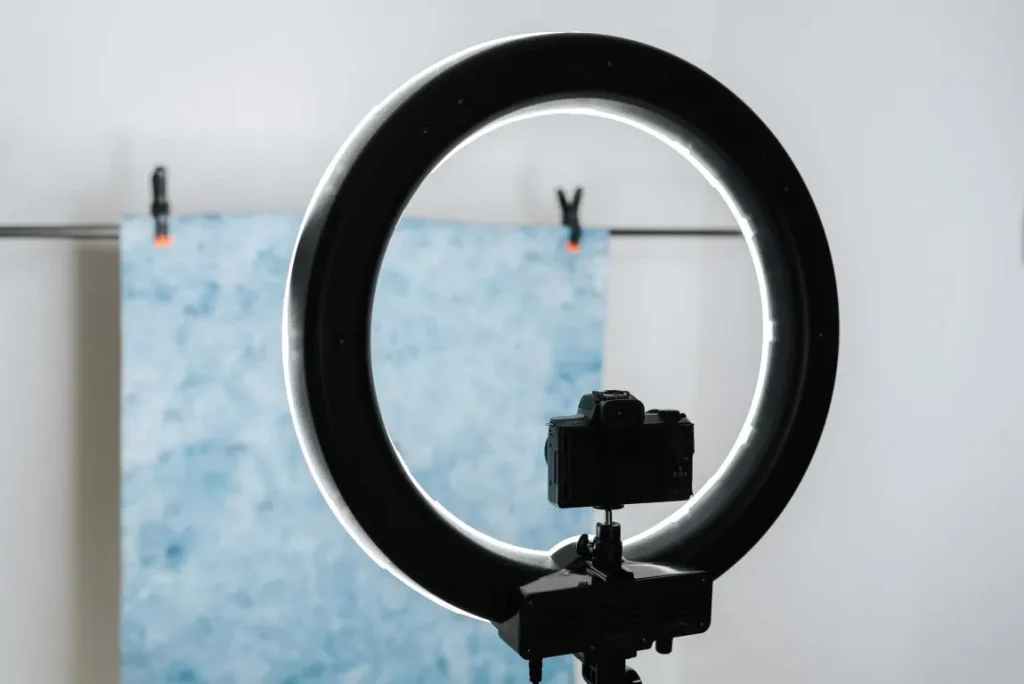
4. A Source of Light:
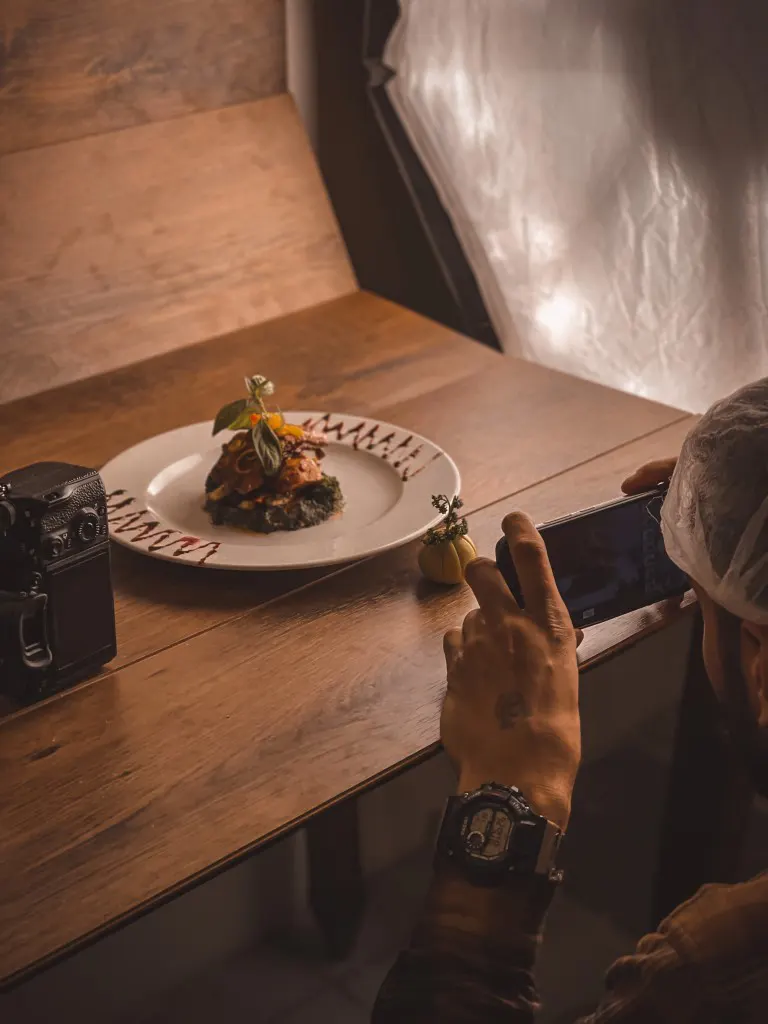
The light source might be either artificial or come from a window.
• How Do I Take Crispy Food Pictures on My iPhone?
1. Make Use of Natural Light:
Photographing food is best done in natural light whenever feasible. Enhance the appearance of your items by using a light source that illuminates them in their most accurate form.
Digital catalogs rely on colors to give buyers a true sense of what they’re purchasing.
If you want to photograph your meal in natural light;
- Set up a table near the window or go outside to obtain better lighting
- The shadows generated by direct sunlight might distract from the focal point of your shot, which is your meal
- Using light white cardboard, paper, or tissue on the other side of the room to reflect light will help if you only have one blend of organic light
Alternatively, if the light is too bright, you may use your white paper as a filter.
2. Using the iPhone’s Flash is a No-No:
Avoid using your iPhone’s automatic flash while shooting food shots. Often, it causes an intense glare that detracts from the clarity of your photographs.
LED lights and other artificial lighting produce an unappealing yellow cast in images taken with an iPhone camera.
3. Shoot Fresh Food:
We are confident you don’t want your food items to seem dull and unappetizing in your catalog.
Please take pictures of your food as soon as you can once it has been prepared.
Their actual textures and hues will come to light, making them more appealing to the eye.
• Apps For Food Photography iPhone
Everyone who enjoys eating, preparing, and looking at food enjoys clicking on the picture of a mouthwatering dish they’ve just sat down to eat.
Due to lighting or even other factors, the sweetness may not be captured in the photograph.
Whether you’re a professional chef, an aspiring one, a food blogger, or someone who appreciates fine cuisine, these iPhone and iPad food photography apps will come in handy.
We’ve got a list of resources to aid you;
1. Photoshop Express Photo Editor
You can edit your photos like an expert on the go with this simple app.
- The ability to modify a portion of a picture using several layers selectively
- Can complete control over the brightness, contrast, and other aspects of the image
- Free picture effects, custom sticker makers, border, and text possibilities are all available
Overall, you’ve got everything you need to make the food in the photo appealing, well-lit, crisp, and enticing.
2. A Color Story
Food photography necessitates the use of the correct color setting. It might be the difference between a “yummy!” and a “meh!” response.
On the other hand, this software aims to bring out the picture or video’s freshness and color.
- 500+ filters
- 120+ moving effects
- 20+ sophisticated tools like HSL and selective editing are all included
As if that weren’t enough, bulk editing, grid previews, and planning are all included on Instagram!
3. Snapseed
This is an all-in-one picture editor for any gourmand, developed by Google.
- You’ll find 29 powerful tools and filters, including HDR, retouching, and other options
- Possible to edit photos taken with a DSLR using Snapseed, which supports JPG and RAW formats
- Personal presets are also saved so that they may be used on future images.
• Best Setting For Food Photography On iPhone
Exposure
You may have noticed a yellow sun sign appear in your images after tapping to focus. It’s a way to limit exposure.
You may adjust the photo’s brightness and contrast by swiping the signup and down.
This also means utilizing natural light wherever possible for real foodies, but moving candles and table lamps would suffice.
As A Shutter, The Volume Buttons
You may use your iPhone’s and headphones’ volume controls to open and close the shutter.
When you’re holding the iPhone at an awkward angle or shooting an overhead photo of your supper, this may help you achieve an even more steady image.
• iPhone Food Photography Lighting
Still-Life photography’s secret weapon is light. When photographing food, always use natural light rather than artificial lighting.
1. Use a lamp to light up your meal
If you use a lamp to light up your meal, you’ll likely have a yellow or orange color cast on your shot.
The colors of the food, plates, and other background components must seem true to life in food photography, which necessitates careful attention to color.
This is a no-no if you care about the white rice, white dishes, or white tablecloth appearance.
Check out what plate should I use for food photography article if you’re having trouble selecting a plate for your photo shoot.
2. Use artificial light
When photographing a subject under artificial light, color casts might detract from the subject’s inherent appeal.
3. Use natural light

Soft, diffused, natural sunshine is the ideal lighting for food photography. If it’s nice out, consider taking your food photos outdoors.
In most circumstances, it would help avoid intense sunlight since it might create exposure issues and produce harsh shadows on the subject.
An overcast day is ideal for food photography since the clouds serve as a giant diffuser, resulting in soft light with more subtle shadows.
Natural light through windows may brighten your subject while photographing inside. With a table near a window, you may arrange your composition to use natural light.
• Best iPhone Tripod for Food Photography
Vanguard Alta Pro 263AP
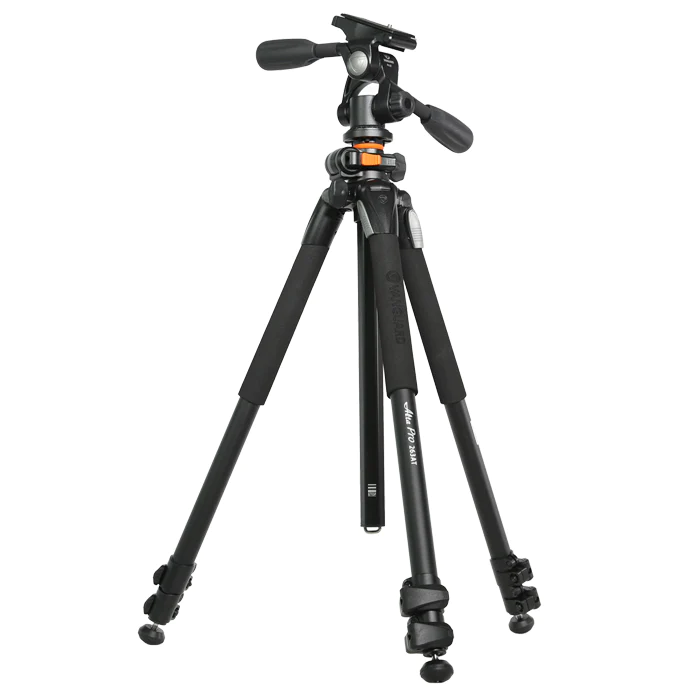
Source: Vanguardworld.com
This is a fantastic choice for a cheap tripod that combines outstanding quality and sturdiness. It is more difficult to carry than its rivals due to its lighter weight.
However, it has all of the more costly models’ additional features;
- Center column with multiple angles and three bubble levels
- A tripod base
- An overhead mount
Manfrotto MT190XPRO4
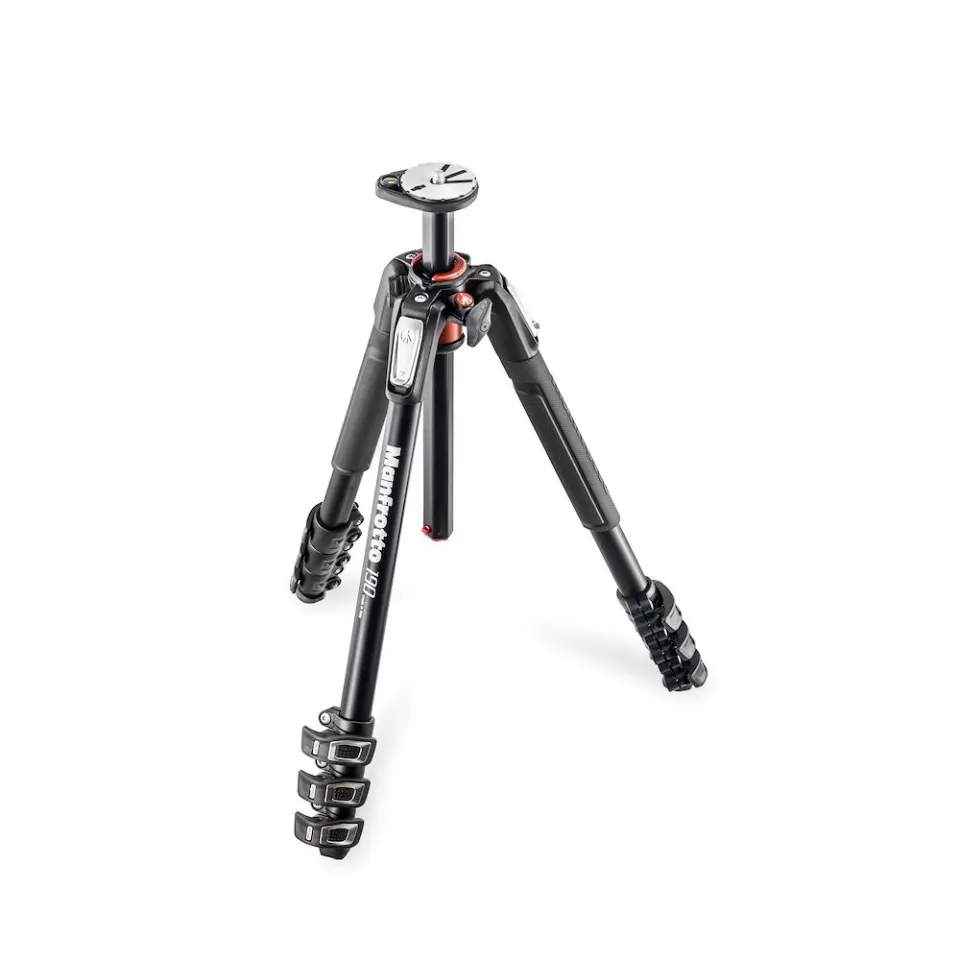
Source: manfrotto.com
This tripod is lightweight yet sturdy, weighing just 4.6 pounds. It’s light enough to go on restaurant shots but versatile enough to be used in a studio.
- Make sure your food photography experience goes smoothly with the rapid power lock and the spinning bubble level!
- An extension arm may be attached to allow you to fire from above.
- Using a counterweight, it is sturdy enough to support heavy cameras and lenses.
Only make sure you don’t go all the way to the top!
Food Photography with Android Phone
• Use a Third-Party App or the Pro Mode
As long as you have an advanced mode on your smartphone, you may utilize it to your advantage while taking food photos.
It’s also worth noting that specific devices, such as the iPhone, don’t allow you as much control over settings as you’d get with a traditional camera.
Third-party applications will allow you to do more than take brief snapshots.
• Use the Portrait Mode
Portrait mode may be found on the majority of smartphones.
Aperture and Live Focus are other names that have been used to describe this feature.
A shallow depth-of-field effect is what you’re searching for to give your photos a more professional appearance.
This works best if you have a clear idea of what you’re talking about and you’re not straying from it.
• Food Photography with Samsung Phone
Although Samsung isn’t the most recent model in its inventory, it’s still an excellent photography phone.
Its camera demonstrates that it is more than just a gimmick. Zoom is much more than providing excellent results when it comes to telephoto photos.
How Do You Take Food in Portrait Mode?
- Keep the image clear by making sure there is adequate natural light.
- At a distance of at least one foot from the subject, set the camera to macro mode and zoom in.
That’s the secret! Hold the camera as close to the object as feasible when taking the picture.
Food Photography Ideas with Phone
• Find New Ways to Play Around with Angles
Photograph your delicious parfait or steak and vegetables (whatever you like – we won’t judge)!
You’ve seen it all before when it comes to shooting over the plate. You’ve never been one to follow the herd, anyhow.
You may discover a new viewpoint that you hadn’t previously considered by playing around with different perspectives while shooting food.
The most important thing is to capture a visually appealing image.
• Find a Few Accessories
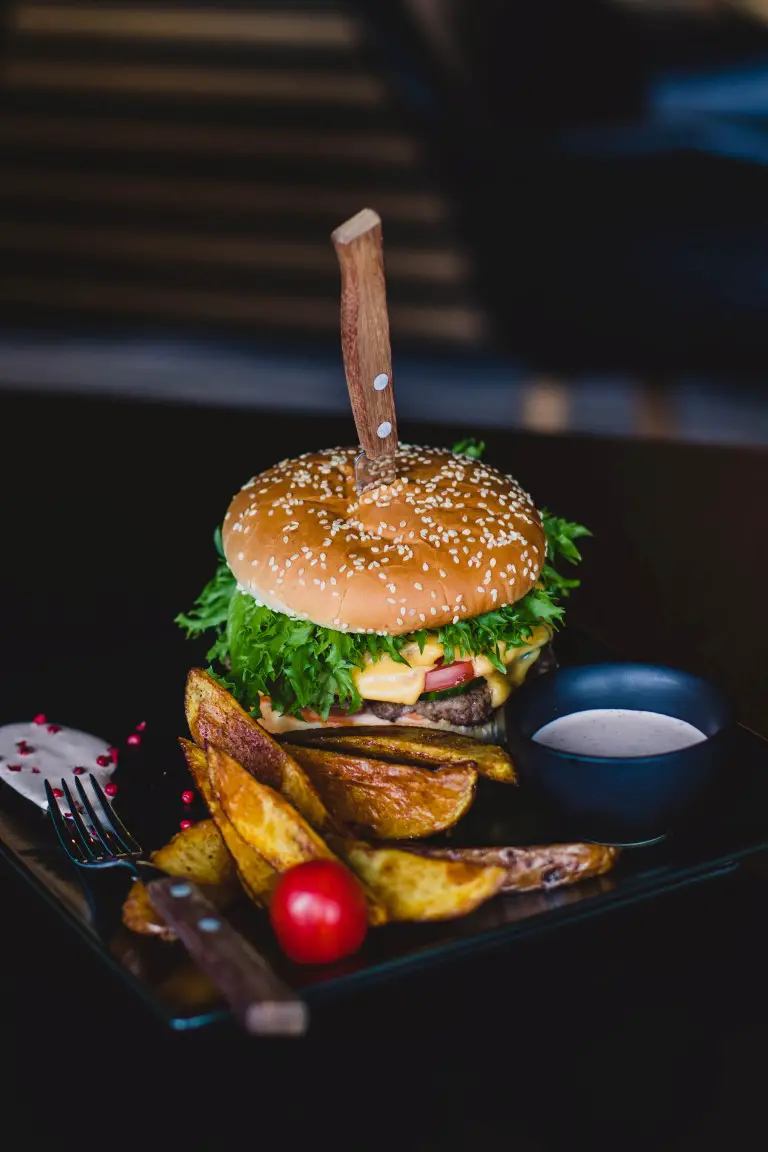
In my opinion, there’s nothing more dreary than a meal that has nothing going on in it. That’s why, in my view, this is the most crucial of all food photography advice.
- Instead of staying in your shell, try bringing in some eye-catching items to pique the interest of your audience.
- Include a drink in your plans. If you’re going to have a burger and chips, you may as well get a drink or a selection of sauces to go with it.
- If you’re not a fan of drinks, you may always include your dinner companion in the photograph. They’ll love being a saxophone for your sauces, no doubt!
Finally
You don’t require expensive cameras or lighting equipment to produce high-quality product photographs. With some practice and education, you can go a long way toward avoiding the biggest sins of repeating/generic/non-representative pictures, or worse, none at all!
Justin Parker is a professional photographer and has been in the industry since 2007. He attended the University of Georgia. Justin combines his passion for photography and his interest in writing to give life to this blog which talks about photography in order to help and inspire young photographers.