Welcome to the fascinating world of astrophotography, a unique blend of art and science that captures the beauty of the cosmos.
This comprehensive guide will delve into the 11 key types of astrophotography, from wide-angle night-scapes to intricate planetary imaging.
Whether you’re a seasoned stargazer or a beginner eager to explore the night sky, understanding these types will enhance your astrophotography journey.
I’ll discuss the equipment needed, provide useful tips, and inspire you to create stunning celestial images.
So, grab your telescope and camera, and let’s embark on this stellar adventure together.
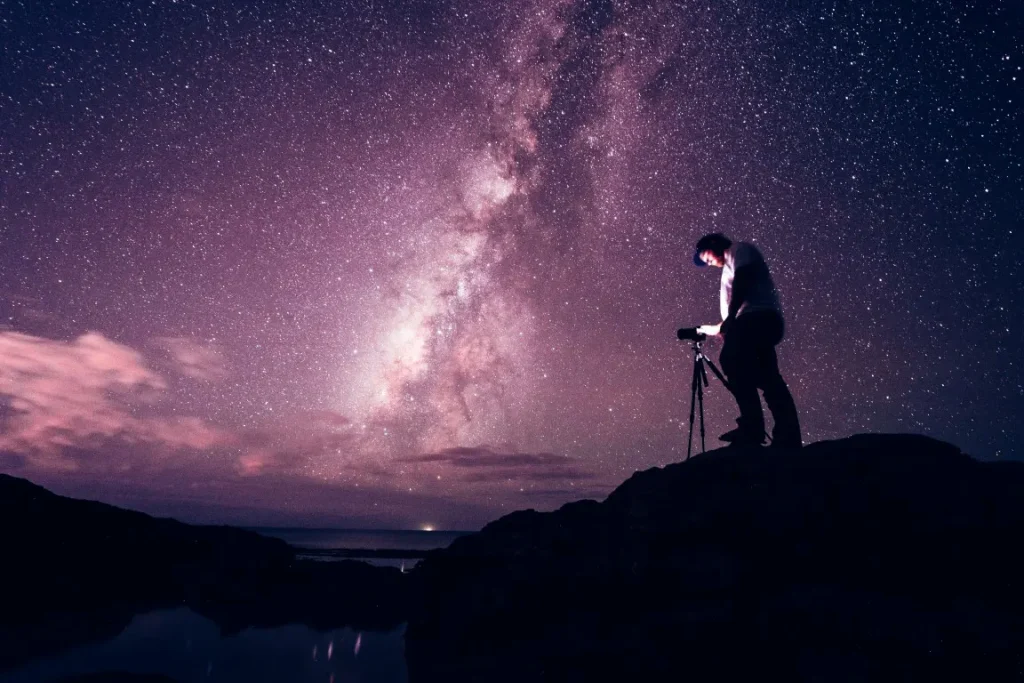
1. Wide-Angle Night-Scapes
Wide-angle night-scapes are a captivating form of astrophotography that captures expansive views of the night sky.
This technique uses a wide-angle lens to encompass large areas of the celestial sphere, often including stunning landscapes for context and contrast. The result is a breathtaking image that showcases the grandeur of the cosmos in relation to our earthly surroundings.
To embark on wide-angle night-scape astrophotography, you’ll need
- A DSLR or mirrorless camera,
- A sturdy tripod,
- And a wide-angle lens, typically in the range of 14mm to 35mm with a fast aperture.
Remote shutter release can also be beneficial to avoid camera shake.
For successful wide-angle night-scapes, scout for locations with minimal light pollution and interesting foreground elements.
Use the rule of thirds for composition and experiment with long exposure settings to capture the stars’ motion. Remember, practice and patience are key to mastering this awe-inspiring form of astrophotography.
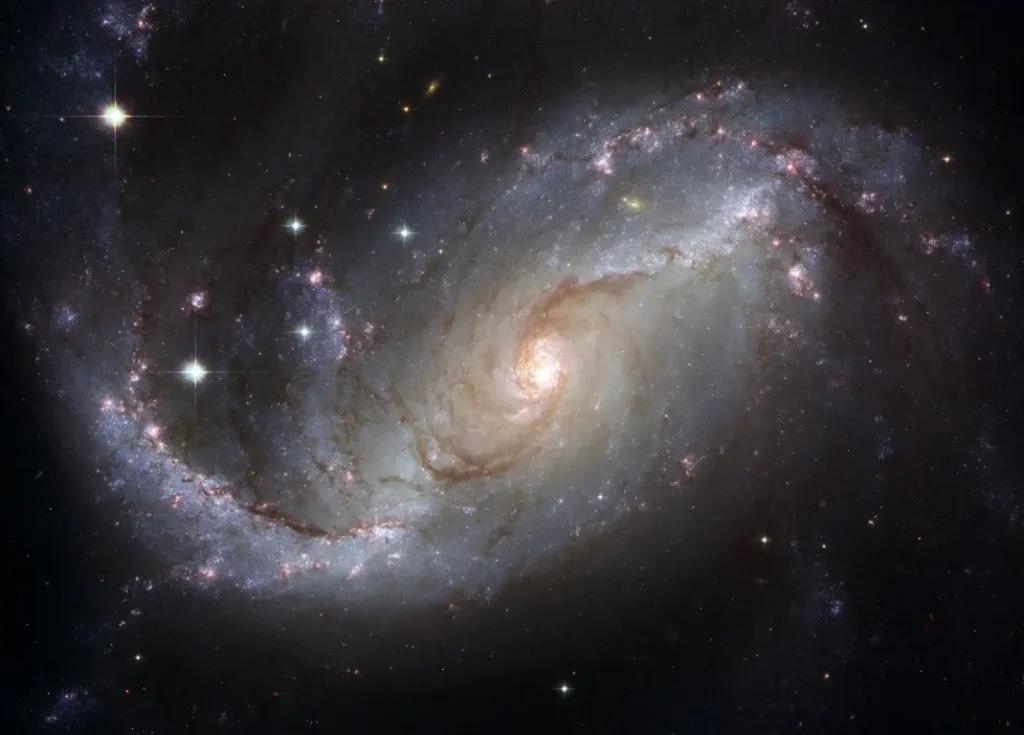
2. Prime Focus Astrophotography
Prime focus astrophotography is a technique where the camera is attached directly to the telescope, effectively turning the telescope into a large telephoto lens.
This method is particularly effective for capturing detailed images of distant celestial objects such as galaxies, nebulae, and star clusters.
By the way if you want to know more way about telescope astrophotography, you can refer my previous article on how to take photos through a telescope
The essential equipment for prime focus astrophotography includes
- A telescope with a suitable mount for tracking,
- A DSLR or a dedicated astrophotography camera and
- A T-ring adapter to connect the camera to the telescope.
An equatorial mount can be beneficial for longer exposures as it compensates for the Earth’s rotation.
For successful prime focus astrophotography, focus is critical. Use a Bahtinov mask or live view zoom for precise focusing.
Also, consider using a field flattener to correct the field curvature inherent in most telescopes.
Experiment with different exposure times, ISO settings, and stacking multiple images in post-processing to reduce noise and enhance detail. As always, a dark sky free of light pollution will yield the best results.
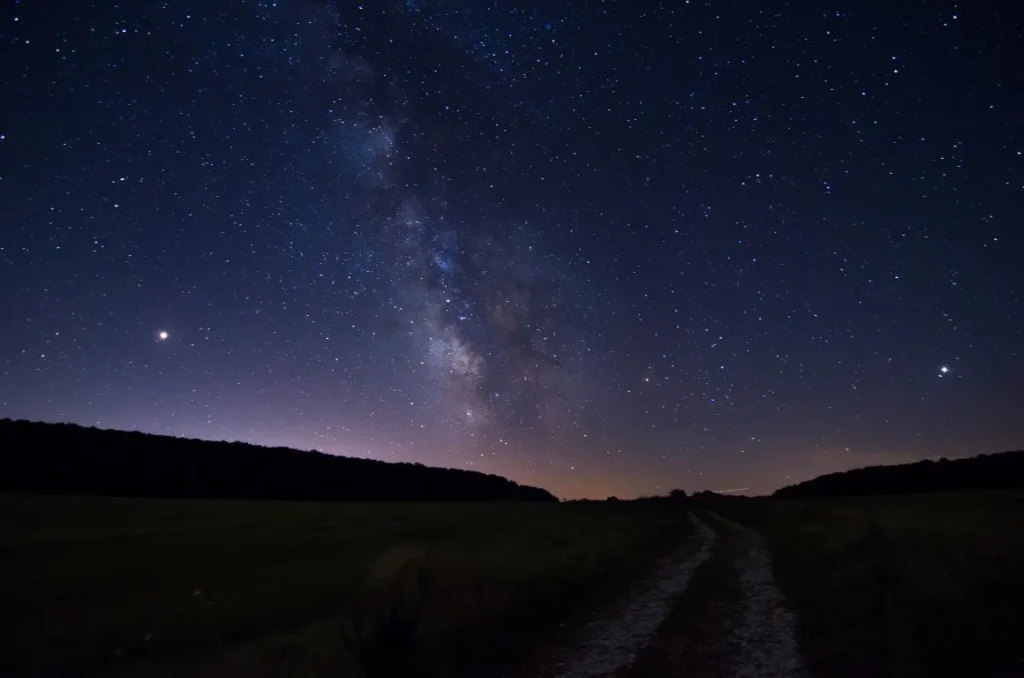
3. Star-Tracker Night-Scapes
Star-tracker night-scapes are a form of astrophotography that uses a motorized mount, or star tracker, to follow the apparent motion of the stars.
Actually, this technique allows for longer exposure times without the stars appearing to trail or streak, capturing detailed and sharp images of the night sky.
The key equipment for star-tracker night-scapes includes
- A DSLR or mirrorless camera,
- A wide-angle lens,
- A sturdy tripod, and
- A star tracker.
The star tracker is the essential piece, as it compensates for the Earth’s rotation and allows the camera to keep the stars in focus during long exposures.
For successful star-tracker night-scapes, proper alignment of the star tracker with the celestial pole is crucial.
This process, known as polar alignment, ensures accurate tracking. Also, use a fast wide-angle lens to capture as much light as possible, and experiment with different exposure times and ISO settings.
Remember to shoot in RAW format for maximum flexibility in post-processing. As with all astrophotography, darker skies yield better results, so find a location away from city lights.
4. Piggyback Astrophotography
Piggyback astrophotography, also known as camera-on-telescope astrophotography, involves mounting a camera with a lens onto a tracking telescope.
This method allows the camera to utilize the telescope’s tracking capabilities, capturing wide-field images of the night sky with star trails minimized.
The essential equipment for piggyback astrophotography includes
- A DSLR or mirrorless camera,
- A lens suitable for your target (a wide-angle lens for large sky areas or A telephoto lens for specific objects),
- A telescope with a motorized mount for tracking, and
- A sturdy adapter to securely mount the camera on the telescope.
For successful piggyback astrophotography,
- Accurate alignment of the telescope with the celestial pole is crucial for precise tracking.
- Use a low ISO setting and long exposure times to capture detailed images without excessive noise.
- Experiment with different focal lengths to capture various scales of the night sky.
As always, shooting in a location with minimal light pollution will provide the best results.
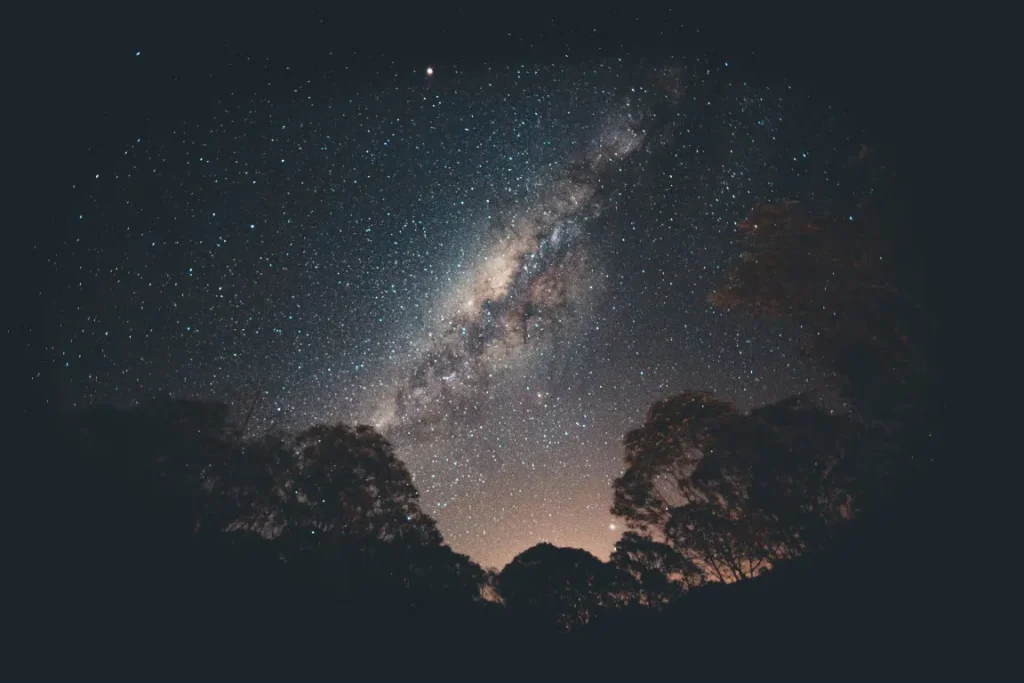
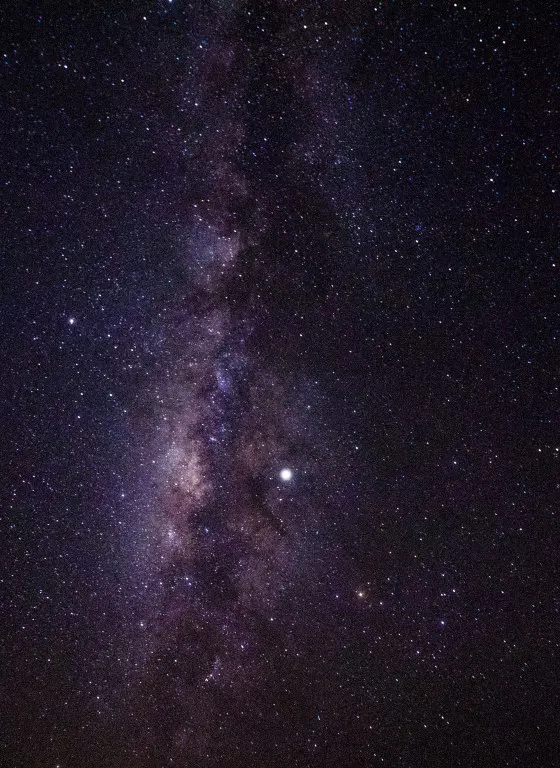
5. Star-Tracker Milky Way Close-Ups
Star-tracker Milky Way close-ups are a specialized form of astrophotography that focuses on capturing detailed images of our galaxy.
By using a star tracker, photographers can take long-exposure shots that reveal the Milky Way’s intricate structures without the stars appearing to streak or blur.
The essential equipment for star-tracker Milky Way close-ups includes
- A DSLR or mirrorless camera,
- A fast wide-angle or telephoto lens depending on the desired field of view,
- A sturdy tripod, and
- A star tracker.
The star tracker is crucial as it compensates for the Earth’s rotation, allowing for long exposures that capture the faint light of distant stars and nebulae.
For successful star-tracker Milky Way close-ups, proper alignment of the star tracker with the celestial pole is key.
This process, known as polar alignment, ensures accurate tracking. Use a fast lens to gather as much light as possible, and experiment with different exposure times and ISO settings.
Shooting during a new moon from a dark sky location will provide the best results, as the Milky Way will be at its brightest.
Post-processing can also help enhance the details and colors of the Milky Way.
6. Afocal astrophotography,
Afocal astrophotography, also known as eyepiece projection or Digi scoping, is a technique where a camera is attached to a telescope, but instead of replacing the eyepiece, the camera lens is aimed into the eyepiece.
This method is particularly useful for capturing detailed images of bright objects like the moon, planets, and the sun (with appropriate solar filters).
The essential equipment for afocal astrophotography includes a telescope, an eyepiece, and a camera with a lens.
This can be a DSLR, mirrorless, or even a smartphone camera. You’ll also need an adapter to hold the camera steady over the eyepiece.
For successful afocal astrophotography, it’s crucial to align the camera lens and the eyepiece correctly to avoid vignetting and to ensure a sharp image.
Start with a low magnification eyepiece and gradually increase if needed. Use a sturdy mount or tripod to minimize vibrations, and consider using a remote shutter release or timer to avoid shaking the setup when taking the photo.
Experiment with different exposure settings to get the best results, and remember, practice makes perfect in the world of astrophotography.
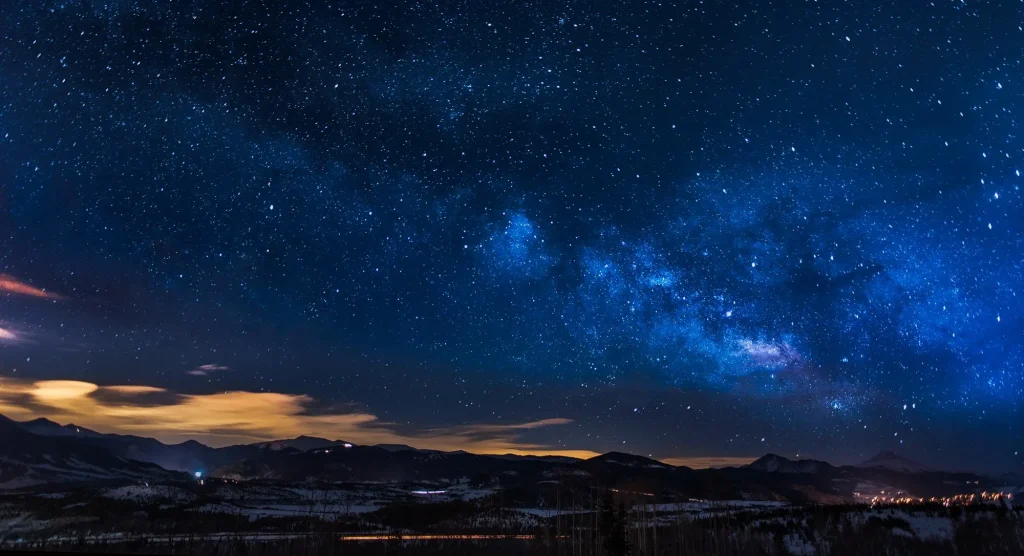
7. Night-Scape Panoramas
Venture into the realm of night-scape panoramas, a captivating branch of astrophotography that paints a broad canvas of the night sky.
This technique weaves together multiple images, creating a panoramic tapestry that marries the celestial with the terrestrial.
To embark on this journey, you’ll need
- A DSLR or mirrorless camera,
- A wide-angle lens, and
- A robust tripod.
A panoramic head or nodal slide will help align your shots accurately. And don’t forget your digital toolkit – post-processing software to stitch your images into a seamless panorama.
Creating night-scape panoramas is an art. Plan your shots to ensure they overlap by about 30% for a flawless stitch. Keep your camera in manual mode for consistent exposure and focus.
A sturdy tripod is your best friend, keeping your camera steady and level. Always shoot in RAW format for the best post-processing flexibility.
The stage for your celestial panorama? A location with little light pollution and an interesting landscape. In astrophotography, you’re the artist. Don’t hesitate to experiment and let your creativity shine.
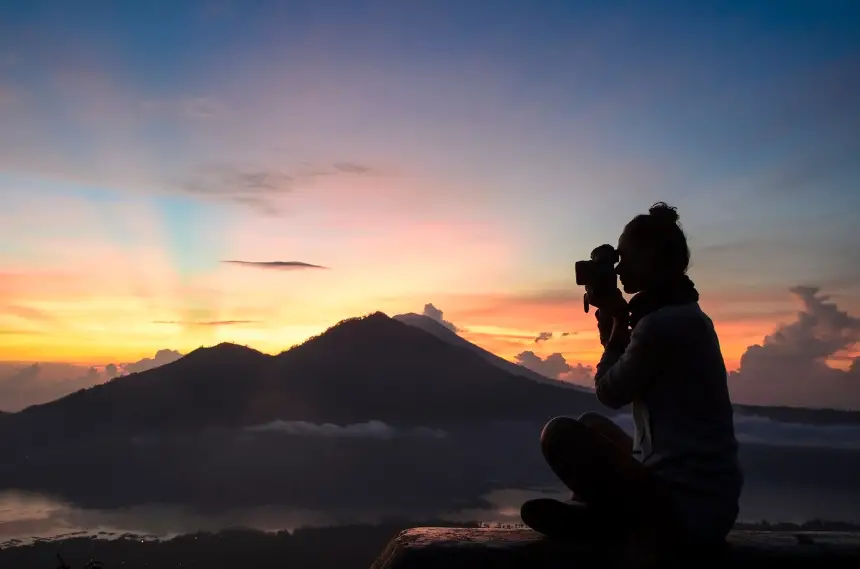
8. Landscape Astrophotography
Landscape astrophotography, often referred to as astro-landscape photography, is a mesmerizing blend of terrestrial and celestial photography.
It captures the beauty of the Earth’s landscapes under a starlit sky, creating a harmonious composition that highlights the grandeur of the universe and our place within it.
To embark on your landscape astrophotography journey, you’ll need
- A DSLR or mirrorless camera,
- A wide-angle lens to capture a broad field of view,
- A sturdy tripod for stability during long exposures, and
- Optionally, a remote shutter release to avoid camera shake.
Creating stunning landscape astrophotography involves more than just equipment.
Here are some tips to guide you.
- First, scout for locations with minimal light pollution and interesting landscape features.
- Use the rule of thirds to compose your shot, placing the horizon on one of the horizontal lines.
- Experiment with different exposure settings to capture both the landscape and the stars effectively.
- Remember to focus on the stars using manual focus to ensure they are sharp.
- Post-processing is also crucial in bringing out the details and colors in your image.
Keep in mind that, landscape astrophotography is a dance between the Earth and the sky. It requires patience, practice, and a dash of creativity. So, venture out under the stars and let the cosmos be your canvas.
By the way I invite you to refer my previous article on landscape astrophotography to get a comprehensive guide about landscape astrophotography.
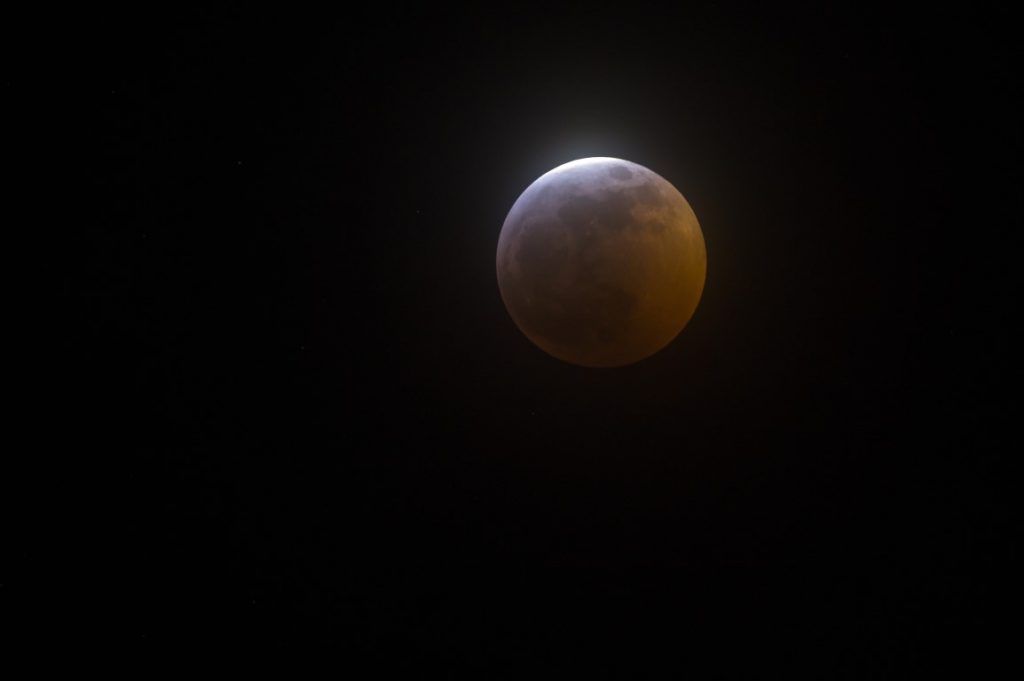
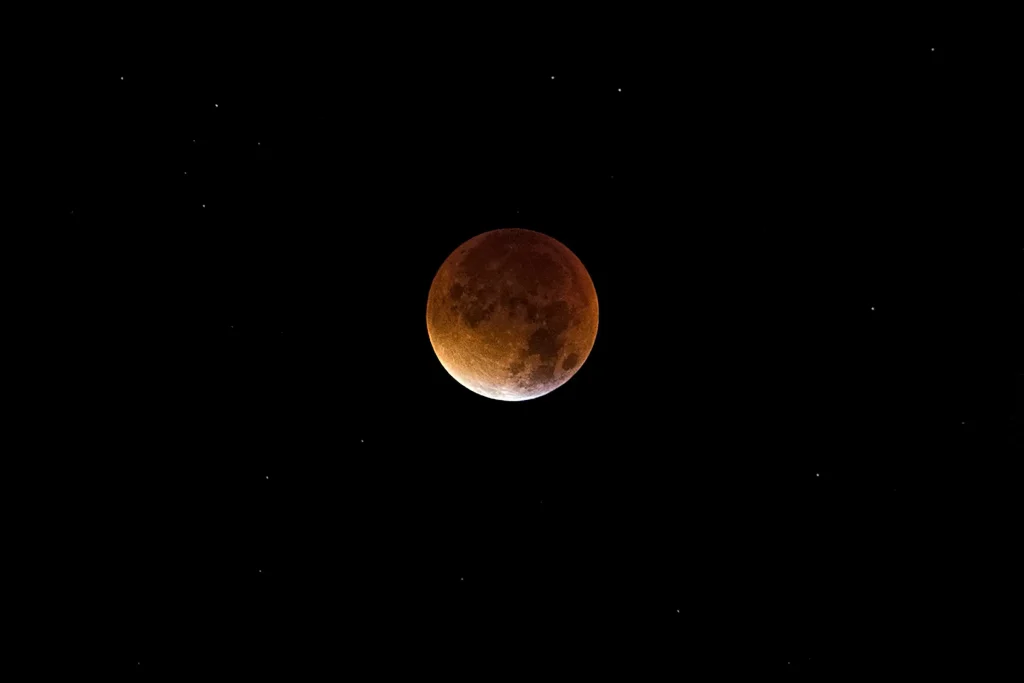
9. Planetary Imaging
Planetary imaging, a fascinating branch of astrophotography, focuses on capturing detailed images of the solar system’s celestial bodies.
From the cratered surface of the moon to the bands of Jupiter and the rings of Saturn, this technique brings the wonders of our cosmic neighborhood to life.
To delve into planetary imaging, you’ll need
- A telescope with a high focal length to magnify distant planets,
- A sturdy mount for stability, and
- A dedicated planetary camera or a DSLR with video capabilities.
A Barlow lens can also be beneficial to increase the effective focal length of your telescope.
If you want you can familiar with the Barlow lens by referring my article on how to use Barlow lens on astrophotography
Success in planetary imaging comes with practice and the right techniques.
Here I have provided some tips to guide you.
First, ensure excellent focus; even a slight misfocus can blur planetary details.
- Use a high frame rate video mode to capture many frames quickly, as this helps to mitigate the blurring effects of atmospheric turbulence.
- Software like RegiStax or AutoStakkert can then be used to stack the best frames, enhancing the signal-to-noise ratio and bringing out subtle details.
10. Deep Sky Astrophotography
Deep sky astrophotography is an exciting branch of astrophotography that focuses on capturing objects beyond our solar system.
This includes galaxies, nebulae, and star clusters, which are collectively known as deep sky objects (DSOs).
These celestial bodies, while distant, offer some of the most stunning views in the cosmos.
To venture into deep sky astrophotography, you’ll need
- A telescope with a motorized equatorial mount for accurate tracking,
- A dedicated astrophotography camera or a modified DSLR, and
- A field flattener to correct field curvature.
- An autoguider can also be beneficial for longer exposures.
Successful deep sky astrophotography requires a balance of technical skills and patience.
Accurate polar alignment of your mount is crucial for precise tracking. Use long exposure times to capture the faint light of DSOs, but be mindful of the balance between exposure time and noise.
Calibration frames like darks, flats, and bias can help reduce noise and correct for vignetting and dust spots. Post-processing is also crucial in deep sky astrophotography, with software like DeepSkyStacker and PixInsight being popular choices
11. Timelapse Astrophotography
Timelapse astrophotography of the night sky is a captivating technique that compresses the slow dance of the night sky into a matter of seconds or minutes.
It involves capturing a series of images over a period of time and then stitching them together into a video, revealing the celestial motions that are otherwise invisible to the naked eye.
To embark on your timelapse astrophotography journey, you’ll need
- A DSLR or mirrorless camera,
- A wide-angle lens to capture a broad field of view,
- A sturdy tripod for stability, and
- An intervalometer to automate the image capture process.
Post-processing software to compile the images into a video is also essential.
Creating a successful timelapse involves careful planning and patience. You can plan your shoot considering the movement of celestial bodies and the duration of the shoot.
Use the intervalometer to set the interval between shots, considering the desired length of the final video and the speed of the celestial motion.
Shoot in manual mode to maintain consistent exposure and focus.
Post-processing is crucial in timelapse astrophotography, with software like Adobe Premiere Pro or After Effects being popular choices for compiling the images into a video.
Tips and Tricks for Successful Astrophotography
Astrophotography is a journey of discovery, capturing the celestial wonders that fill our night sky. Regardless of the specific type of astrophotography you pursue, here are some universal tips and tricks to enhance your experience and improve your results.
Understand Your Equipment: Familiarize yourself with your camera, telescope, and other equipment. Know their capabilities and limitations. Practice setting up and adjusting your equipment in the dark.
Master Manual Mode: Astrophotography requires precise control over your camera settings. Learn to adjust aperture, shutter speed, ISO, and focus manually to capture the best possible images of the night sky.
Scout Your Location: Light pollution can significantly impact the quality of your images. Use tools like light pollution maps to find dark sky locations near you. Also, consider the landscape and potential compositions for your shots.
Plan Your Shoot: Use apps and software to plan your astrophotography sessions. Know when and where your target will be in the sky and plan your shoot accordingly.
Shoot in RAW: RAW format gives you the most flexibility in post-processing, allowing you to bring out the best in your images.
Patience and Practice: Astrophotography is a skill that takes time to master. Don’t be discouraged by early results. Keep practicing, keep learning, and your images will improve.
Post-Processing is Key: Learning to process your images is just as important as capturing them. Software like Adobe Lightroom, Photoshop, and PixInsight can help you bring out the details and colors in your astrophotography images.
Join the Community: Connect with other astrophotographers. You can learn a lot from the experiences and advice of others. Plus, it’s a great way to share your passion and your images.
Conclusion
Astrophotography is a vast and rewarding field, offering various ways to explore and capture the night sky’s beauty.
From wide-angle night-scapes and detailed planetary imaging to the expansive views of deep sky and dynamic timelapse photography, each type offers unique perspectives and challenges.
Actually, the best type of astrophotography is the one that excites you the most.
So, equip yourself with knowledge, arm yourself with patience, and step out under the stars. The cosmos is waiting for you to capture its majesty. Happy stargazing and shooting!
Justin Parker is a professional photographer and has been in the industry since 2007. He attended the University of Georgia. Justin combines his passion for photography and his interest in writing to give life to this blog which talks about photography in order to help and inspire young photographers.