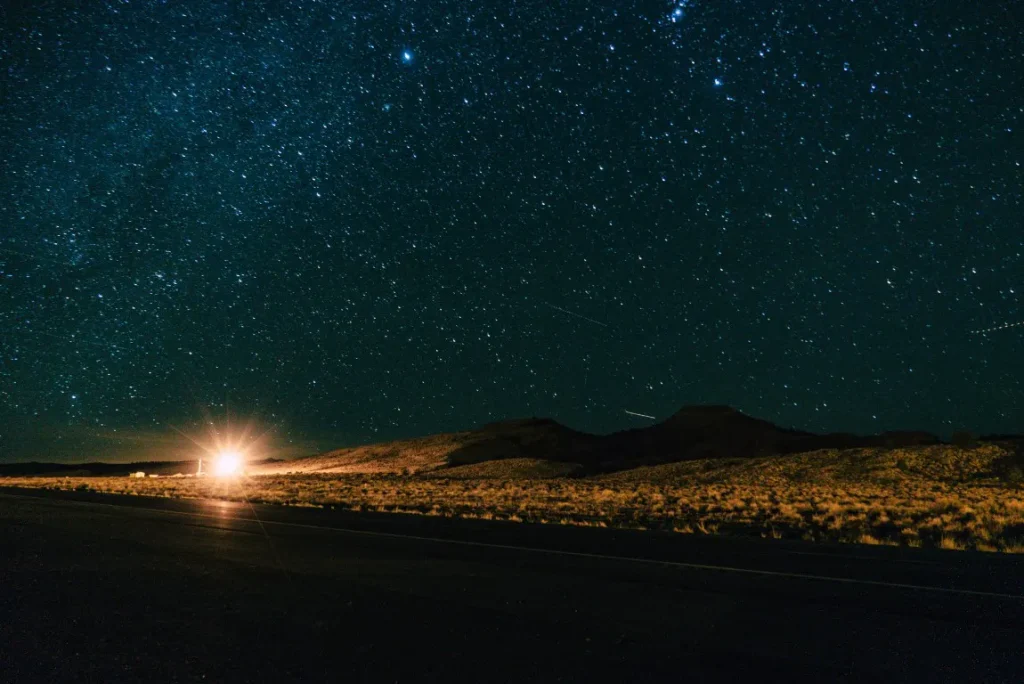
Time-lapse photography is a technique used to capture a sequence of images at set intervals and then compile them into a video that appears to be sped up.
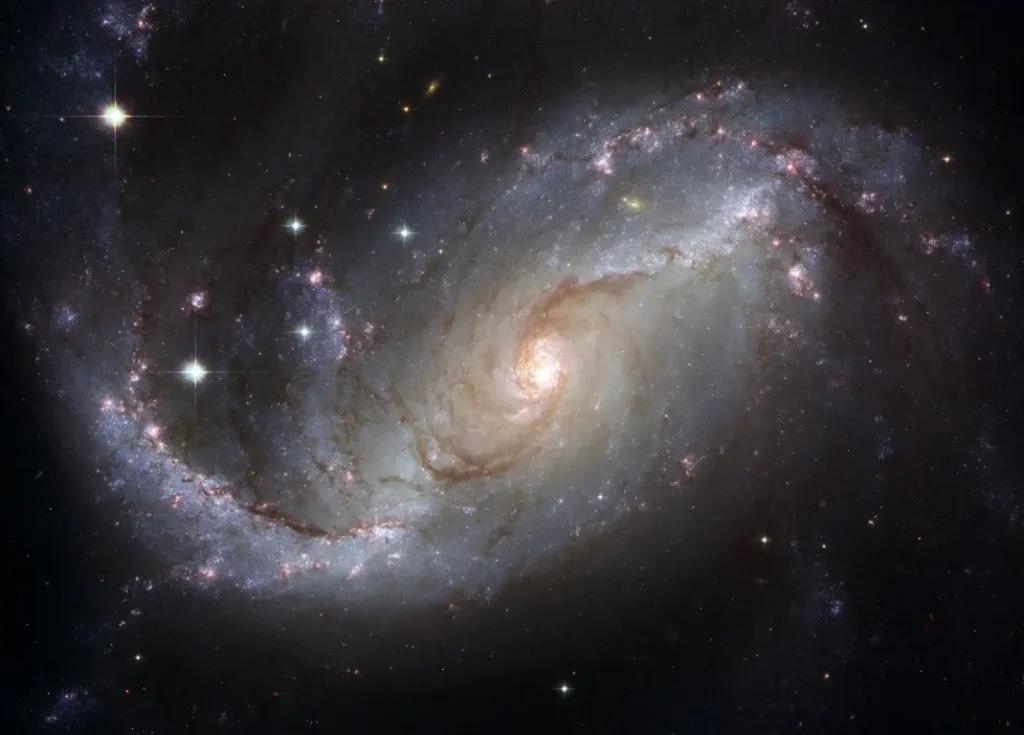
Night sky time-lapse photography is a specialized type of time-lapse photography that involves capturing the movement of stars and other celestial objects over an extended period of time.
In this article, I will discuss the essential equipment needed for this type of photography, how to plan and prepare for a successful shoot, shooting techniques, the benefits of the time-lapse photography night sky, post-processing tips, and tricks, and for capturing stunning night sky time-lapse videos; based on my experience.
what equipment you’ll need to capture night sky time-lapse
Camera and Lens Selection:
A camera with manual settings is essential for night sky photography. When considering night sky time lapse DSLRs and mirrorless cameras work best.
As well you can choose a camera with good low-light performance and a high dynamic range it would be better for your action.
A wide-angle lens with a low aperture is ideal for capturing as much of the night sky as possible.
A lens with a focal length between 14-24mm and a maximum aperture of f/2.8 or lower will help you to capture the stars and the Milky Way.
Night sky time-lapse photography requires a camera with certain specifications that can capture the beauty of the stars and the Milky Way.
Here are some of the best cameras for night sky time-lapse photography:
| Name of the Camera | Features |
|---|---|
| Nikon D850 | Full-frame camera with 45.7 megapixels and excellent low-light performance. Weather-sealed and has a long battery life. |
| Canon EOS 5D Mark IV | A full-frame camera that can produce high-quality images in low light conditions. Has 30.4 megapixels and a touch screen LCD. |
| Sony A7S II | A mirrorless camera with a 12.2-megapixel full-frame sensor. Excellent low-light capabilities and can shoot in 4K. |
| Nikon D750 | Has a full-frame sensor with 24.3 megapixels and excellent low-light performance. Has a tilting LCD screen |
| Canon EOS 6D Mark II | A full-frame camera with 26.2 megapixels and good low-light performance. Consists of a vari-angle touchscreen LCD. |
| Sony A7R III | A mirrorless camera with a 42.4-megapixel full-frame sensor. Has excellent low-light capabilities and can shoot in 4K. |
| Fujifilm X-T4 | · A mirrorless camera with a crop sensor and 26.1 megapixels. Good low-light performance and can shoot in 4K. |
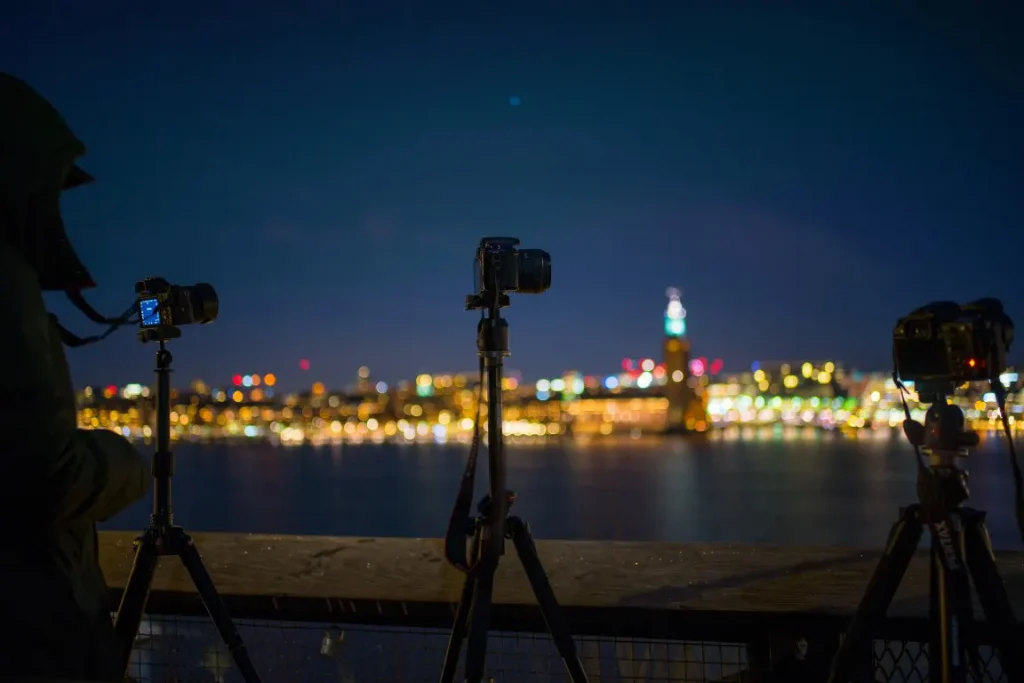
Tripod and Other Stabilization Tools:
A sturdy tripod is a must to keep the camera steady during long exposures. So, using a tripod with a ball head you can allow for smooth adjustments.
In Addition, a remote shutter release can help prevent camera shake when you take shots. If you’re shooting in windy conditions, use a sandbag or hang your camera bag from the centre column of your tripod for additional stability.
As well as in order to add motion to a time-lapse, a slider or other video tools can be used, which is considered to be a more advanced technique.
Intervalometer:
An intervalometer is a device that allows you to automate your camera’s shutter, so you can take multiple shots at specific intervals.
This tool is essential for capturing time-lapse footage, as it allows you to take shots at predetermined intervals, without having to manually press the shutter button. Once it’s set up,
you can let it run and return later when it’s completed.
Apart from that, for time-lapse photography, you will need a fully charged camera battery as shooting for hours can drain the battery quickly.
Additionally, ensure that you have an empty memory card with sufficient space for the number of photos needed for the time-lapse.
Finally, photo or video editing software is recommended to enhance the final result and bring out the stunning capture of the night sky
How to Planning the shot
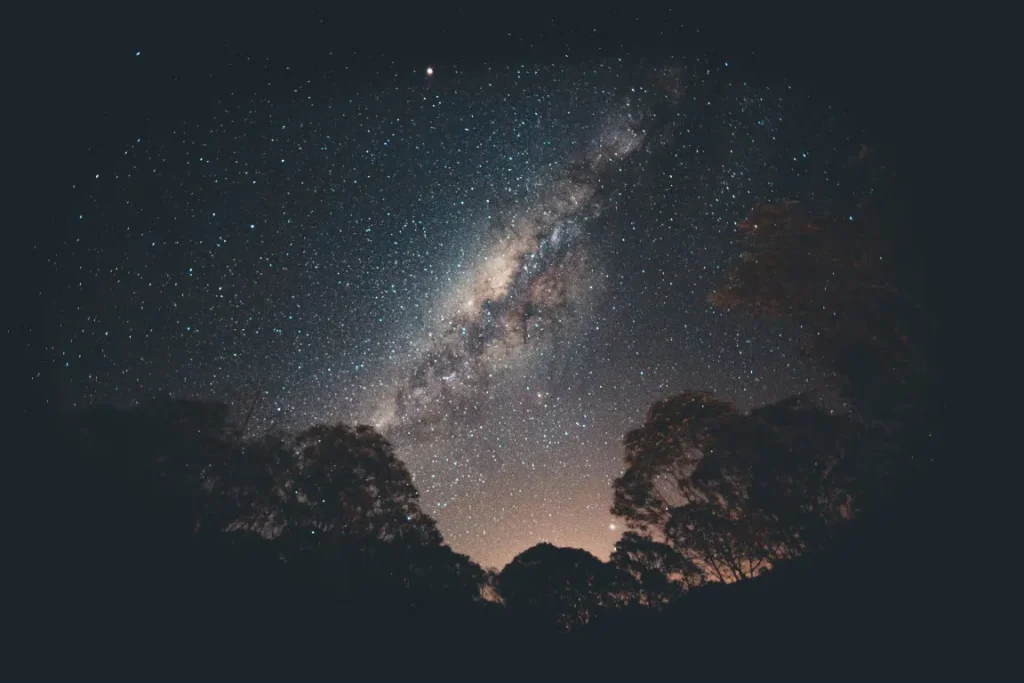
Anticipating what the night sky will look like is crucial when planning for a night sky time-lapse. Location scouting is an important aspect of night sky time-lapse photography.
Here are some tips to help you find the perfect spot for your shoot:
Finding the Right Location for Your Shoot:
Look for locations with a clear view of the sky, away from trees and buildings. If you can scout out locations that have an interesting foreground it adds depth and context to your images.
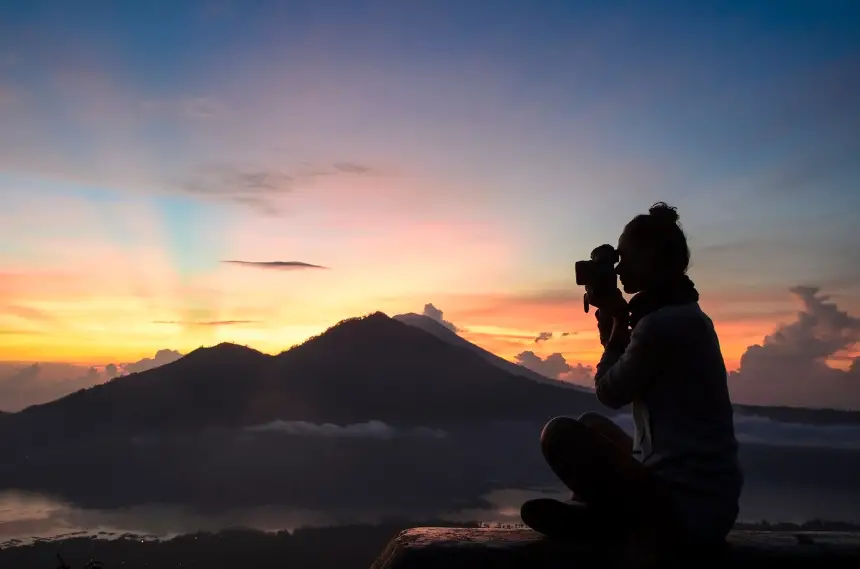
Consider locations that are elevated or have a clear view of the horizon for optimal sky views.
Here are some suitable locations in the USA for your Time-lapse astrophotography journey.
- Headlands, Michigan
- Cherry Springs State Park
- Denali National Park
- Crater Lake National Park, Oregon
- Acadia National Park, Maine
Checking Weather Conditions:
Checking the weather forecast is essential to avoid cloudy or overcast nights that will affect your sky visibility.
Avoid shooting during times of high humidity, as this can create atmospheric haze and reduce the clarity of your shots.
Researching Light Pollution and How to Avoid It:
you can do research on light pollution maps to find areas with low light pollution.
Look for areas with a low population density, away from city lights and light pollution sources. Using apps you can determine the position of the Milky Way and plan your shoot accordingly.
This tutorial video helps you to get more ideas about night sky time-lapse photography.
Camera Settings for time-lapse astrophotography
To capture a high-quality night sky time-lapse, using a tripod is essential due to the long exposure needed for each shot.
After setting up your camera on a tripod, make sure the battery is fully charged and the memory card has enough space to store the time-lapse.
To achieve optimal results, I recommended shooting in manual mode for night sky time-lapses. This keeps the exposure and depth of field consistent between shots, resulting in a smooth and seamless time-lapse.
Additionally, using a wide aperture is ideal for night photography, as it allows for more light to enter the lens.
You may choose to use a slightly narrower aperture than the widest setting on your lens to ensure sharp stars in the image. For example, if your lens has an f/2.8 aperture, I think setting it to f/4 is a good option.
Overall, by following these steps, you can ensure that your night sky time-lapse is of the highest quality and captures the beauty of the night sky.
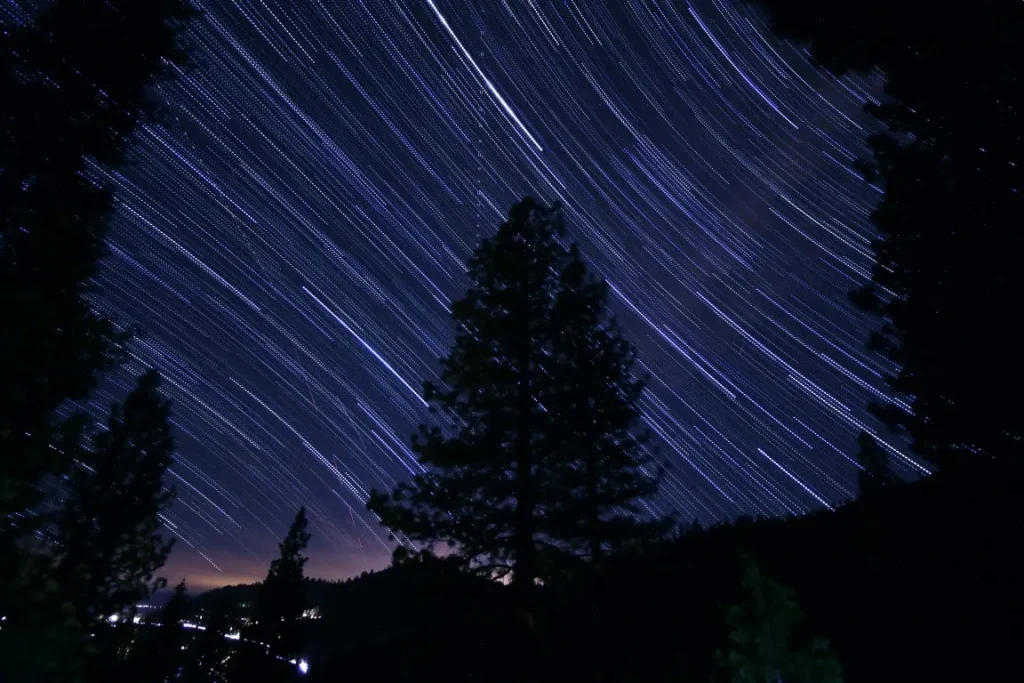
It’s important to select an appropriate shutter speed when it’s come to night sky time-lapse photography.
A shutter speed of 30 seconds or longer can cause earth rotation blur, so opt for a shorter shutter speed that still allows sufficient light to enter the lens.
A shutter speed of around 20 seconds is a good starting point for photographing or creating time-lapse videos of the night sky.
ISO is also important in balancing the exposure, and the exact settings will vary depending on the available light and the gear being used.
For example, on a full-frame camera, an ISO of 640 with a 20-second shutter speed and f/4 aperture can work well.
If the lighting conditions are likely to change, such as in a time-lapse that goes from starry night to sunrise, auto ISO can be a useful option.
To achieve sharp focus, manual focus is essential for capturing the tiny pinpricks of light in the night sky. Set the lens to infinity focus and adjust until the stars appear sharp.
Live View and the zoom function can be used to check the focus on the biggest star in the image. Turning on focus peaking can also help, highlighting the star in red when it’s in focus.
Set the Intervalometer Settings
An intervalometer is a device that automatically captures photos at regular intervals, making time-lapse photography a breeze.
Many modern cameras, including iPhones, have a built-in intervalometer, but if your camera doesn’t, you can buy an external remote with a timer.
Some cameras offer both an intervalometer and a time-lapse option, with the latter automatically stitching the photos together to create a video.
However, this can result in a lower resolution than if you assembled the photos yourself.
While each camera has a different process for shooting a time-lapse, the general steps are similar.
Look for the intervalometer or time-lapse option in your camera’s menu and set the desired settings.
This may include,
- The start and end time or the length of the time-lapse.
- The intervals between photos- This is how often the camera will take a photo, such as every 30 seconds or every two minutes
- Exposure smoothing to make the exposure changes less abrupt.
Be sure to consult your camera’s user manual for specific instructions on shooting a time-lapse.
I have added a video here that discuss about how to use an intervalometer
Post Processing
After completing the shooting process, the final step is to edit and assemble the time-lapse.
If you took individual photos, upload each image to your preferred photo editor and edit them.
To speed up the process, use synchronization tools to apply the same edit to every photo.
After editing the images, stitch them together into a video.
Many video editing programs have a time-lapse feature, but some photo editors like Photoshop can also be used.
Before purchasing a new program, check if your current software supports time-lapses.
Using a video editing program, you can enhance contrast, trim the video, or slow down the pace of the time-lapse. When finished editing and assembling, you can share your work with others.
Night Sky Time-Lapse Photography with iPhone
When the camera senses low-light conditions, Night mode on your iPhone is activated automatically, indicated by a yellow Night mode icon at the top of the display.
The speed of capturing Night mode photos depends on the level of darkness in the scene; it could either be swift or take a few seconds to complete.
To shoot videos with longer interval frames in low-light environments, you can utilize Night mode Time-lapse with a tripod.
Simply launch the Camera app on your iPhone and swipe to the far left until you reach Time-lapse mode. Tap the Shutter button to start recording your video with Night mode Time-lapse.
iPhone users who can enjoy the benefits of Night mode Time-lapse include those who own iPhone 12, iPhone 12 mini, iPhone 12 Pro, iPhone 12 Pro Max, iPhone 13, iPhone 13 mini, iPhone 13 Pro, iPhone 13 Pro Max, iPhone 14, iPhone 14 Plus, iPhone 14 Pro, and iPhone 14 Pro Max.
The iPhone 13 Pro Max users can watch the following video to learn how to do time-lapse astrophotography using your phones.
4 mistakes to avoid when capturing night sky time lapse
Night sky time-lapse photography can be challenging, and even experienced photographers can make mistakes.
So, here are some common mistakes to avoid when capturing stunning images of the night sky:
Overexposure or Underexposure:
Ensure that your camera’s exposure settings are correctly adjusted for the lighting conditions. Use a low ISO and a wide aperture for best results as well as check the histogram to ensure that the exposure is correctly balanced.
If you want to know more about astrophotography exposure time. I have provided a complete guide for you.
Poor Focus:
It would be better to use manual focus to ensure that the stars are in sharp focus. Try using live view and zooming in to fine-tune your focus.
Camera Shake:
Sometimes camera shaking became a big challenge for you. So, use a sturdy tripod and a remote shutter release or intervalometer to avoid camera shake.
Avoid touching the camera during the shot, and use a mirror lock-up to minimize camera vibrations.
Light Pollution:
Research light pollution in the area and choose a location with low light pollution or otherwise use a light pollution filter or adjust your white balance to correct light pollution.
If you want to know about the best light pollution filters for galaxies when capturing galaxies, I think this article is highly important to you.
Now, I am ready to provide some tips for Avoiding Common Mistakes in Night Sky Time-Lapse Photography according to my experience.
- Always keep it as a hobby to test your camera settings and composition before the shoot.
- Don’t be afraid to use trial and error to find the optimal settings for your camera and lens.
- Experiment with different shooting locations and times to find the best results.
- Avoid rushing the shoot and take your time to ensure that every shot is perfect.
I think by avoiding these common mistakes and following these tips, you can capture stunning time-lapse images of the night sky that showcase its natural beauty.
Conclusion
In conclusion, shooting a time-lapse of the night sky is a rewarding experience that requires some preparation and planning.
From location scouting to camera settings, there are several factors to consider before pressing the shutter button.
Key takeaways include the importance of shooting in manual mode, using a tripod, setting the right aperture, shutter speed, and ISO, and avoiding common mistakes such as overexposure or camera shake.
With the help of a time-lapse tool, you can create stunning videos that showcase the beauty of the night sky.
In the end, time-lapse photography of the night sky can inspire awe and a sense of wonder, reminding us of the vastness and mystery of the universe.
Justin Parker is a professional photographer and has been in the industry since 2007. He attended the University of Georgia. Justin combines his passion for photography and his interest in writing to give life to this blog which talks about photography in order to help and inspire young photographers.