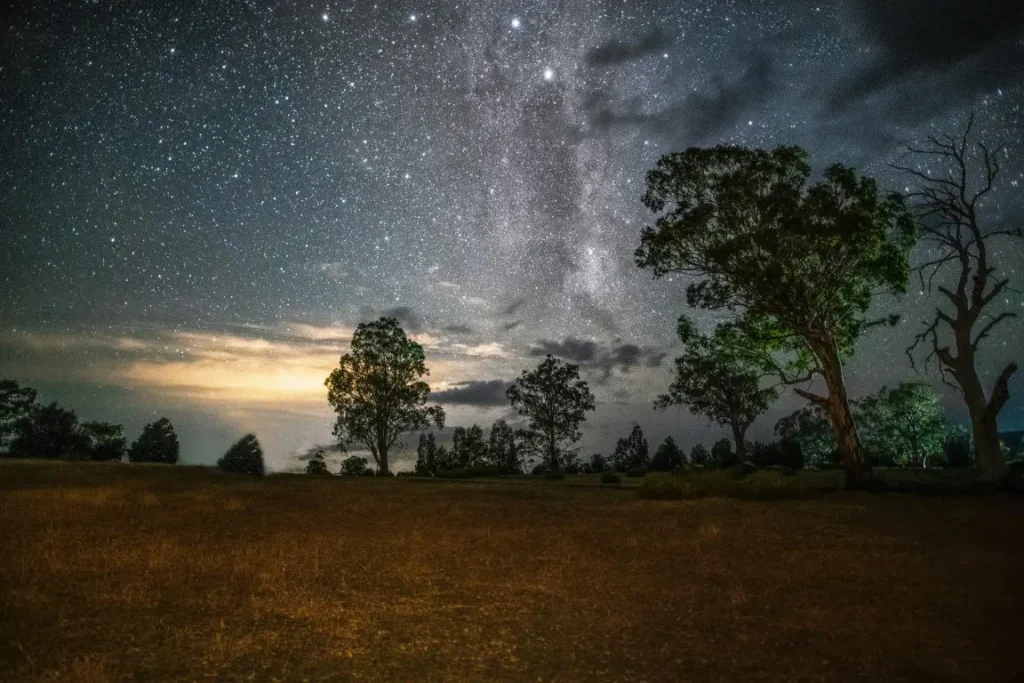
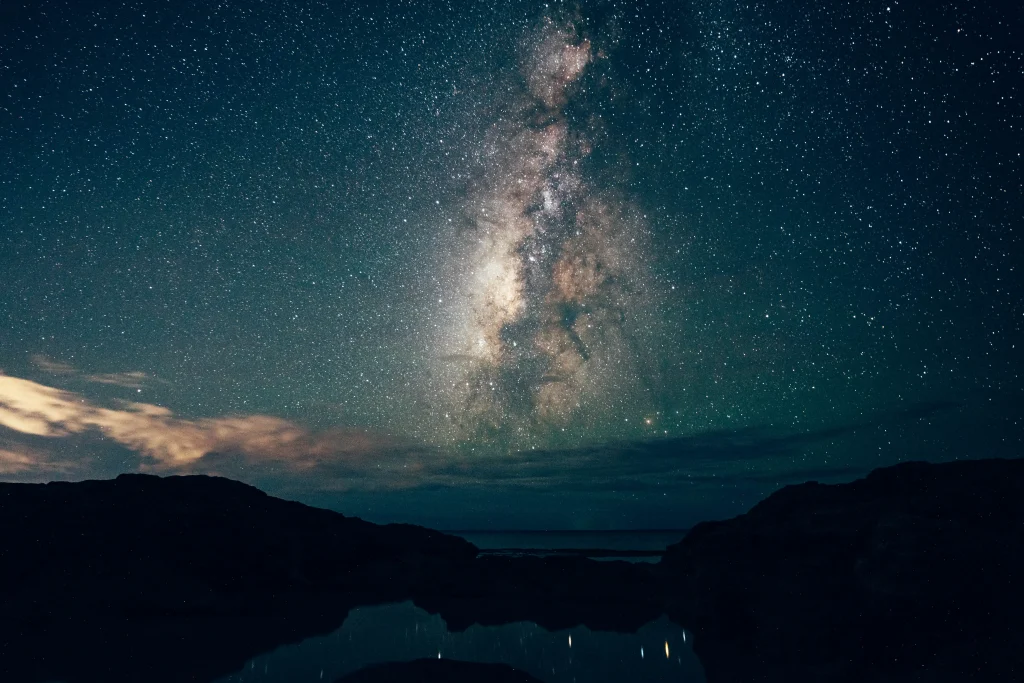
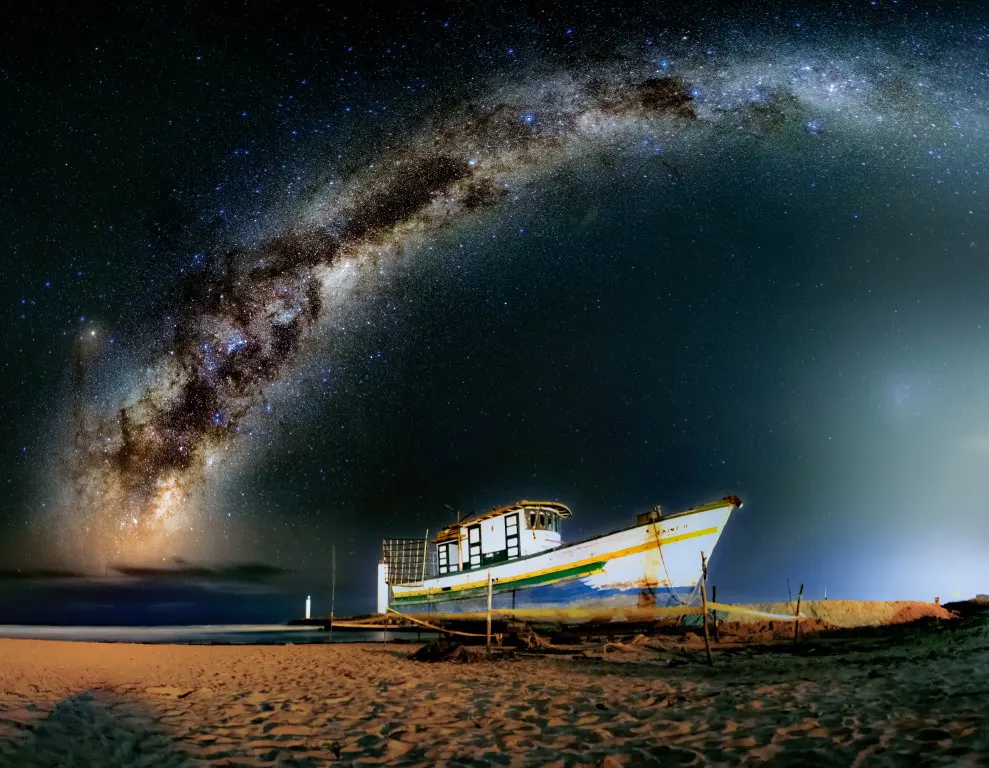
Landscape astrophotography is called one of the fascinating and interesting genres of photography.
Actually, It involves capturing the beauty of the night sky and its connection with the natural environment are captured.
However, It’s a form of photography that needs patience, planning, and an acute sense of composition, but the results may be simply breathtaking.
In this article, I’ll provide an overview of landscape astrophotography, including the equipment you’ll need, tips for finding the right location and time, techniques for capturing the night sky, and advice for post-processing your shots.
At the end of the day, you’ll be ready to start exploring the fascinating world of landscape astrophotography!
Let’s start.
What is the Equipment needed for Landscape Astrophotography?
Before you go out to capture Landscape night photographs, you should make sure that you have the proper equipment to begin your journey.
So I am happy to provide some important things to keep in mind about proper equipment:
What cameras are suitable for landscape Astro shots?
Landscape astrophotography requires a camera with manual settings. Actually, This will allow you to adjust the aperture, shutter speed, and ISO to achieve your desired shot.
A full-frame sensor or a high-quality APS-C sensor will give you the best results. The larger sensor will provide better low-light performance and reduce noise in your images.
I will provide my experienced cameras in landscape astrophotography
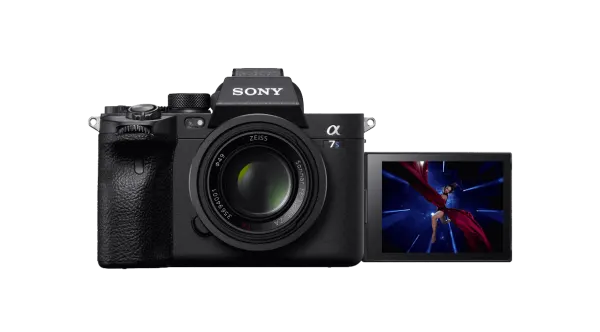
- I’ve used the Sony a7S, and despite its age and poor sensor resolution, it’s still a wonderful camera for landscape astrophotography. If you have a camera that performs poorly at high ISOs and you don’t want to invest a lot of money, keep the a7S in mind.
- I’ve also experienced the Sony a7II for some of my landscape astro shots. But, for single exposures, this camera isn’t ideal as images get really noisy at higher ISO settings.
- If you don’t mind investing some time in stacking, one can get good milky way images out of it though.

- I recommended Sony a7III and a7RII/III/IV are currently the best e-mount cameras for landscape astrophotography. I have the a7RIII whose high ISO performance is on par with the a7S and you get much higher resolution files.
If you want to know more about the Sony A7 camera series, I have provided an article on Sony a7 for Astrophotography.
Best Landscape Astrophotography Lenses
A wide-angle lens with a large aperture, such as f/2.8 or lower, is great for photographing the night sky and the surrounding landscape. A lens with a focal length of 14-24mm is a popular choice for this type of photography.
The Nikon 14-24mm f/2.8 lens is arguably the greatest lens available for super wide-angle night photography.
Canon and Nikon both produce 14mm f/2.8 prime lenses, but the Nikon 14-24mm f/2.8 is the gold standard of quick ultra wide-angle glass.
The Rokinon 14mm f/2.8 lens is a popular fast wide-angle lens that is extremely good and reasonably priced, however, the quality varies from copy to copy.
Overall, you want a lens that is sharp at its widest aperture (lowest f-stop), or else the stars would be fuzzy and blurry.
I liked to summarize the details of the lenses for your easiness.
| Full frame | Crop | Crop Mirrorless |
|---|---|---|
| Nikon 14-24mm f/2.8 | Tokina 11-16mm f/2.8 | Zeiss 12m f/2.8 |
| Canon 16-35mm f/2.8 | Tokina 11-20mm f/2.8 | Rokinon 12mm f/2.8 |
| Sony 16-35mm f/2.8 | ||
| Sigma 14-24mm f/2.8 | ||
| Tamron 15-30mm f/2.8 | ||
| Rokinon (Bower, Samyang) 14mm f/2.8 |
And also the following tutorial video provides a guide for you to understand more about lenses you need for astrophotography
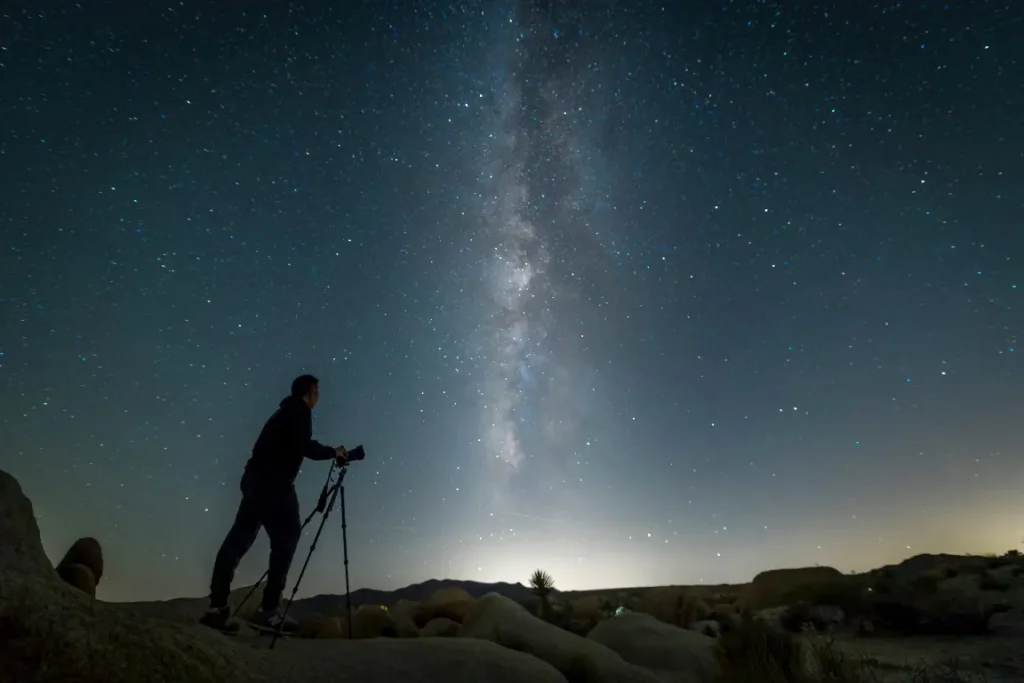
Tripods for landscape astrophotography
For night photography, you’ll need a tripod, and because exposures can sometimes last several minutes, you’ll want one that can comfortably handle the weight of your camera and lens for long periods of time.
Some tripods have a middle column that may be raised to gain additional height. This should not be used because it converts your solid tripod into an unsteady monopod.
Some tripods allow you to remove it completely to save weight.
You’ll want a tripod head with a quick-release clamp that can be used with an L-bracket.
The L-bracket attaches to your camera and allows you to easily orient the camera vertically without having to flop the tripod head to the side, resulting in improved stability and general ease of use.
What are the Additional Accessories you may need
- Intervalometer: An Intervalometer can be used to prevent vibrations. This device is also quite useful because you may set the number of photos you want to shoot in case you want to stack them in a post.
- Didymium filter: A Didymium filter filters out specific wavelengths emitted by, for example, street lamps and helps to eliminate orange glare in night sky photographs.
- Lens heater: On cold nights, condensation may form on your front lens; a lens heater will prevent this.
- A remote shutter release allows you to trigger the camera without having to touch it, reducing the possibility of a camera shake.
- Spare batteries are required for longer shooting because cold conditions drain batteries faster.
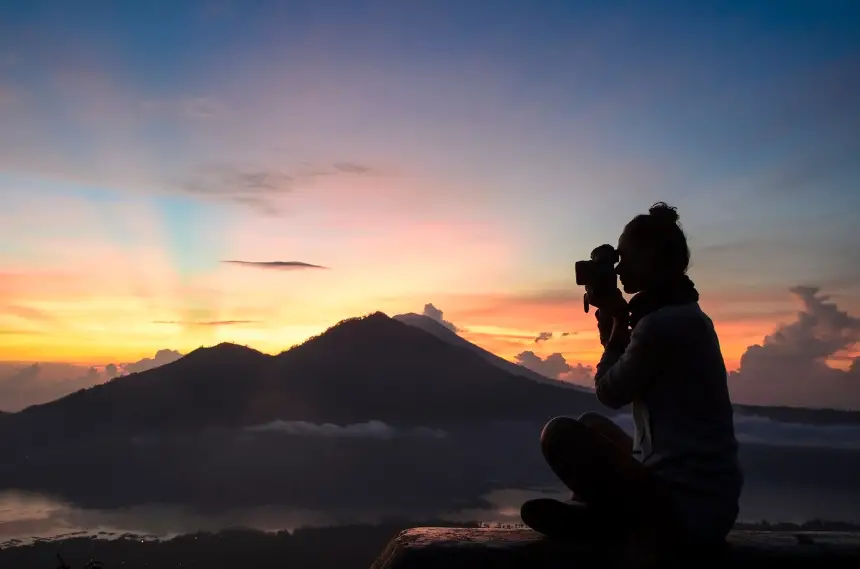
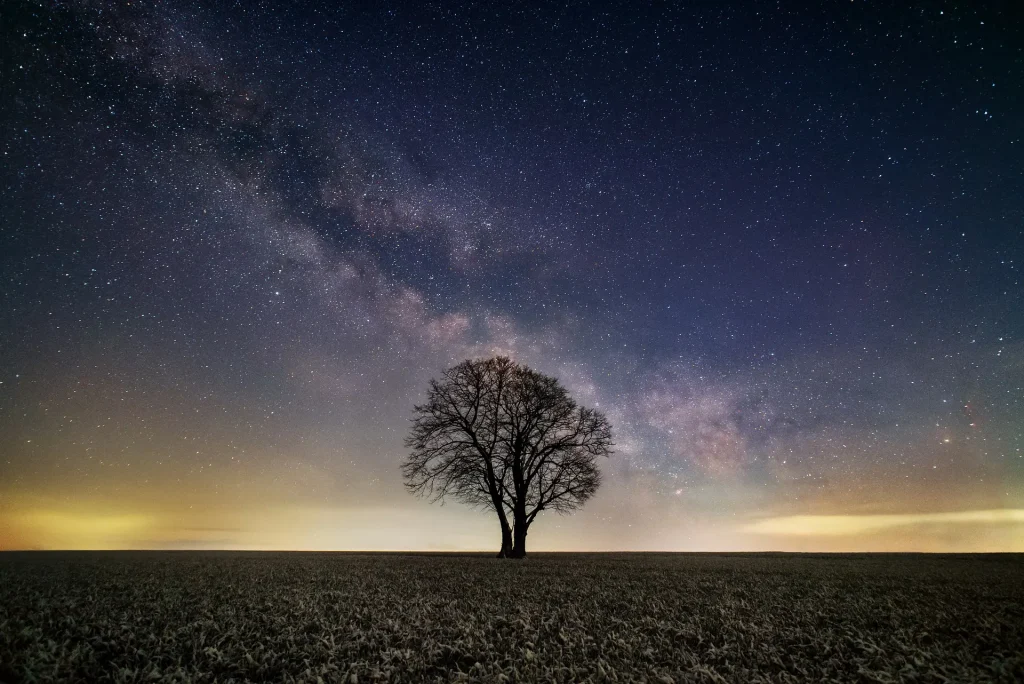
Researching the location and time of the shoot (For Landscape Astro Shots)
Scouting your site during the day can assist you in identifying potential barriers or chances for the shoot, as well as allow you to prepare the ideal angle and composition for the photo.
It is critical to determine the time of the shoot because you will need to arrange for the optimal moment to capture the night sky.
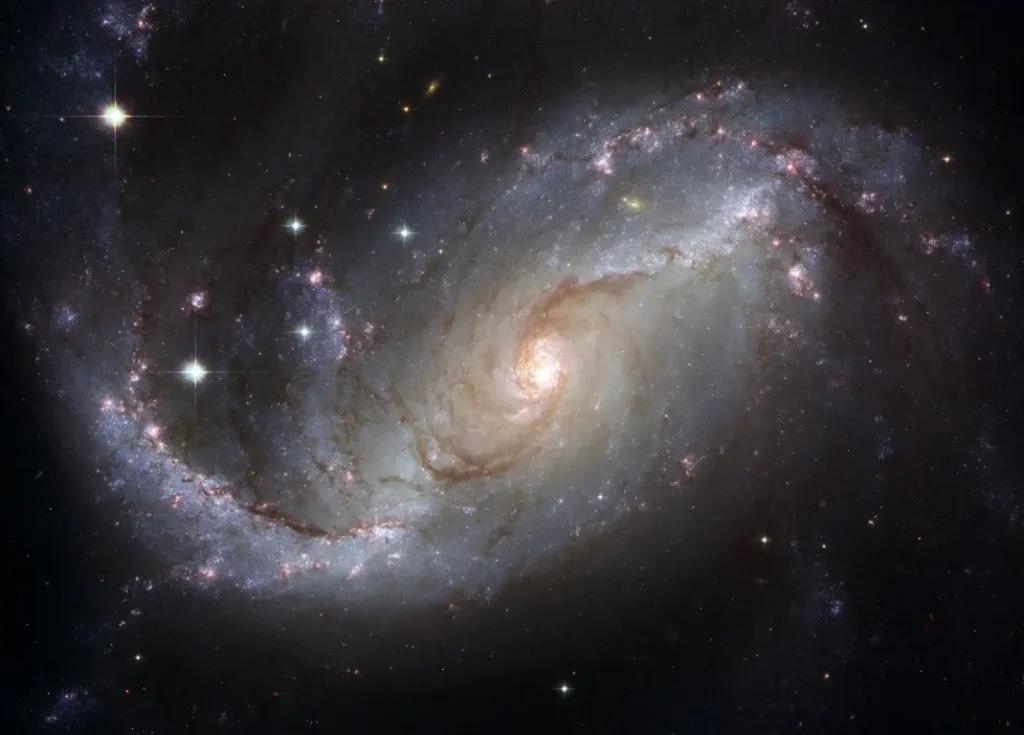
To find out when the Milky Way or other celestial phenomena will be visible, use astronomy apps or websites.
For your awareness, I listed some of the astronomy apps and websites below.
PhotoPills: This popular iOS and Android software contains a planner that shows when and where the Milky Way will be visible in your area.
It also contains a 3D augmented reality capability that allows you to preview the Milky Way’s position in the sky easily.
Stellarium: This free desktop software provides you to examine a realistic 3D sky with over 600,000 stars and other celestial objects.
You may change the time and location to see when and where the Milky Way and other celestial events will appear in the sky.
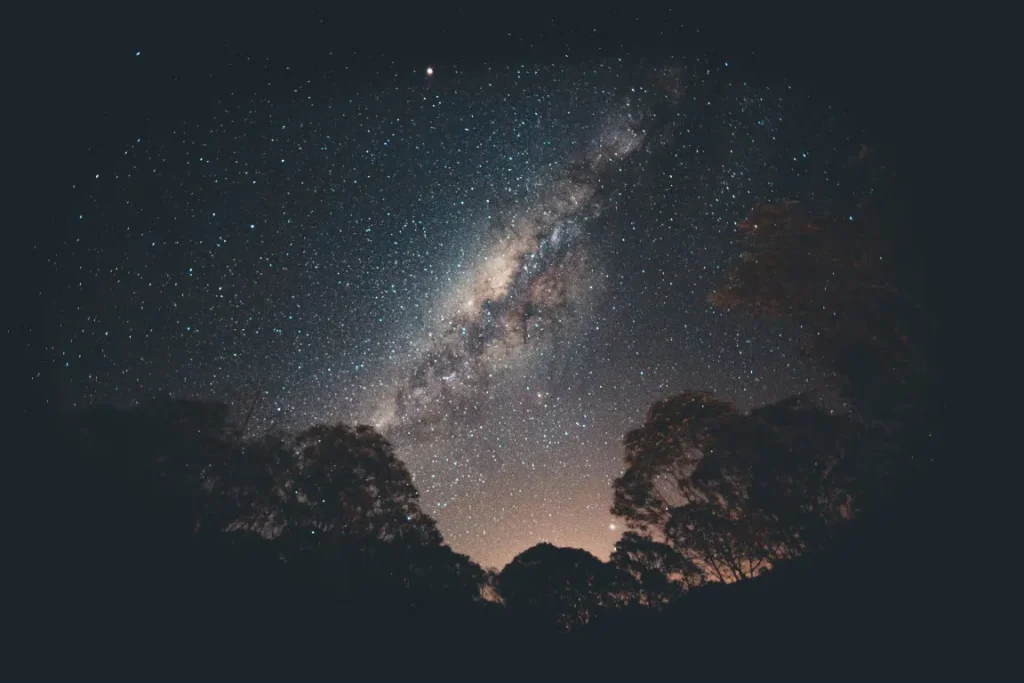
Finding a Dark Sky
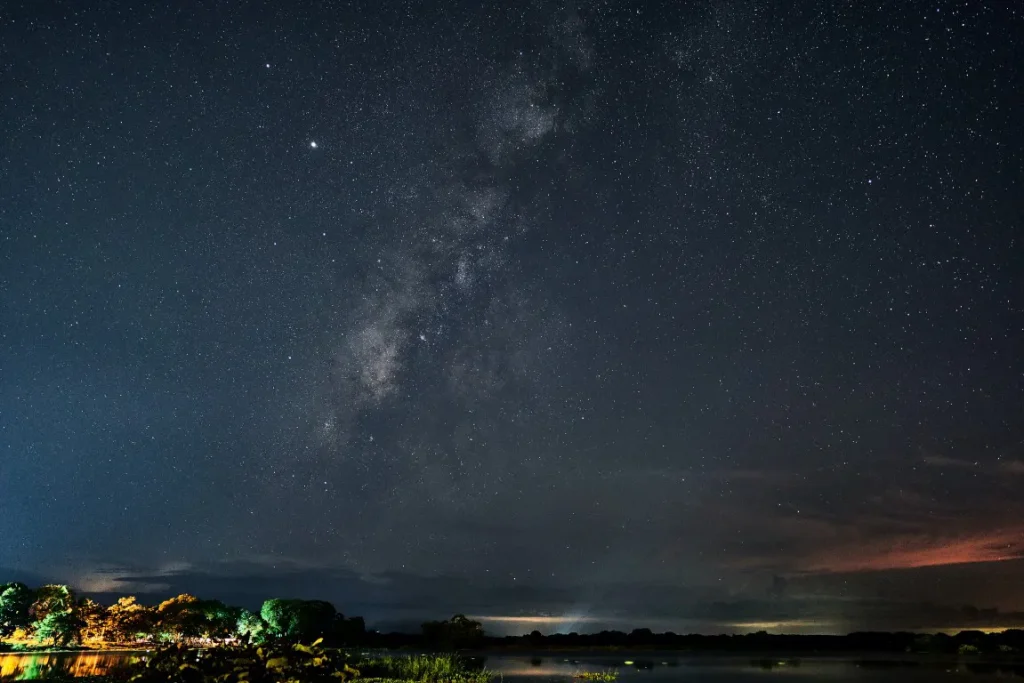
When you are ready to capture landscape astrophotography, a very dark sky is required for it, therefore you should be far away from city light pollution and out at a time when the moon will not wash out the sky.
On the other hand, light pollution can occasionally be used to dramatic effect, and when the moon is low enough in the sky, it can be used to light up the foreground.
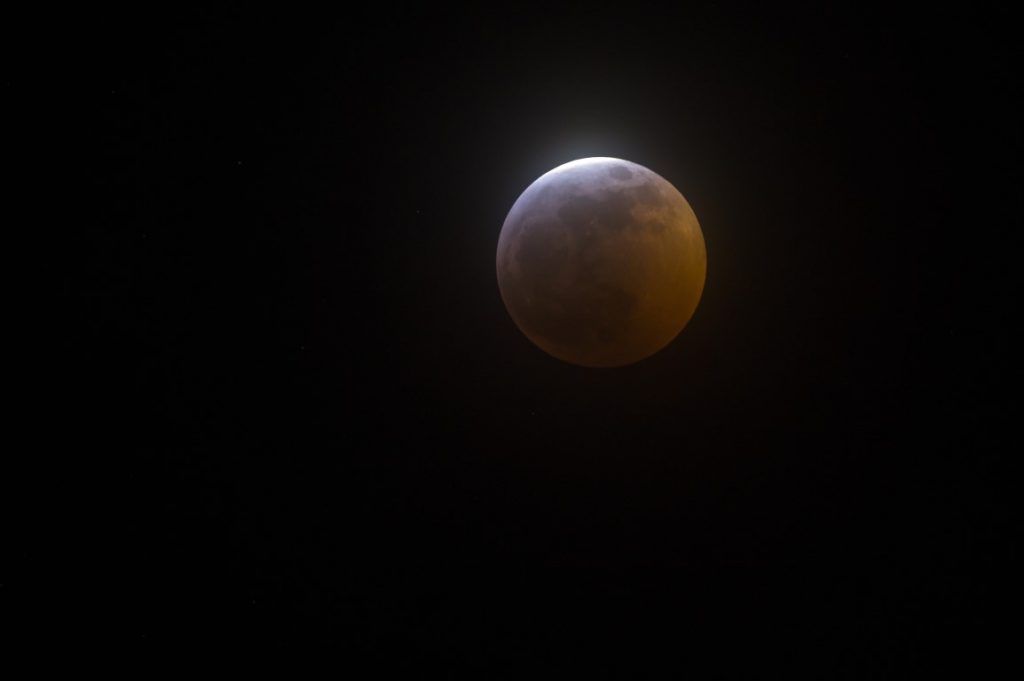
There are several apps available to show you the moon’s phase and when it will rise and set. The same apps described early will show you when the moon rises and sets.
Best Camera Settings for Landscape Astrophotography
It’s critical to get your camera settings ideal in order to capture amazing photographs of the night sky and other celestial events.
Here are some camera settings recommendations for landscape astrophotography according to my experience.
Aperture
To let in as much light as possible, use a wide aperture (f/2.8 or lower).
A wide aperture will also produce a narrow depth of field, which will aid in isolating your subject and creating a dramatic impact.
Shutter Speed
Use a slow shutter speed typically between 15 and 30 seconds to catch enough light to reveal the night sky’s features.
Longer shutter speeds can also produce fascinating effects such as star trails.
However, very lengthy shutter speeds might result in overexposure and loss of detail in the sky.
ISO
To boost the sensitivity of your camera’s sensor to light, use a high ISO setting (often between 1600 and 3200).
However, using an ISO that is too high can result in excessive noise and grain in your photographs. Experiment with various ISO settings to achieve the best mix of sensitivity and noise.
Focus
To attain a sharp focus on the stars, go to manual focus and utilize the infinity setting.
You may need to experiment with focus and test shots to find the sweet spot for your lens.
White Balance
To minimize colour shifts caused by artificial lighting, use a custom white balance setting or set it to “daylight”.
Alternatively, you can change the white balance in post-production.
Post-Processing Your Landscape Astrophotography Images
After you’ve captured shots of the night sky and other celestial occurrences, it’s time to post-process them to make them really shine.
Here are some post-processing tips for landscape astrophotography images:
- Cleaning and Preparation of Images
Before commencing post-processing, it’s vital to clean and prepare your photographs.
This can include removing any lens flares, adjusting the exposure, and cropping the image to get the desired composition.
- Colour balance and contrast
Adjust the colour balance to appropriately depict the colours of the sky and landscape.
Adjust the contrast and bring out the details in the image’s shadows and highlights using the levels and curves tools.
- Improving the Details
Use the sharpening tool to improve the details of the stars and landscape.
Alternatively, you can use the clarity tool to increase the image’s mid-tone contrast and make it appear more detailed.
- Noise Reduction
Remove any excess noise and grain from the image using a noise reduction tool. Be careful not to overdo the noise reduction, since this can result in a loss of image detail.
You may require a Photoshop or Lightroom plug-in to help with noise reduction, especially for high-ISO sky exposures.
I occasionally use Nik Dfine as a Photoshop plug-in and find it to be excellent, but I also use the built-in noise reduction tools in Lightroom and Adobe Camera Raw.
I think you already have read my article on astrophotography noise reduction. It is also a complete guide for astrophotographers
- Exposure stacking
You can capture roughly 8 photos with identical settings straight after each other, which you will stack in post-production.
Because noise is a random process, the editing software will determine the median value for each pixel, allowing you to efficiently remove noise.
I normally use Photoshop for this task.
By the way, you may remove a lot of noise by employing exposure stacking, but your foreground remains dark.
Therefore, taking a very long exposure or blending in a blue-hour foreground photo will frequently be necessary to get a foreground with a decent degree of clarity.
These post-processing techniques, help you to bring your landscape astrophotography images to the next level.
Remember, post-processing is an important part of the creative photographing process, so don’t be afraid to experiment with these techniques to find the right look for your shots
I recommended the below video to get more ideas about focus stacking for night sky photography.
Tips for Successful Landscape Astrophotography
Capturing stunning photos of the night sky and other celestial events needs careful preparation, technological know-how, and a little luck.
Here I will provide some tips for good landscape astrophotography:
- Light Painting
Light painting is a technique for lighting your foreground at night using a flashlight or other source of light. It takes some practice to master this technique.
Because focused strong light can create very severe shadows, you should usually choose a diffuse light source.
I don’t light paint often, maybe several times in my life, but when I do, I often use a lens cloth over a flashlight or bounce the flashlight off of something behind me to cast soft light on the foreground.
- Considering Composition.
When first starting out with milky way photography, many individuals (including myself) appear to completely forget composition and only focus on the stars.
This is unfortunate because a photograph with an interesting foreground is far more appealing than one without.
More attention on the foreground is essential if you live in a light polluted environment. A good foreground should not compete with the sky, but rather enhance it and guide the viewer through the image.
- Considering Weather Conditions
Of course, we need a clear sky to observe and photograph the Milky Way, so carefully verifying the weather forecast is critical. It is especially important to check out multiple sources if you plan to shoot in a difficult-to-reach area, such as a mountaintop.
Worldwide best locations for landscape astrophotography
- NEW ZEALAND’S AORAKI MACKENZIE INTERNATIONAL DARK SKY RESERVE
The Aoraki Mackenzie International Dark Sky Reserve is the only one in the southern hemisphere, and it encompasses the Aoraki/Mt.
Cook National Park and the Mackenzie Basin in New Zealand’s South Island. It is famous for its view of the Southern Cross, Magellanic Clouds, and the Milky Way.
The Atacama Desert, a 990-mile stretch of desert on the Pacific coast that stretches between Chile and Peru west of the Andes Mountains, is famous for its magnificent view of the Southern Hemisphere night sky and a breathtaking glimpse of the Milky Way’s core.
Death Valley, California is one of our favourite U.S. National Parks because of its pure and scenic desert terrain, as well as its astronomy opportunities, which are best enjoyed during a new moon (when light pollution is minimal).
- BRECON BEACONS, WALES
Brecon Beacons National Park in Wales is an International Dark Sky Reserve, designated for its nocturnal atmosphere and lack of light pollution, allowing you to explore deep space with a telescope and snap stunning landscape astrophotography.
Conclusion
We’ve looked at the fascinating and rewarding subject of landscape astrophotography in this blog post.
We’ve covered everything from planning a shoot and selecting the correct equipment to capture the night sky and post-processing your photographs to make them really stand out.
So why not try your hand at landscape astrophotography? With the right equipment, knowledge, and techniques, anyone can capture stunning images of the night sky and other celestial phenomena.
So get out there and start shooting – who knows what wonders you might discover.
Justin Parker is a professional photographer and has been in the industry since 2007. He attended the University of Georgia. Justin combines his passion for photography and his interest in writing to give life to this blog which talks about photography in order to help and inspire young photographers.