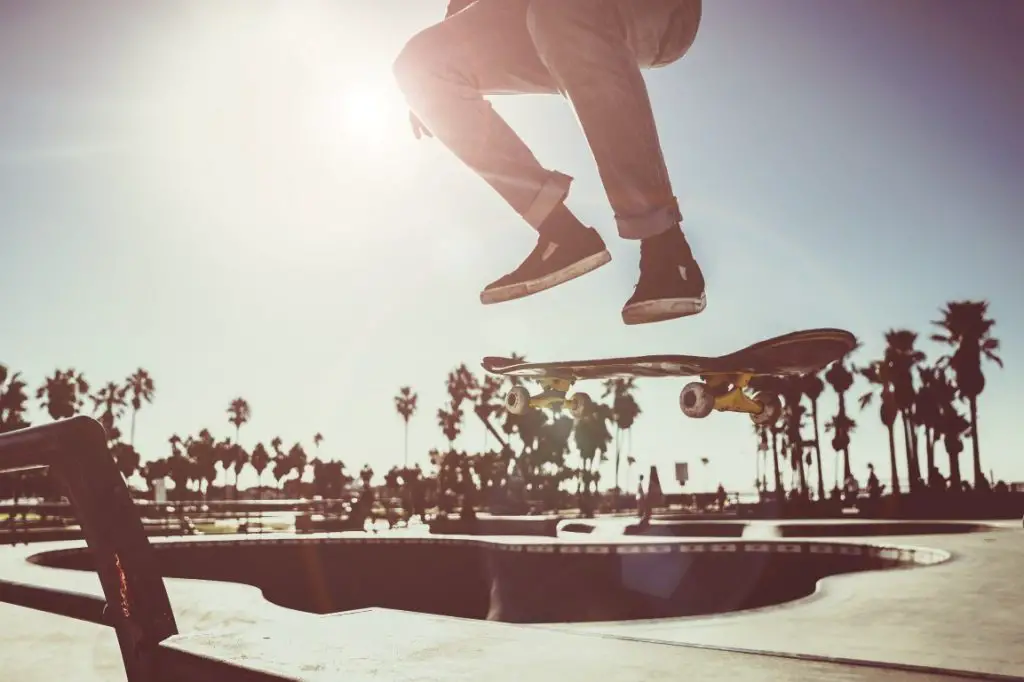
Skydiving is an extreme sport that combines the thrill of free-falling from thousands of feet in the air with breathtaking views of the world from above.
However, capturing these stunning images while plummeting toward the earth at high speeds presents its own set of unique challenges.
In this article, I’ll share my tips and experiences on skydive photography and guide how to look good while doing it.
I’ve learned a lot about the unique challenges and exhilaration of this extreme sport, and I’ve found that it’s helpful to consider the process in four phases when it comes to skydive photography:
- The Preparation Phase
- Looking Good in the Sky
- During the Skydive
- After the Jump
Let’s go through each phase for a better understanding.
1. The Preparation Phase

· Understand the Basics
Before I took my first photo in the sky, I spent a lot of time understanding the basics of skydiving.
It’s a high-risk activity that requires strict adherence to safety protocols.
I had to learn how to properly wear my gear, how to position my body during the fall, and how to deploy my parachute before I even thought about adding a camera into the mix.
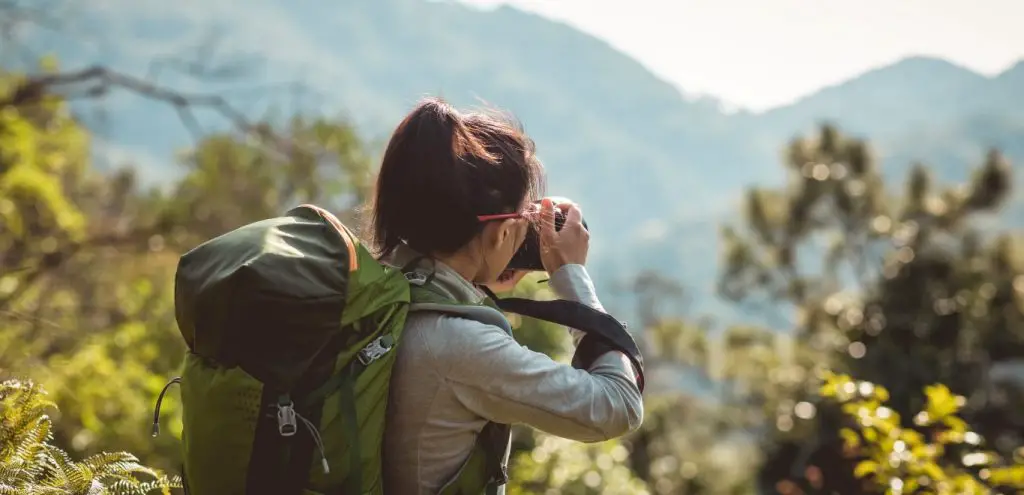
· Getting the Right Gear
For skydive photography, there is needed a camera that could withstand the extreme conditions of a skydive, like a GoPro or another action camera. These cameras are designed to be durable, lightweight, and easy to operate, even in challenging situations.
Also, it’s important to adjust your camera settings for action shots. You can refer to the article on camera settings for action shots.
In addition to the camera, I also needed equipment like helmet mounts, chest mounts, and monopods to secure my camera during the dive.
· Knowing Your Equipment
One of the lessons I learned early on was the importance of familiarity with my gear.
I had to practice using my camera in various conditions to ensure I was comfortable with it before my skydive.
I even practiced operating camera settings with gloves on and in other challenging situations.
2. How to Look Good in the Skydiving

One of the most exciting aspects of skydiving is the fantastic photos you can take. In my experience, it’s worth following a few tips for taking good photos while skydiving.
· Tips for Looking Good While Skydiving
The following tips have always worked for me, and I believe they could work for you too.
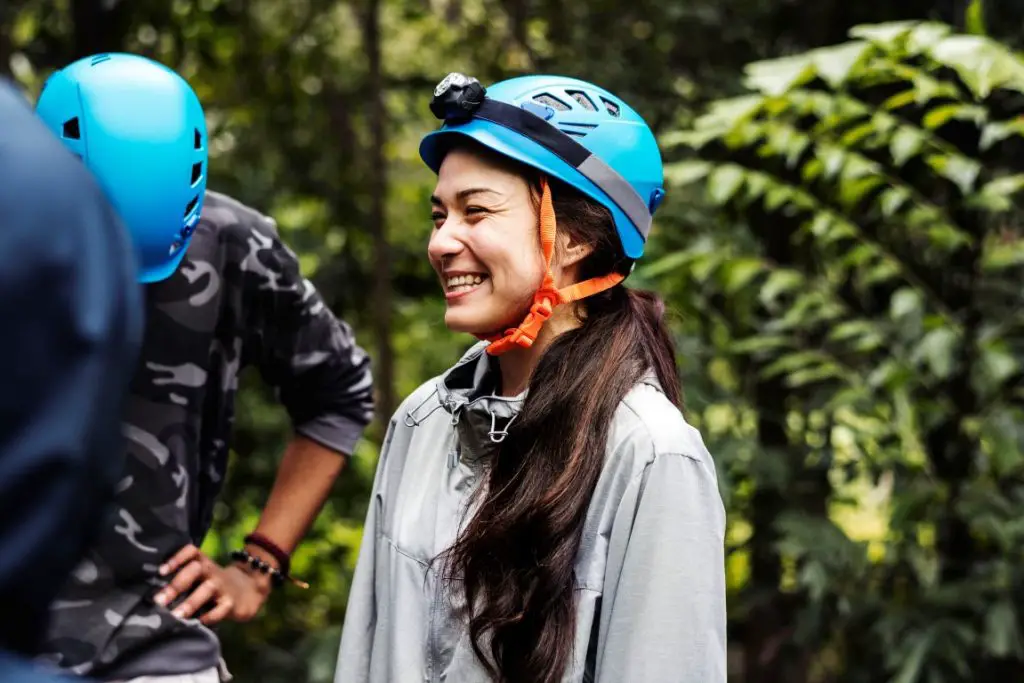
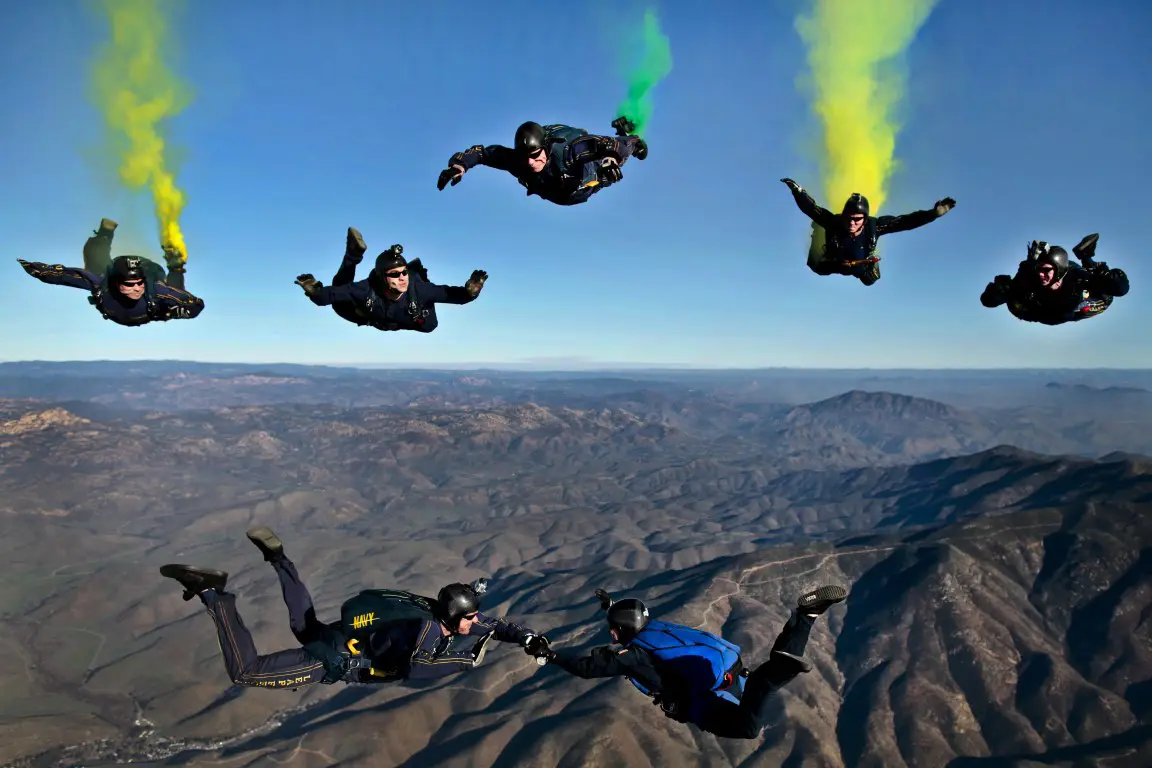
Wear Bright, Contrastive Clothing: Choose clothing that stands out against the sky. Bright, contrastive colors can help you pop in the photos and draw the viewer’s attention.
Practice Skydiving Poses: Work on your skydiving poses before the jump. This can help you look more natural and composed in your photos.
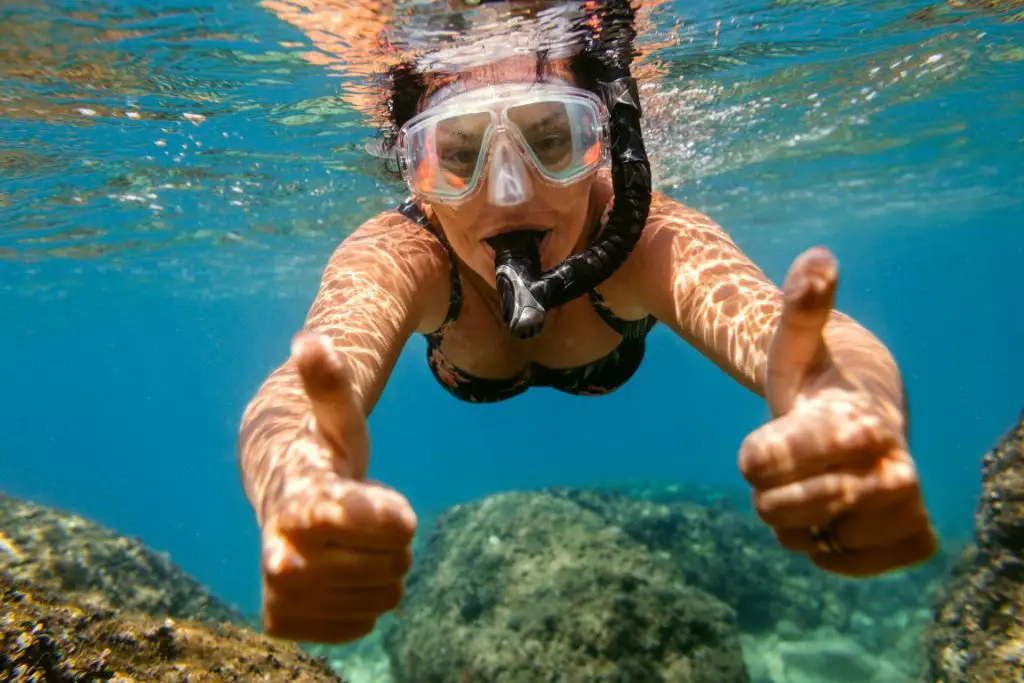
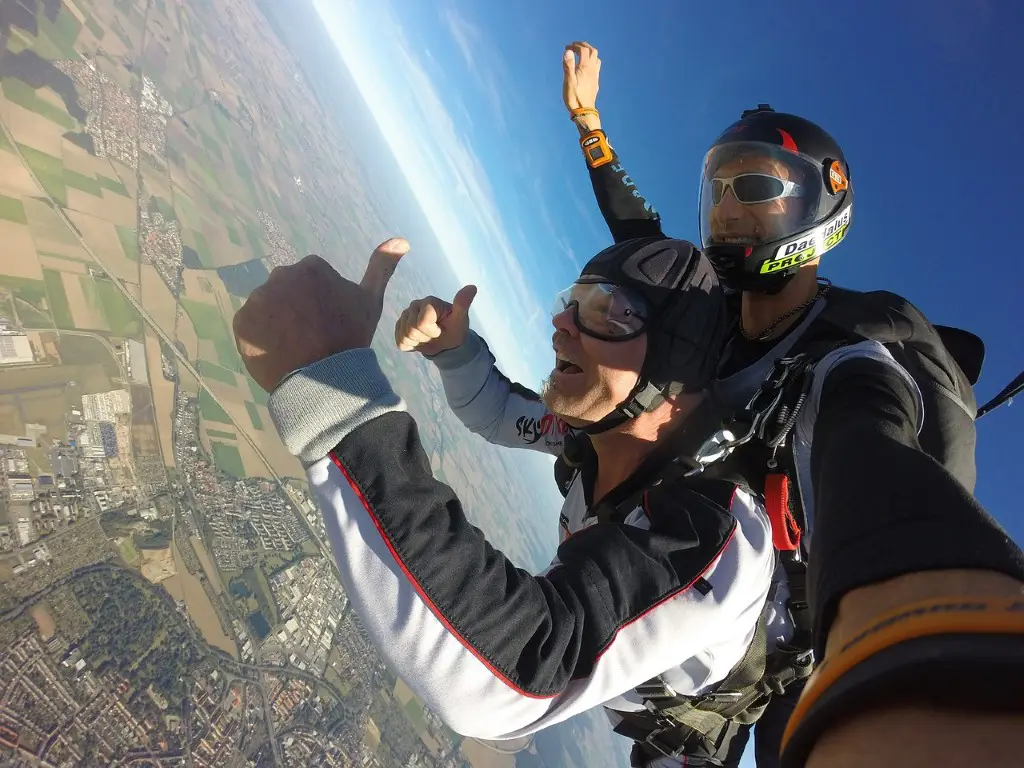
Express Genuine Emotion: Try to express genuine joy and thrill during your skydive. The camera captures not just your image, but your emotions as well, making your photos more engaging and memorable.
Relax Your Face: To avoid distortion due to wind pressure, learn to relax your face and keep your mouth closed during the free fall. This can help prevent the ‘chipmunk cheeks’ effect that high-speed wind can cause.
However, looking good while skydiving is about more than just your appearance. It’s also about your body language, your expressions, and how you interact with the camera.
With practice, you can learn to look natural and relaxed, even while free-falling from thousands of feet in the air.
3. During the Skydive
· Setting the Frame
In my skydiving photography journey, pre-planning my shots and visualizing my frames greatly improved the photos.
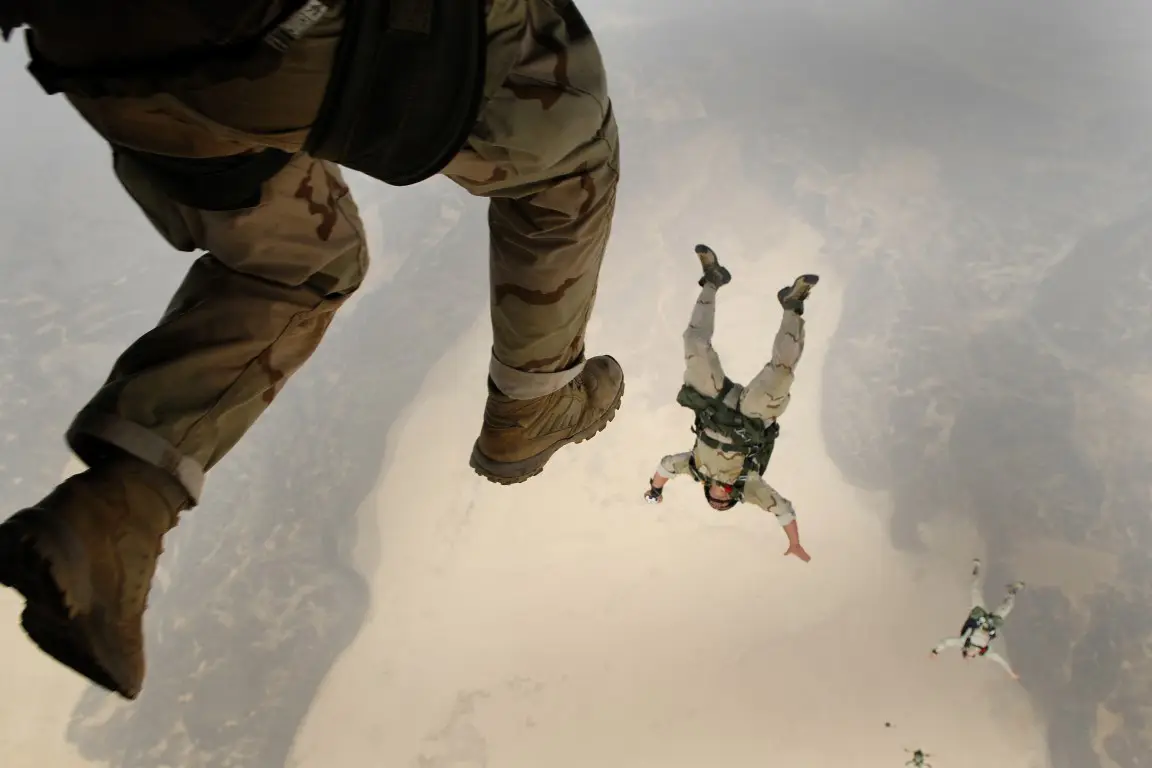
So, I often use wide-angle shots to capture both the scenery and myself in action. This gives my photos a sense of scale and drama.
· Understanding Lighting
Lighting is a crucial element in photography, and skydive photography is no exception.
I’d love to use the sun to my advantage. For example, shooting with the sun behind me can create a dramatic silhouette effect.
I also consider the time of day for optimal lighting. Early morning and late afternoon, often referred to as the ‘golden hours’, provide softer, more flattering light.
· Capturing the Action
When it comes to capturing the action, focus is key. I make sure I’m in sharp focus, with the background slightly blurred to create a sense of depth and movement.
I also try to capture the emotions and the thrill of the moment. This makes skydiving photos more dynamic and compelling.
4. After the Jump

· Post-Production
Once landed safely and have the skydive photos, it’s time for post-production.
Usually, I spend time editing my skydiving photos to enhance their impact. This includes color correction, cropping, and adjusting exposure to highlight the best parts of the photos.
Conclusion
In conclusion, skydiving photography is a thrilling and rewarding pursuit.
By understanding the main four phases in the skydive photography journey you can take amazing skydiving photos that truly capture the exhilaration of the sport.
Besides, I believe you’ve already read my previous article titled extreme sport photography tips for more tricks for your journey.
Always remember, safety comes first. The balance between getting great shots, looking good, and enjoying the experience is what makes skydive photography such an exciting challenge.
Justin Parker is a professional photographer and has been in the industry since 2007. He attended the University of Georgia. Justin combines his passion for photography and his interest in writing to give life to this blog which talks about photography in order to help and inspire young photographers.