Product photography is a crucial aspect of online marketing and e-commerce. The quality of your product photos can significantly impact your sales and the perception of your brand.
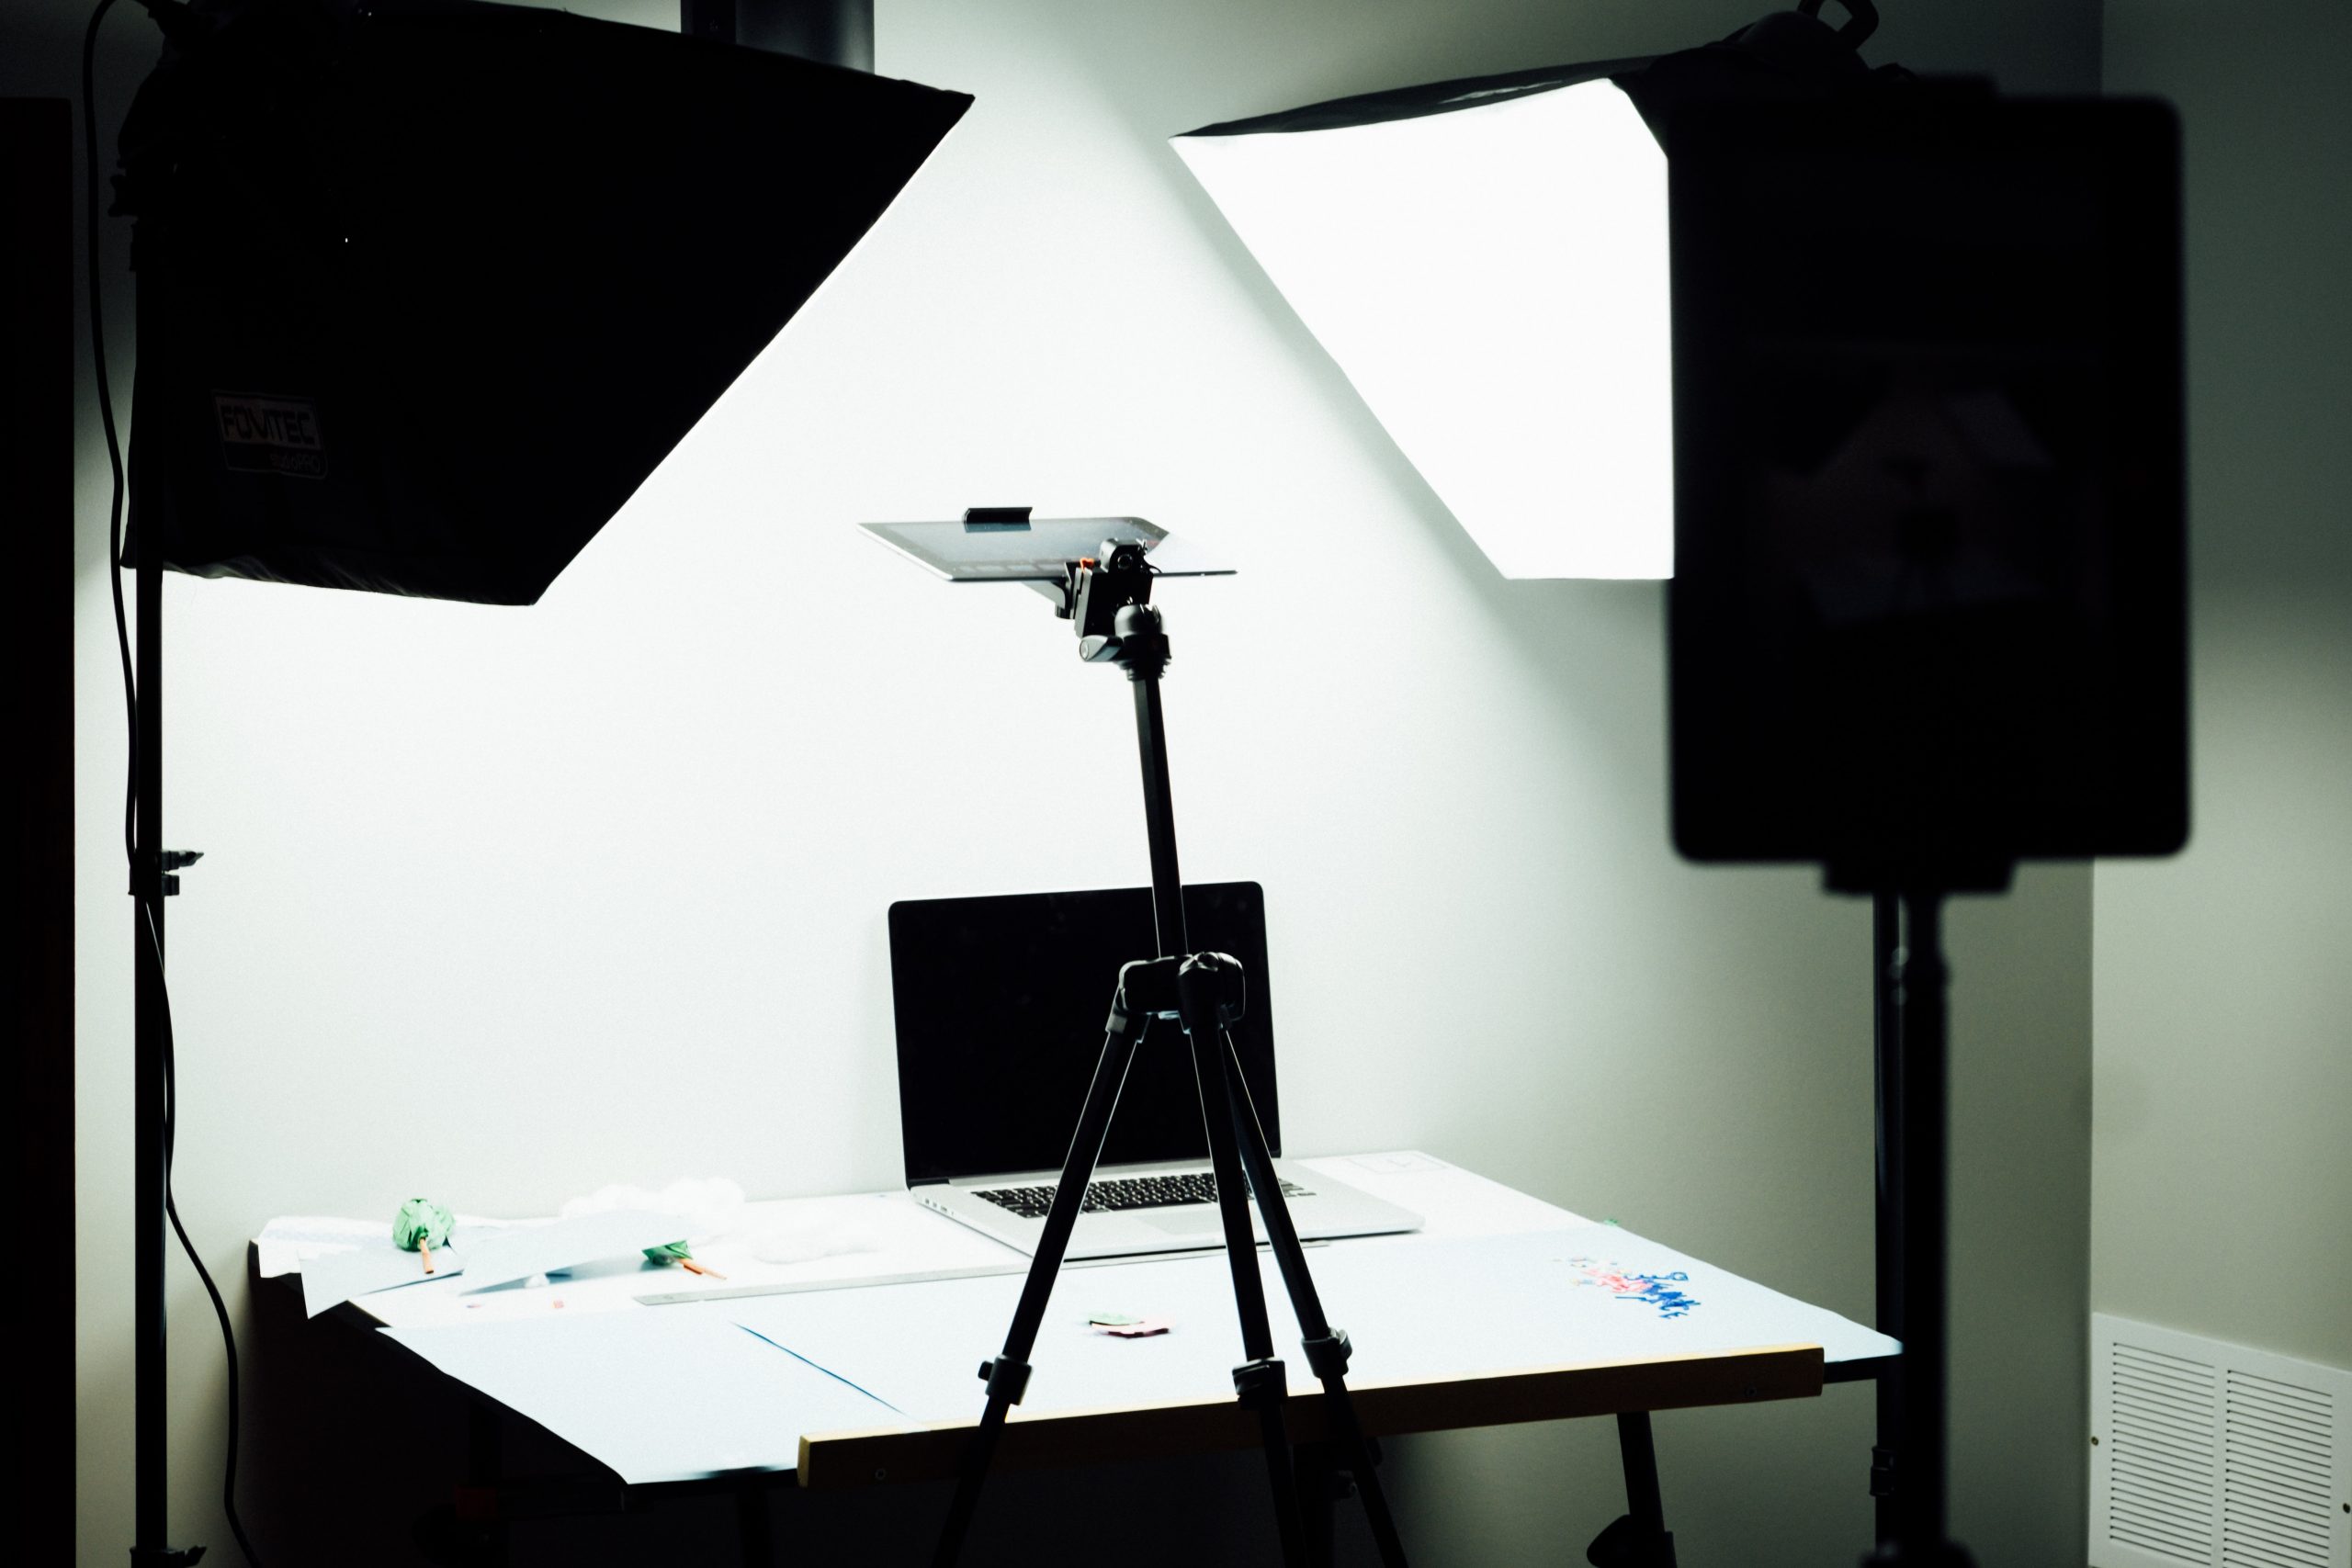
One of the key elements to achieving high-quality product photos is lighting, and that’s where a softbox comes in.
In this comprehensive guide, I’ll discuss what a softbox is, how to use it effectively for product photography, and how to choose the best softbox for your needs. I’ll also compare softboxes to other lighting tools like umbrellas to help you make an informed decision.
Whether you’re a beginner or a seasoned photographer, this guide will provide valuable insights to enhance your product photography skills.
Let us move forward to learn more!
What Is A Softbox?
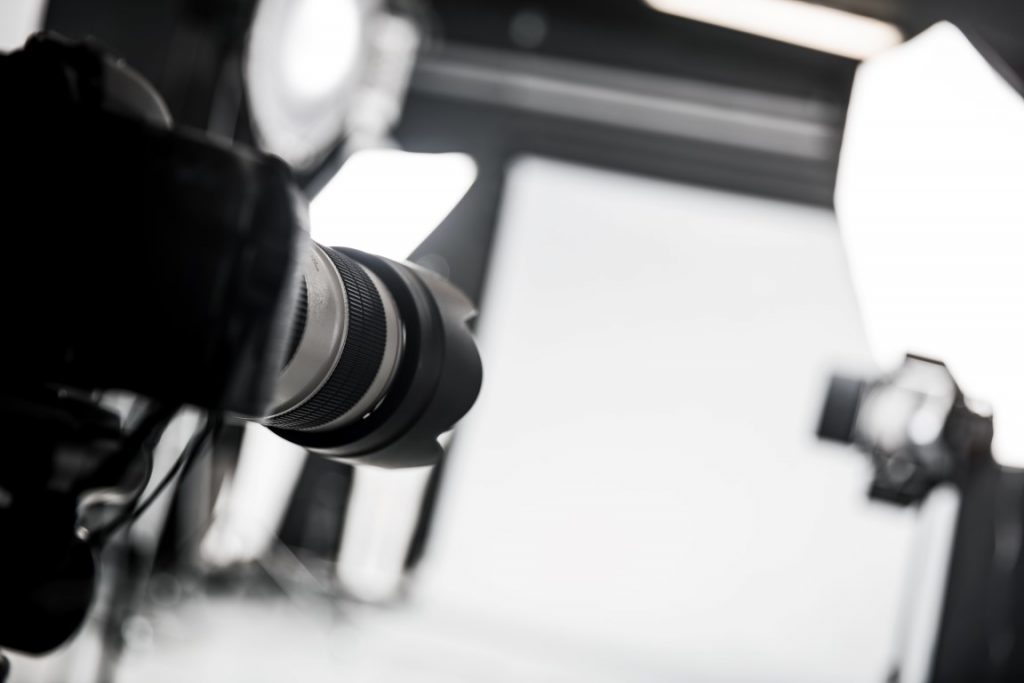
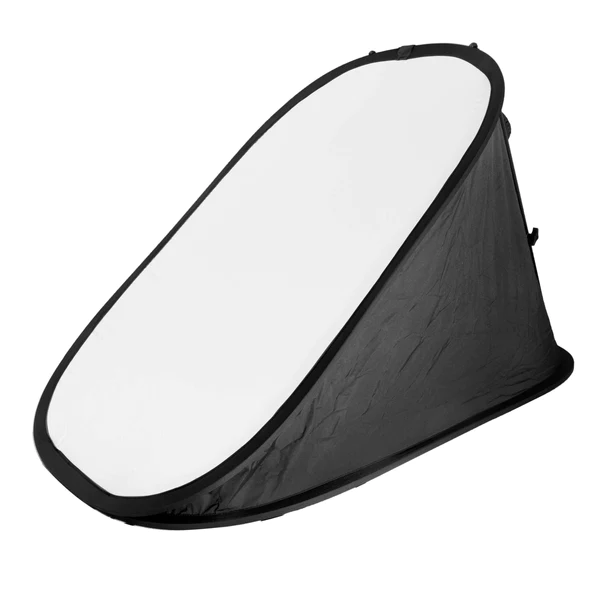
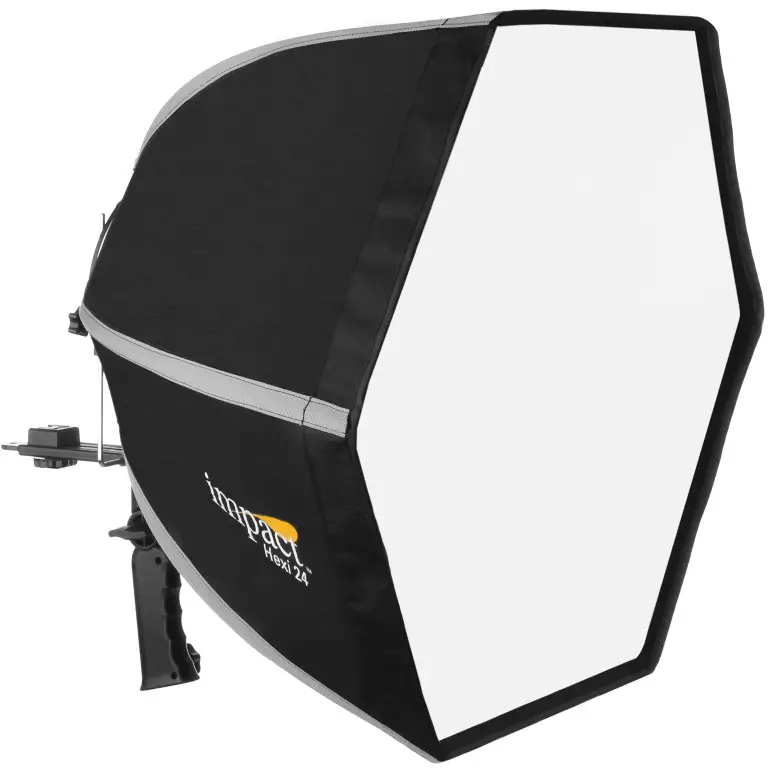
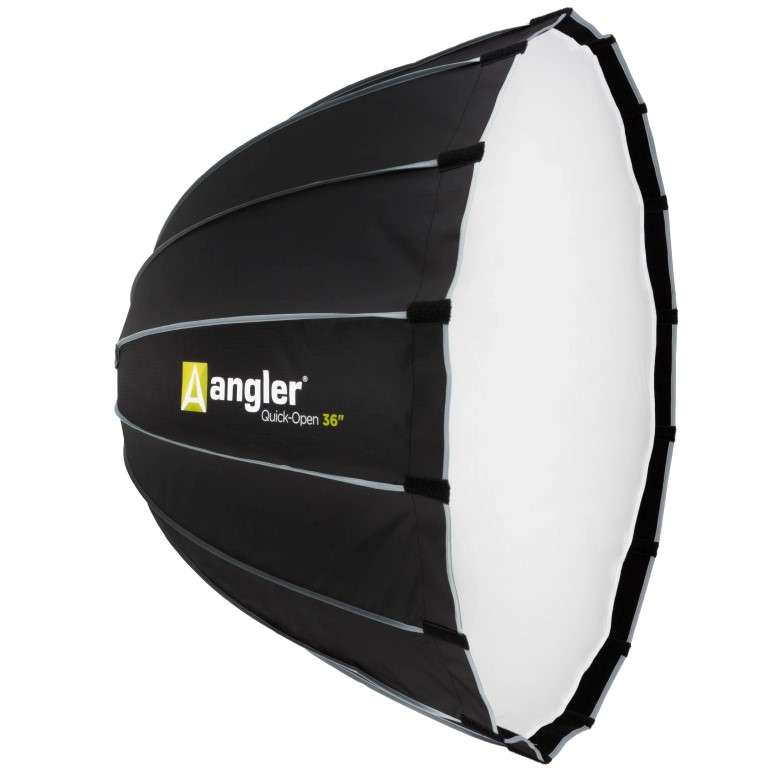
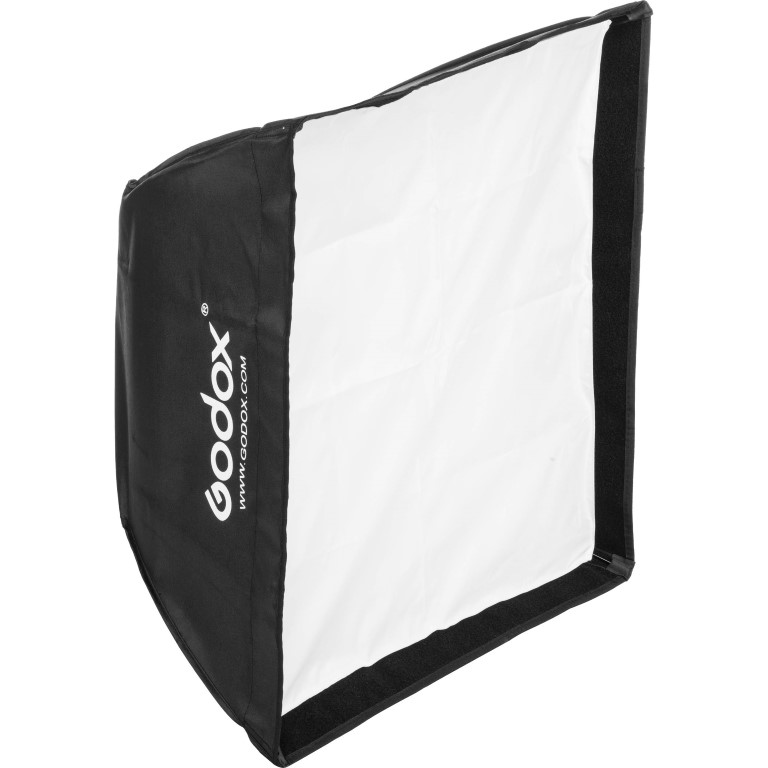
A softbox is an instrument for a photography studio light or flash. These are made of opaque polyester or nylon and have reflective interiors.
The front of this instrument is crafted from translucent white nylon. Some of them even have a white nylon baffle internal to in addition soften the light.
At the rear of the softbox is a gap in which the light source is placed. The moment the light is opened, at that time, the light is diffused. It is done through the reflective interior and nylon baffles.
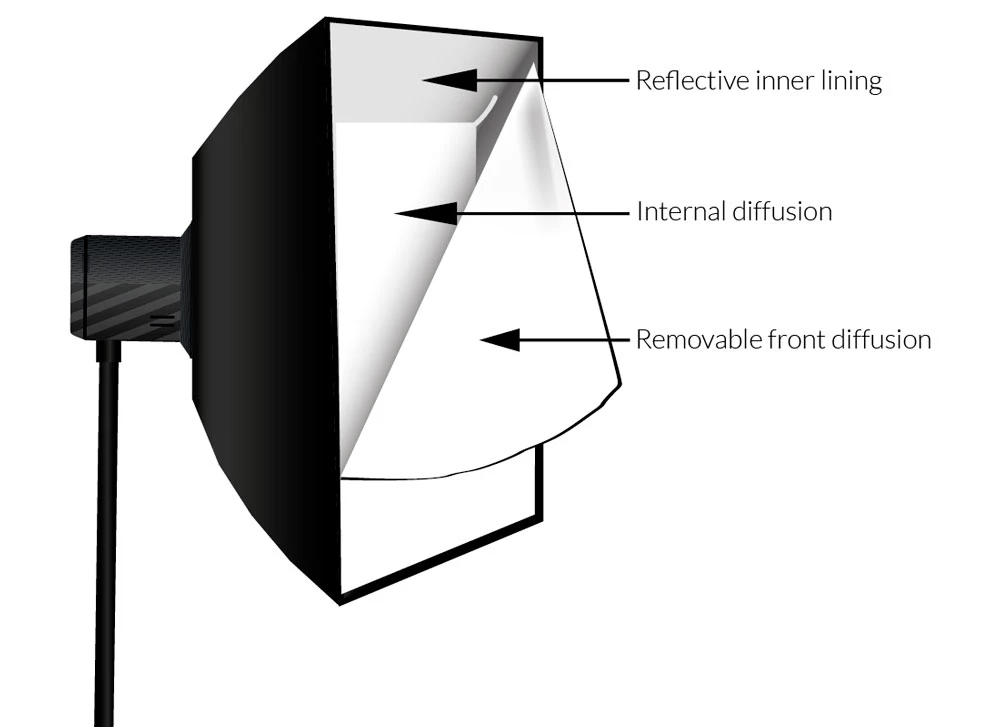
Light is contained inside the box and emitted via the front, masking approximately a 90-degree attitude.
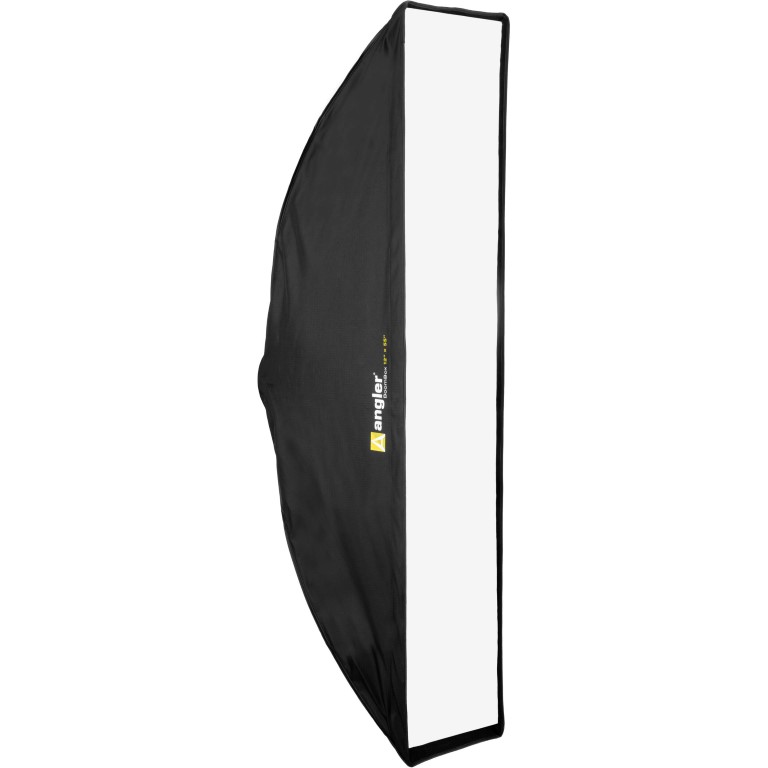
It comes in various styles and sizes. The larger it is, the softer the light might be. You can also add some more. These will soften the light even greater. It might also make it more excellent directional.
Best Practices to use a Softbox.
Interestingly, many photographers tend to use their softboxes from a considerable distance. While this isn’t necessarily incorrect, as a product photographer, you can gain more advantages by using them more effectively.
In my journey as a product photographer, I’ve discovered some best practices that have significantly improved my work. Let’s explore these practices one by one.
- Height
It’s very typical to see softboxes put over the subject; however, you can also get some extraordinary outcomes utilizing them lower down.
A lower position can frequently improve texture and structure, which are extremely valuable while capturing items.
- Shape
I listed down the shapes of different softboxes below;
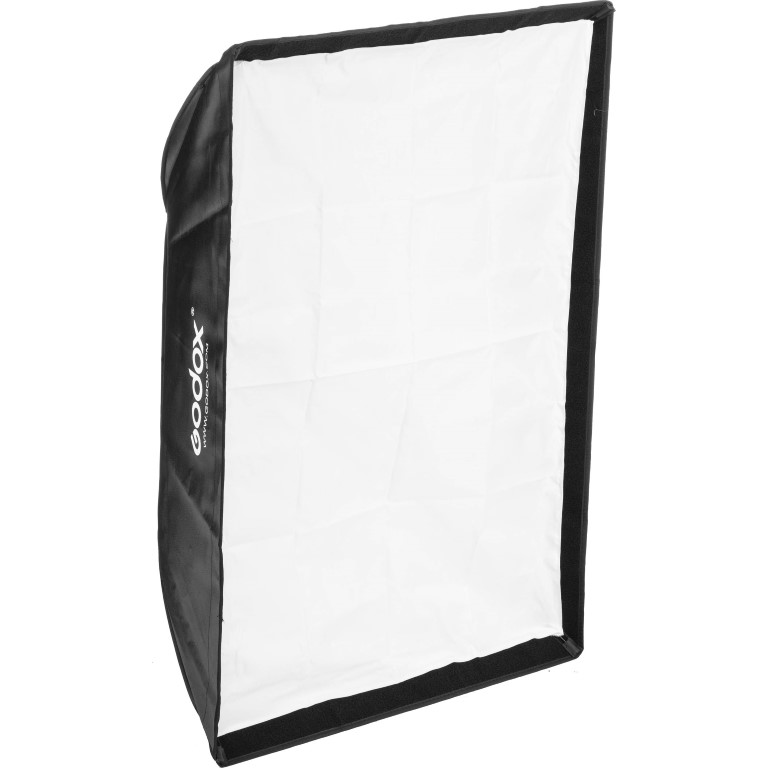
- Rectangular
- Square
- Octagonal
- Strips (long or thin)
- Hexagonal
- Parabolic
- Round
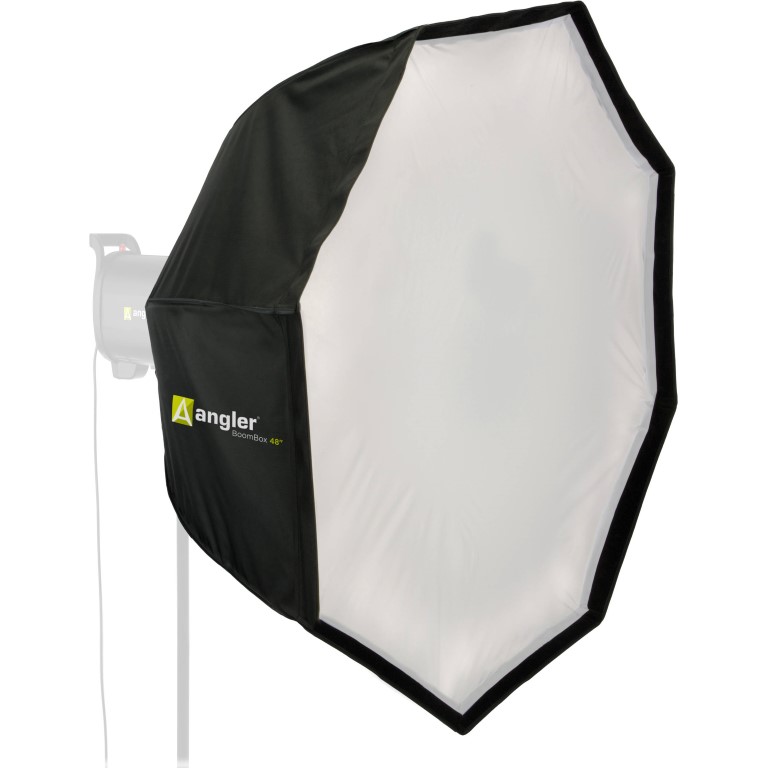
This instrument’s state will not just affect how the light folds over your subject but also on things like catchlights and reflections, so utilizing an Octabox most certainly would not be the ideal decision in case you’re shooting exceptionally reflective jugs.
In addition, a very thin strip box may not be the perfect decision while capturing shiny berries.
- Size
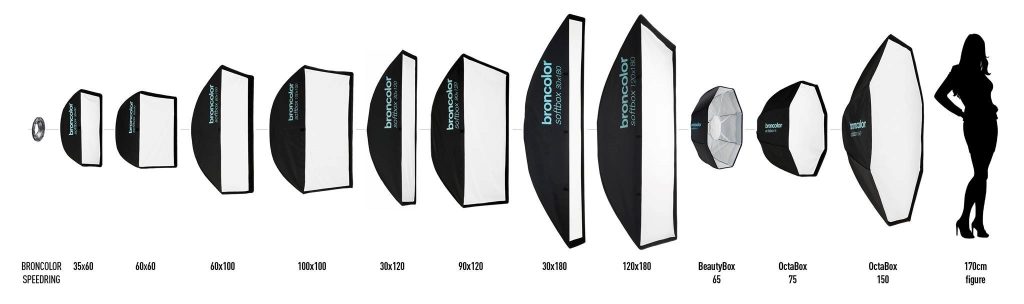
Considering the size of your softbox is significant, yet it’s not the immediate size you need to consider. Maybe, it’s the size according to the subject’s perspective.
This also affects the hardness or delicateness of the light. In any case, remember how huge the light is according to your subject’s perspective. You can draw it nearer or further away to control the hardness or calmness of light.
- Distance from your subject
The distance away from the light from your subject will impact things like the hardness or delicate quality of the light.
It will likewise affect the appearance of sparkling surfaces (like glasses). This is a result of the impact the light has on direct reflections and diffused reflections.
By changing the distance of the light from your subject, these reflections will each be influenced unexpectedly.
While diffused reflections (for example, on the skin) will change as per the opposite square law, the equivalent doesn’t make direct reflections. Here, it is simply the light source that is reflected.
Best Angle for Softbox Light
The angle at which you place your light will impact the vibe of your photograph.
When shooting, you need to keep this on your subject’s best side. This is the place where it will give the most fantastic light.
If you ever position the instrument over your subject, it will project shadows down.
At the point when you’re utilizing a flash, you should step through a progression of test photographs. Survey them to see where the shadows are falling.
Working with studio strobes with displaying lights or constant lighting makes this simpler. Often you can observe the shadows that are created.
How to Use the Softbox as a Secondary Light?
Each softbox will vary in the amount of diffusion and output. If you have a powerful light, it will give you greater flexibility while using this. Including at least one light will impact the amount and nature of the light.
When you are working outside with this instrument, you should consider the results of sunlight on your subject.
You can decide to utilize this as the fundamental light or as a fill light. The sunlight will balance with your openness.
Utilize extra light sources to help fill in shadows. You can utilize more than one or whatever another light source that you have accessible.
Distance between the Softbox and the subject
It would help if you positioned the softbox far enough from your subject with the goal that it is equitably lit. By any chance, if the softbox is excessively near your subject, it may not be enlightened, alright.
I hope to see that the light isn’t dropping off at the furthest points of your subject. Setting your softbox as close as conceivable to your subject will furnish you with the gentlest light. The farther away your softbox is, the shadows will have hard edges.
Bringing the softbox in extremely near your subject will help dispose of a large portion of the shadows. Well, this is so important when the softbox is the main source of light.
Distance between subject and background
The light from the instrument may cause a shadow in the background if your subject is excessively near it. Isolating your subject from the background can assist with lightening this issue.
Before starting the photo shoot, I’ll check the shadow of the subject by moving both the subject and the light source farther away from the background. By trying several times, I can find the best positions for them where the shadow doesn’t affect the subject.
How will the Reflection of the Softbox in the Subject Look Like?
A profoundly reflective subject will bounce back the light once again into your camera. Since the light source is huge, it tends to be observable.
Its appearance in somebody’s eyes will be observable. You need to think about what this looks like. If you do not care for it, you should move the instrument to an alternate angle or farther away.
For still life or product photography, consider how the reflection looks. This is significantly more significant when you are capturing glass or other profoundly reflective surfaces.
How To Choose The Best Softbox for you?
You might be thinking about which one is best for you! Well, this is one of the common questions that photographers ask. So let me answer now!
There are three things that you need to think about. They are;
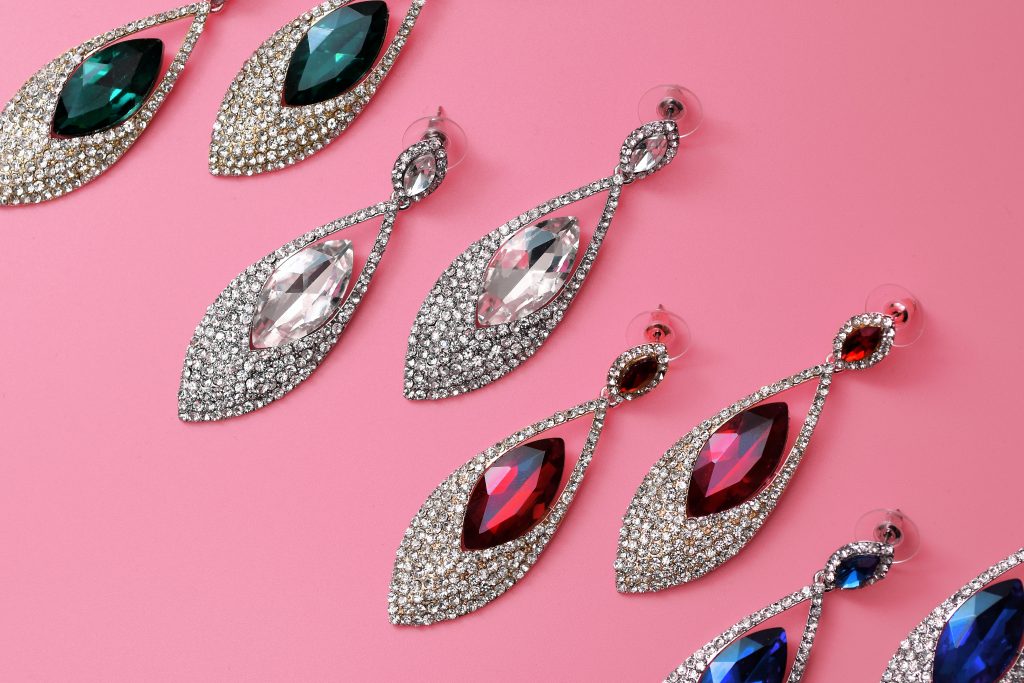
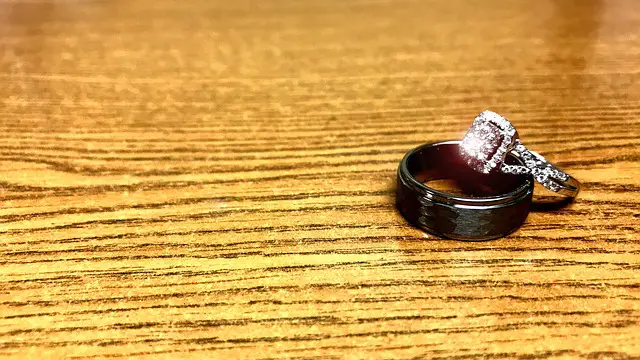
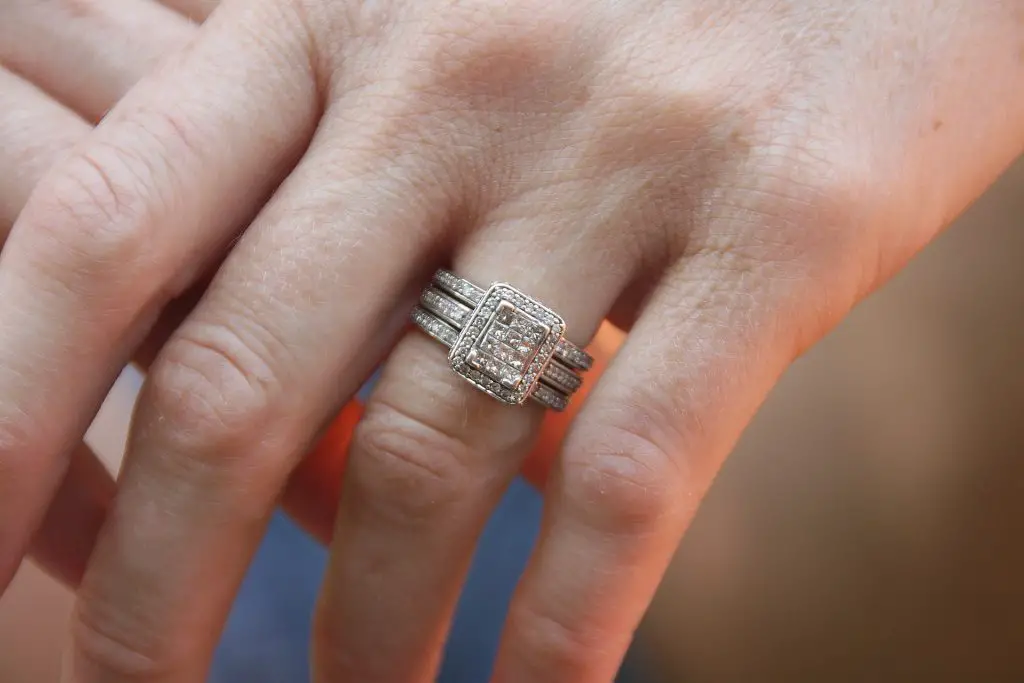
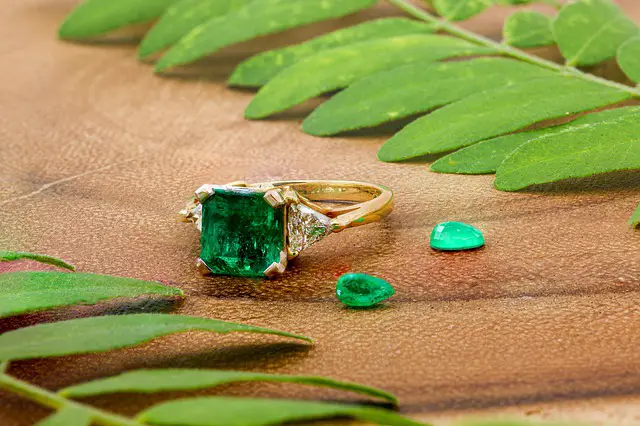
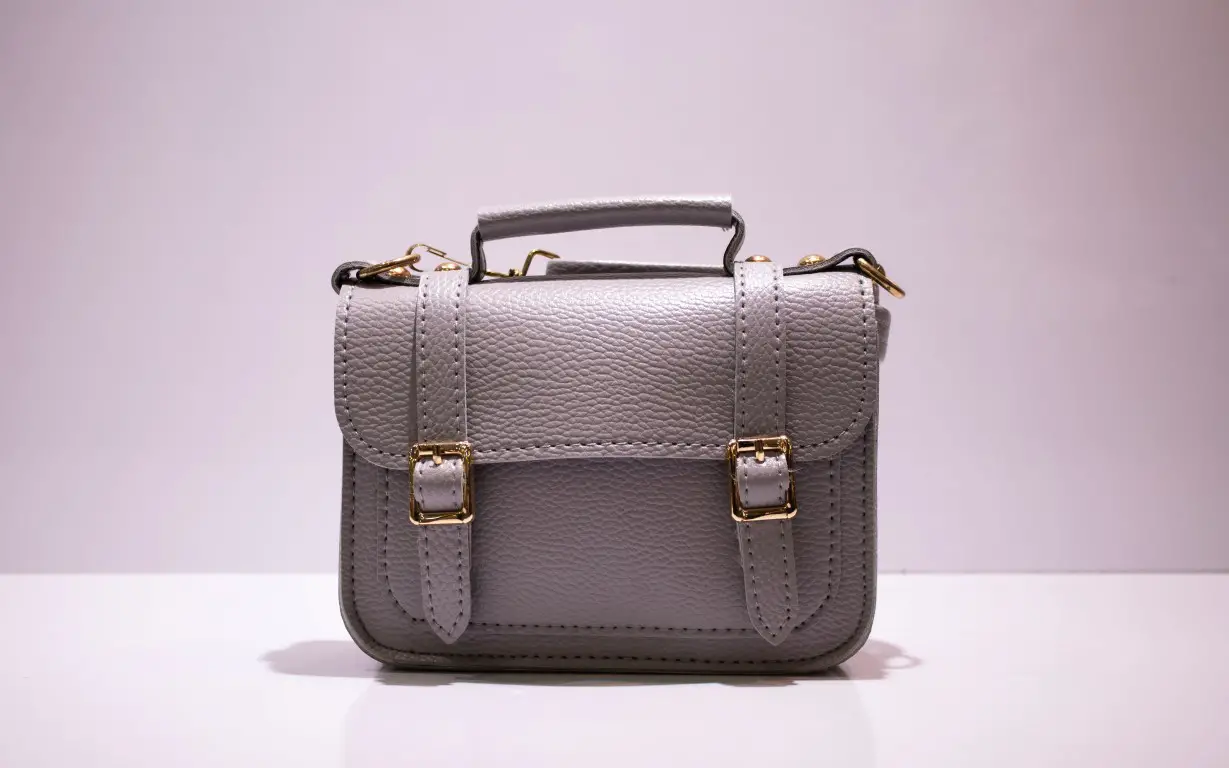
- What you are shooting : The type of product you are photographing will largely determine the size and shape of the softbox you need.
For instance, if you’re shooting small products like jewelry, a smaller softbox may suffice. For larger products or group shots, you might need a larger softbox for more even lighting.
By the way, if you can refer my previous article on jewelry photography lighting I think you able to polish your knowledge on jewelry photography.
2. The size of your studio: The amount of space you have can also influence your choice. Larger softboxes can provide softer light, but they also take up more space. Make sure to choose a softbox that fits comfortably in your studio
3. Your spending plan: Softboxes come in a wide range of prices. Determine how much you’re willing to spend before you start shopping
There is no reason to purchase this if it isn’t appropriate for the items you are shooting at present.
However, if you can bear the cost, then it is the best thought to implement. A huge one will give you additional flexibility along with versatility.
Now I listed down some recommended softboxes for your product photography shooting.
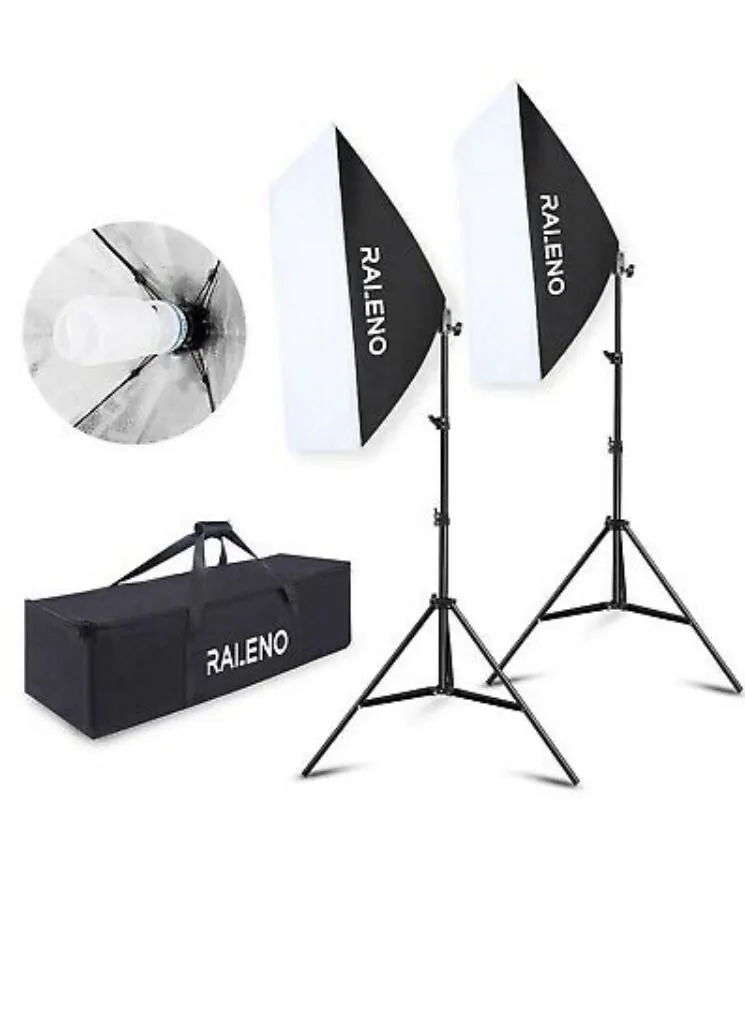
RALENO Softbox Photography Lighting Kit 20 “X28”: This kit is known for its professional-grade lighting and versatility, making it a great choice for a variety of product photography needs.
Neewer 700W Professional Softbox Lighting Kit: This is a high-performance option that offers excellent light quality. It’s a bit more expensive, but its durability and versatility make it a worthwhile investment.

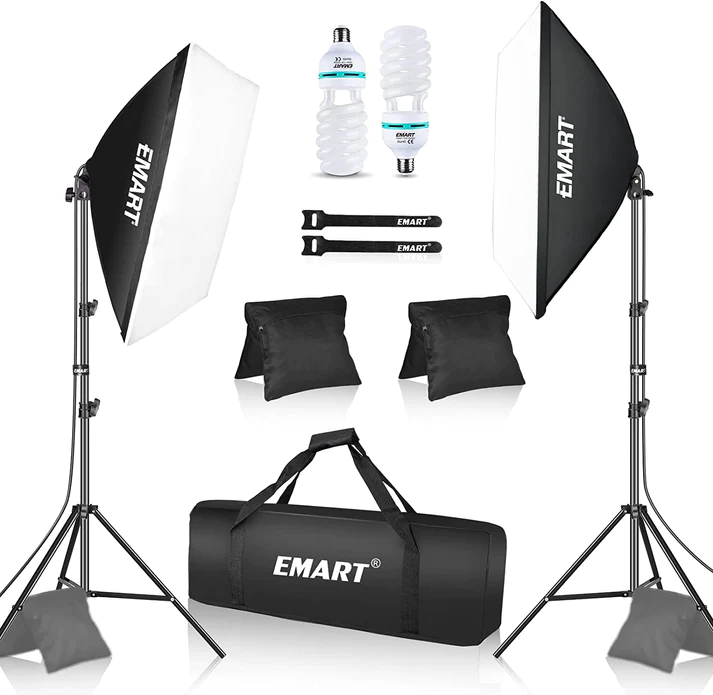
EMART Softbox Lighting Kit: This is a budget-friendly option that doesn’t compromise on performance. It’s easy to set up and offers good light quality for its price.
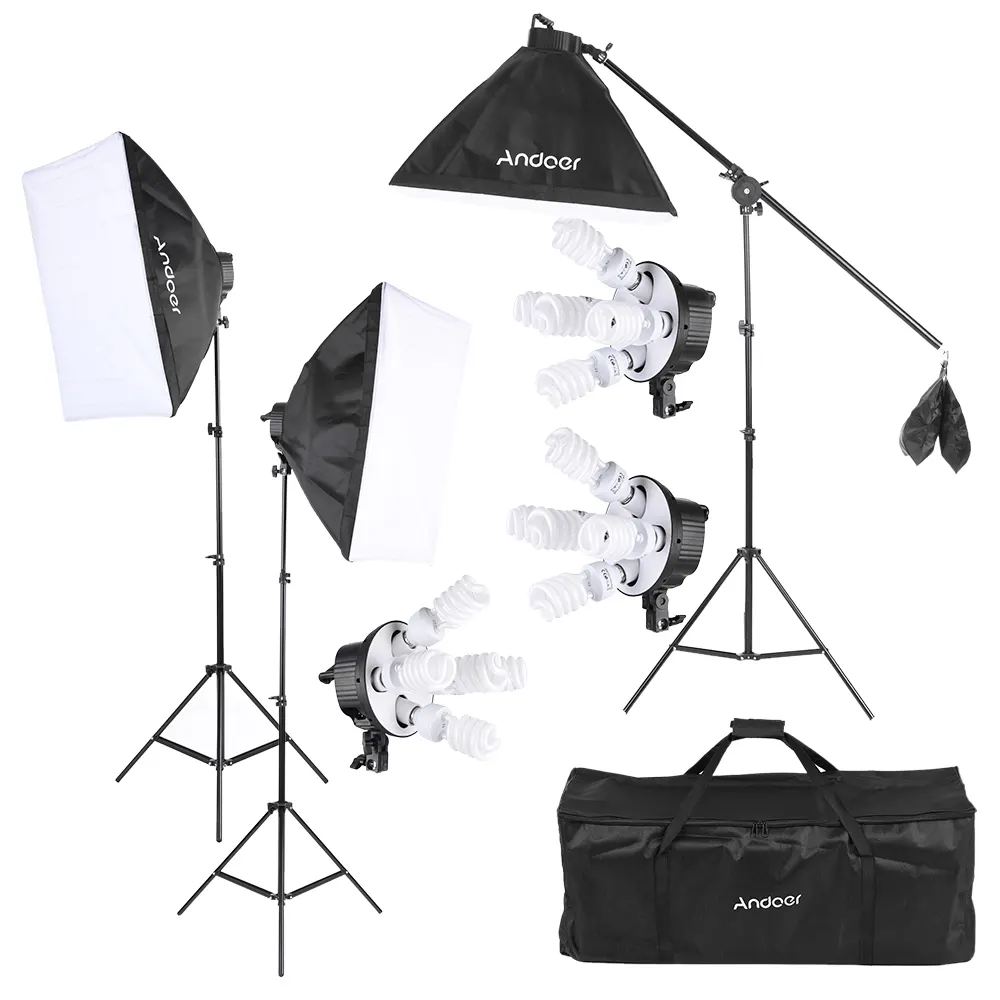
Andoer Softbox Photography Lighting Kit: This kit is praised for its balance of price and performance. It offers both rectangular and octagonal models, providing flexibility in how you light your subject.
Remember about the other items that come with your softbox. Try not to neglect to focus on how filters and diffusers will help you when you work with this instrument in your studio.
Softbox vs. Umbrella: Choosing the Right Lighting Tool
When it comes to studio lighting, softboxes and umbrellas are two of the most popular tools photographers use. Both can enhance your product photography, but they have different strengths and are used to achieve different effects.
So, here I listed difference between softbox and umbrella. It will beneficial you to select your own according to your need.
| Softbox | Umbrella | |
|---|---|---|
| Light Quality | Produces soft and even lighting, reducing harsh shadows and hotspots. | Produces broader and more diffused light. |
| Control Over Light | Offers more directional control over the light, allowing you to shape and focus the light on specific areas. | Offers less control over the direction of the light, which can result in more light spill. |
| Ease of Setup | Can be more complex to set up compared to umbrellas. | Typically easier and quicker to set up. |
| Best For | Close-up shots where you want to bring out the details and textures in a product. | Lighting larger areas or multiple products at once. |
| Size and Shape Varieties | Comes in various shapes and sizes, providing flexibility in how you light your subject. | Usually comes in two styles: shoot-through (translucent) and reflective. |
The choice between a softbox and an umbrella depends on your specific needs.
If you need precise control over your lighting and want to highlight the details and textures of your product, a softbox would be the better choice.
If you’re looking for a quick and easy setup or need to light a larger area, an umbrella might be more suitable.
Final words
Mastering the use of a softbox can significantly enhance your product photography, adding depth, texture, and professional quality to your images.
Remember, the key to great photography is not just about having the right equipment but knowing how to use it. Experiment with different setups, angles, and distances to find what works best for your product.
And most importantly, keep practicing. With time and experience, you’ll be able to manipulate light to create stunning product photographs that truly showcase the beauty and uniqueness of your product.
In the end, the softbox you choose will depend on your specific needs, budget, and the type of product you’re shooting.
Happy shooting!
Justin Parker is a professional photographer and has been in the industry since 2007. He attended the University of Georgia. Justin combines his passion for photography and his interest in writing to give life to this blog which talks about photography in order to help and inspire young photographers.