It is possible to eliminate abnormalities like hot pixels or satellite tracks using dithering, enhancing the SNR. To reduce the fixed pattern noise, dithering may be applied to images taken with a DSLR camera.
Astrophotographers refer to dithering as the movement of the picture sensor about our subject. In other words, we alter the picture on the sensor by moving the telescope and camera a little bit.
When operating unguided, you may shift the mount a few millimetres to get the same result.
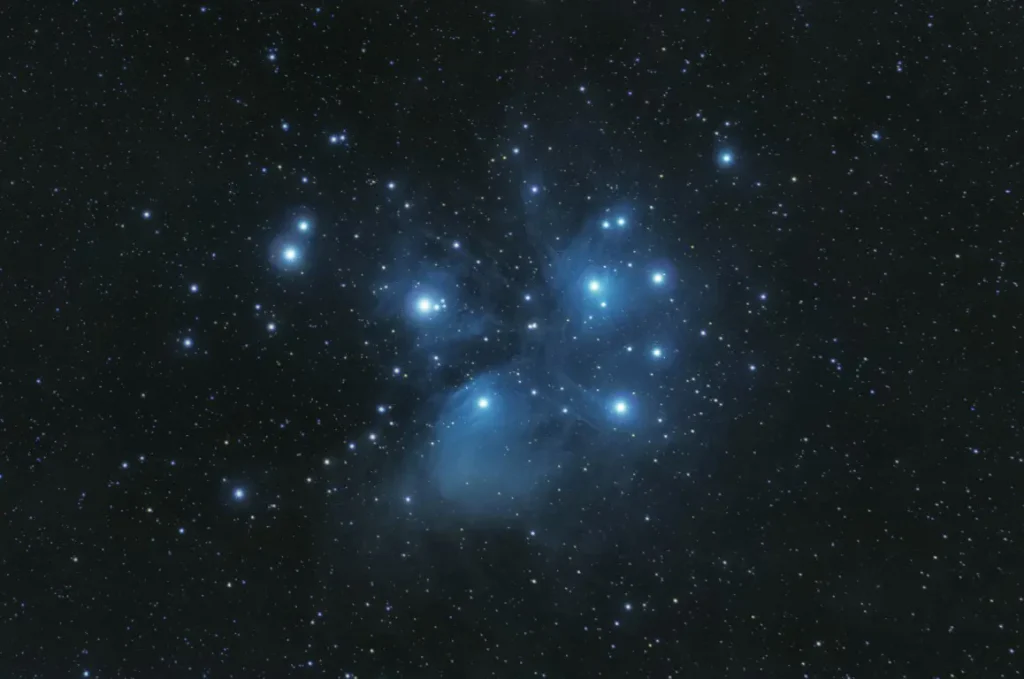
Let us look at what happens when we image our sensor and the pixel at location 1000, 1000 captures a single little star. The guide’s responsibility is to make sure that the star is always pointed in this direction.
Let us add a heated pixel at 150,150 to the mix. In every frame, the pixel will be heated.
Dithering has begun; the star would no longer be recorded by the pixels at 1008 but by the pixel at 1004. The next frame will show the pixel numbers 1012, 1000, etc., shown in the next frame.
The heated pixel, on the other hand, never moves from 150,150. We can now stack the frames after registering (aligning) all the frames. To align a star recorded by many pixels, you will need to reposition the picture.
What happened to the pixel that is so hot? There are other areas where it is being moved and will be set up shortly!
Because of this, the stacking process can quickly get rid of the pixels by employing a pixel rejection technique.
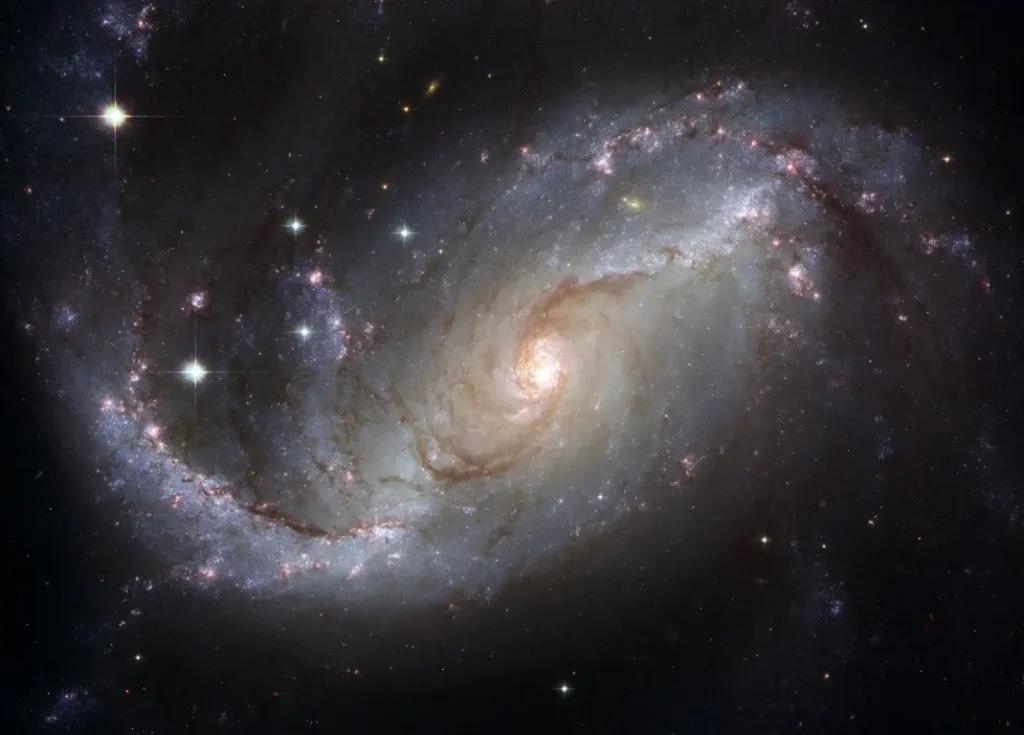
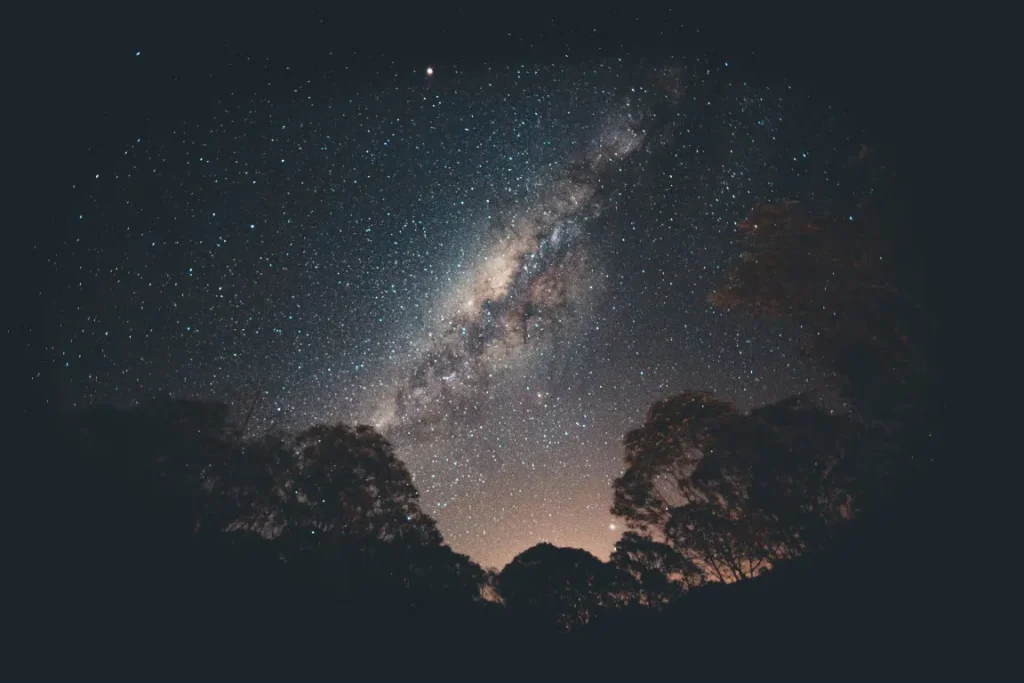
Why Should You Dither Astrophotography
“Dither or die,” as expert astronomers say. Dithering may not be as critical for novice astrophotography, but it will make a massive difference in your photographs.
There are several advantages to dithering, including eliminating blemishes such as hot pixels or satellite trails from images.
Dithering may improve photos taken with a standard DSLR camera by reducing the amount of structure-borne noise.
To boost the SNR of your stacking program, changing the picture frame between exposures is an excellent way to separate the signal from the fixed pattern noise.
Dithering involves shifting the aiming direction of the telescope (through the telescopic mount) in various directions between each shot in astrophotography.
This approach may improve the signal-to-noise ratio of pictures by “cancelling out” hot pixels, structure-borne noise, and other noise sources.
If you feel like referring more about Astrophotography noise reduction. This is perfect guide for you.
1. What Does Dithering Mean In Astrophotography?
Dithering changes the stars to a little different spot in each frame by shifting the telescope’s pointing direction. Individual frames will be aligned (registered) and stacked depending on the planets in each picture as you analyze them.
This little function included in most directional movement software packages (including Astro Photo Tool) may dramatically improve the quality of your final shot.
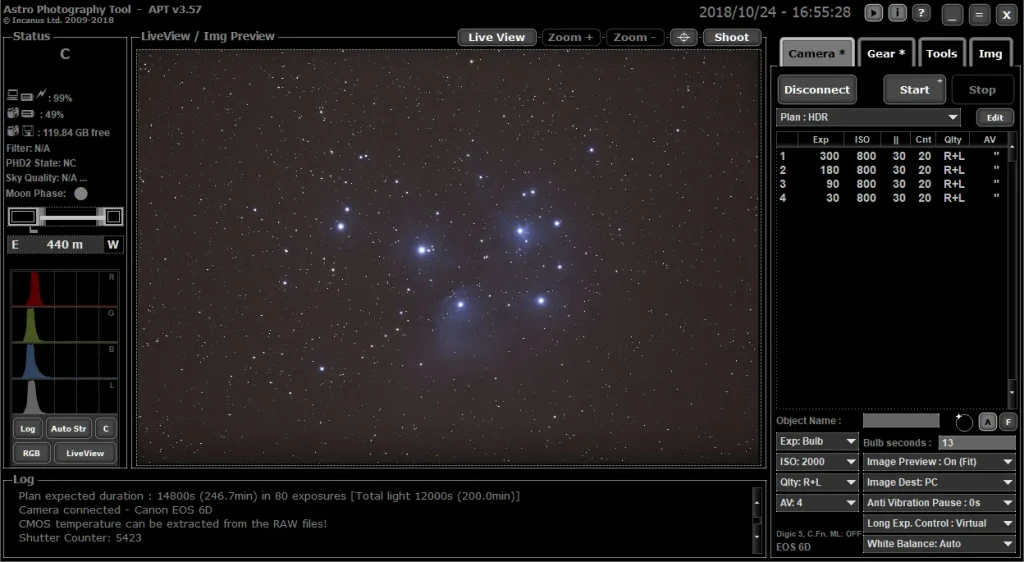
Astro Photography Tool (A.P.T.) may interface with various guiding programs and devices to keep track of your auto guiding performance. Dithering requires this connection between the image capture software & your devices.
Your deep-sky object (the target) appears in slightly different locations in each picture because of the gradual, random variations in the telescope’s position between each sub-exposure.
However, sensor flaws like, as cold and hot pixels, as well as unsightly banding noise, stay constant during each exposure.
The stars are recorded, and the photos are aligned to use the star locations when using a program like DeepSkyStacker to stack the image exposures.
Suddenly, your profound object perfectly aligns in each image, while noise and other obnoxious flaws become unpredictable.
Sigma clipping image rejection removes random pixel data while preserving your valuable signal.
The more light images you capture, the more effective this method will be. According to the A.P.T. user guide, dithering requires at least every six-light frames.
2. Why Dithering Is Important?
- Dithering reduces artefacts like those that hot pixels or satellite trails while also increasing SNR.
- Dithering may assist reduce the amount the fixed pattern noise in images taken with a DSLR camera.
- In computer animation, dither is an image analysis procedure used to generate the appearance of colour depth in pictures with a restricted colour palette.
- Colours that are not accessible in the spectrum are simulated by the dispersion of coloured pixels inside the available palette.
3. How Often Should I Dither Astrophotography?
If you have many light frames, this method will be more effective. The A.P.T. user handbook recommends at least six bright frames for dithering to succeed.
4. How Many Pixels To Dither Astrophotography?
Dithering a number more guide lens pixels that move the primary imaging camera by roughly 10 pixels is often suggested.
4.1 Astrophotography Dither Calculator
P.H.D. and PHD2 can accept different imaging applications’ same dither size values. The table below shows how many pixels each of the five dither aggressiveness levels relate to.
In P.H.D.’s brain settings, this amount of pixels will be multiplied by the dither scale number.
We need to determine the difference between the two imaging scales since dithering occurs on the Guider but not on the Imager.
We split our Guider Scale even by Imager Scale to do this. Since 0.85 divided by 0.44 equals 2, we may use it as an example. If the star travels three pixels on the Guider, it will move three x two pixels = six pixels just on Imager.
If we wish to dither 30 pixels just on Imager, the Guider must move 30 / 2 pixels, or 15 pixels, to do this.
Level of Dithering | Pixel Dimensions
For example,
- 1 – +/- 0.5 x Dither Scale
- 2 – +/- 1.0 x Dither Scale
- 3 – +/- 2.0 x Dither Scale
- 4- +/- 3.0 x Dither Scale
- 5- +/- 5.0 x Dither Scale
5. Phd2 Dithering
PHD2 supports imaging & automation systems that need the guiding process controlled by PHD2. The most famous of them is Sequence Generator Pro, although there are many more.
To adjust dithering between exposure or halt guide exposures while the primary imaging camera is uploading data, the PHD2 server process may be used.
Click on the ‘Enable Server’ button underneath ‘Tools’ to enable these features for usage with a compatible application. An application may manage almost every element of PHD2’s directing operations via its server interface.
6. Nina Dithering
N.I.N.A. provides three alternative approaches to accomplish dither operations:
- Standard dithering via PHD2 or MGEN2
- Synchronized dithering across many primary cameras on the same mount, also utilizing P.H.D.
- Built-in dithering utilizing N.I.N.A.’s Directly Guider function
Watch this tutorial video to getting more idea about NINA.
The intended dithering technique depends on the linked device under the Gear > Guider tab.
Standard Dithering
This is the average situation for most users. The user has a single primary camera and a guide webcam and utilizes PHD2/MGEN2 for guiding. At the intervals defined in the series, N.I.N.A. will suspend activities with the primary camera and notify PHD2/MGEN2 to commence a dither operation. Photography continues after the dither process is completed.
Synchronized Dithering Using PHD2
Multiple imaging telescopes or cameras and a single guiding camera have become a popular setup. N.I.N.A. may be used to manage these sorts of installations via several program instances.
One instance handles the mount, guidance, and one of the primary cameras.
Other instances of N.I.N.A. manage each additional principal imaging camera present & report their activities to the master example of N.I.N.A.
As soon as many instances of NINA are launched, this coordination is set up in the corner.
Dithering is complicated because if the numerous N.I.N.A. instances are not coordinated, a dither operation might start, although one of the other primary cameras is still exposed.
A dither procedure will be synchronized with PHD2 such that it occurs while none of the image cameras is exposed to accomplish this.
This feature is described in detail in Stanley Dimant’s video on the new features in NINA 1.8.
Dithering Is Included As A Standard Feature
There are situations where dithering is proper even if no guiding apparatus or PHD2 is in operation. The most common examples of such setups are compact cameras and lenses with no guiding, like those seen in tiny, portable cameras.
N.I.N.A. may still dither in these situations, but it must do so independently through its Directly Guider facility. Dithering procedures may be performed in the Sequencing and are controlled directly by N.I.N.A. when enabled.
7. ASIAIR dithering
Three options are available:
Distance: In pixel units, this specifies the size at which the Guider may be moved in any direction at random.
Stability: To be stable, you must be within a certain distance of the guiding start in order for dithering to be deemed an issue. The distance is measured in ArcSecs.
Settle Time: After dithering, the Settle Time specifies how long you wait for guidance to stabilize.
A.S.I.A.I.R.’s Dithering Status
The Guide Float Panel and the Guiding Interface will display A.S.I.A.I.R.’s dither state. It demonstrates the current state of steering and the completely dithering process.
After dithering, the word “dither” will appear on the guidance curve. “Dither or die” is the adage of professional astronomers.
Even if amateur astrophotography is not in such peril, dithering can significantly enhance your images by increasing the critical signal-to-noise ratio (SNR), removing artefacts like hot pixels as well as satellite trails, and even trying to compensate for temperature inconsistencies between darks as well as lights captured with such a non-cooled COMS webcam.
8. Apt Dithering
Dithering on a high-end mount (A.S.A., 10Micron, etc.) or when using a short focal range lens and telescope is made possible by A.P.T. Dithering, a specific function.
To achieve the required random directional movement between exposures, A.P.T. Dithering employs a mounting connection to perform these modifications.
Using pulse-guiding instructions, A.P.T. Pulse dithering may offer to dither for self-guided telescopes like Meade StarLock, SkyWatcher StarAdventure, AstroTrac, and others.
The dithering distance in this example determines the maximum pulse in milliseconds. A factor of a hundred has scaled up the result. Pulses of up to 500ms may be generated by setting Dithering Distance = five.
Dithering in multi-camera image systems may be synchronized using A.P.T.’s sophisticated Dithering System.
9. Can You Dither In Sharpcap?
Users of SharpCap Pro may also utilize PHD2 while continuous stacking to enable dithering.
Tick the Automatic Dither checkbox and use the dithering choices to fine-tune the dithering settings. PHD2 will get dithering instructions from SharpCap regularly.
10. Is It Possibly To Dither On A Swsa 2i Without Guiding?
Dithering during a series has a few requirements: It’s necessary to attach the mount. N.I.N.A. and PHD2 need to be running, directing, and interacting with each other.
You need to make sure the PHD2-related parameters in the Potential Adaptation are in order.
11. Dithering With Star Adventurer
We are not receiving “real” dithering because the Star Adventurer could only Dither in R.A. the stars should spiral around one another between each shot.
However, in our instance, the stars would only move back up or choose to leave, not both ways.
Conclusion
While the camera is downloading the previous picture, dithering is taking place. As a result, if your camera has a sluggish download speed, dithering may be done in time for such following exposure.
Justin Parker is a professional photographer and has been in the industry since 2007. He attended the University of Georgia. Justin combines his passion for photography and his interest in writing to give life to this blog which talks about photography in order to help and inspire young photographers.