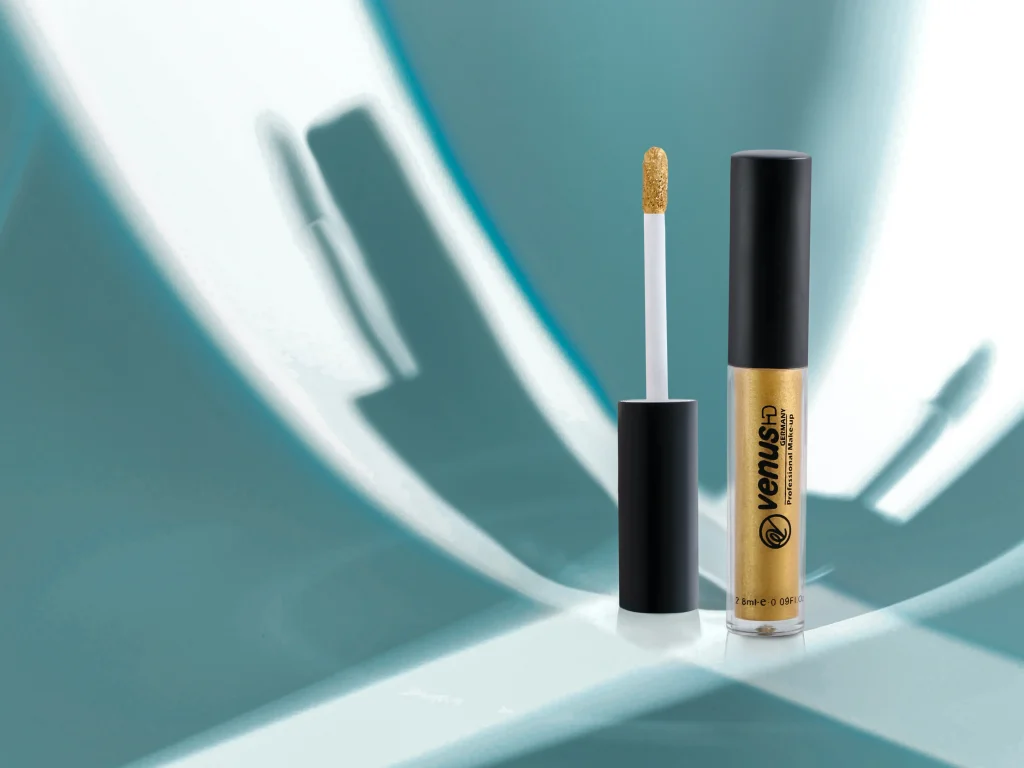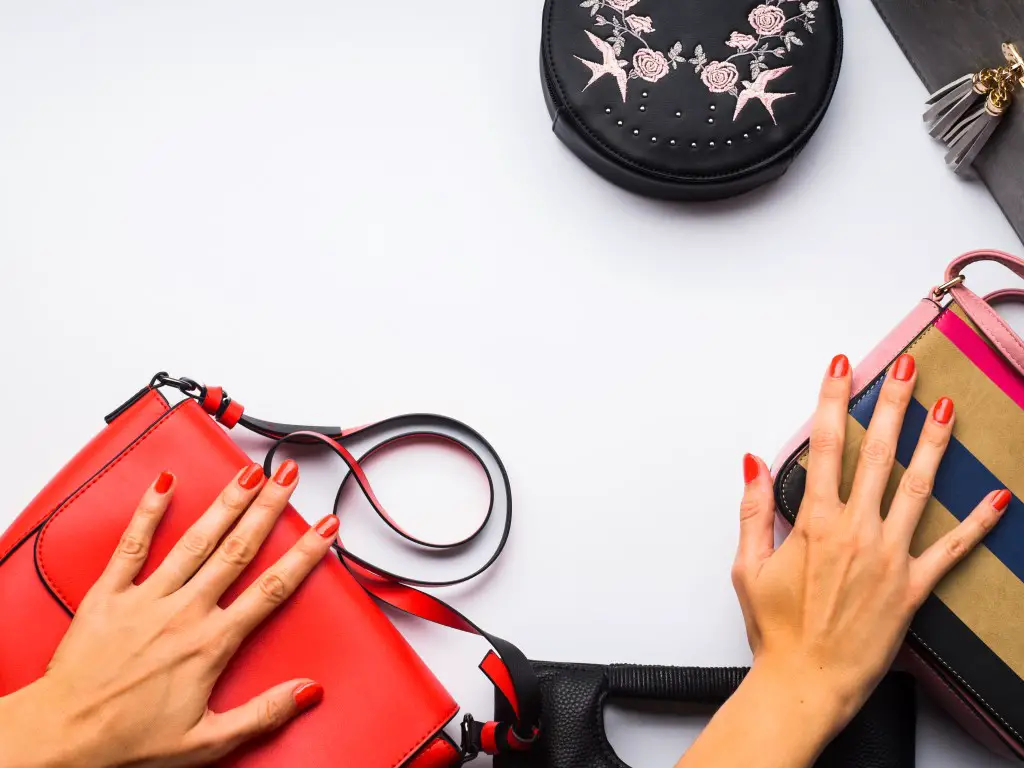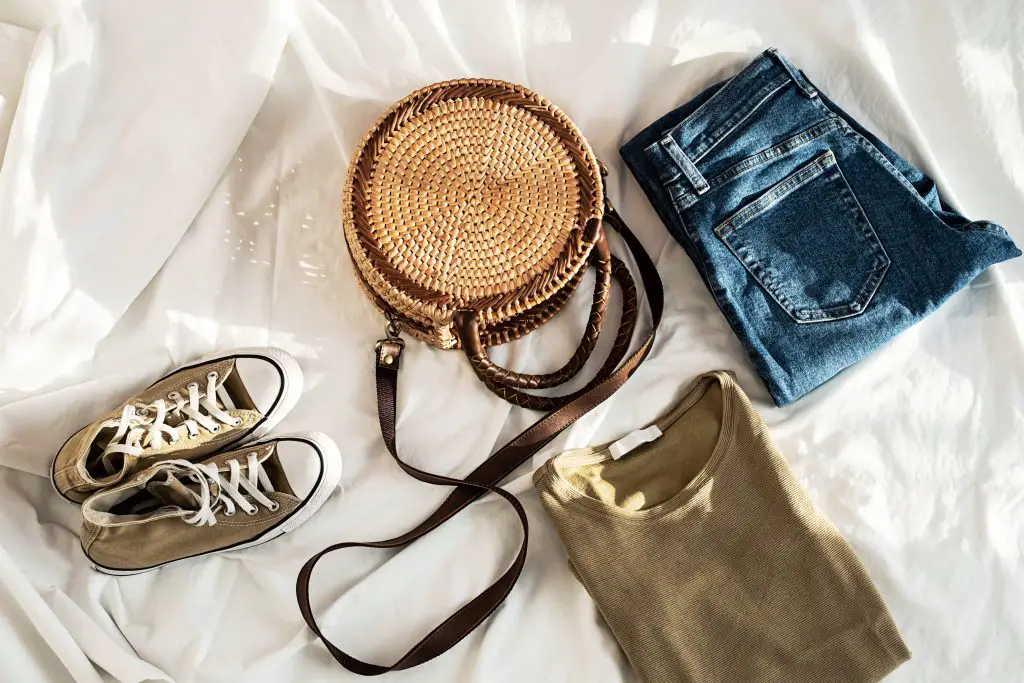
Given the current demand for online shopping, product photography has become as important as the product itself. People don’t see the product anymore; they only see the photos and decide what they want based on these photos.
This is why product photography is currently on the rise. And the most important thing about product photography is choosing the right environment and background for your product.
Finding multiple good backgrounds for your product isn’t easy, and renting a studio becomes quite expensive.
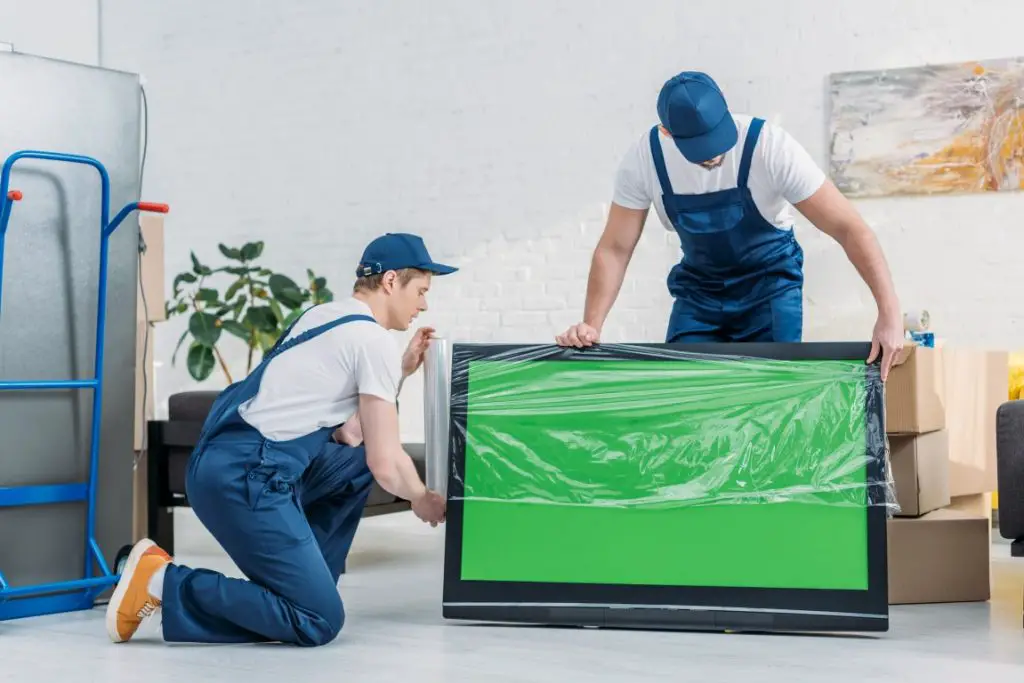
This is where green screen photography comes in. It allows you to edit the background to perfectly fit your product’s desired environment without having to leave your home.
How do you use a green screen for product photography?
For taking product photographs on a green screen, you need to have a well lighten green background, a product whose color is not green and basic editing skills for post-processing.
How to use green screen for product photography
If you want to use a green screen for your product photography, you need to follow the following steps:
1. Setting up the green screen
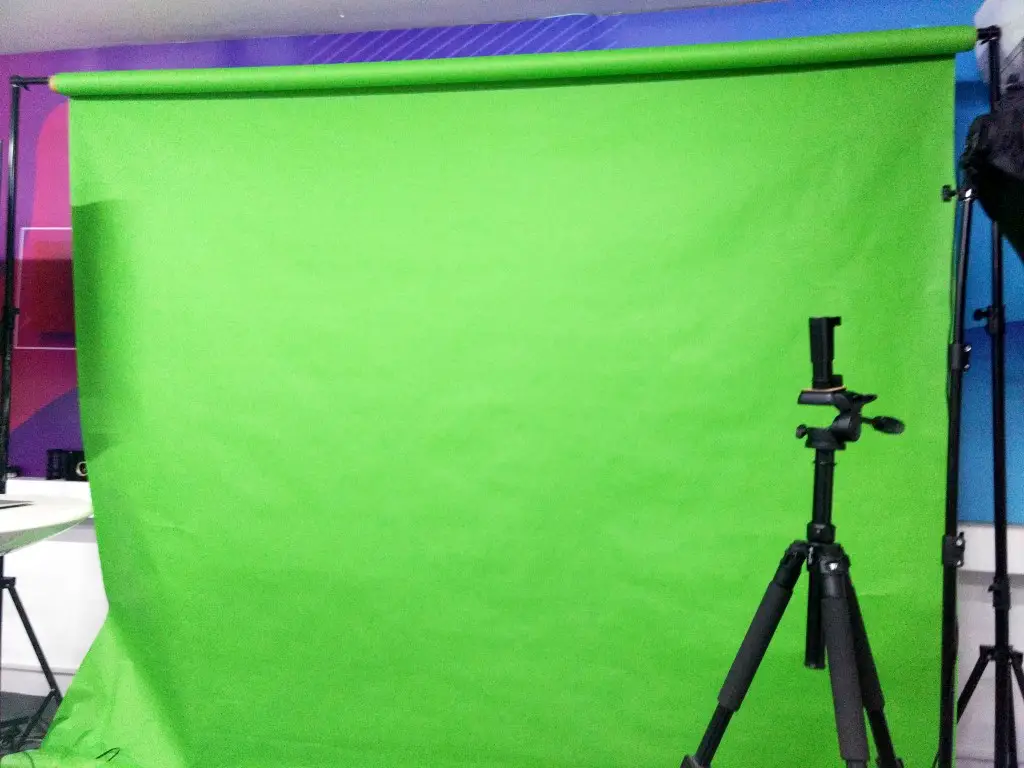
Green screens allow you to set up a photoshoot and replace the background with any background you like, which is done using computer software that detects the color green and replaces it with a pre-determined background image.
To set up the green screen, you will need a color called ‘chroma green’. Other shades of green work too, but chroma green is the best.
If you are having trouble deciding on the material of the green screen, then I would suggest going for paper. Fabric and vinyl work well too. Don’t use a painted wall as walls usually have an uneven texture.
The next thing you need is to light up the green screen. If the green screen doesn’t have sufficient light on it, the editor won’t distinguish the screen from the product.
For sufficient lighting, you can use studio lights in such a way that the light falls uniformly on the green screen. My advice is to use two lights placed on either side of the screen and converge at the center.

Lastly, make sure your green screen is well stabilized and doesn’t move around in the breeze.
2. Setting up the product and camera

Once the green screen is all set, you need to set up the rest of your equipment for the photoshoot.
The product should be set a little distance from the screen as it lets the camera focus on the product while the green screen remains out of focus.
The product needs to be separately lightened from the background. Make sure the product is in front of the lights used to light up the background.
Then use another studio light at an angle to the product so that the light falls mainly on the product and not on the green screen.
Try to match the lighting on the product with the expected lighting of the background you will change to after editing.
For example, if you will use an outdoor background, then use harsher lighting on the product as if replicating the lighting you would get from the sun.
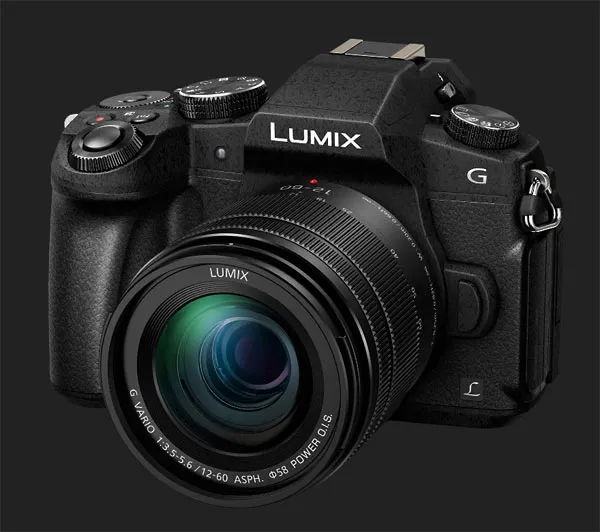
As for the camera, it needs to take photos at a good resolution while having a reasonable time frame. I would suggest going for a Panasonic Lumix G85, but any midrange DSLR camera will do.
And finally, you need a computer. A PC or MAC either one will do. The pc is necessary for post-processing and editing the background.
3. Removing the green screen in the post-processing
You have a wide variety of programs to choose from when it comes to removing a green screen.
I would suggest using photoshop to remove the green screen, but other similar applications work similarly.
First, you need to separate the green from the product. This can be done by going to the color range. You will have an option to select a sample color from the drop-down menu, where you choose the color of the green screen as the background.
You will get a preview where everything in the white will be selected and deleted.
If you see any white parts within your product, select the minus brush tool and paint over it to remove the selection.
To refine the image, you can add a saturation adjustment layer to the photograph to smoothen out the image’s texture.
4. Adding different backgrounds
Once your product has been separated from the green screen, you can use the move tool from the toolbox to click and drag the person into another photo and add them to a different layer on the image.
Then you need to adjust the image to make it look more natural.
For example, you can use the blur tool to blur the background out a little to increase focus on your product and make it look more natural.
If you want to learn more about how to use photoshop, you can click here.
Green Screen for product video
Green screens are better used for product video shoots than photoshoots.
This is because, during a video, the main product is in motion, so, as the main product moves around, it is easily distinguishable from the static background.
Moreover, during the product photoshoot, the green screen might leave a green hue around the photograph’s subject, which later on needs to be edited out. This hue doesn’t form during video shoots as the subject is in constant motion; thus, editing is also easier.
Final words
Green screen photography has become demanding in the contemporary photography and video industry due to its convenience to producers and photographers, and online product marketing is no different.
I hope this guide helps you understand how to use a green screen to improve your product photography to win against your competition when it comes to online marketing.
Justin Parker is a professional photographer and has been in the industry since 2007. He attended the University of Georgia. Justin combines his passion for photography and his interest in writing to give life to this blog which talks about photography in order to help and inspire young photographers.