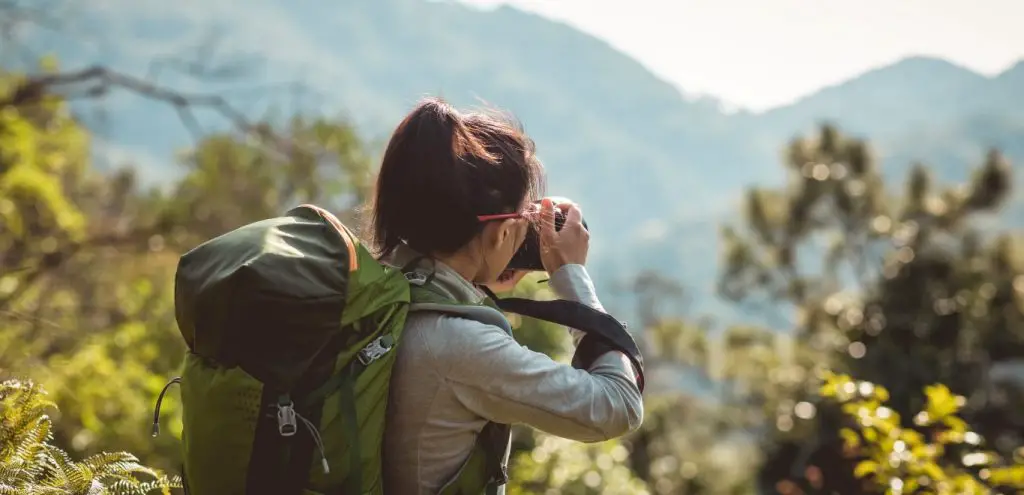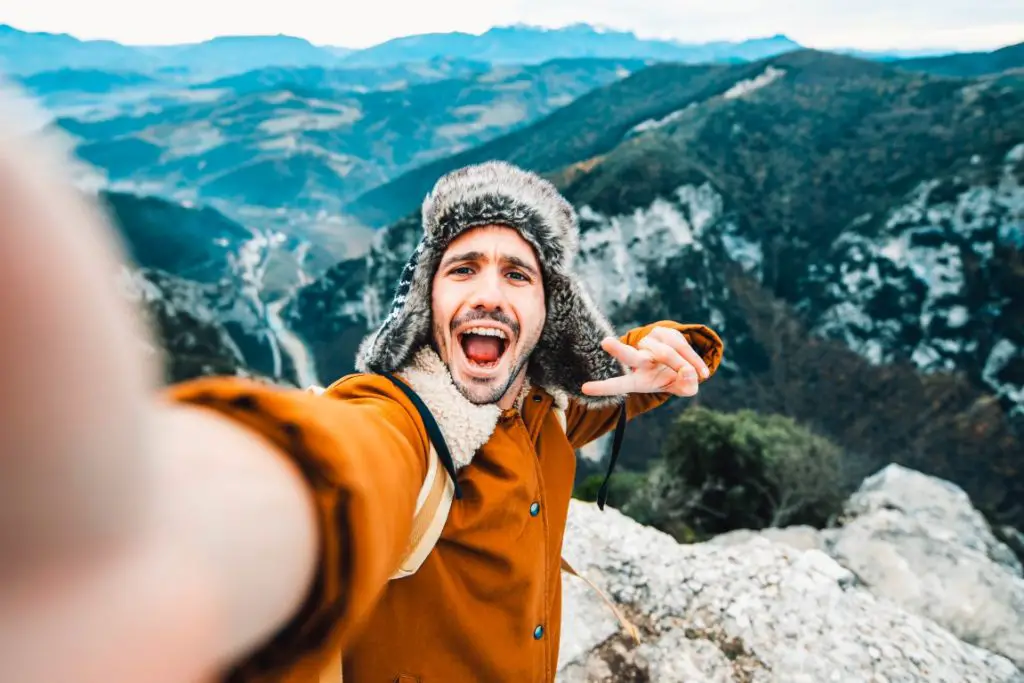
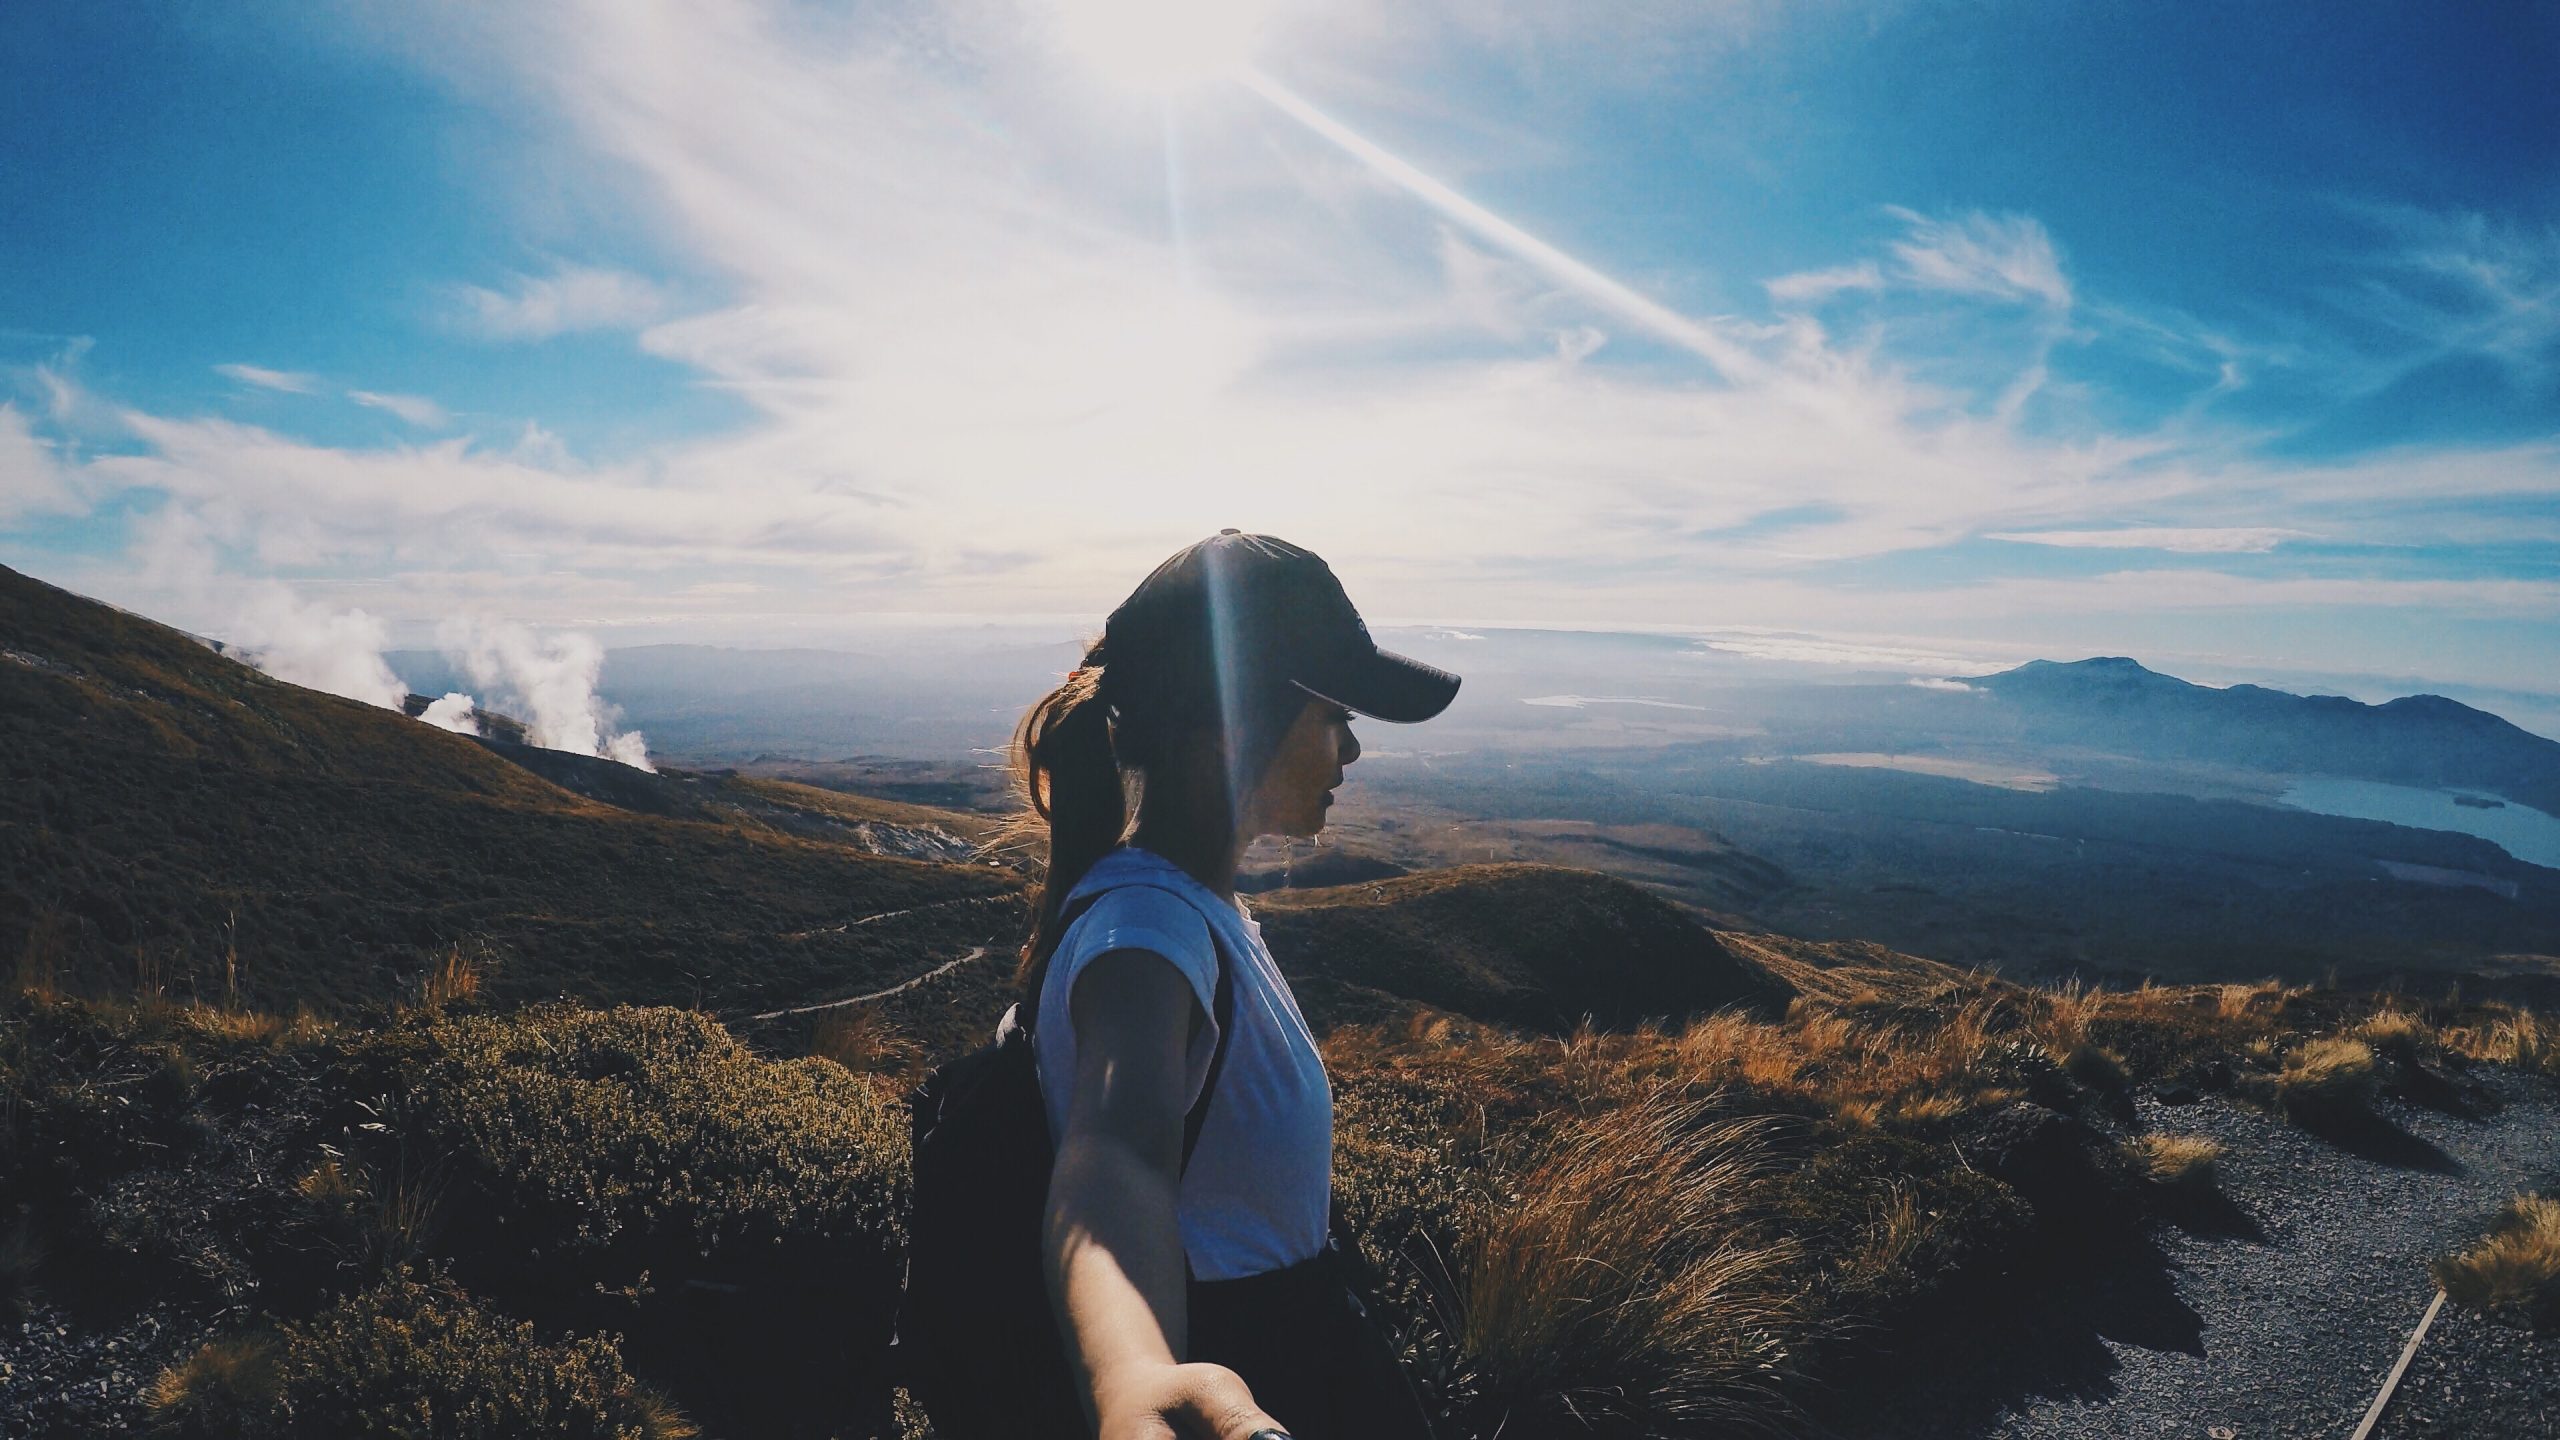
How do you take pictures of yourself hiking, especially when you’re on a solo adventure? Well, solo adventures shouldn’t mean missing out on personal memories amidst nature’s beauty.
With the right approach and equipment, you can seamlessly capture hiking selfies with both the scenic vistas and your presence in them.
In this guide, I share expert tips and recommend essential gear, ensuring that fellow solo hikers, like myself, can perfectly capture and immortalize their adventures.
How to Take Pictures of Yourself Hiking or Traveling Solo?
How to take good photos of yourself? There’s something uniquely fulfilling about capturing my own adventures, especially when I’m the photographer. Over time, I’ve realized the importance of taking clear, evocative photos of myself during these solo journeys.
So, the following insights have been instrumental in helping me capture the essence of my travels, whether I’m hiking through rugged terrains or exploring new cities alone.
1. Make Sure that Your Camera is of Good Quality
On my hiking adventures, I’ve ventured into remote areas, hidden deep within nature. From my experience, it’s essential to invest in a specialized camera tailored for diverse environments. Standard cameras often fall short of capturing these moments, especially in low-light conditions.
For hiking, I recommend a camera equipped with advanced features, ensuring crisp images regardless of lighting or location. For a buyer’s guide, check out the article Best Cameras for Adventure.
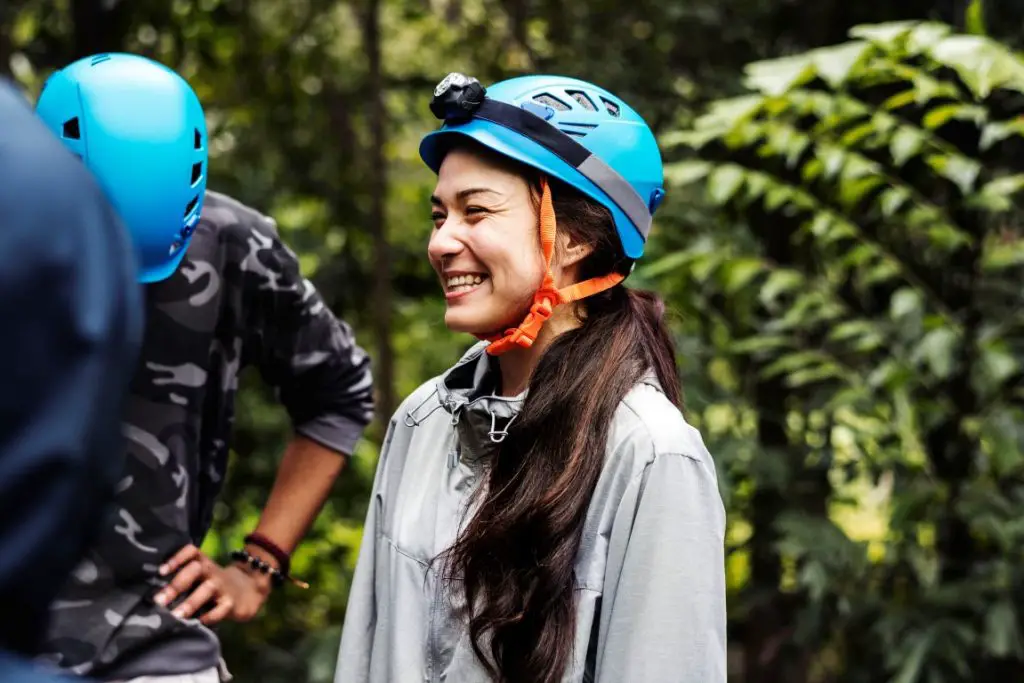
Plus, a helmet camera is also a good option when taking self-photographing on hikes. If you are not familiar with helmet cameras, the best helmet camera for adventure photography is for you.
2. Place the Camera in a Good Position
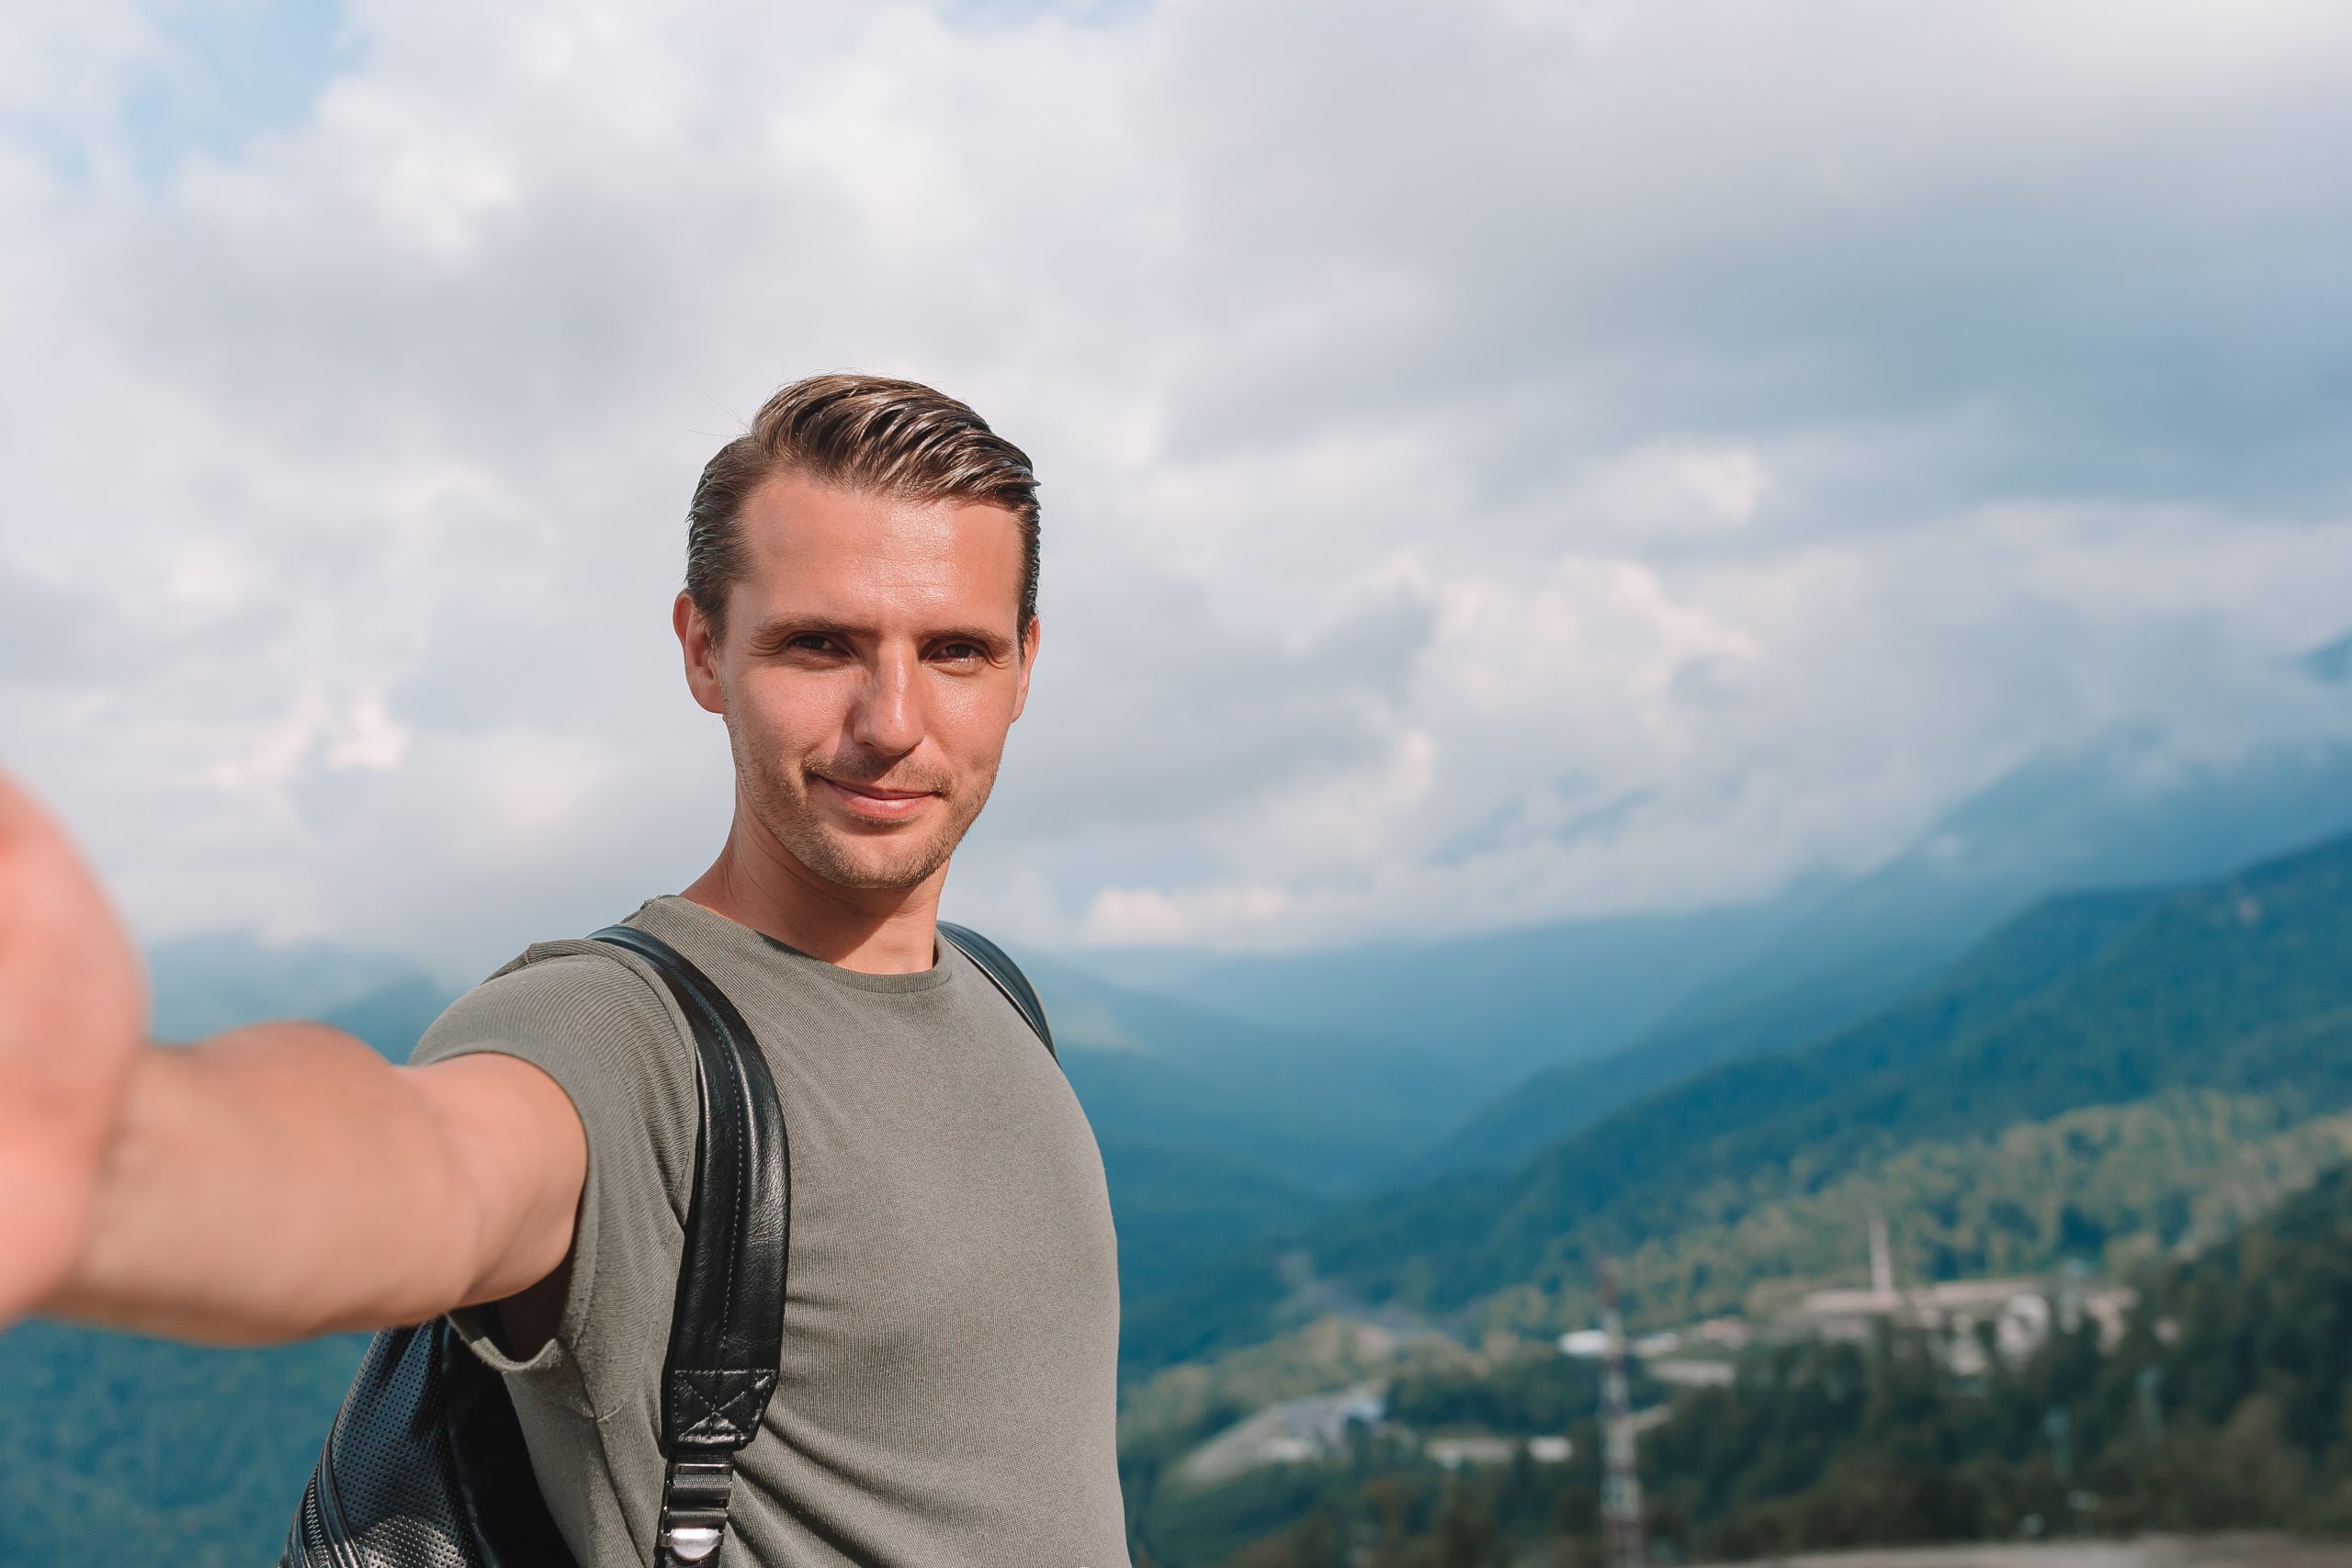
Before I press the shutter, whether for a selfie or a self-timed photograph, I always pause to evaluate my camera’s positioning. The right angle and placement can transform an ordinary shot into a memorable one.
Here are some positions I’ve found effective:
• Elevated Angle
Placing the camera slightly above eye level can capture a flattering view of the face while also showcasing the landscape behind.
• Ground Level
Positioning the camera closer to the ground can offer a unique perspective, emphasizing the vastness of the surroundings.
• Rule of Thirds
By visualizing the frame divided into thirds both horizontally and vertically, and placing the main subject at the intersections, photos often appear more balanced and engaging.
• Off-Center Placement
Instead of placing myself directly in the center, sometimes positioning slightly to the left or right can create a dynamic composition, especially when there’s a scenic backdrop.
• Over-the-Shoulder
This perspective gives a glimpse of what I’m seeing, creating a sense of immersion for the viewer.
• Distance Shots
Placing the camera further away and using a timer can capture a broader view of the environment, with me as a small element within the grandeur of nature.
For selfies, it’s about capturing my expression in the midst of nature. For self-timed photos, it’s about framing myself within the vast landscapes. In both scenarios, a striking background during hikes not only adds depth but also enriches the narrative of the photo, making it all the more captivating.
3. Using the Necessary Types of Equipment
While I never forget to pack hiking essentials, I’ve learned the importance of also bringing along vital photography equipment.
Being prepared with the right tools not only simplifies the photo-taking process but also elevates the quality of the shots. Stay tuned, as I’ll delve deeper into the must-have equipment for capturing those solo hiking moments later in this guide.
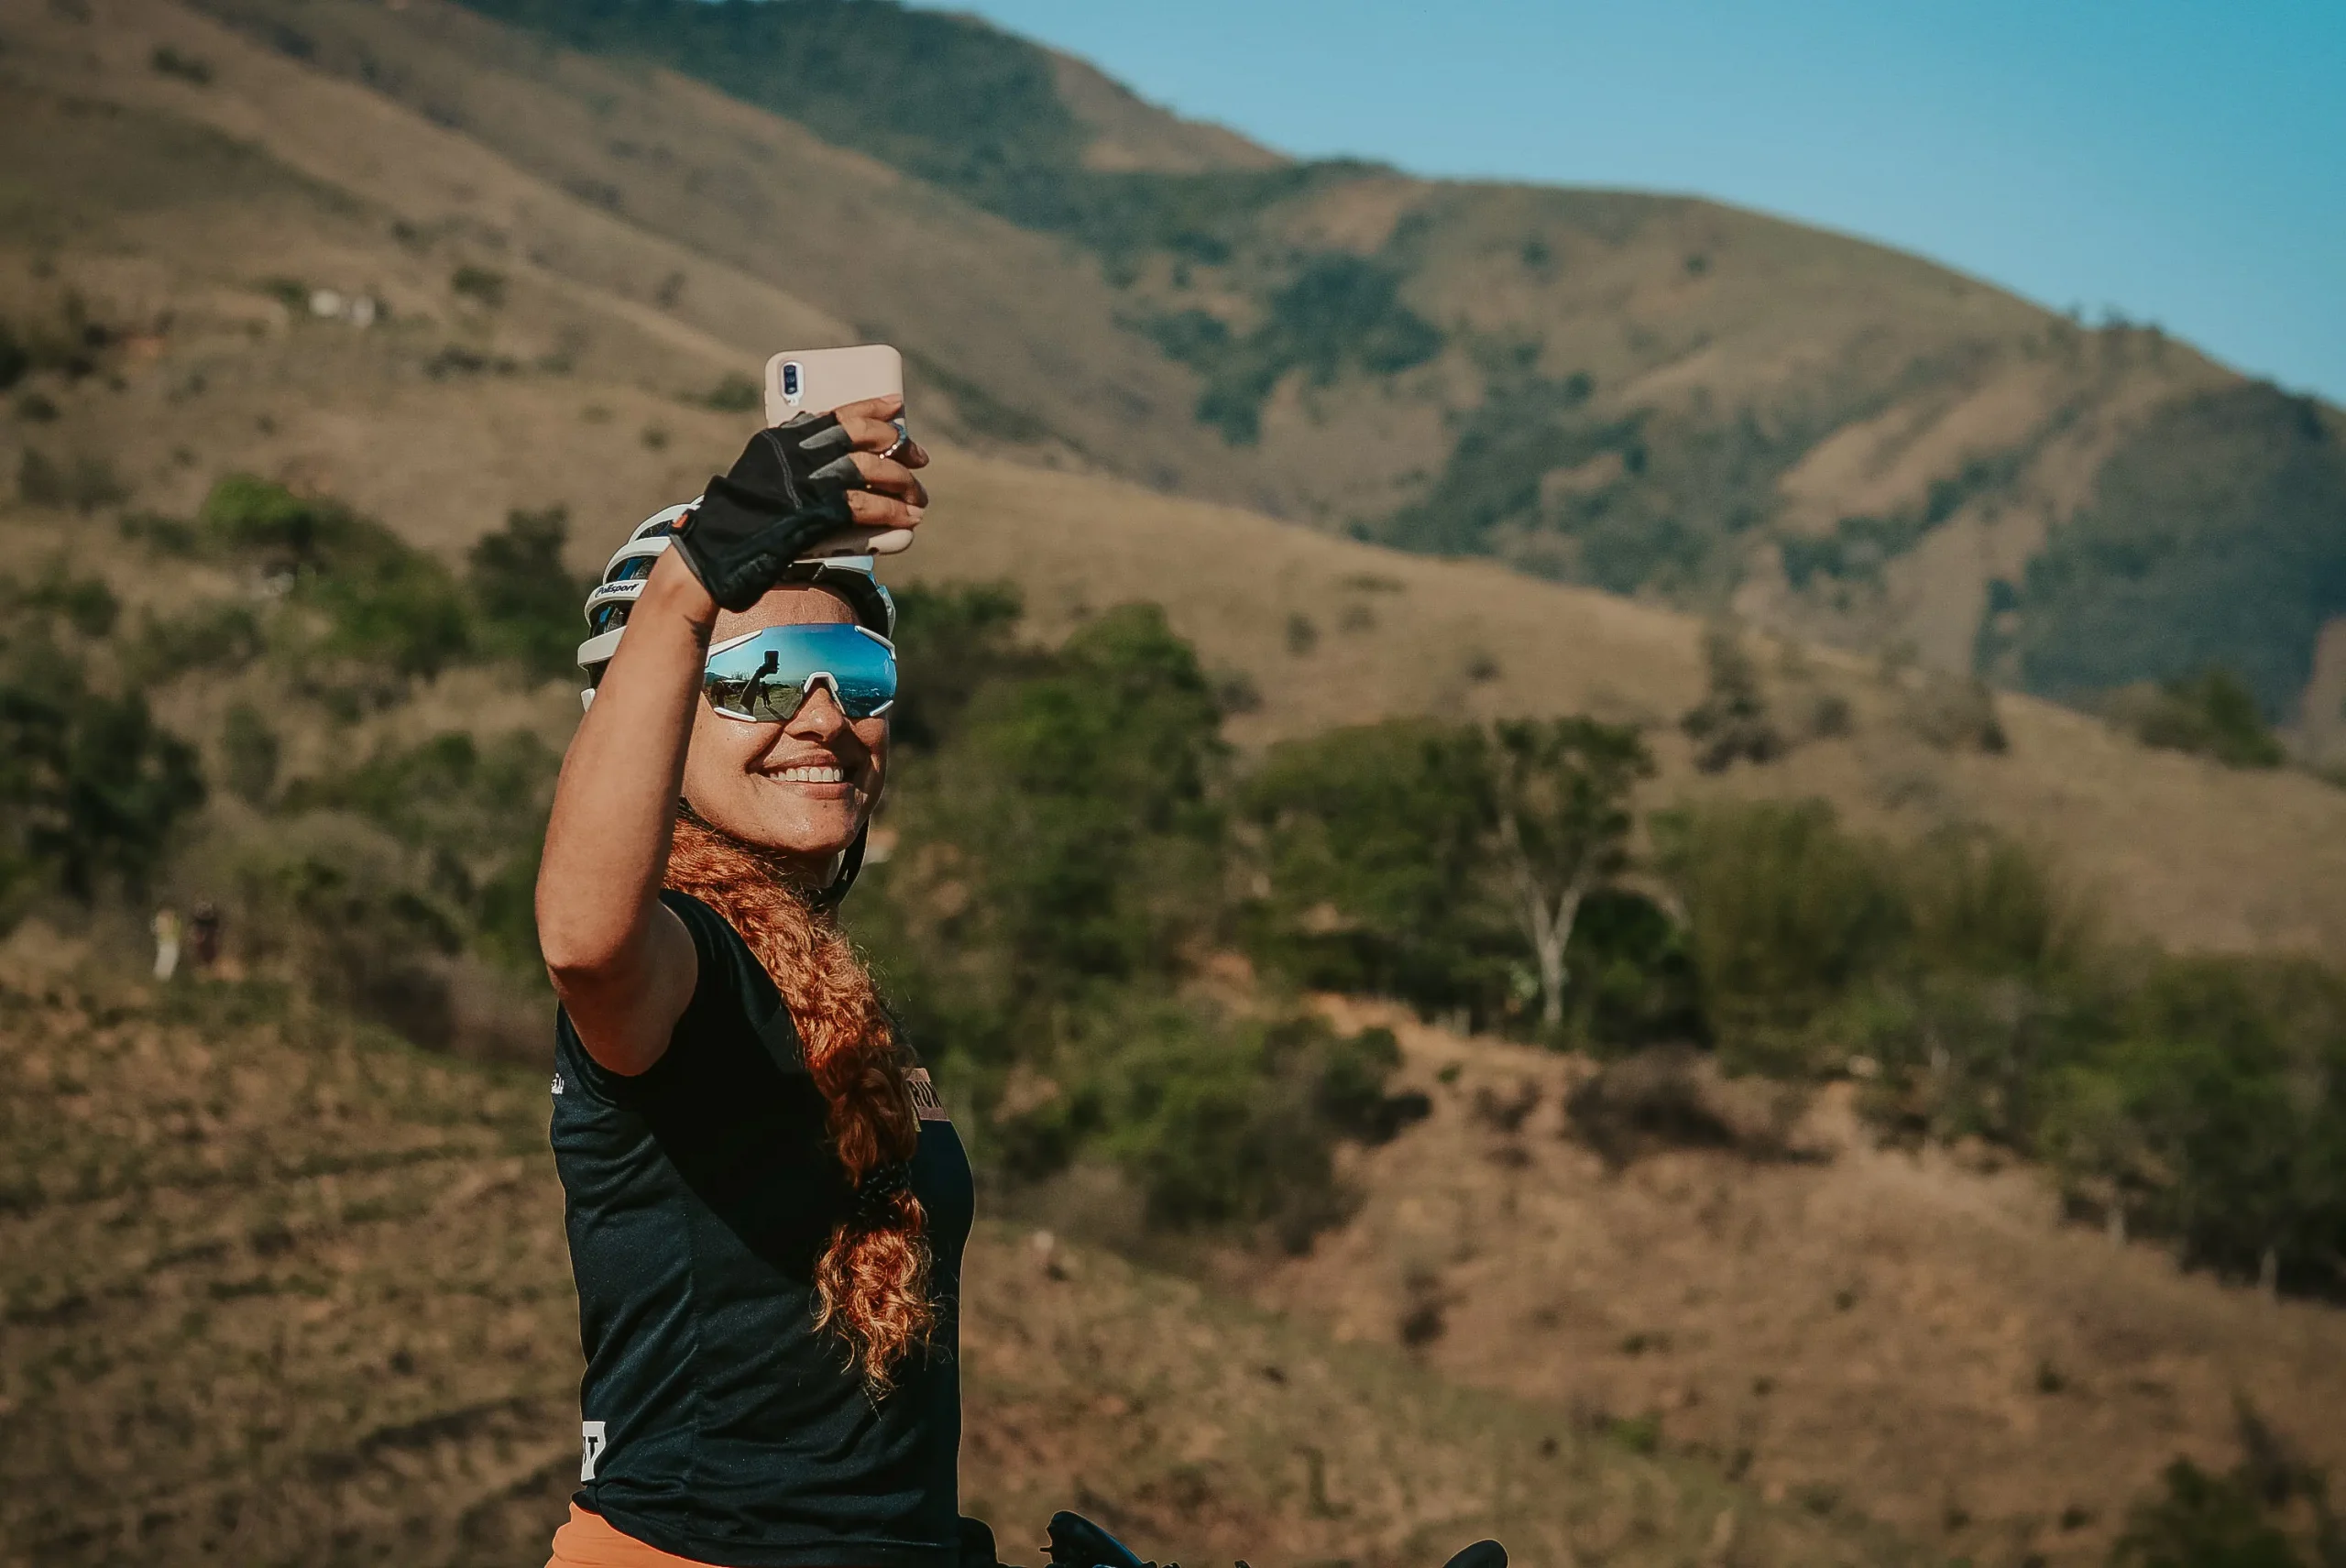
How to Take Better Photos from Your Smartphone?
In this digital era, I’ve noticed how smartphone brands are constantly innovating, equipping their latest models with camera features that can rival even the best DSLRs. This evolution means I no longer have to carry bulky cameras to capture those perfect moments.
If you’re keen on enhancing your smartphone photography skills, especially during activities like hiking, here are some insights I’ve gathered:
1. Know Your Phone Camera
Take your time to understand your phone camera’s capabilities, moving beyond the default settings.
Depending on the environment and lighting, I tweak settings to ensure I capture the best shot possible.
2. Third-party Application
Even with the advancements in smartphone cameras, sometimes I feel the need for a bit more control and flexibility.
Here are some that I’ve found invaluable:
• Bacon Camera
I was intrigued by its name at first, but Bacon Camera quickly became one of my go-to apps. It gives me DSLR-like controls, allowing me to tweak settings like ISO, white balance, and exposure right from my phone.
• PhotoPills
Planning is crucial in photography, and PhotoPills has been my trusted companion. With tools like exposure calculators and hyperfocal distance estimators, it’s a gem for any photographer.
• PicsArt
When I want to get creative with my edits, I turn to PicsArt. It’s user-friendly and packed with features, making photo editing a breeze.
• Adobe Lightroom CC
The Adobe Lightroom CC can get on your Smartphone easily as it is available for both Android and iOS. You can change the saturation, color, brightness, and lighting; add some contrast, and many things through a single application.
My Tips: Make sure to adjust their settings which include adjustment of the shutter speed, ISO adjustments, image stabilization, burst mode, and many more to suit the scene, from shutter speed to ISO and more.
3. Lighting Matters
Natural light, especially during the golden hours of sunrise and sunset, provides a soft, warm glow that can elevate any photo.
Midday light can be tricky, often casting harsh shadows. During these times, I leverage my smartphone’s HDR mode or seek shaded spots. Tapping on my screen’s subject helps adjust focus and exposure, ensuring the scene is captured just right.
In essence, understanding and utilizing the right light can transform even the most ordinary moments into captivating visuals.
Must-Have Camera Accessories for Solo Hiking and Traveling
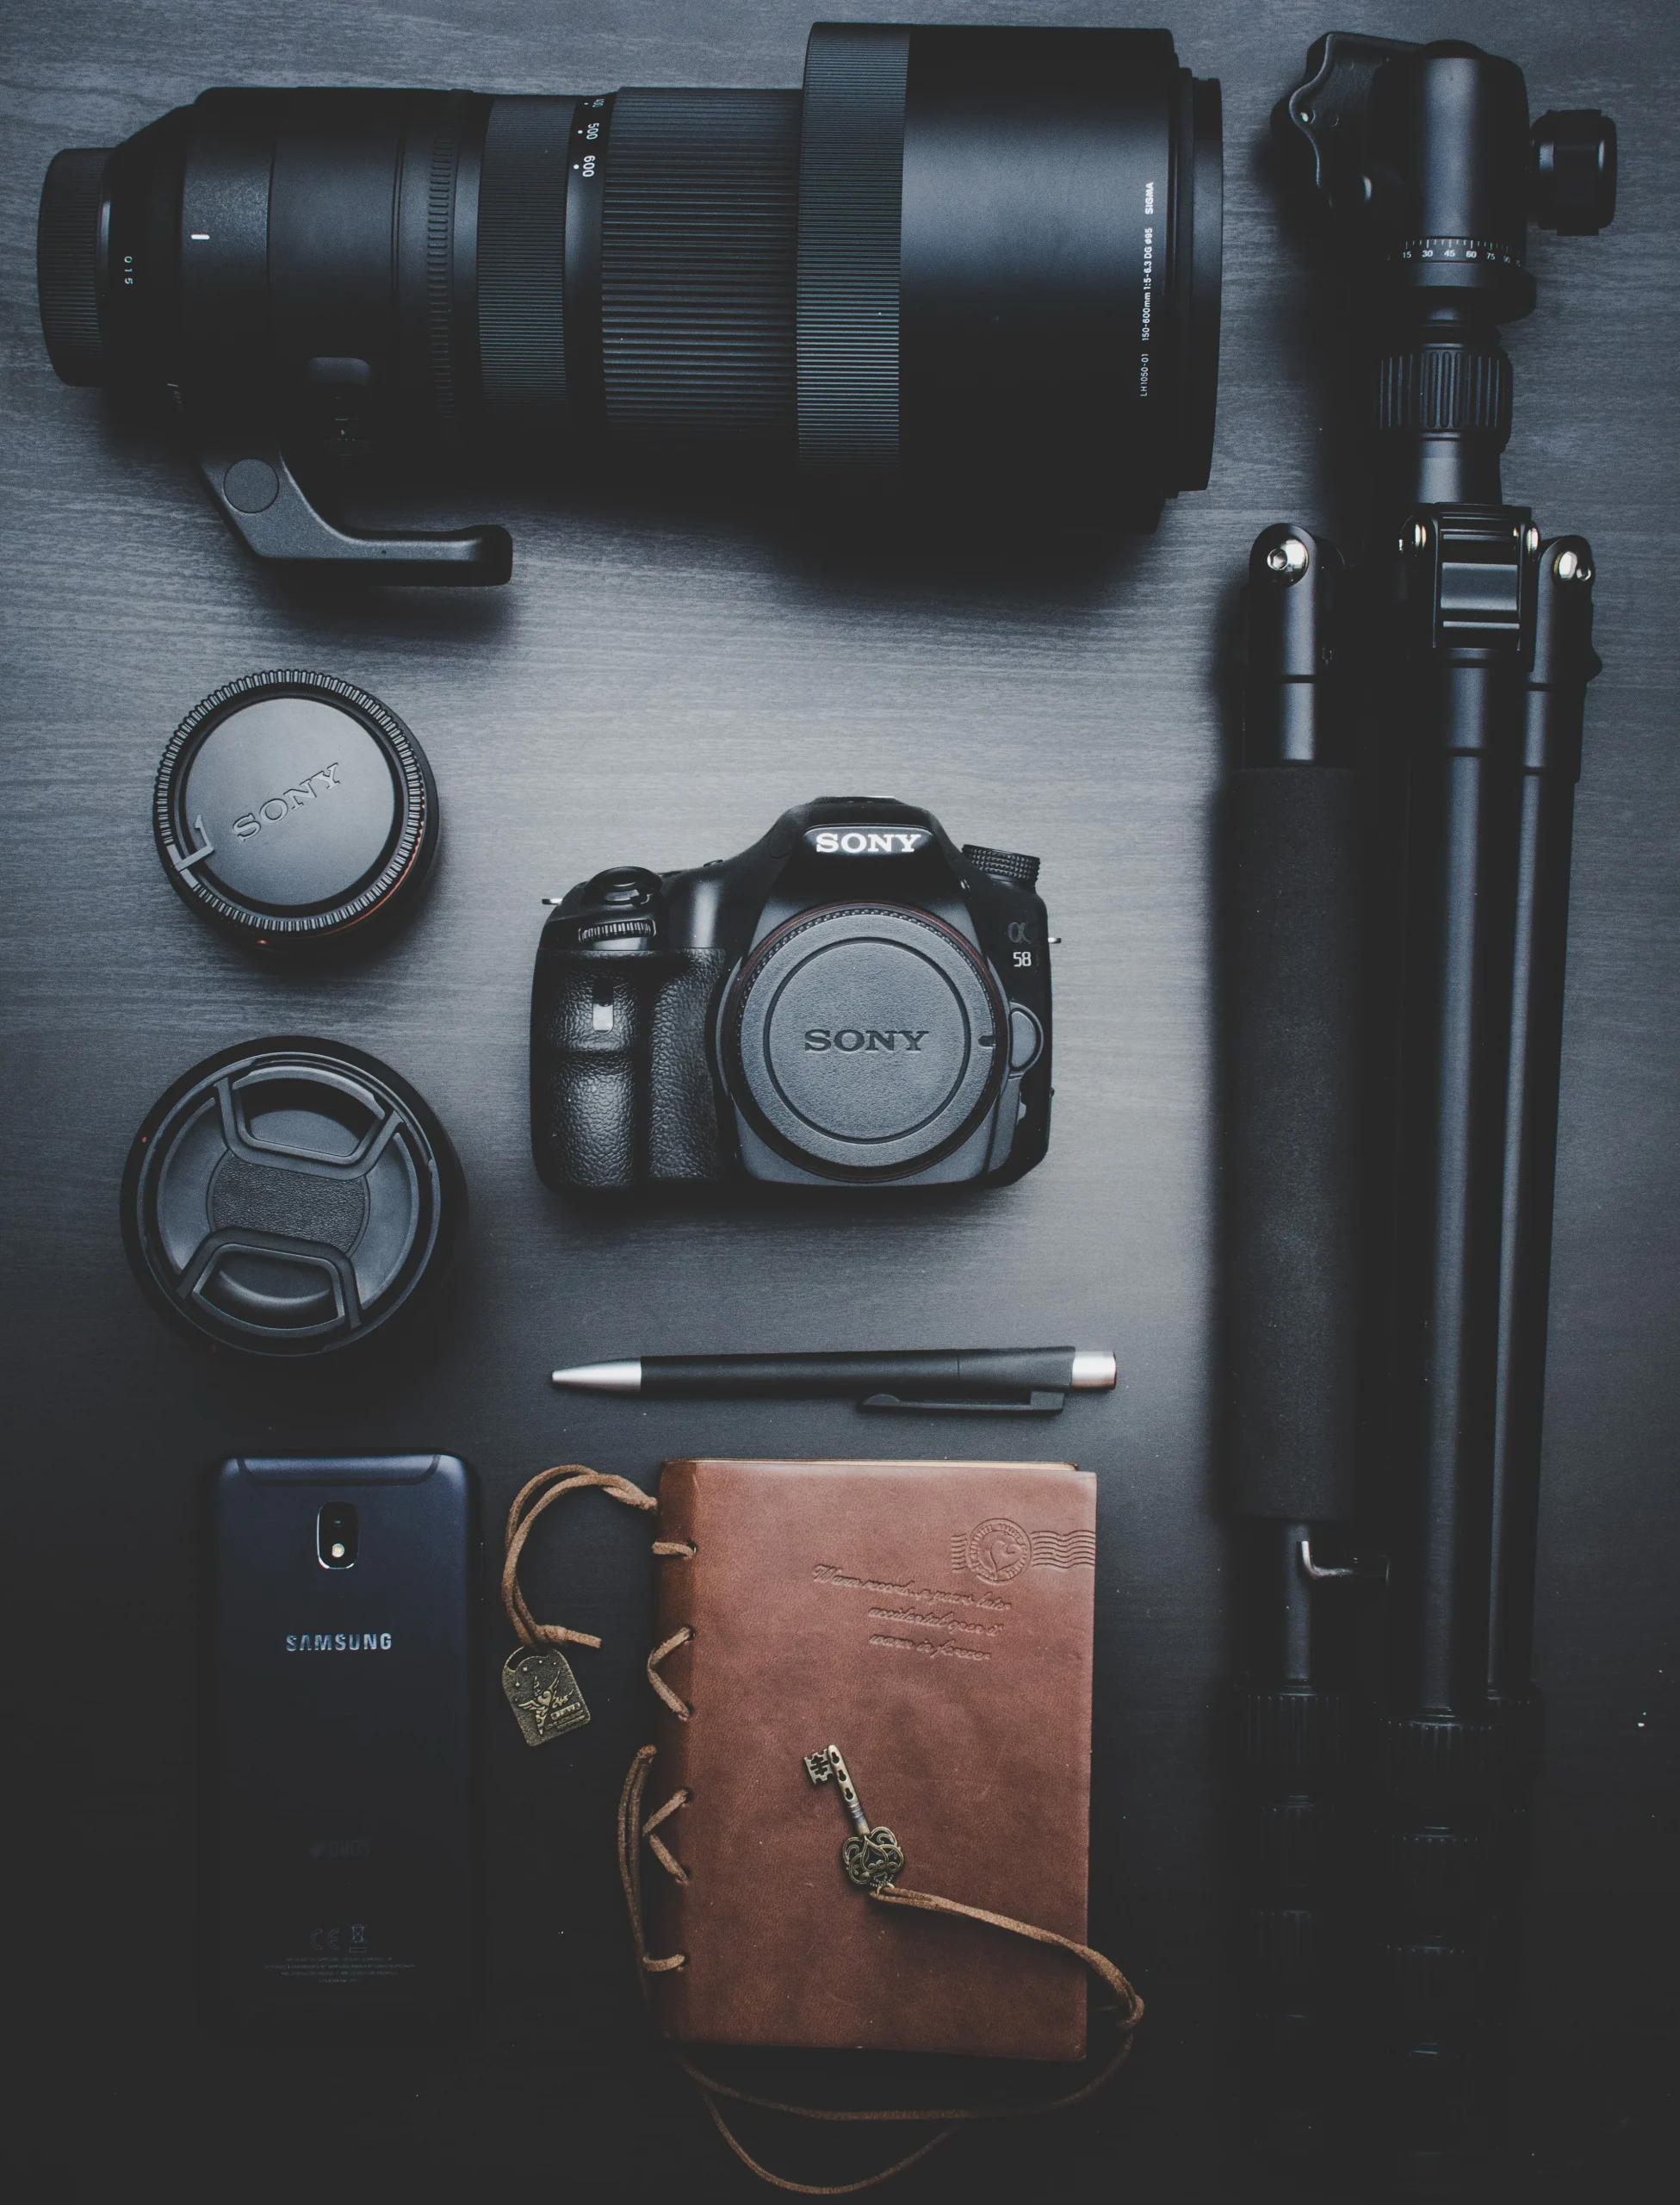
If you are planning to go for a hike and you want to record everything then, there are some equipment that will help you to get better pictures and videos of yourself.
Here’s the equipment I’ve found indispensable for capturing high-quality photos and videos while hiking adventures:
- Tripod: A sturdy base is crucial for those long-exposure shots and stable video recordings.
- GoPro Hero 6: Compact yet powerful, this camera captures dynamic action shots and videos with ease.
- Selfie Sticks: Perfect for those moments when I want to be in the frame against a majestic backdrop.
- Camera Stand: Essential for positioning my camera at various heights and angles.
- DSLR Lenses: I always carry extra lenses to capture different perspectives, from wide-angle vistas to close-up details.
- Extra Batteries: Nothing’s worse than running out of power mid-hike. Spare batteries ensure I never miss a shot.
- Video Recorder Stand: For those panoramic video shots that truly capture the essence of the landscape.
Plus, you can learn more about essential equipment in the hiking photography gear guide.
How to Carry Camera while Hiking
When I hit the trails, ensuring the safety of my tech gadgets, like my phone and camera, is paramount. Over time, I’ve discovered several accessories that not only secure my devices but also offer easy access.
Here’s what I’ve found most effective:
- Running Belt: Fits snugly against the body, making it perfect for safeguarding smartphones and wallets. A high-quality belt ensures your valuables remain protected, even during intense activities.
- Fanny Pack: Offering more space than a running belt, fanny packs come with multiple compartments. They’re ideal for organizing and storing various items, from phones to spare batteries.
- Specialized Backpack Compartments: Many hiking backpacks feature padded compartments designed specifically for cameras and tech gadgets. These offer both protection and easy access. Checkout for the best camera backpacks for adventure photographers.
- Weatherproof Cases: Outdoor conditions can be unpredictable. A weatherproof case can shield your devices from rain, snow, and dust, ensuring they remain functional throughout your hike.
- Neck Strap for Cameras: Keep your camera at the ready with a sturdy neck strap. It ensures your camera is always within reach and minimizes the risk of accidental drops. So choose the best camera straps for hiking and backpacking adventures.
- Clip-on Holders: Attachable to belts or backpack straps, these holders provide a secure spot for phones. They allow for quick photo opportunities without the need to dig through your bag. Read more on the best camera holsters, harnesses, and clips for hiking.
The Bottom Line
In conclusion, this guide has been a journey through the nuances of hiking photography, emphasizing the importance of knowing your equipment, from smartphones to DSLRs.
The golden hours, the right angles, and even the shadows play pivotal roles in crafting that perfect shot. And while the scenery does its part, the right accessories ensure your gadgets are safe and accessible.
Moreover, learning about different poses for your photoshoot can infuse new creativity into your solo hiking adventures.
Moreover, understanding various poses can add a creative touch to your solo hiking photoshoots. If you’re keen on selfies or self-photography for social media, the hiking poses for Instagram article is a valuable guide. For more insights on capturing the essence of your hiking trail adventures, check out my latest article, how do you take pictures on a hiking trail and hiking photoshoot ideas.
Justin Parker is a professional photographer and has been in the industry since 2007. He attended the University of Georgia. Justin combines his passion for photography and his interest in writing to give life to this blog which talks about photography in order to help and inspire young photographers.