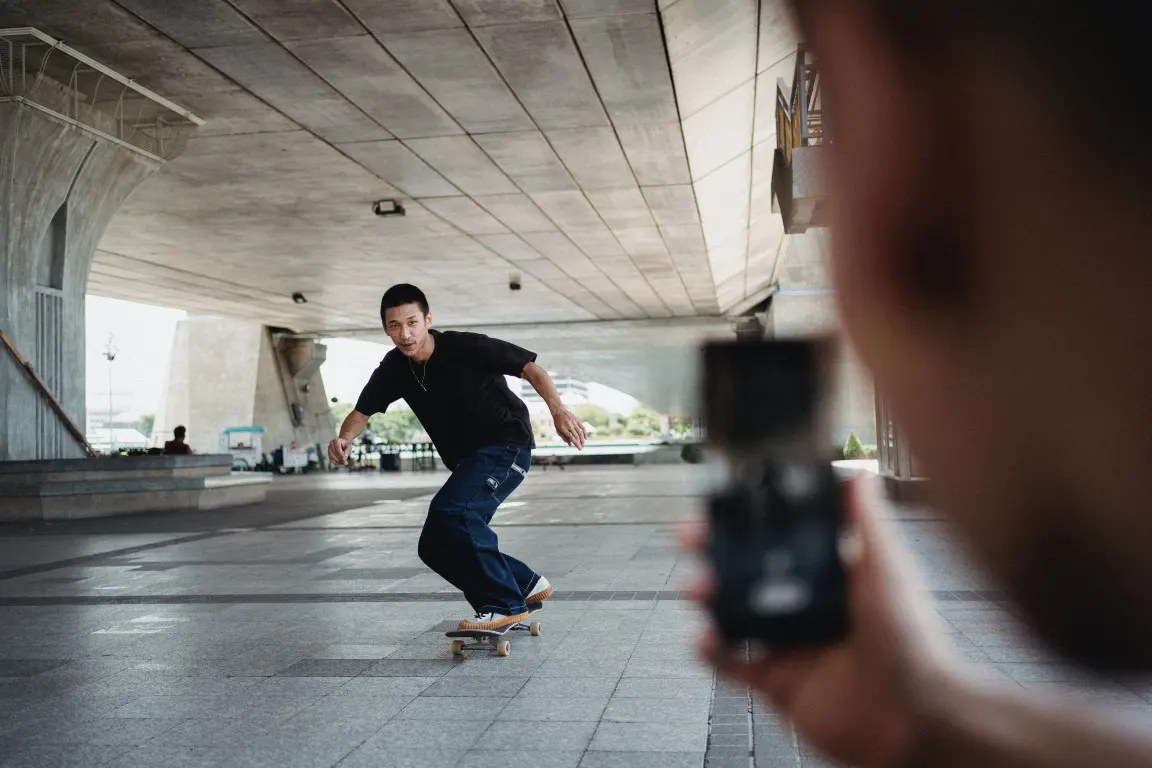
Capturing the thrill of a mountain climb or the splash of white-water rafting in dim light can be challenging. How do you ensure the essence of the adventure isn’t lost in the shadows?
For a professional photographer, it’s easy, but what about you? How to take action shots in low light?
Drawing from my experience, I’ve put together a comprehensive guide to help you achieve stunning action shots in low or challenging light conditions.
Without further ado, let’s get started!
Difficulty with Low Light and Action Photography
Navigating the challenges of low light action photography has been a journey for me. Low light often complicates the process, especially when capturing dynamic moments.
The crux of the issue lies in the conflicting settings: what works for low light might not for action shots.
For instance, while adjusting for action in dim settings, I’ve sometimes ended up with blurred images. My go-to strategy is tweaking the shutter speed to effectively seize motion.
But there’s a catch: ramping up the shutter speed can darken the photo, and compensating might add noise.
My solution? Opt for a wider aperture and moderate the shutter speed. It’s a delicate balance, but with the right approach, I’ve managed to capture stunning shots even in challenging light.
How Can I Improve My Low Light Action Photography? (9 Steps)
Shooting action photography is challenging due to the intricacies of camera settings. Thus, understanding the best camera settings for low light action shots can be immensely beneficial.
I’ve compiled some of the top action photography tips to enhance your photography experience.
1. Use Manual Mode
Capturing action shots in low light requires precision. While any shooting mode can work, I’ve found that manual mode gives me the most control over my camera’s settings.
If you’re hesitant about diving fully into manual mode, start with aperture priority. This way, you can select the exposure settings that the camera might not pick automatically.
2. Get a Fast Lens
The lens plays a pivotal role in low light photography.
I always recommend using the fastest and longest lens you have. In low light conditions, a lens with a wide aperture allows more light in, which is crucial for clear shots.
3. Wide-Open Shoot
The first setting to adjust is the aperture. A wider aperture (represented by a smaller f-number) lets in more light, which is essential in low light conditions.
4. Set the Shutter Speed
The next step is to set the camera to the best shutter speed for low light. Shutter speed is vital, especially when capturing moving subjects.
If your subject is in motion, the shutter speed should be a function of your focal length. For moving subjects, a fast shutter speed in low light is necessary to freeze the action.
5. Set the ISO
After setting the aperture and shutter speed, I adjust the ISO to achieve the desired exposure.
In darker conditions, I often opt for a higher ISO, typically between 1600-3200.
6. Check the Exposure Settings
Especially when shooting indoors, lighting can fluctuate. I always keep an eye on my exposure settings, making tweaks as necessary to ensure consistent results.
7. Zoom In
When framing my shots, I zoom in on my subject without neglecting the background. The subject is the heart of the photo and should complement the overall composition.
8. Wait for the Peak Action
As a photographer, timing is everything. I always stay prepared to capture the peak moments, taking multiple shots in quick succession using continuous shooting mode.
This approach ensures I don’t miss any crucial moments.
9. Focus
With a wide-open aperture, the depth of field is shallow, making focusing critical. I always ensure my subject is sharp and clear, as it’s the focal point of the image.
What Aperture is Best for Low-Light Action Shots?
For low light, you need to keep the aperture open as much as possible. So, I recommend staying within the complete number that your camera lens permits you to set.
If you’re shooting with f/1.2, it may be lenient for the picture style, so use 1.8-2.0 f for the best quality.
What is the Best Shutter Speed for Low-Light Action Shots?
Shutter speed for low light is crucial when aiming for quality action shots in dim settings. Thus, I’ve identified the best shutter speed for action shots that have proven effective for my shoots.
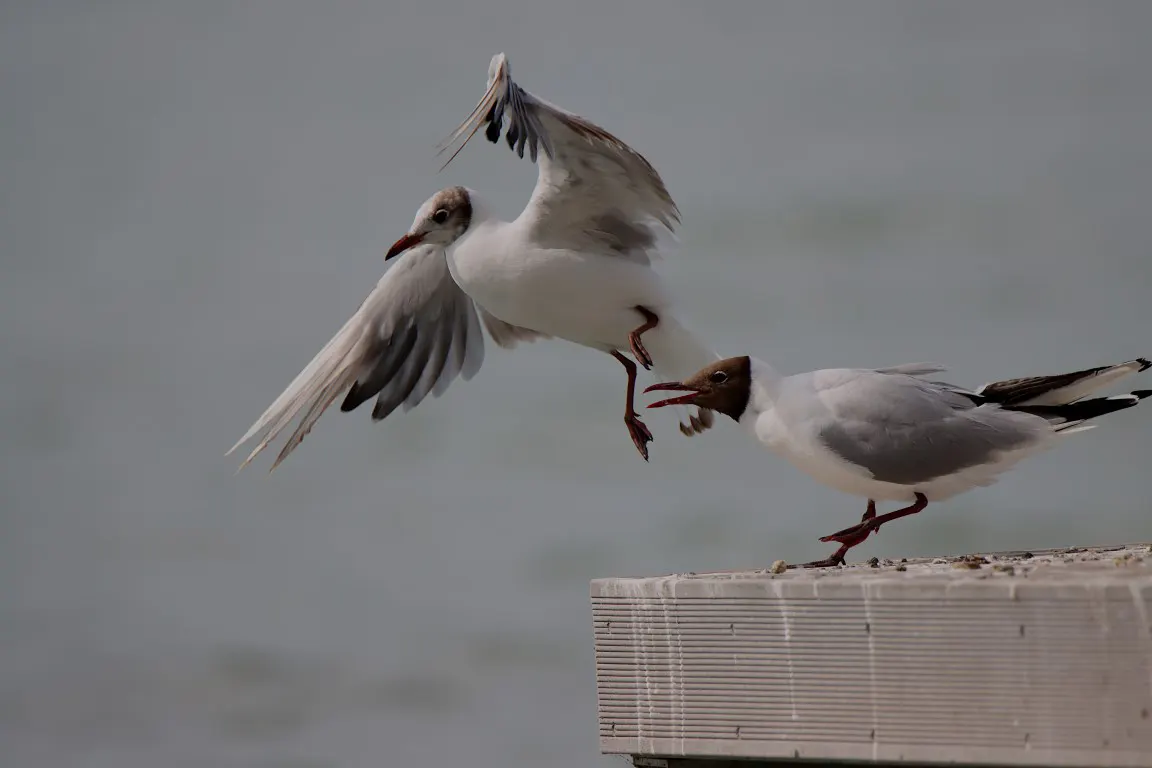
Suppose you’re photographing birds, then you may be 1/1000th second or faster. If you are clicking general photography, then regulate the slower-moving subjects.
To enjoy the high-speed action, generally, you should increase the shutter speed higher than 1/1200. However, you may get missing with the shooting action moment as low as 1/400.
However, remember, the higher you set your shutter speed, the darker the frame you will receive.
Next, you will need to set ISO and don’t be scared to bump the changes. If you find the frame is dark, then push the higher speed of ISO.
With all these three settings, you can easily get the best photos.
Focus and Burst Mode Settings
Focus and burst mode settings are also very crucial that you should adjust to get the best candid action shots. With continuous focus, you will get lousy light-action photographs.
Besides, burst setting is crucial when shooting rapid or fast action shots.
Well, the constant focus has numerous names on the camera. It mainly depends on the brand and features of the camera you are working with.
For instance, with the Canon 5D Mark IV Camera, one can easily customize the camera settings, which tell how your object is moving and what difficulties you will find in taking shots. Amend the points of sporadic, obstacle movements, and more.
Best Camera for Low Light Action Shots
The camera I select is crucial for low light action shots.
1. Canon EOS R6
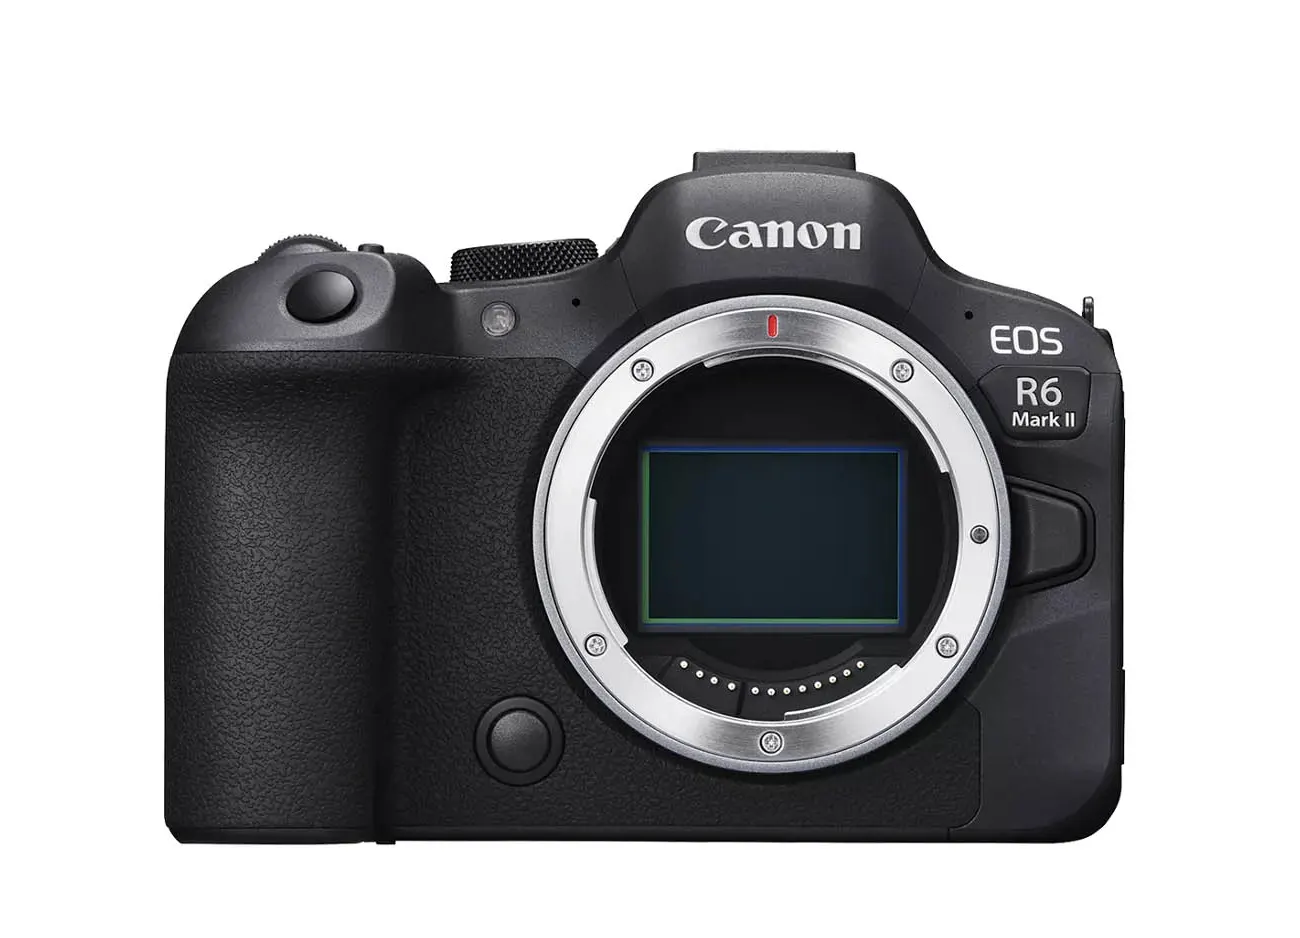
Source: usa.canon.com
So, I’ve found the Canon EOS R6 to be a standout performer. The reason I vouch for it is its exceptional full-frame sensor, which ensures high-quality images even in dim settings.
2. Sony A7S III
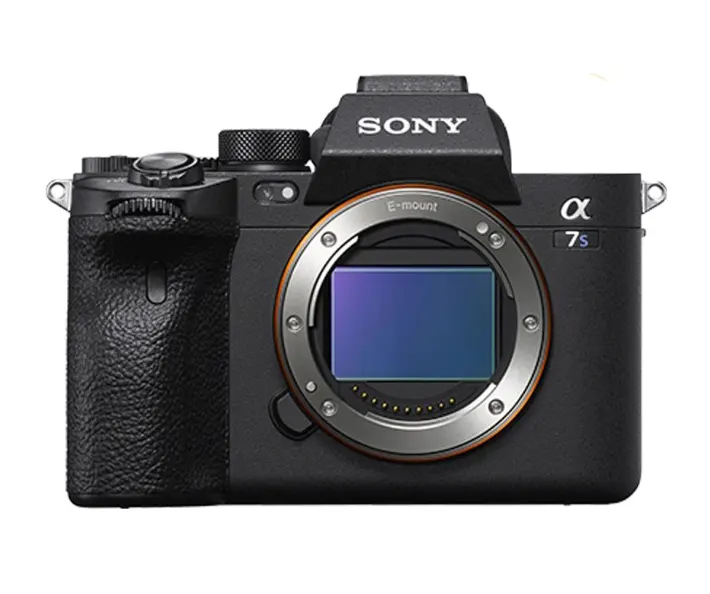
Source: electronics.sony.com
Another camera that has impressed me is the Sony A7S III. Its capability to produce sharp and vibrant images in challenging light conditions is unparalleled.
Both these cameras offer a combination of advanced features and user-friendly interfaces, making them ideal for both professionals and enthusiasts. If you’re serious about low light action photography, investing in a top-rated camera like these is a game-changer.
Bonus Tips for Taking Action Photographs
Besides checking focus, burst, and aperture settings, the other settings need to work as follows.
- Panning and pre-focus to get the best shots
- Test all the settings
- Check your screen
- Work with what you have
Plus, watch this video tutorial to learn how to adjust settings.
The Bottom Line
Mastering low light action photography, especially in the realm of adventure, requires a blend of technical knowledge and practical experience.
From understanding the intricacies of manual mode, shutter speed, and ISO to choosing the right lens and aperture settings, every detail matters. As I’ve shared from my own experiences, achieving that perfect shot in challenging lighting conditions is a dance between equipment settings and photographer intuition.
Remember, it’s not just about the gear but also how you use it. With dedication and practice, capturing those breathtaking moments, even in low light, becomes an achievable art.
Justin Parker is a professional photographer and has been in the industry since 2007. He attended the University of Georgia. Justin combines his passion for photography and his interest in writing to give life to this blog which talks about photography in order to help and inspire young photographers.