There is no doubt that the dark and gloomy food photography trend has been gaining momentum over the past several years.
Most people are familiar with the word “dark and gloomy photography,” but “Chiaroscuro” is a more obscure title for this style of photography.
Look at how this phrase implies and applies this notion to understand how to photograph dark-colored food in a visually appealing and functional way.
What is Chiaroscuro Food Photography?
The term “chiaroscuro” comes from the realm of art and is used in Italian. Chiaroscuro is a drawing technique that dates back to the Renaissance and has been used in various mediums ever since.
Using this approach, you may create dramatic contrasts between light and shadow in a picture, with the morning dropping off unevenly or in a specific direction.
Think of the works of Caravaggio, Rembrandt, and Vermeer, the Dutch Masters.
It is done by obscuring areas of a picture with shadow and then slowly guiding the viewer’s gaze toward the brightest area.
Generally, you position your subject in the front or middle of the frame with food photography.
If two-dimensional objects are rendered in chiaroscuro, they take on the appearance of depth. It is possible to obtain this effect in photography by using Rembrandt lighting.
When photographing chiaroscuro food it is important to pay attention to the following points;
- Carve and sculpt the light from a tiny light source to get this look in your photographs.
- Your choice of backdrops and props and the use of fill cards, dispersion, and bounce are all critical components of your set-up.
- There should be a steady transition between bright and dark parts so that the subject seems three-dimensional.
When to Use Chiaroscuro Food Photography?
Let’s say that chiaroscuro photos tend to have a more sinister vibe than a more saintly one.
Chiaroscuro lighting does not lend itself well to conveying a sense of fresh, bright, and healthy eating.
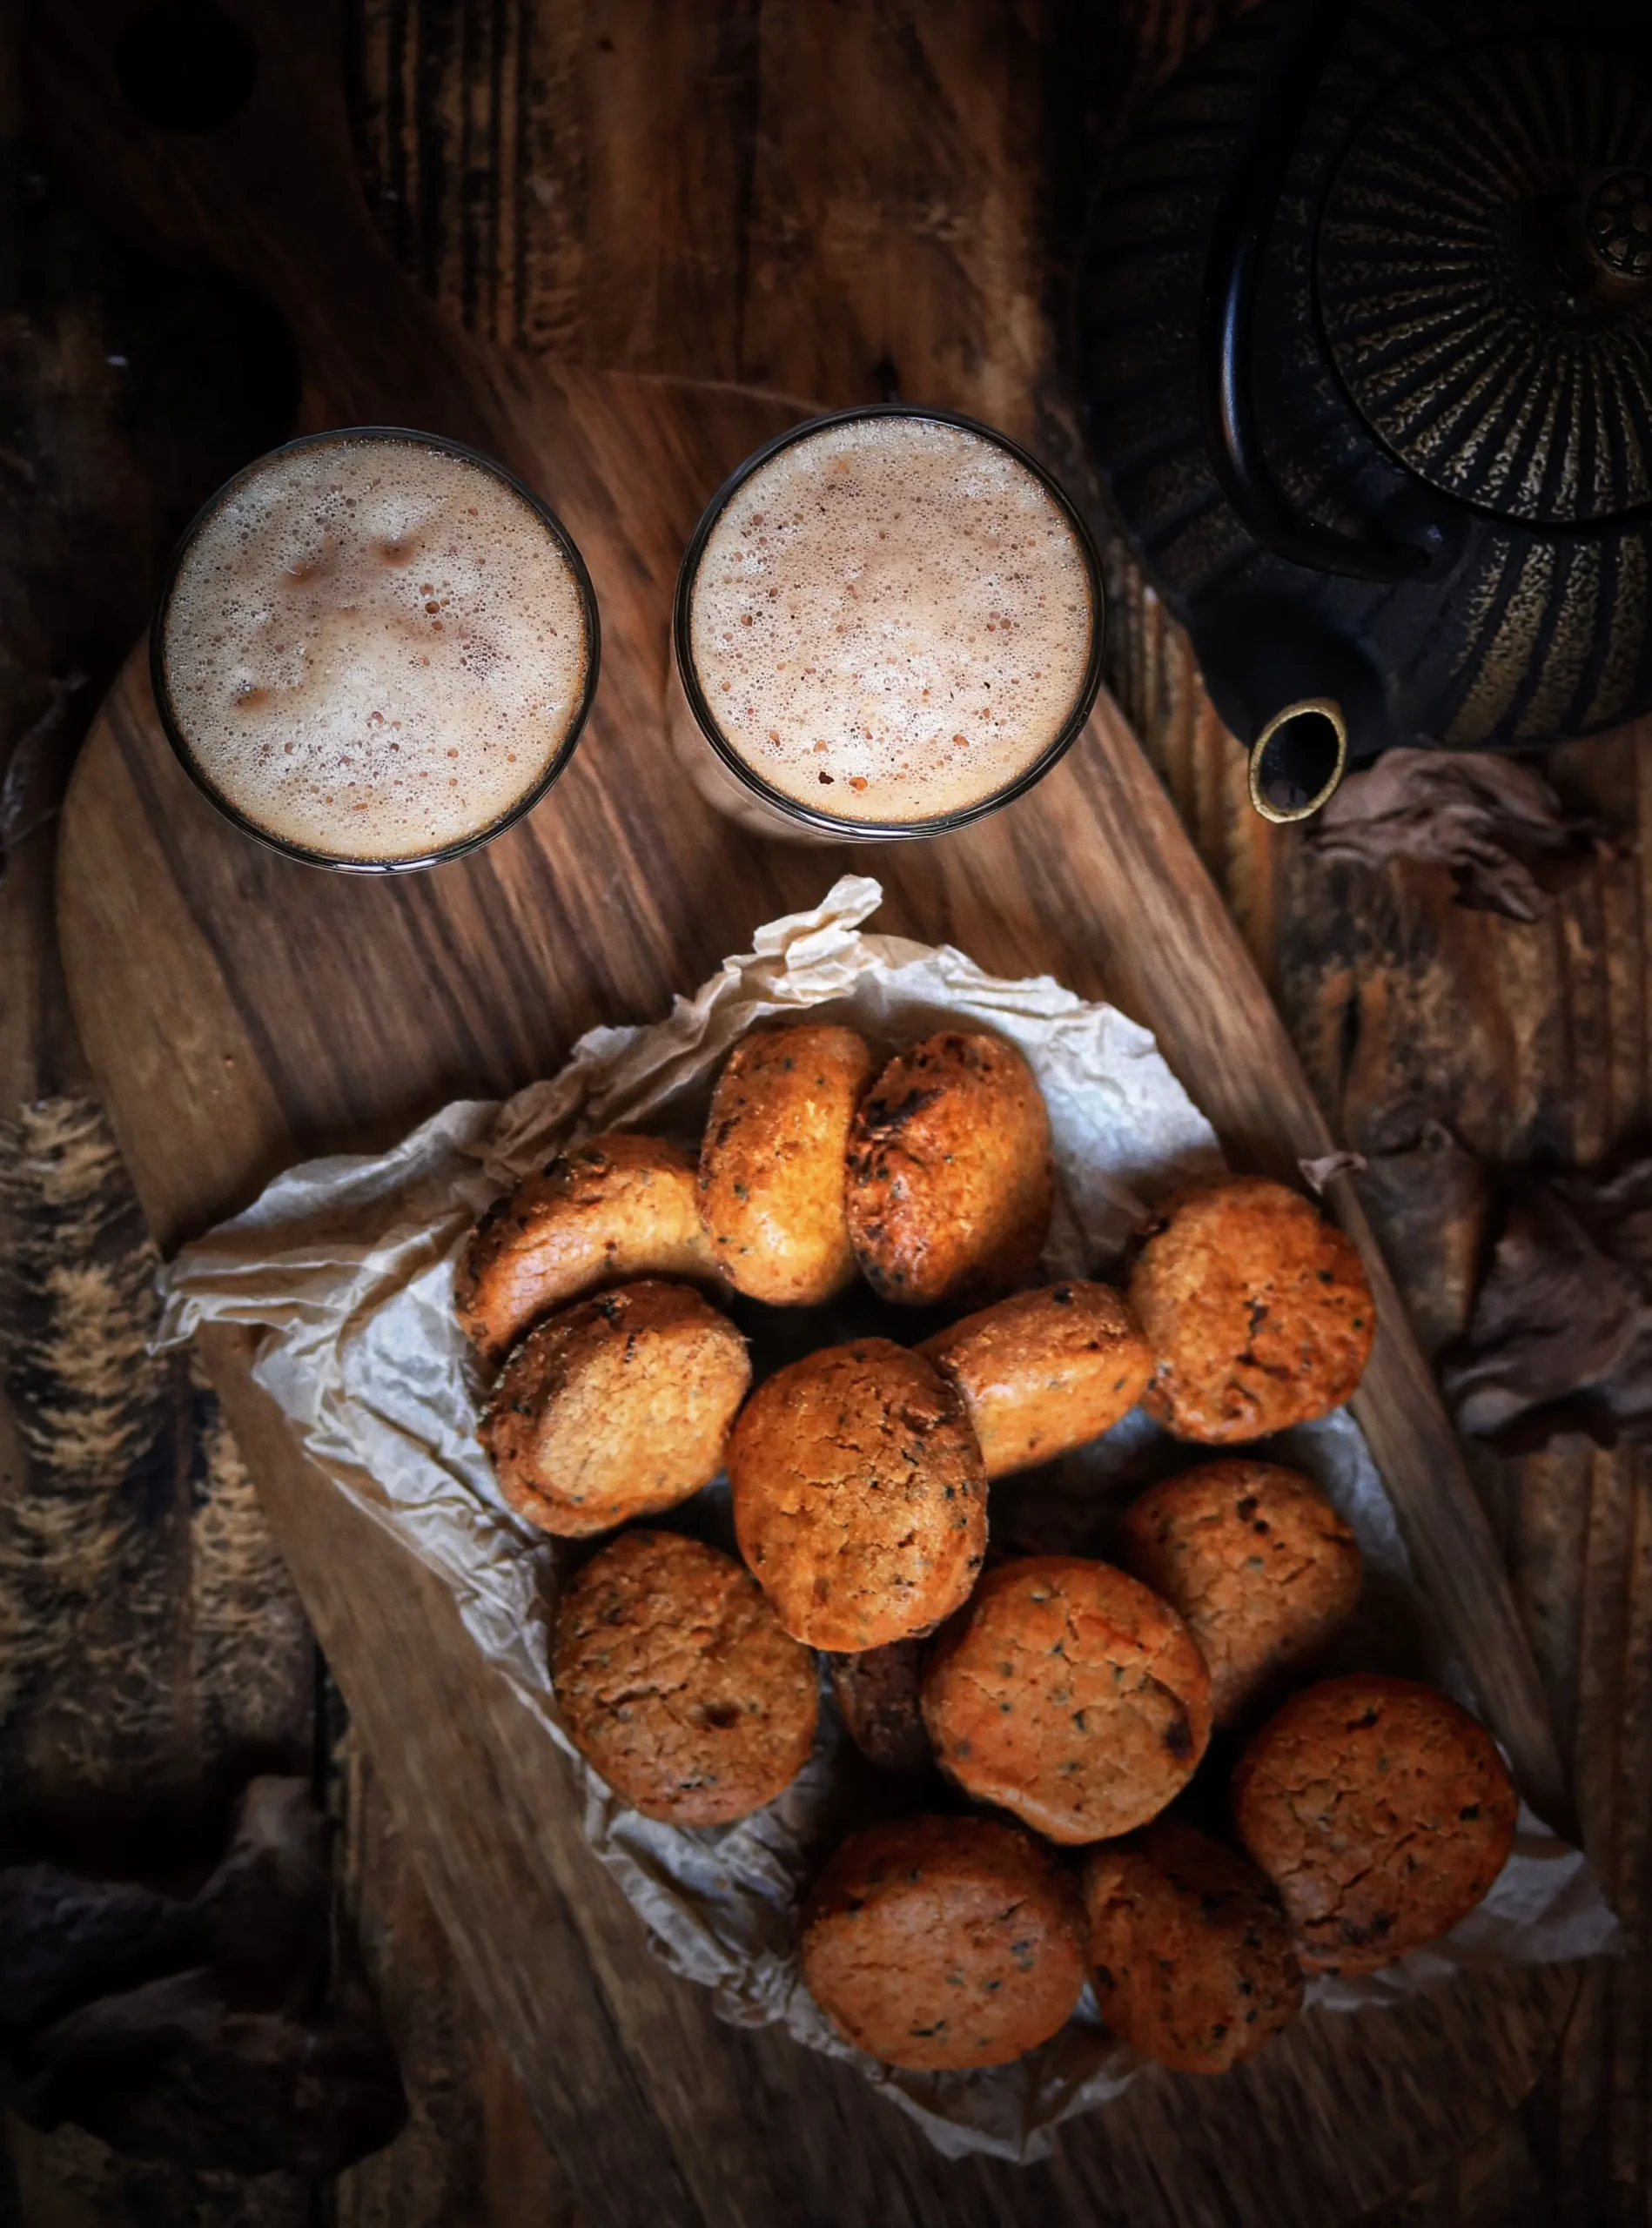
Instead, chiaroscuro provides a sense of grandeur and elegance in a gloomy setting. Chiaroscuro lighting is ideal for a more traditional setting like a rustic dinner because of its Renaissance overtones.
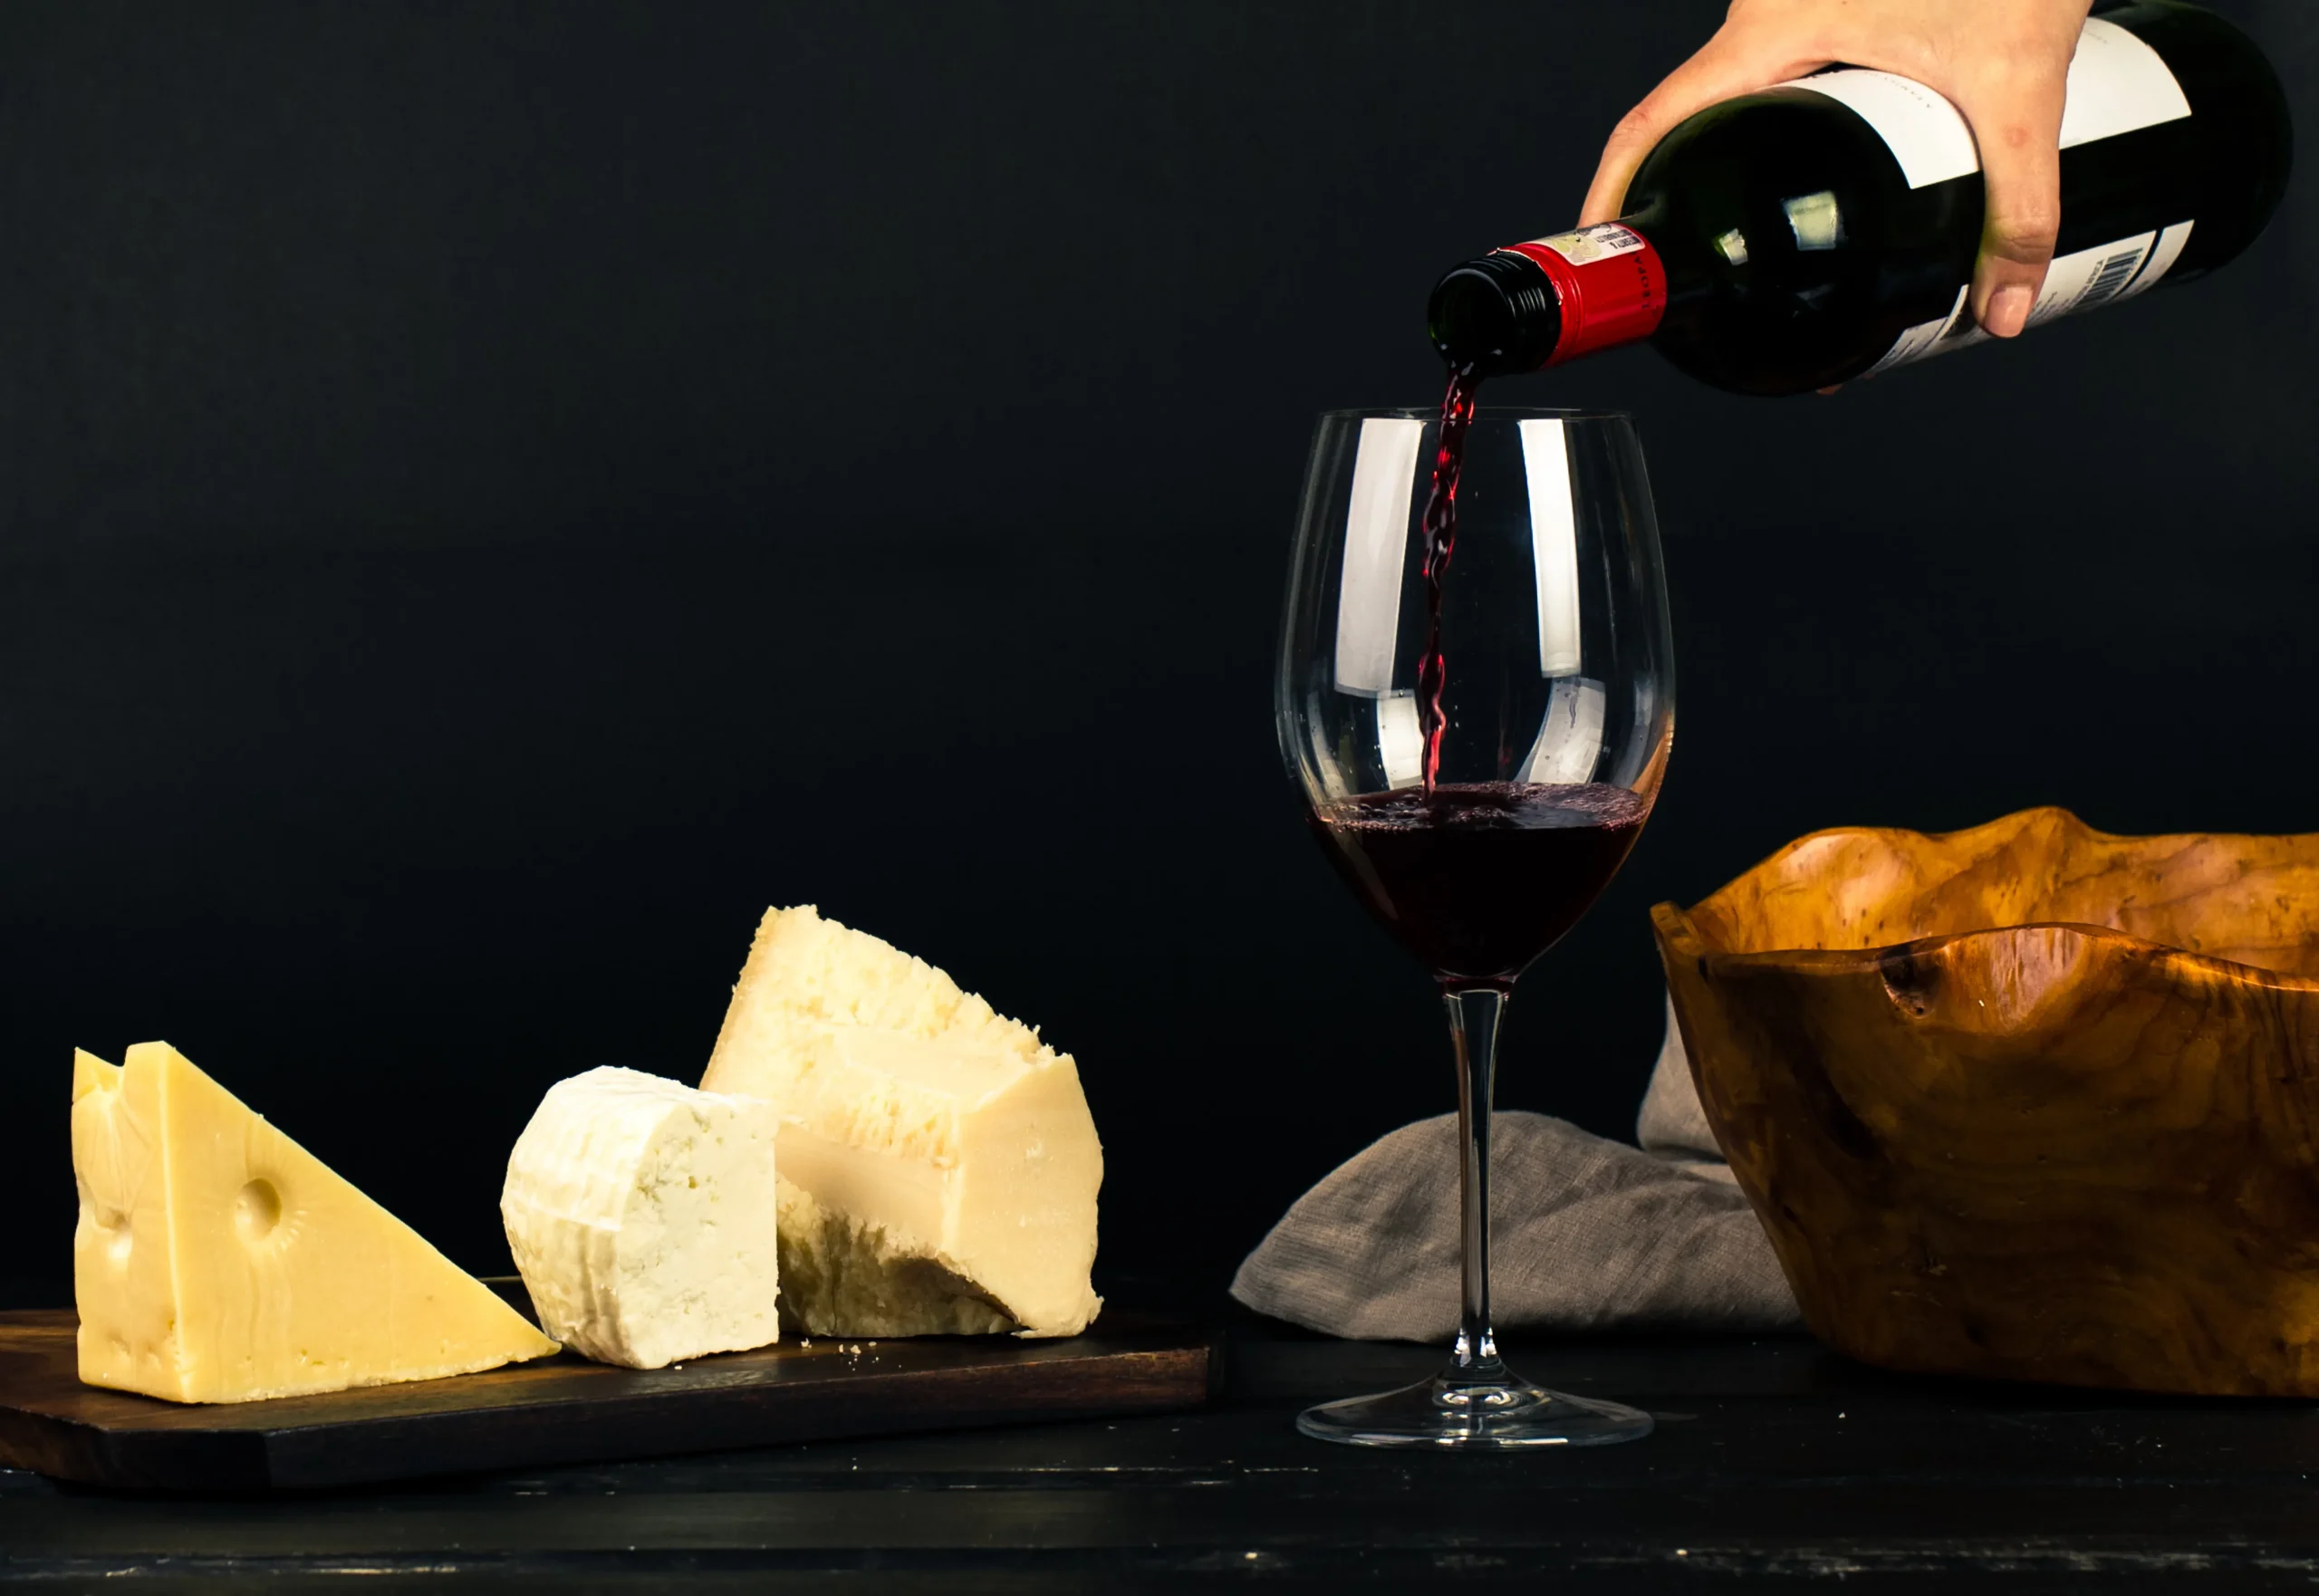
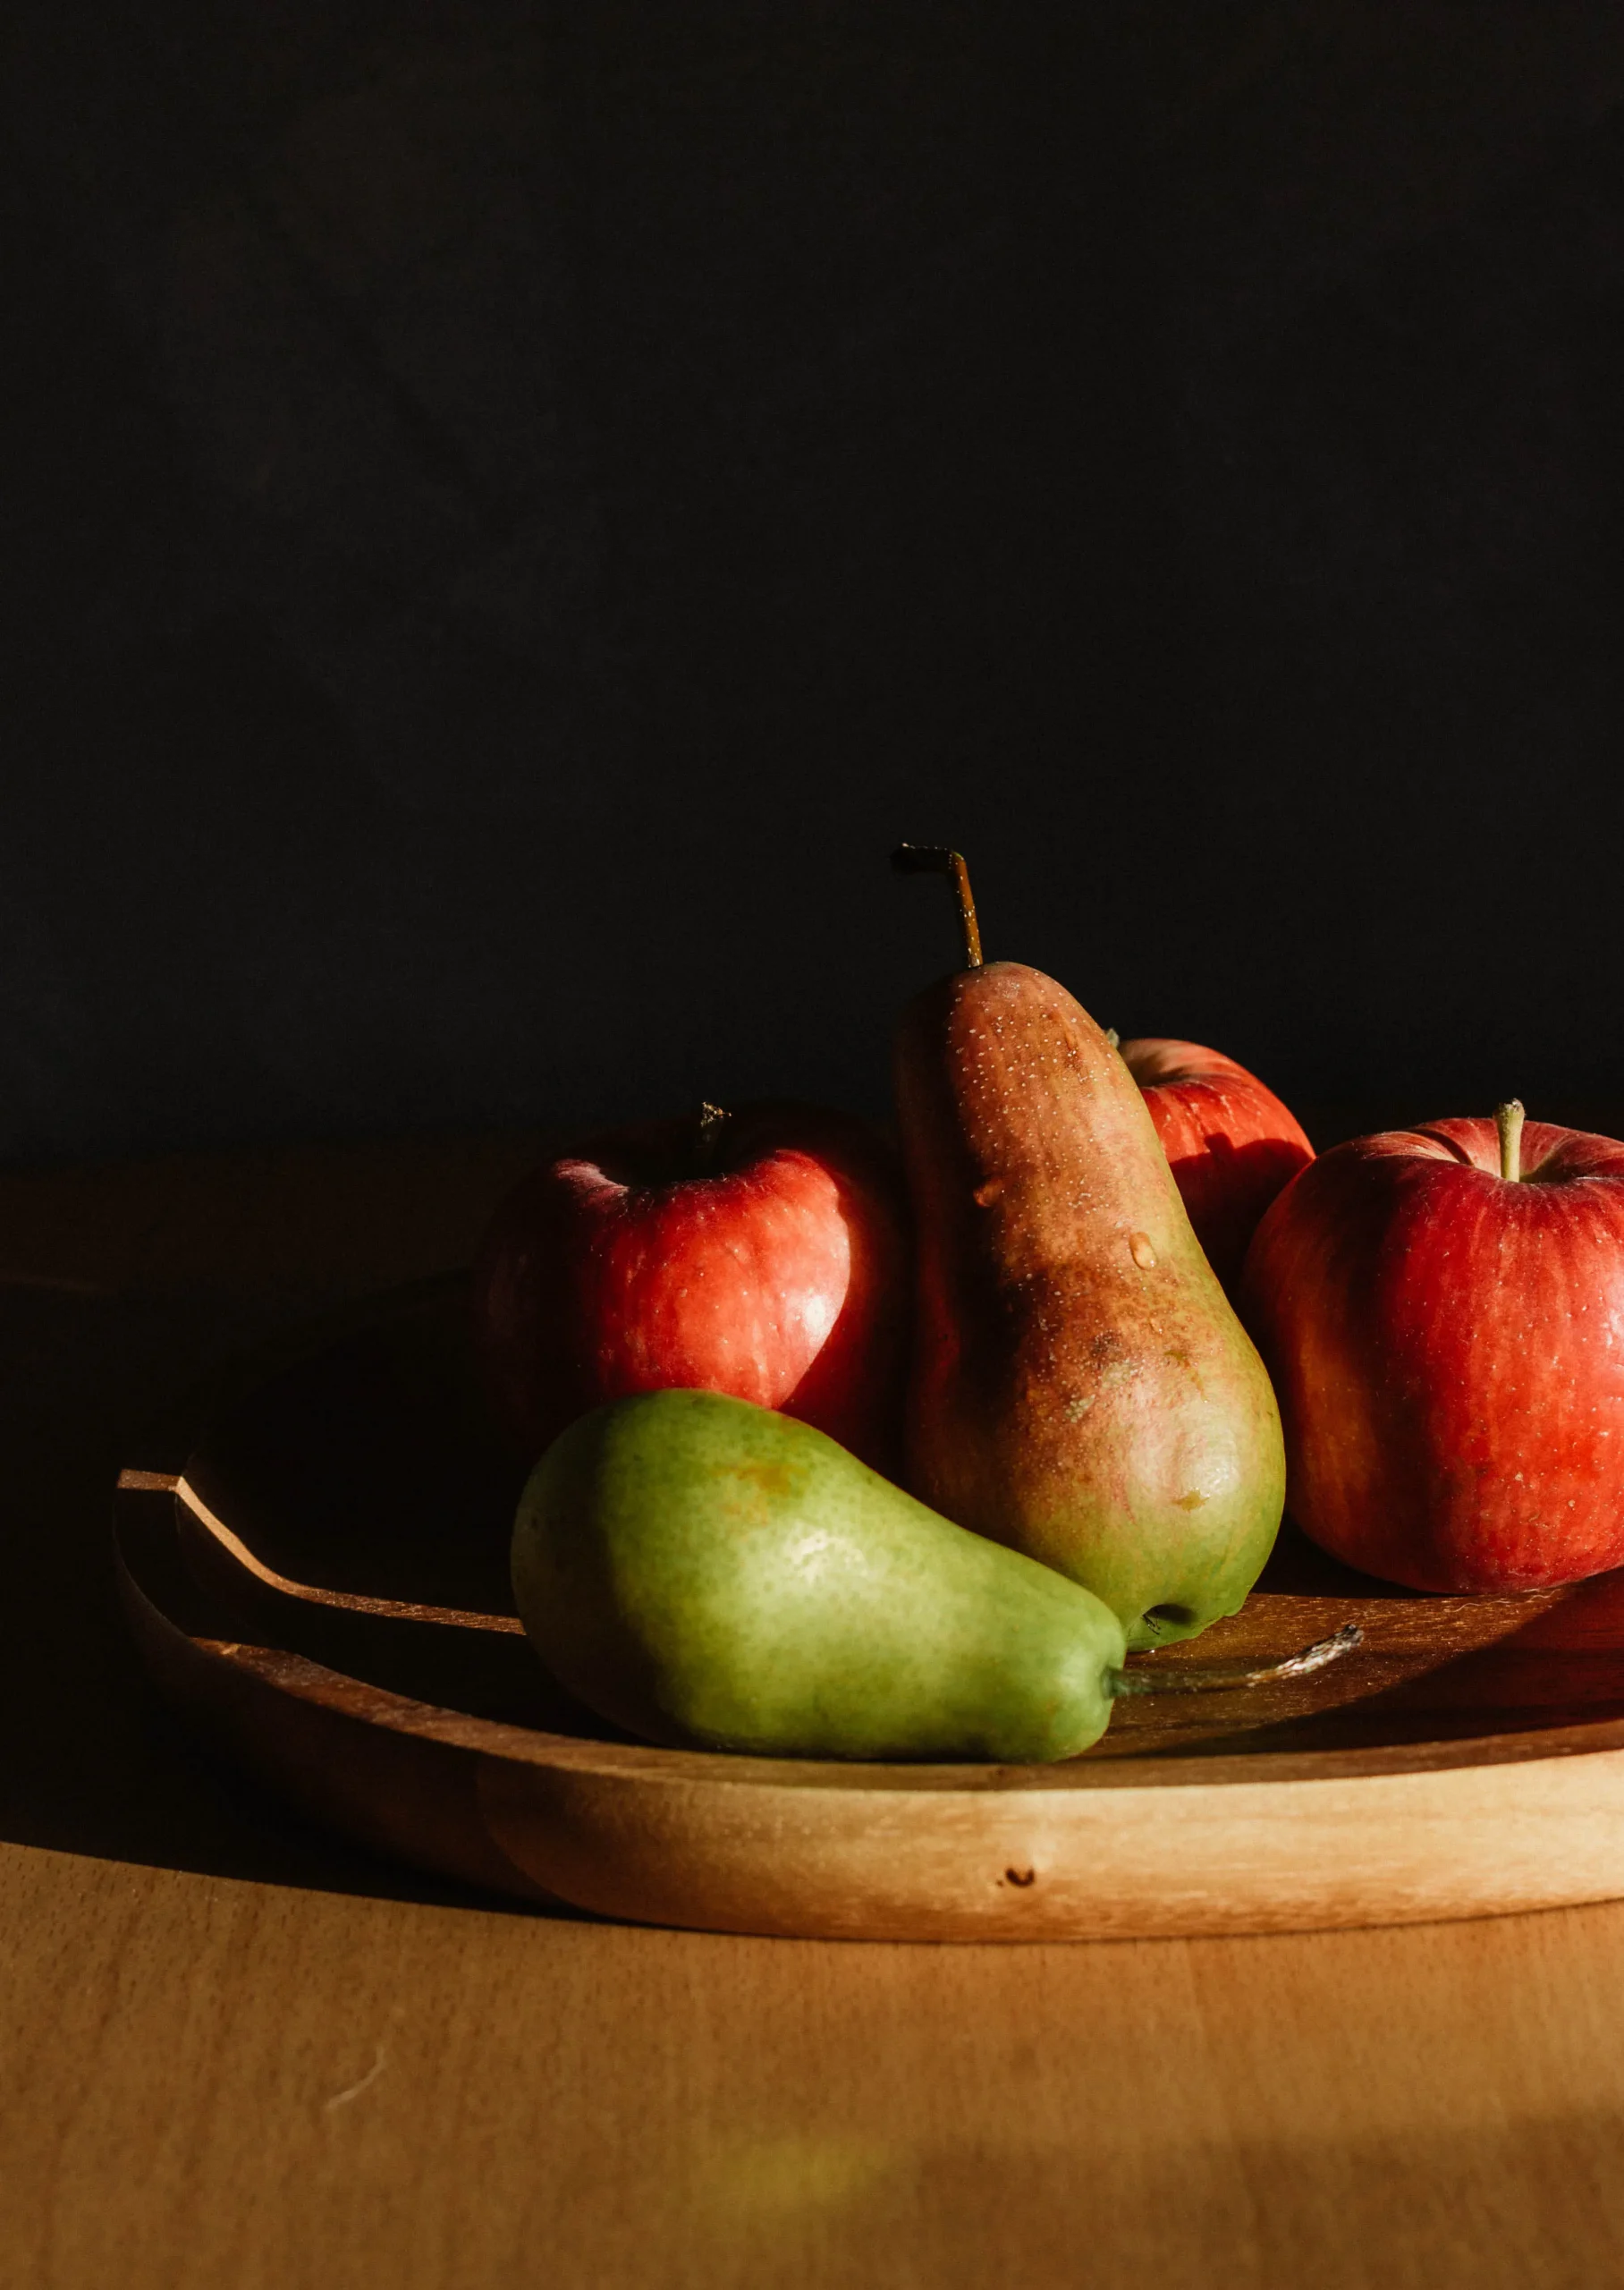
Try it with chocolate, red wine, and Thanksgiving meals; it has a deep, earthy taste. Fruits, nuts, even root veg; meat and game; and good cheeses are all included in these elaborate still-lifes.
Chiaroscuro Food Photography Setup
Take your future food photography to the next level by using chiaroscuro effects.
Here are the steps you need to take:
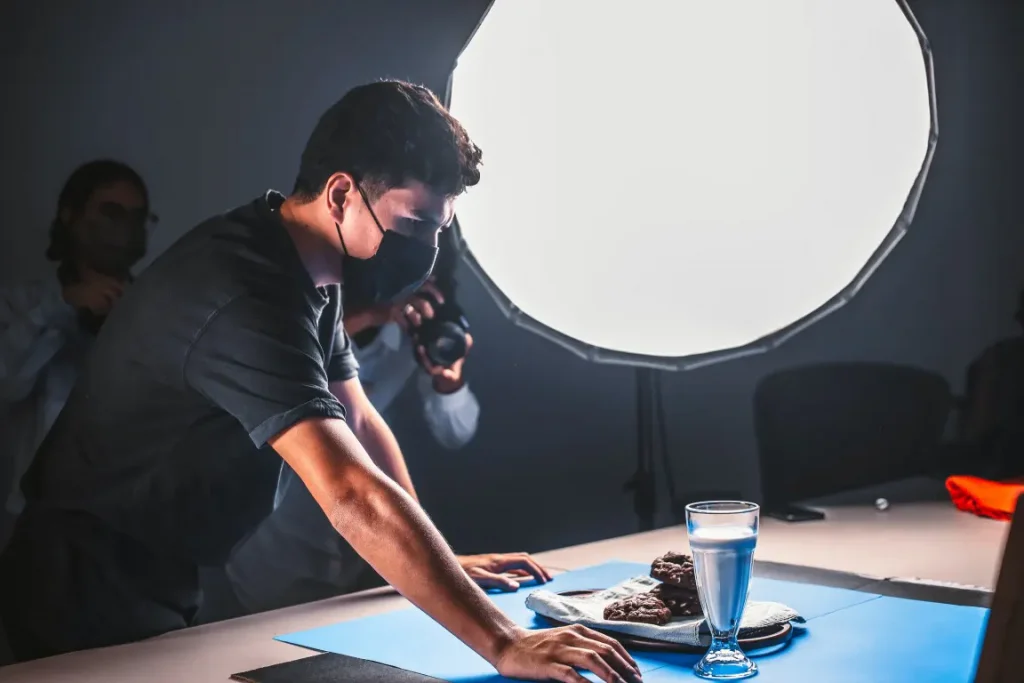
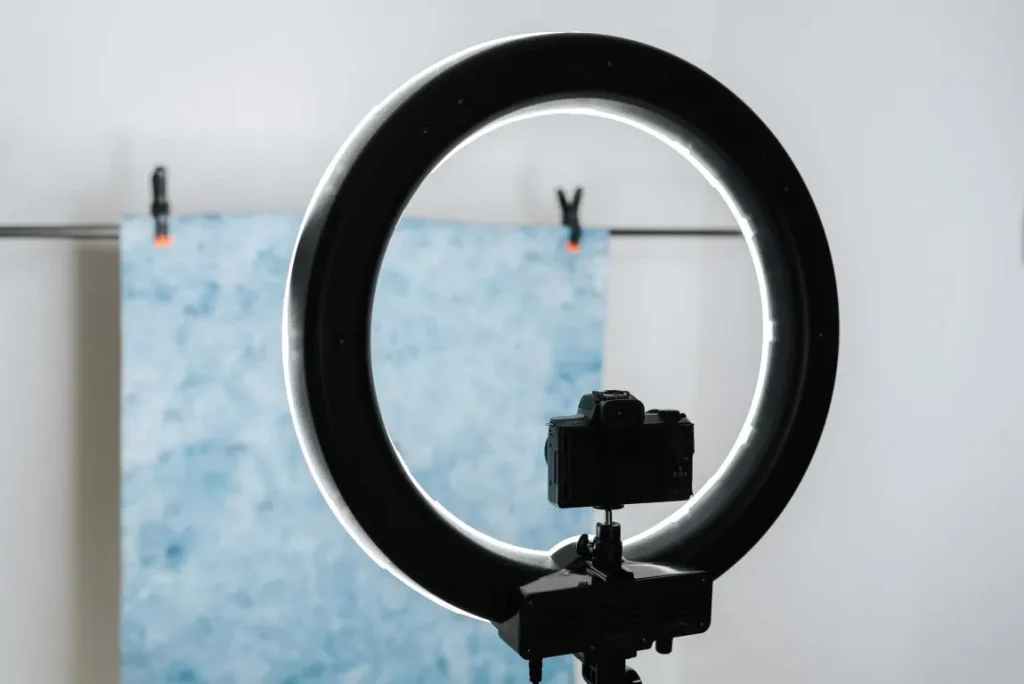
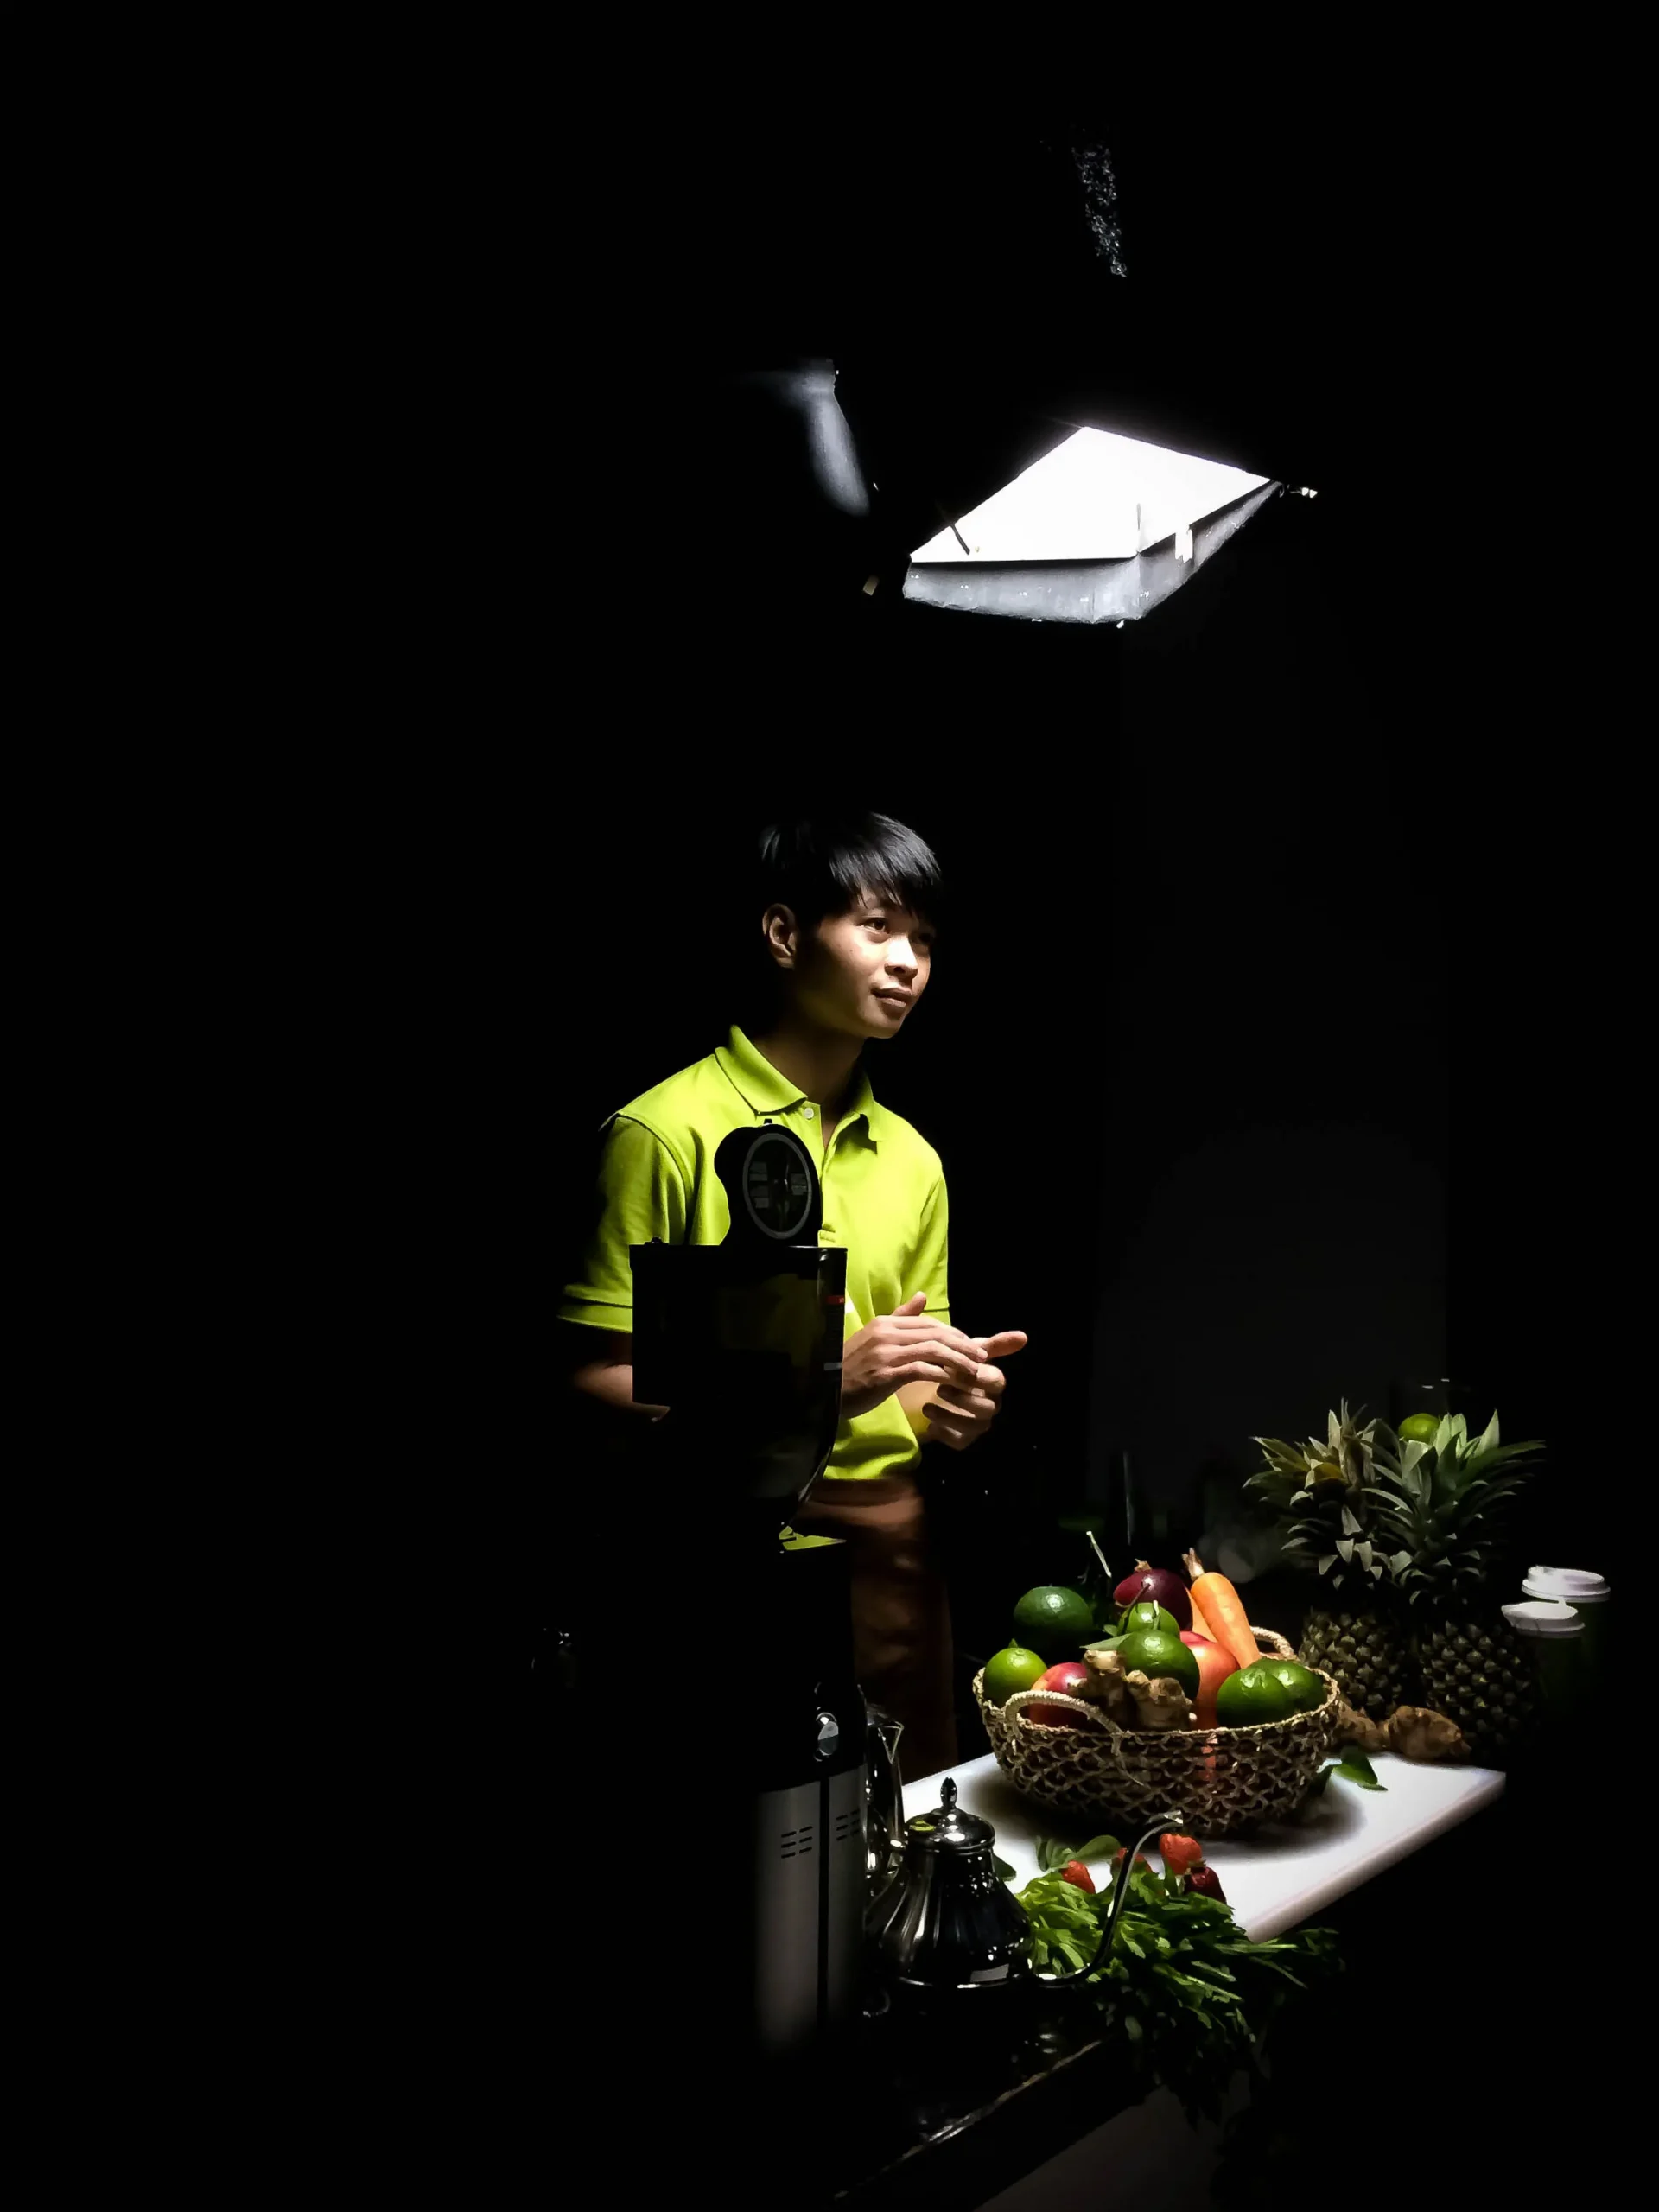
• Set Up a Single Source of Light
I recommend utilizing just one light source instead of two to obtain a natural chiaroscuro effect.
You will have to choose between natural and artificial light. You can regulate the light’s intensity, direction, and closeness using artificial light.
Whenever it comes to cooking photography, we like to utilize natural light.
Natural light is ideal for capturing the warmth I’m looking for in my photos.
However, working with natural light has its drawbacks;
- It can only be used during daytime hours
- Overcast or partially cloudy days provide unique obstacles
This is something that often occurs to me.
The light is always the first thing our eyes are pulled to. As a result, the photograph’s focal point should be placed to make use of the most excellent available light.
Horizontally projecting light may achieve greater contrast among objects and a sense of volume.
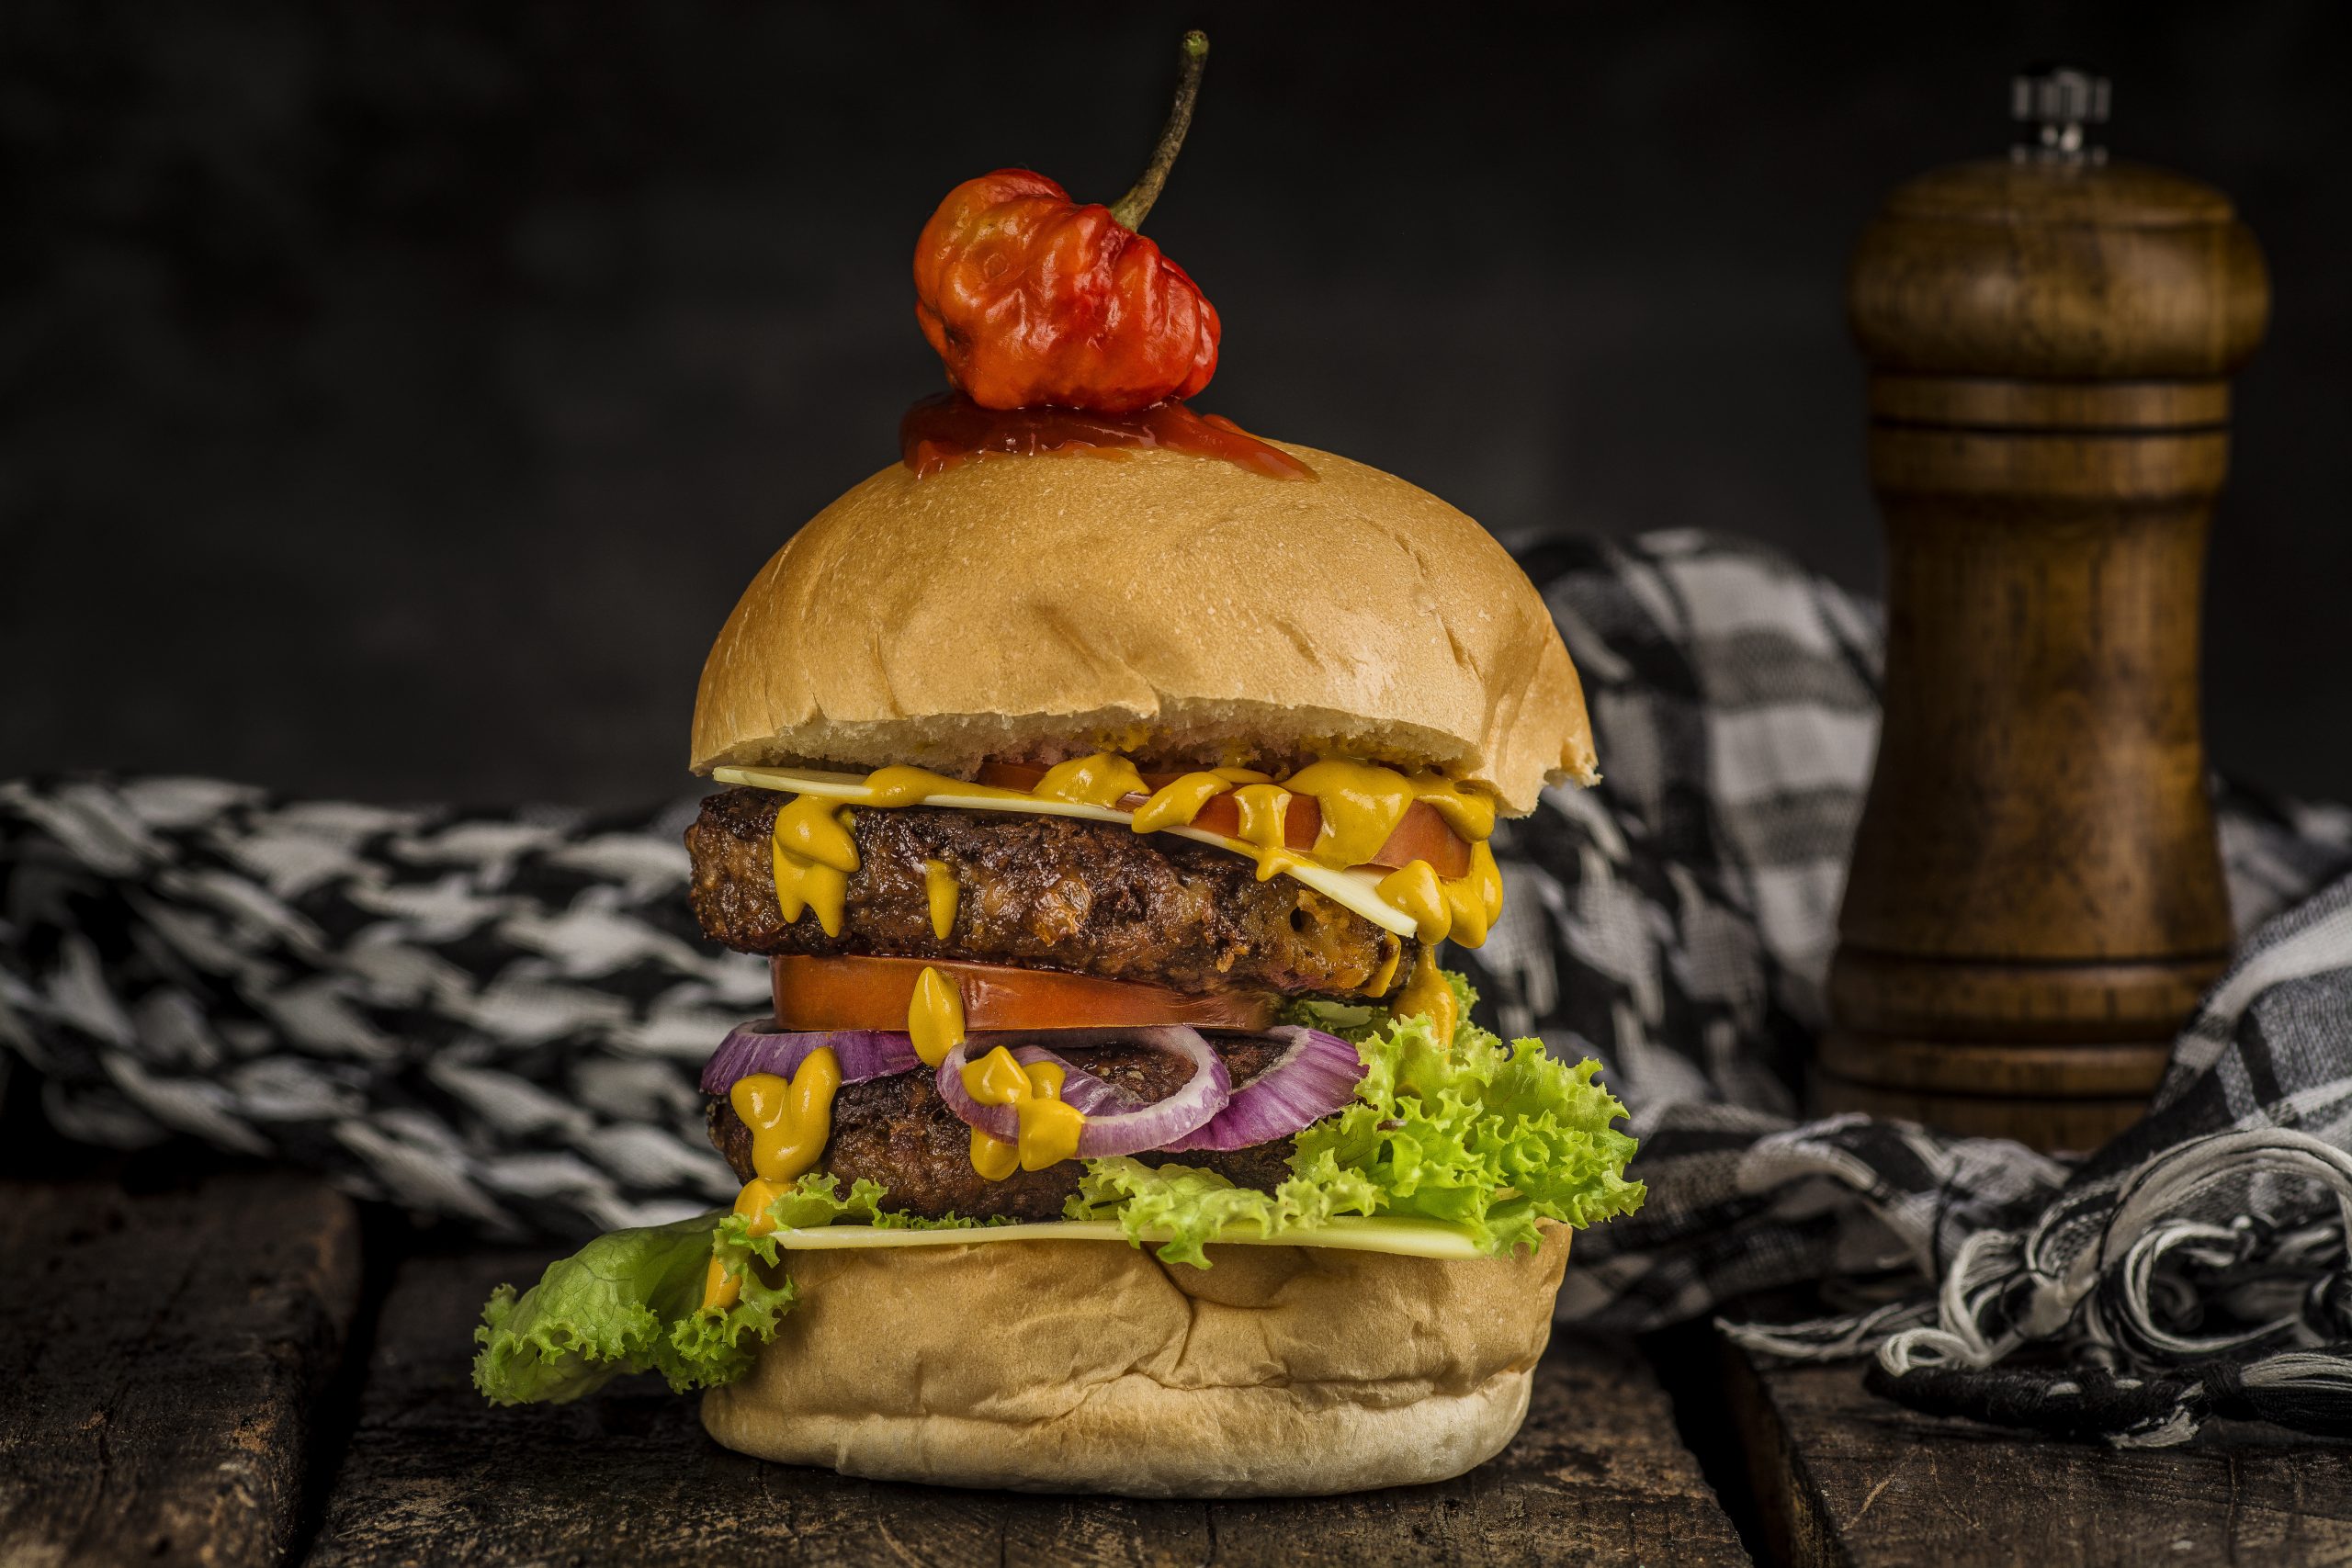
Sometimes it is required to move the primary item to emphasize a specific feature or improve its looks: its texture, its color, to make it seem more delicious or more dramatic.
• How to Select Props and Backdrops for Dark Food Photography
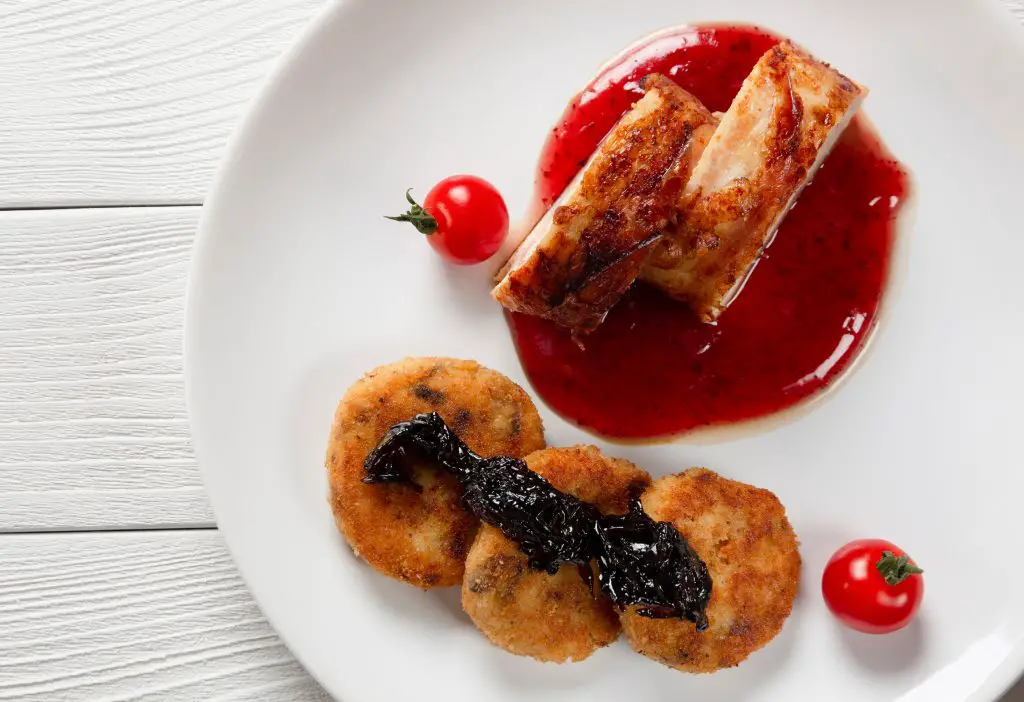
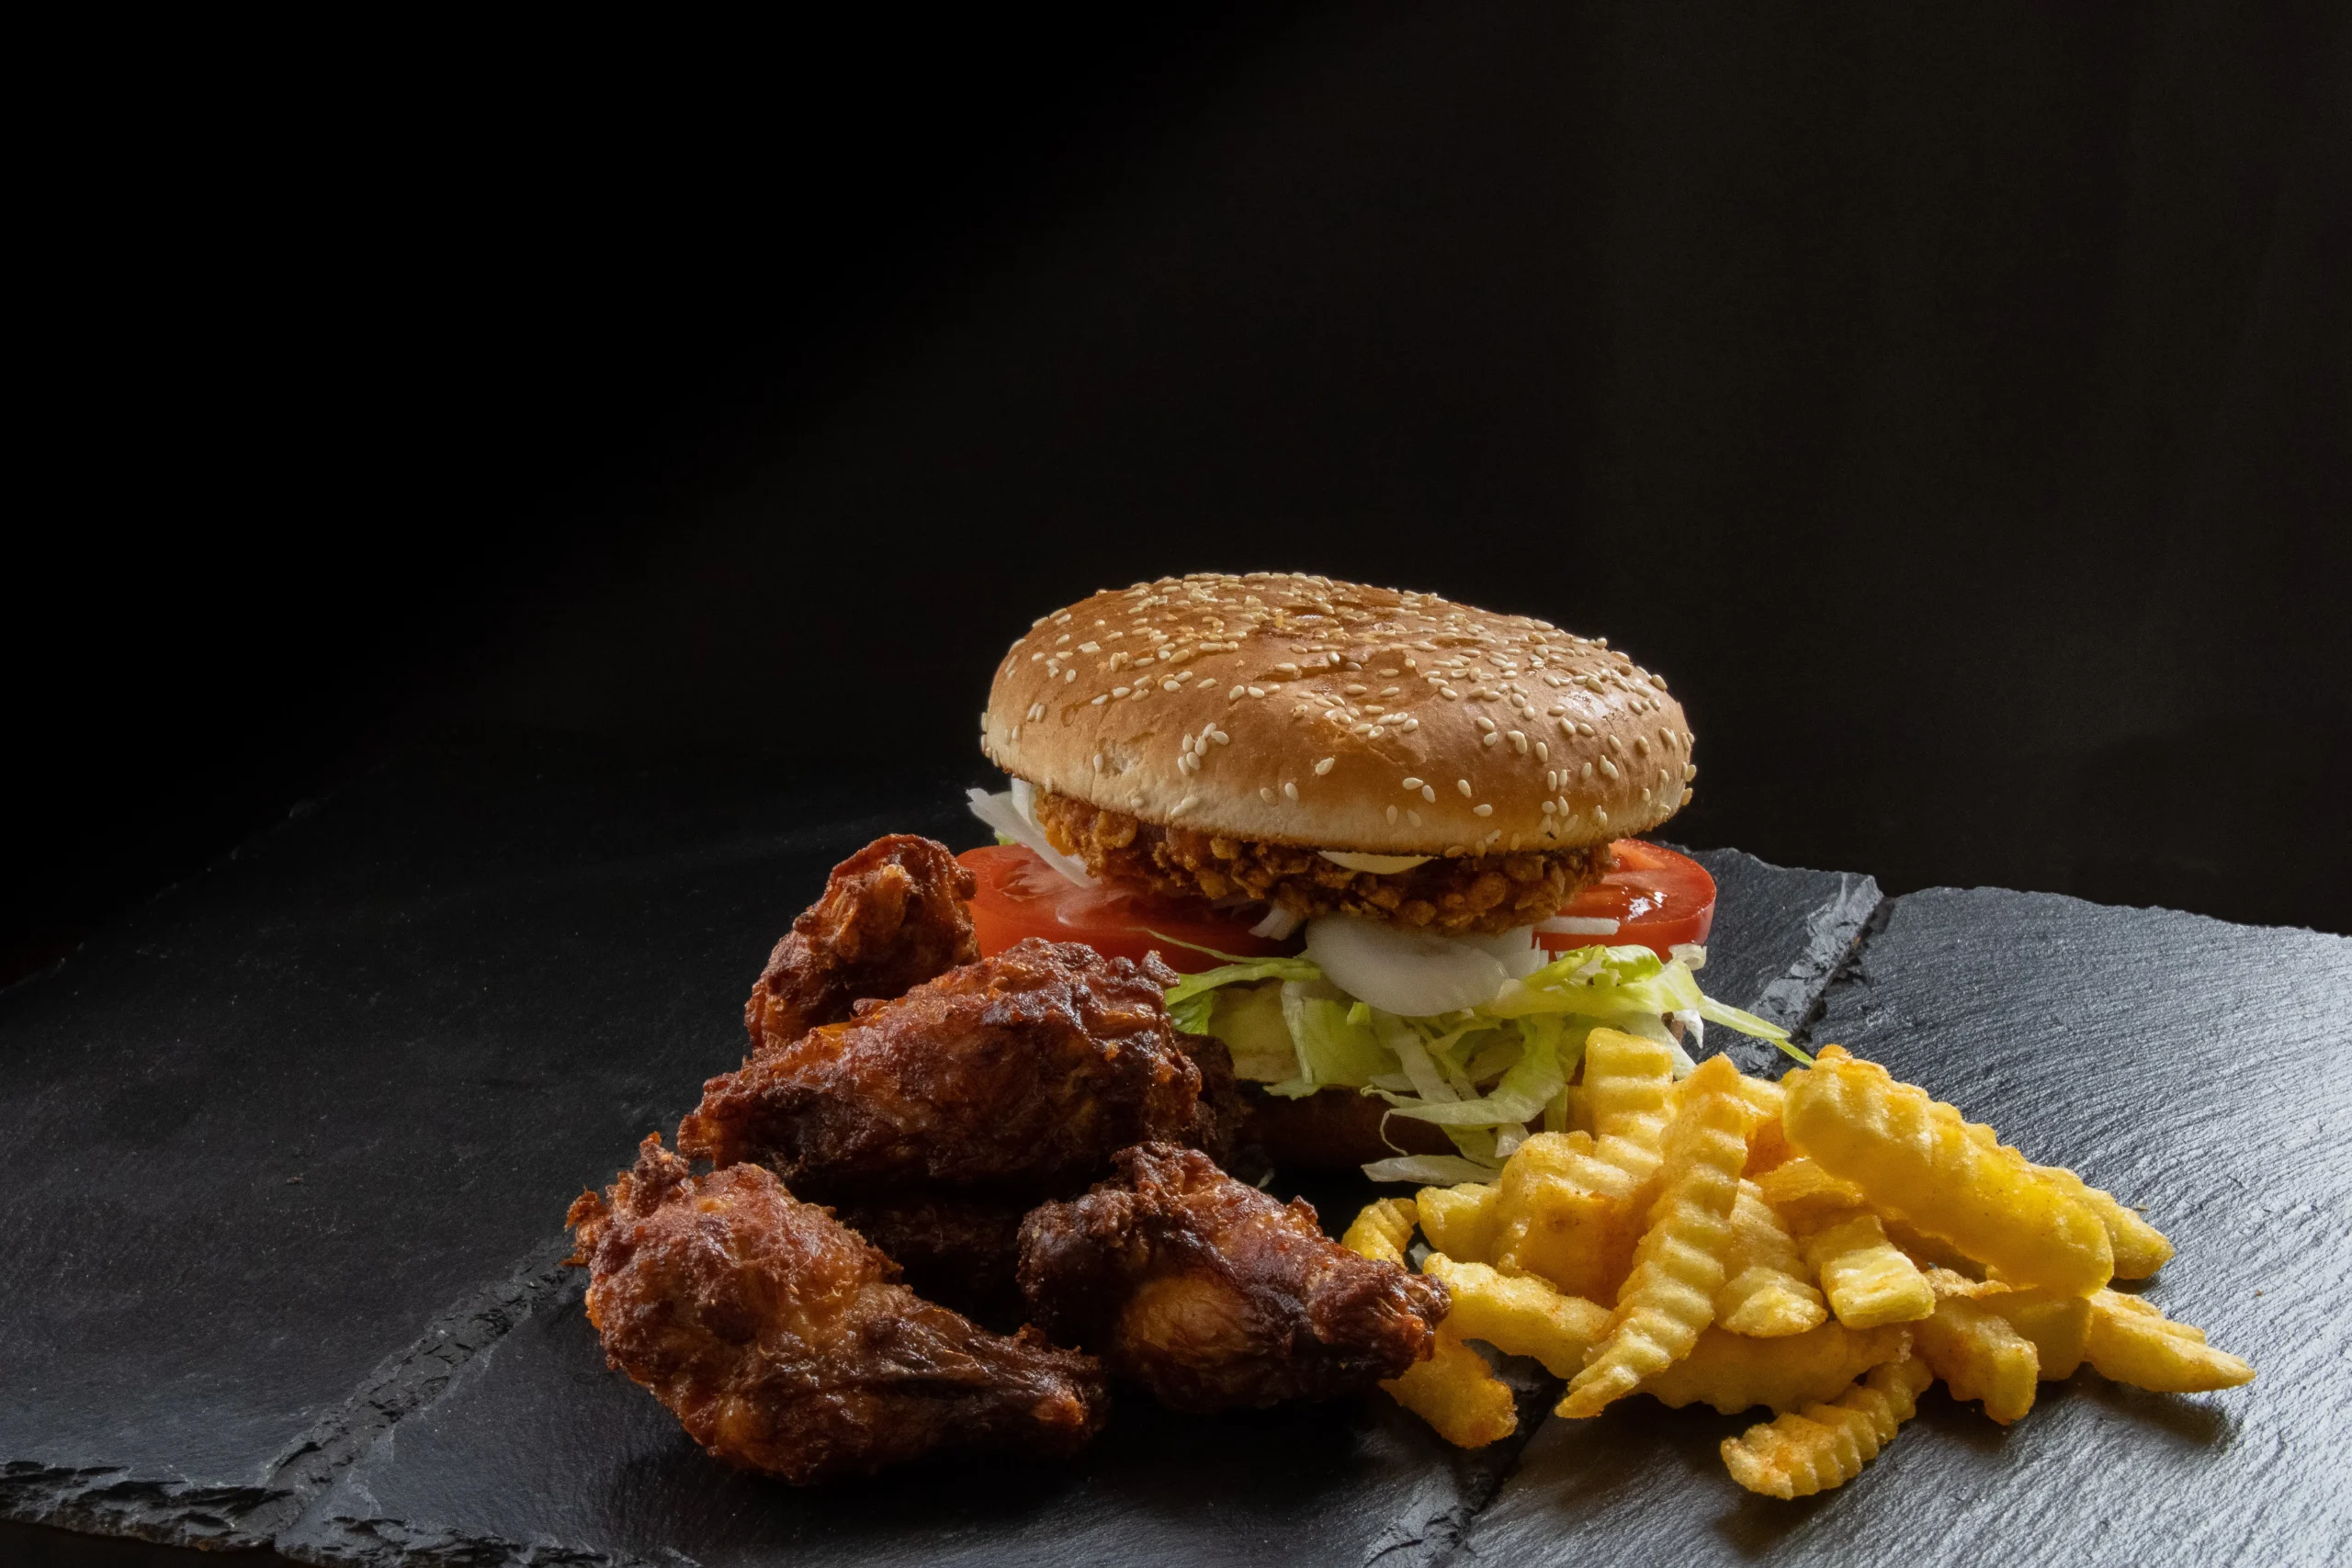
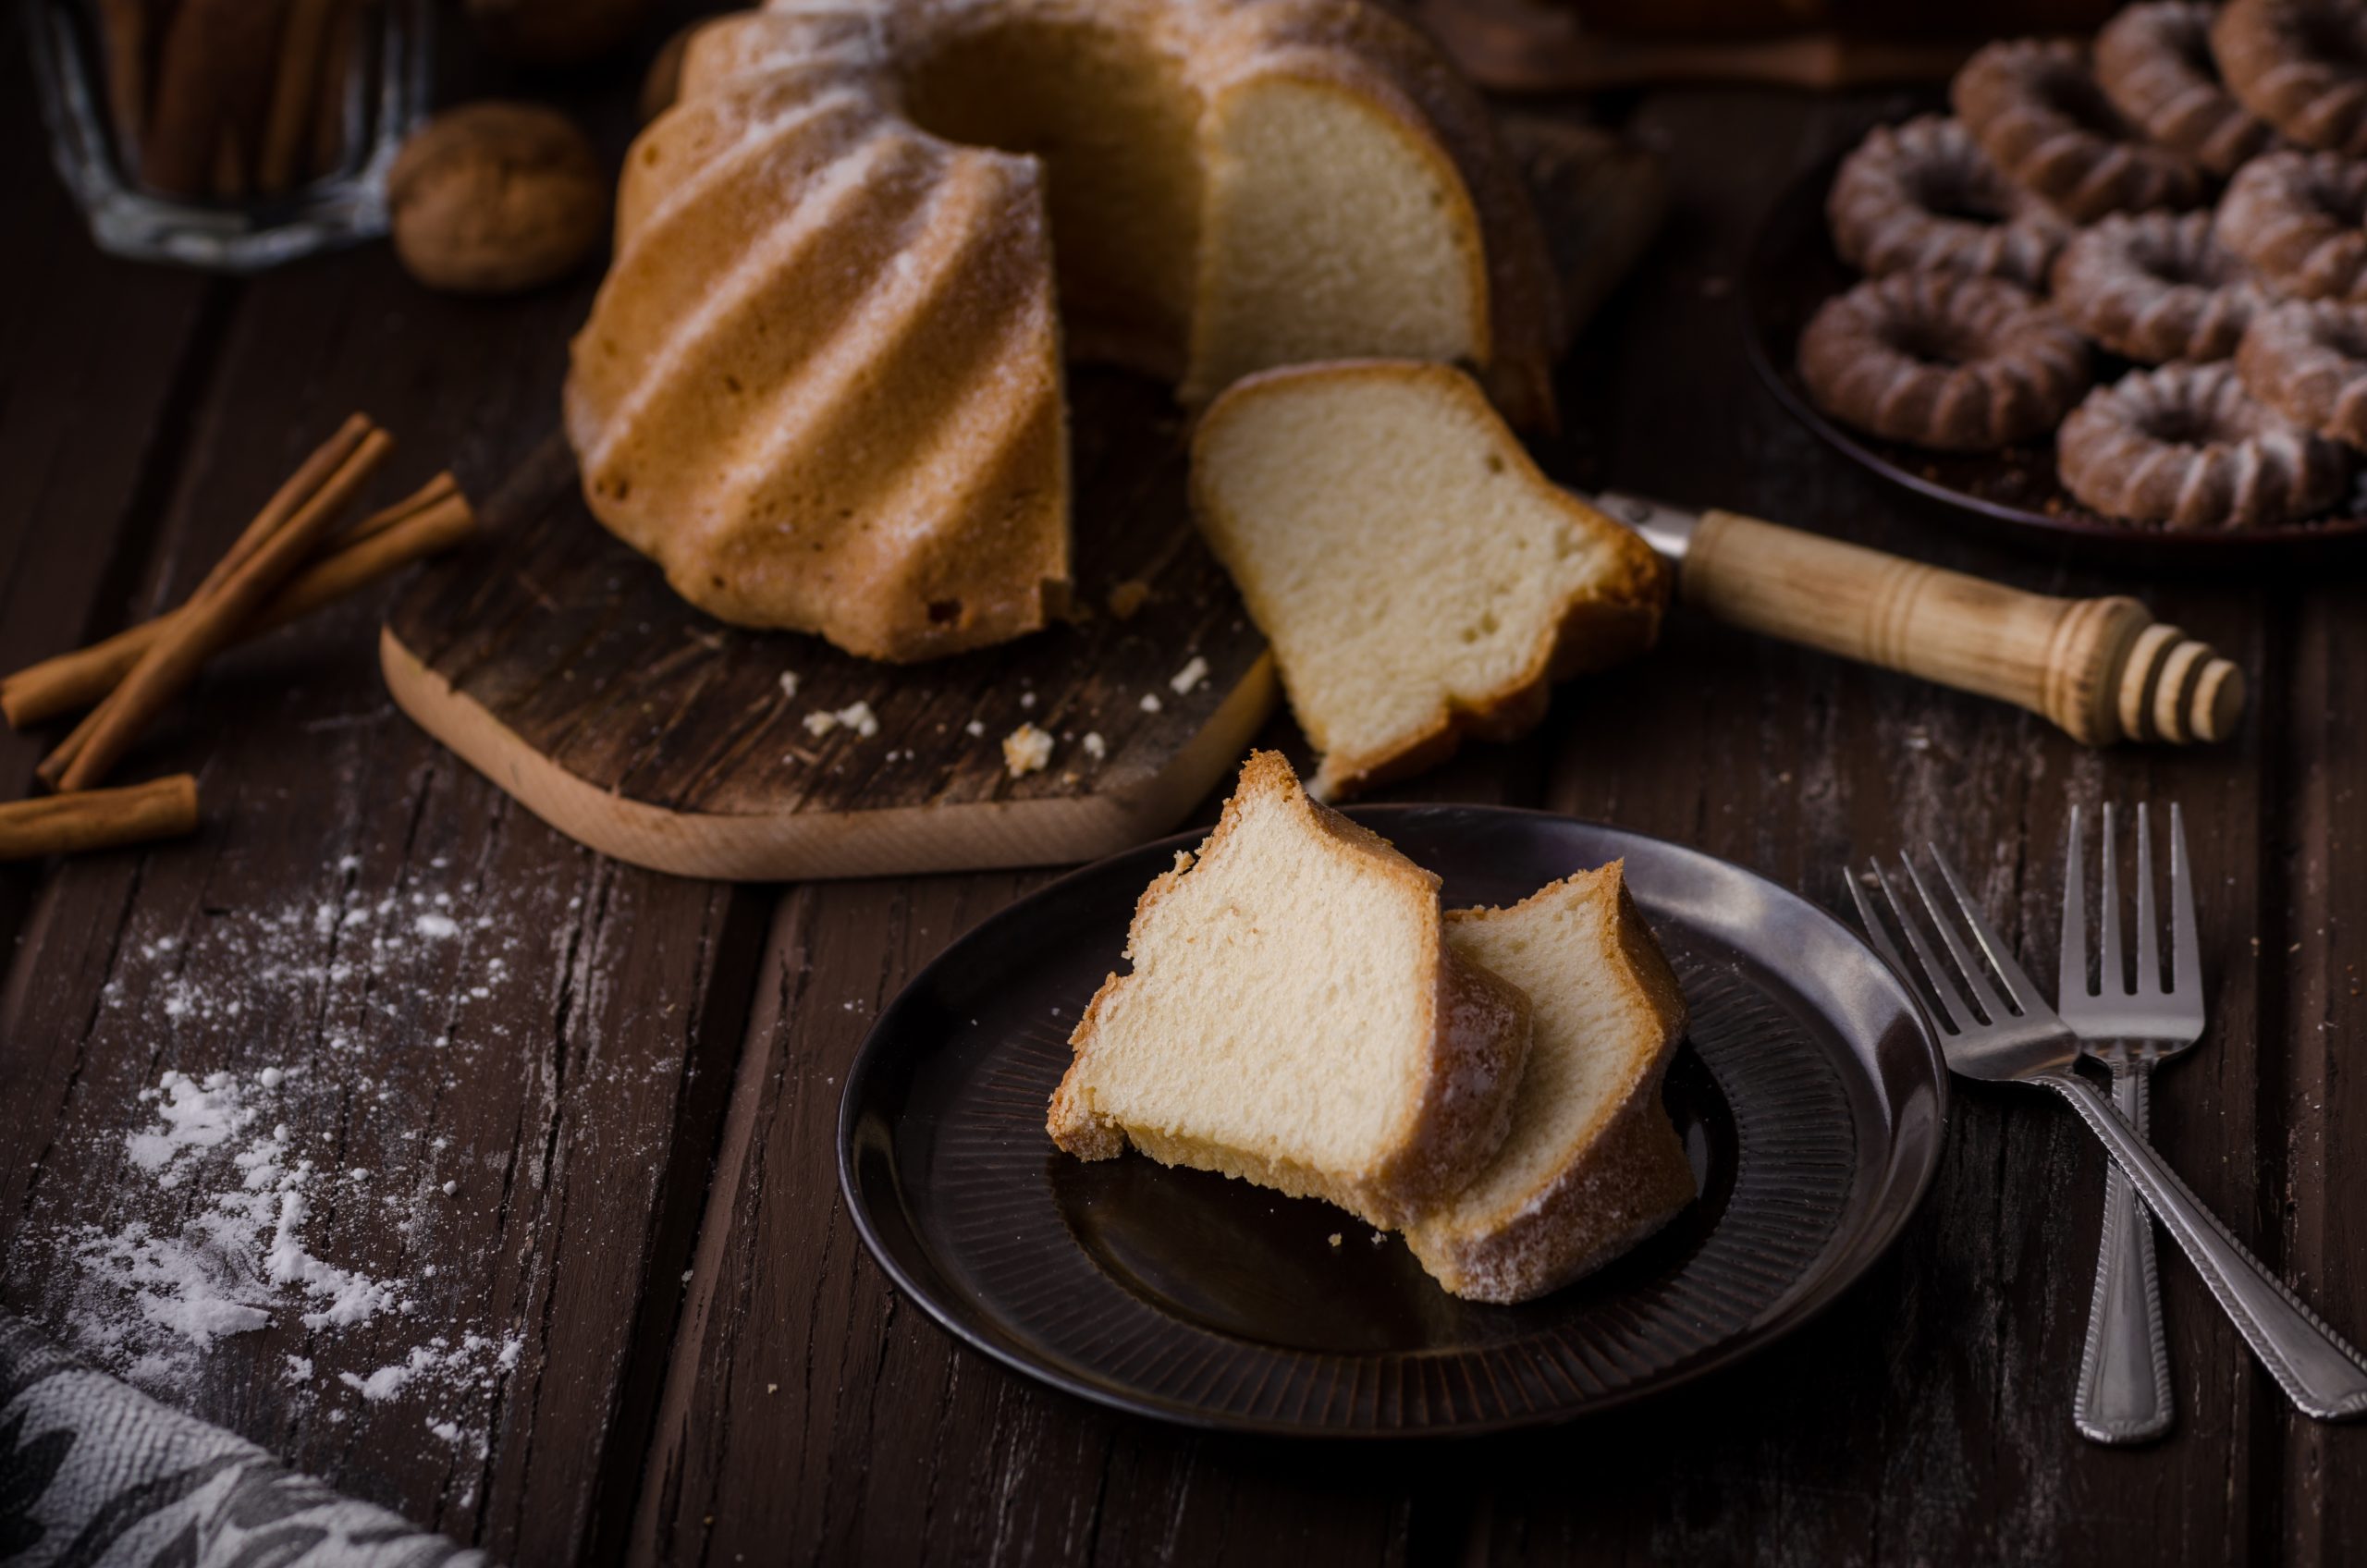
Chiaroscuro food photography necessitates the use of dark backgrounds and objects.
The viewer’s focus will be drawn away from the topic if the props are white or brilliantly colored. It might be hard to expose light dishes appropriately because of their strong contrasts.
The darker the hue, the more light is absorbed, creating shadows.
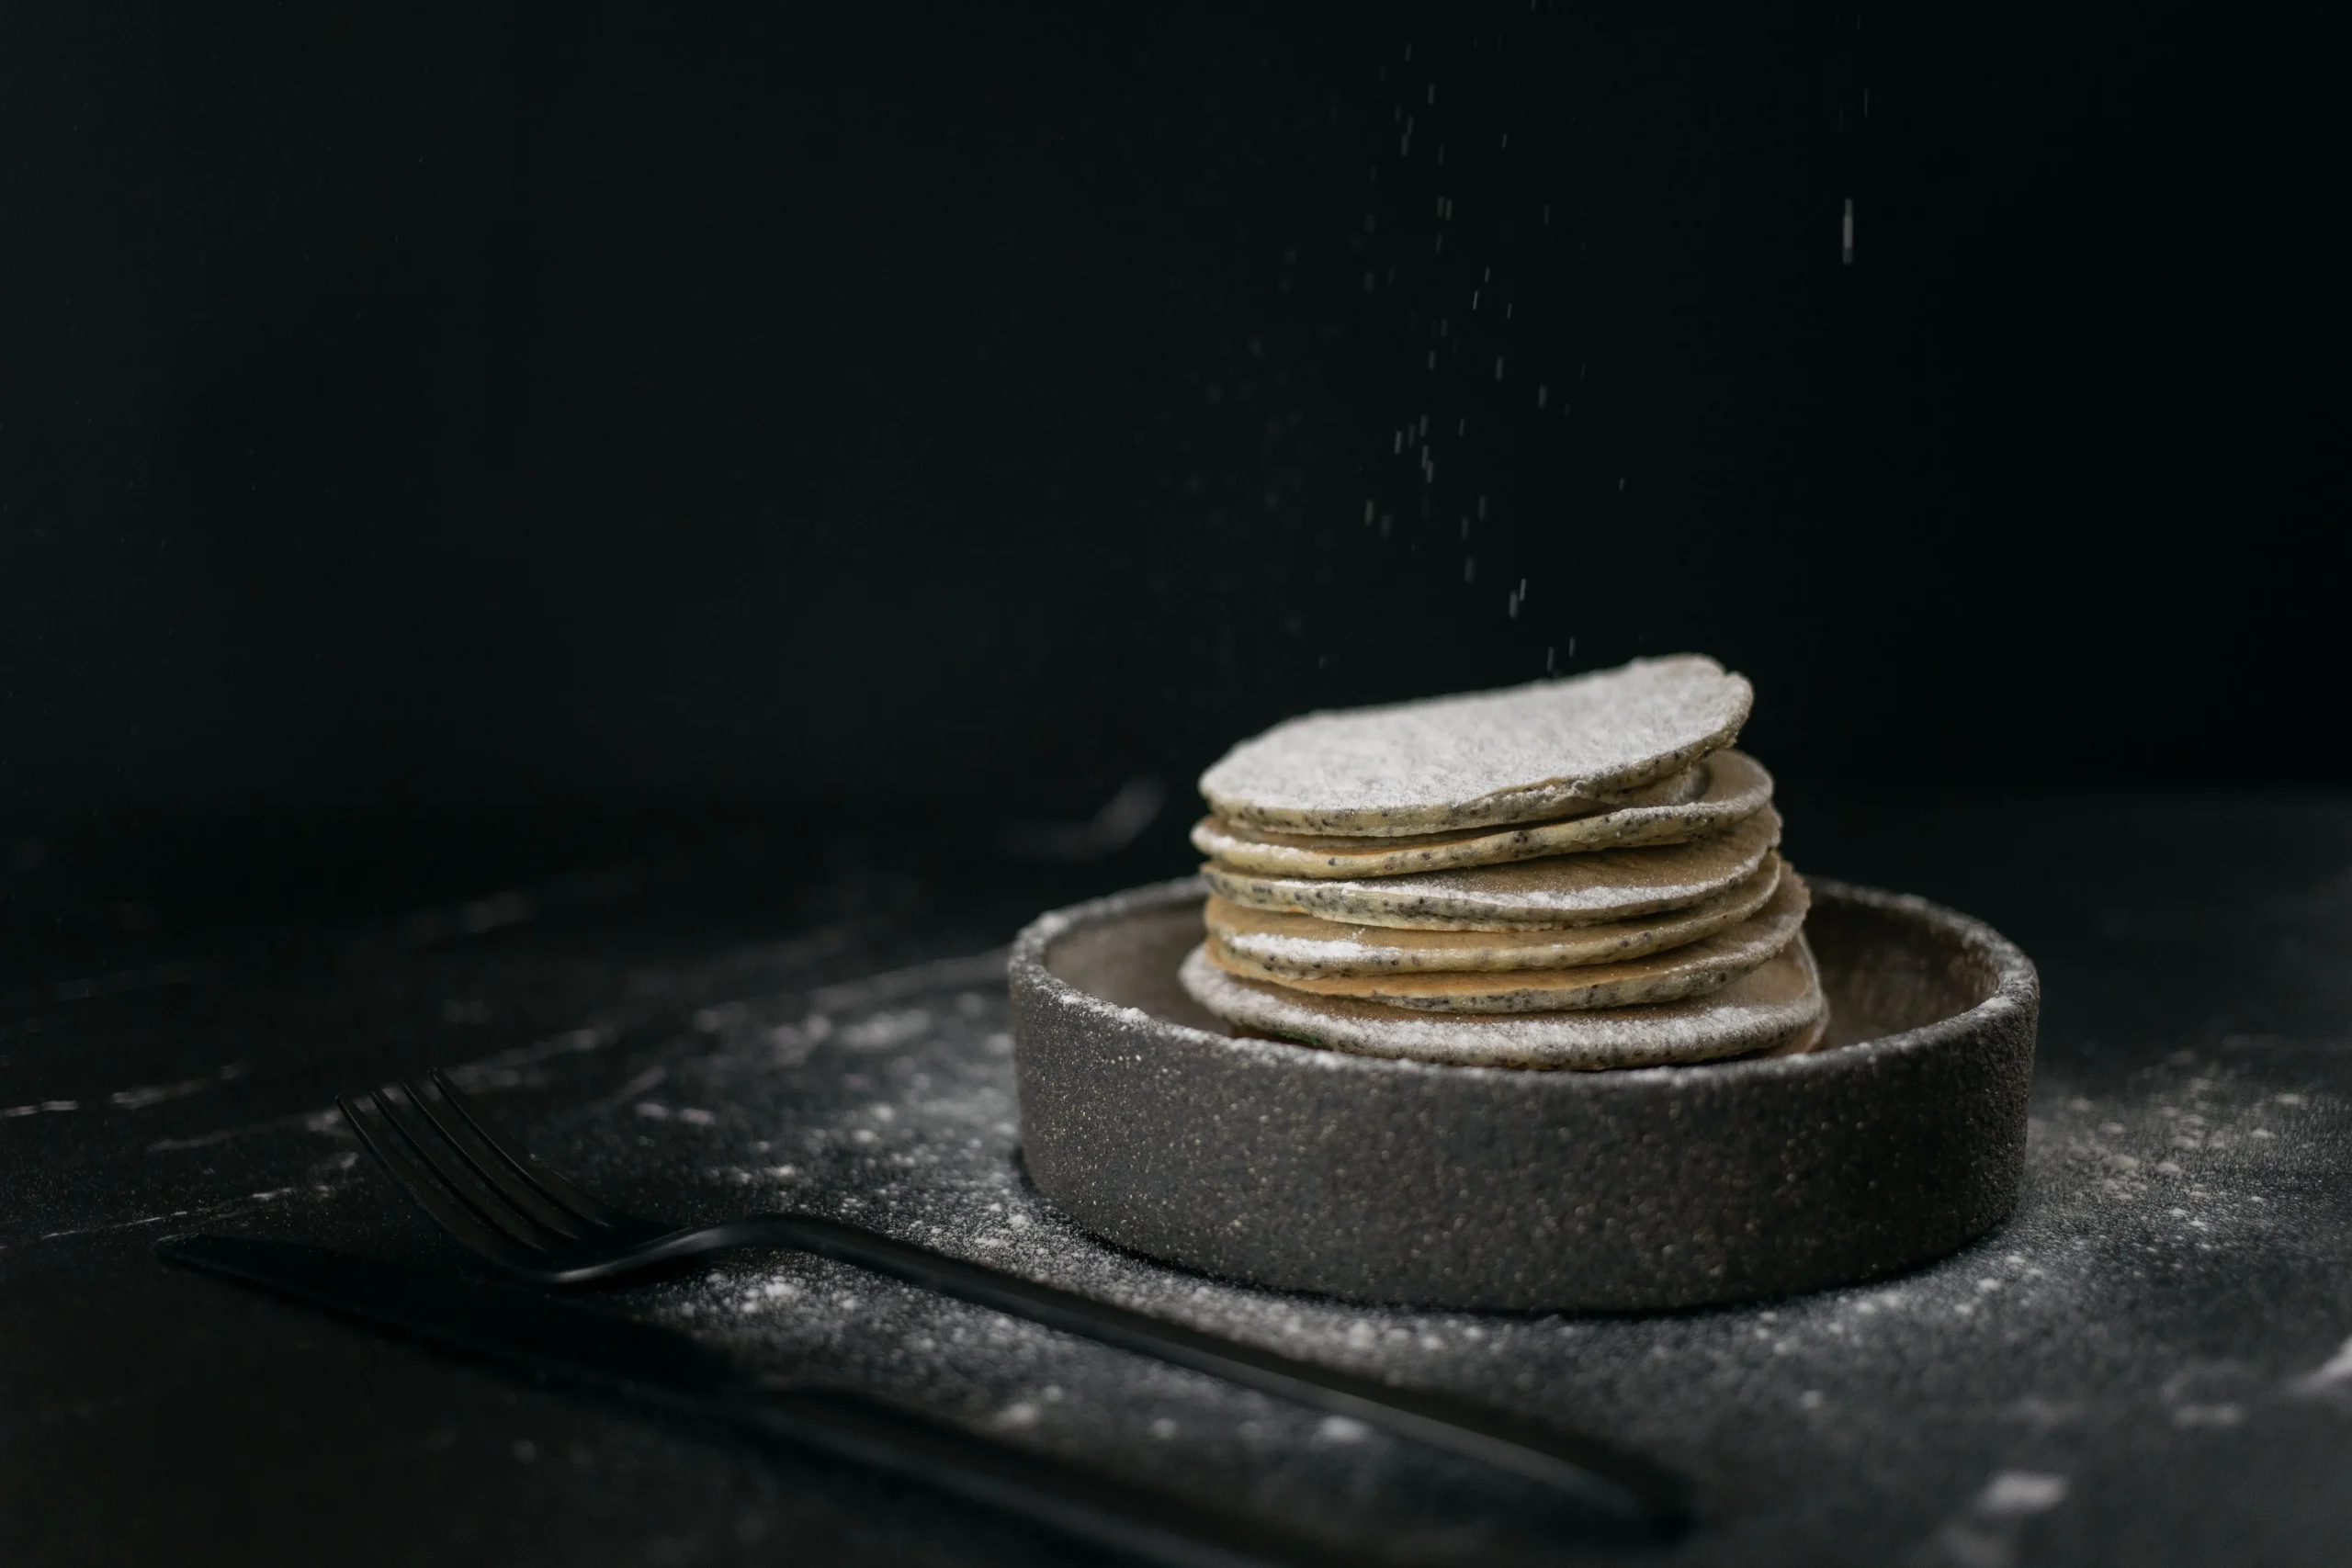
Avoid bright colors and go for dark, matt dishes in neutral tones.
Shiny plates reflect light, which may be a nuisance when photographing food. It can add interest to a culinary tale by using vintage utensils and objects with a patina.
Backgrounds should be in one of the following colors: deep grey, black, deep espresso, or dark blue.
Besides, you can try the following backdrops that work best for my Chiaroscuro photography;
Slate boards, old cookie sheets with flecks of color, and porcelain tile
As long as the wood isn’t too orange. An orange-colored object is magnified by a camera and competes with warm-colored food.
The crisp, clean look and feel of most food photographs are enhanced by using cool tones.
Softer shadows will occur if you choose light-colored backgrounds which reflect light.
• Some Insights
After the photography is over, you may want to experiment with post-processing your food images with Adobe Photoshop or Lightroom.
Creating presets will help you save time. If you need any guidance on lightroom presets, check out lightroom presets for product photography!
When working with pictures, adding vignettes, adjusting the light and shadows, or amplifying the atmosphere are all options for graphic designers.
Chiaroscuro needs a lot of skill and experimentation before being effectively used in food photography.
If you want to achieve various impacts, subtle shades of shading, visuals, and drama, you can experiment with the brightness and its nearness to the object.
Food blogs, Instagram, and even recipe books have used chiaroscuro photography (also known as “dark photography”) to create dramatic, gloomy photos.
How Do You Make Chiaroscuro Food Photographs (Step-By-Step Guide)?
1. Select a Dimly Lit Location
Locate a dimly lit area where you have complete control over the light’s intensity.
A picture studio would be great, but a darkly lit room can work just fine if you don’t have one.
Removing mirrors and other highly reflecting surfaces is also a good idea.
When photographing, keep in mind that light is reflected and bounced off surfaces.
2. Organize and Set Up Your Camera
The aperture, shutter, and ISO must be adjusted before moving on to the white balance or exposure triangle.
- It is necessary to alter the white balance by step 3’s light source selection.
- Daylight Light (5000K – 6500K) is the best option.
- Because noise is a problem in low-light photography, I prefer working using ISO 100 or 200.
- Take care with the photo’s exposure.
If you want to add additional impact and drama, you may underexpose the shot, but you lose contrast and brightness if you do this too much.
3. Take Into Account a Few More Aids
Photoshoots often need the use of photoshop tricks.
• Lightboxes
Lightboxes may be made from cardboard boxes with a black interior, and a tiny hole cut onto one side for light to seep through.
• Three Black Cardboard
A similar effect may be achieved using three black cardboard, with the light shining solely on the front side of the cardboard.
• Black Paper
Adjusting the location of the black paper also allows you to change the light’s intensity and direction, adding to the gloomy atmosphere.
• Props
Props are an essential part of food photography that should not be overlooked. Depending on how well you choose them, they may either enhance or detract from the final image.
• Dark Objects or Accessories
Using dark objects or accessories that don’t draw attention away from the dish itself is a great way to use chiaroscuro for food photography.
If you’re not happy with the results, keep experimenting with different accents.
4. Chiaroscuro Food Photography Style
Over the last several years, fine dark dining has been an increasingly popular trend.
Dark food shots look great, but they’re not so simple to make unless you have some insider information to draw from.
• Clean Style
The clean style is characterized by removing all unnecessary features and the precise placement of each piece of food.
• Organic Style
Organic style is when the meal is presented with stains and crumbs that seem like they were dropped on the plate as if they were still warm from the oven.
To avoid seeming sloppy yet maintaining an artistic flair, attempt to make the style appear informal and haphazard, but not sloppy.
Chiaroscuro Food Photography Ideas
Let’s check out some ideas to make beautiful chiaroscuro food photography.
• Underexposure is Not Anything to be Terrified about
Beginner photographers, particularly those just starting, tend to stress getting the correct exposure.
To avoid losing information in the shadows, don’t underexpose by more than one stop, yet doing so may provide noticeable results.
The darkening of the frame’s corners and the backdrop create a gorgeously ominous appearance.
You must position your major food items in a bright area of the frame to stay well-exposed even when the remainder of the picture darkens around them. However, be careful not to overexpose the highlights!
• Post-Processing is a Great Way to Add Interest to Your Gloomy Food Photographs
If you want to get the most outstanding results from your food photography, you’ll need to spend some time post-processing your photographs.
To strive for excellence in the meal:
- Employ color luminance sliders and global and local changes.
- Instead of utilizing the global exposure correction sliders, utilize the Highlights, Shadow, Whites, and Blacks sliders.
- Think about using adjustment brushes, graded filters, or radial filters to make more focused modifications to your picture.
Finally,
Photography of gloomy and melancholic food may be challenging. Unlike light and airy photographs, it needs substantial preparation to get the desired results. It’s also necessary to be open to new ideas to progress as an artist. Using chiaroscuro photos might help you get this effect.
Let’s see what we can learn by trying it out. Discovering the principles of dark food photography will astound you.
Justin Parker is a professional photographer and has been in the industry since 2007. He attended the University of Georgia. Justin combines his passion for photography and his interest in writing to give life to this blog which talks about photography in order to help and inspire young photographers.