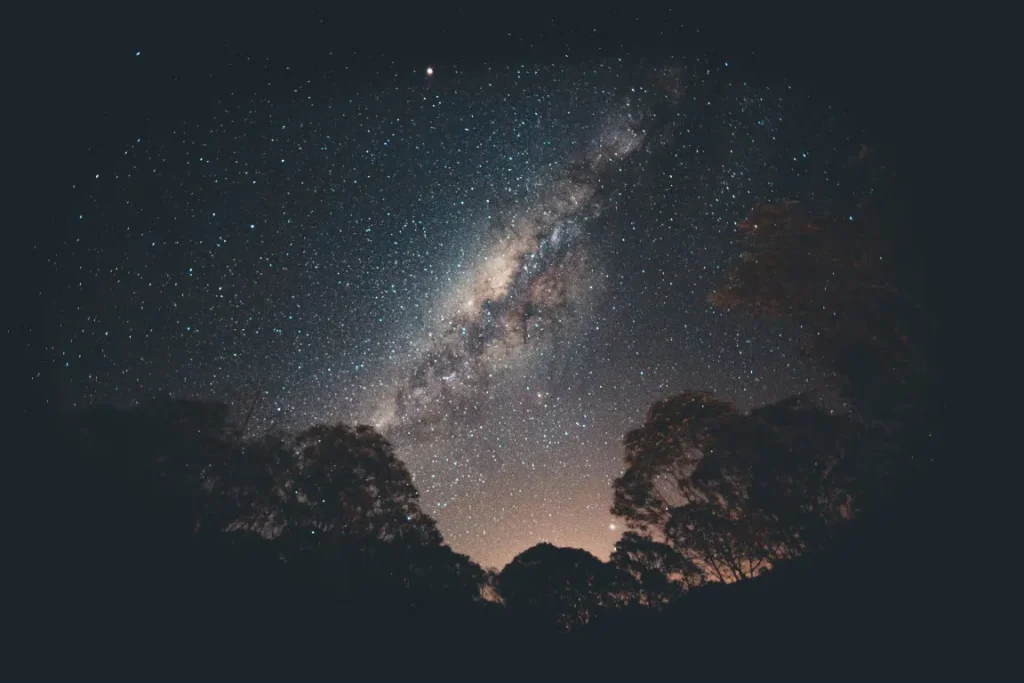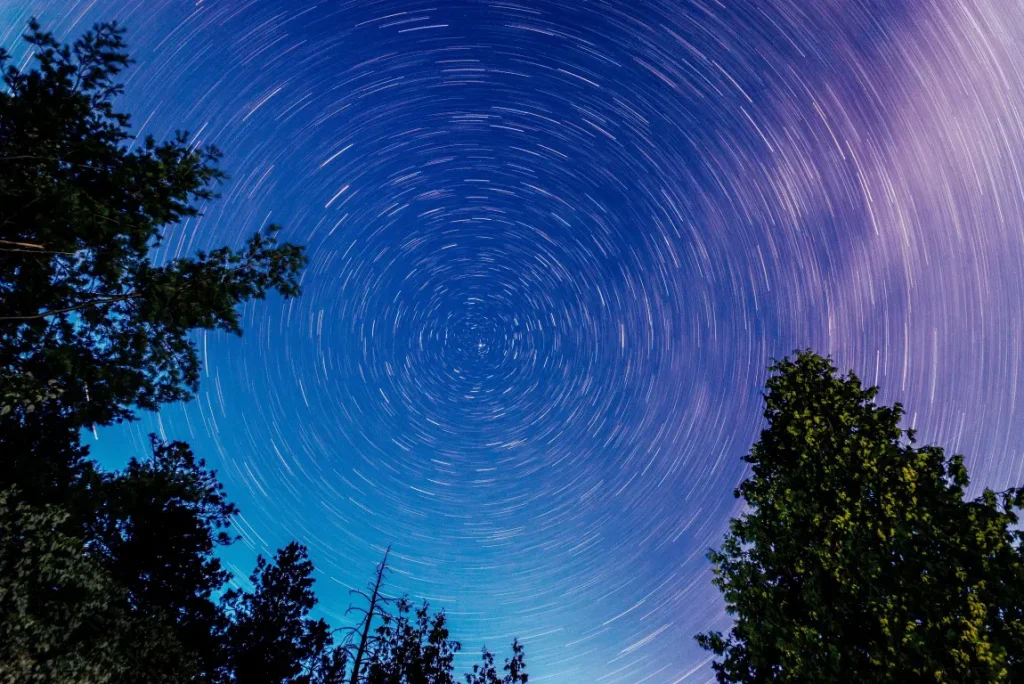
Long-exposure star trail photography is a beautiful and captivating form of photography. It showcases the night sky in a way that is both stunning and awe-inspiring.
With this technique, photographers use long exposure times to capture the movement of the stars across the sky, resulting in stunning images that feature vibrant trails of light.
In this article, I hope to reveal an overview of the equipment, techniques, tips needed to capture stunning star trail shots, and more.
Let’s dive right in
Equipment for Long Exposure Star Trail Photography
Well, equipment is an essential aspect of long-exposure star trail photography, as well as it can greatly impact the quality and outcome of your images.
Here I will discuss the key pieces of equipment you need to capture stunning star trails.
Camera
A digital camera with manual control settings is great for star trail photography.
Ideally, you should choose a camera that allows for long exposure times, has a low noise sensor, and can shoot in RAW format. This will give you more flexibility and control over your images during post-processing.
According to my experience, I recommend a full-frame camera such as NikonZ7. If you are interested, you can check the latest price of Nikon Z7.
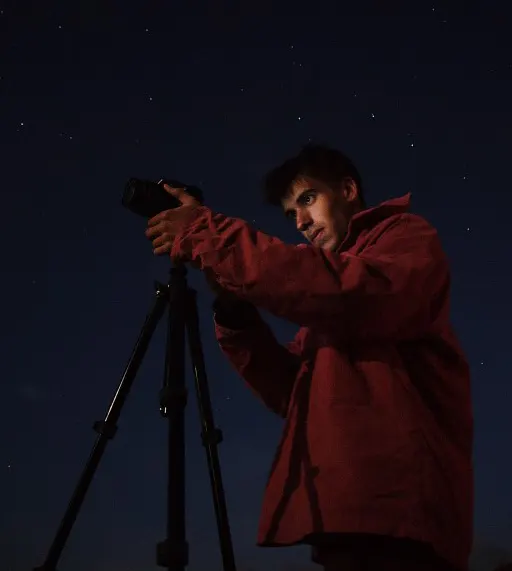
Tripod
Long-exposure photography requires a robust tripod to keep your camera steady and minimize blurriness or camera shake during long exposure intervals.
Lens
For star trail photography, a wide-angle lens is suitable because, it can capture a wide field of view and more stars in your shot.
According to my knowledge, I can say that a fast lens with a wide aperture (e.g., f/2.8 to f/5.6) is great. It allows you to capture plenty of light into your camera while decreasing exposure times. As well as it gives you a brighter trail.
If you want to know more about lenses. I already have an article on the best astrophotography lenses. You can read it and gain knowledge.
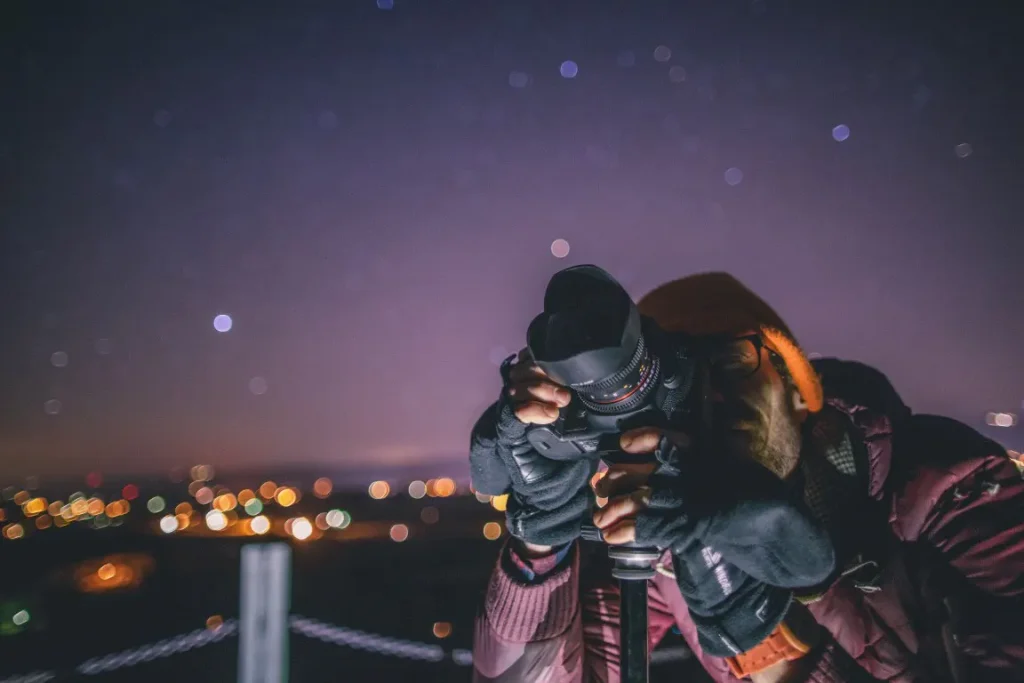
Remote Shutter Release
A remote shutter release is a useful device that allows you to trigger the shutter of your camera without physically touching it. Actually, this can help to reduce camera shake and increase image sharpness.
intervalometer
An intervalometer is a device that allows you to control the exposure time of your camera, set intervals, and capture a series of images automatically.
When it comes to long exposure astrophotography this device is very useful as it allows you to capture a series of images over a long period of time and then stack them together to create the final stunning star trail image.
Setting Up for Long Exposure Star Trail Photography
Here, I hope to discuss selecting the right location, composing your shot, and setting up your camera and equipment to grab fantastic star trail images.
So let’s dive in
Location
Do you know choosing the right location is key to capturing stunning star trail images?
Therefore, look for a location that is far away from light pollution, as light pollution can greatly impact the quality and visibility of your stars.
A clear and dark sky with minimal light pollution will provide the best suit for star trail photography.
I avoid shooting star trails during a full moon because the light will overpower the starlight in a matter of minutes.
And also don’t forget to choose a clear night or you won’t actually be able to see any stars!
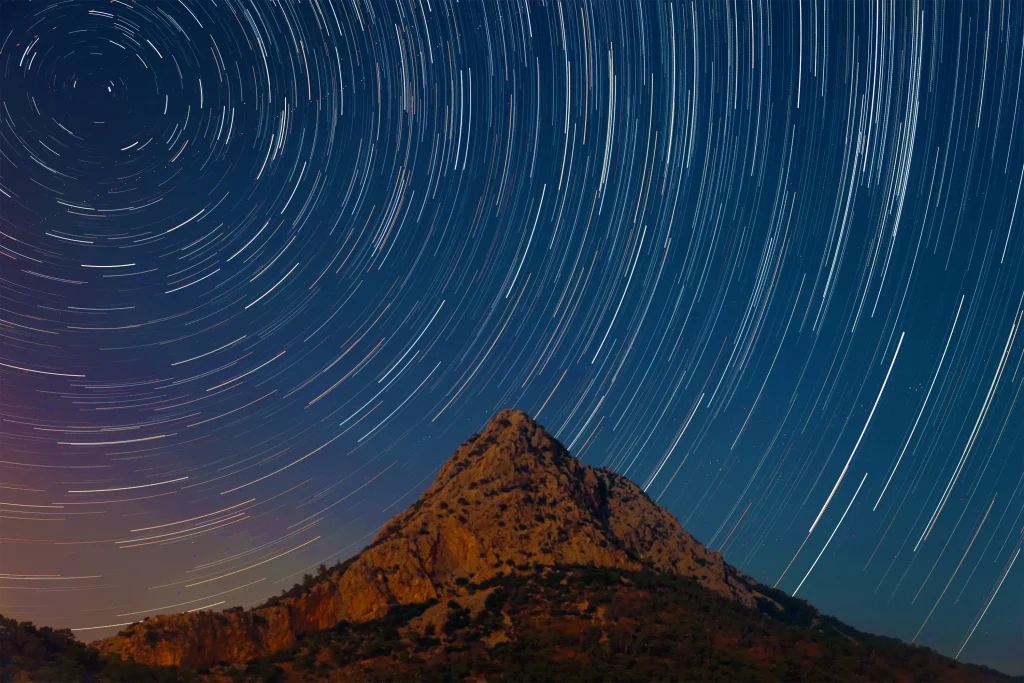
Composing your shot
When composing your shot, consider the direction of the stars and choose a foreground that complements your star trail image.
But, be careful to place them too close though or they will be out of focus thanks to the wide aperture.
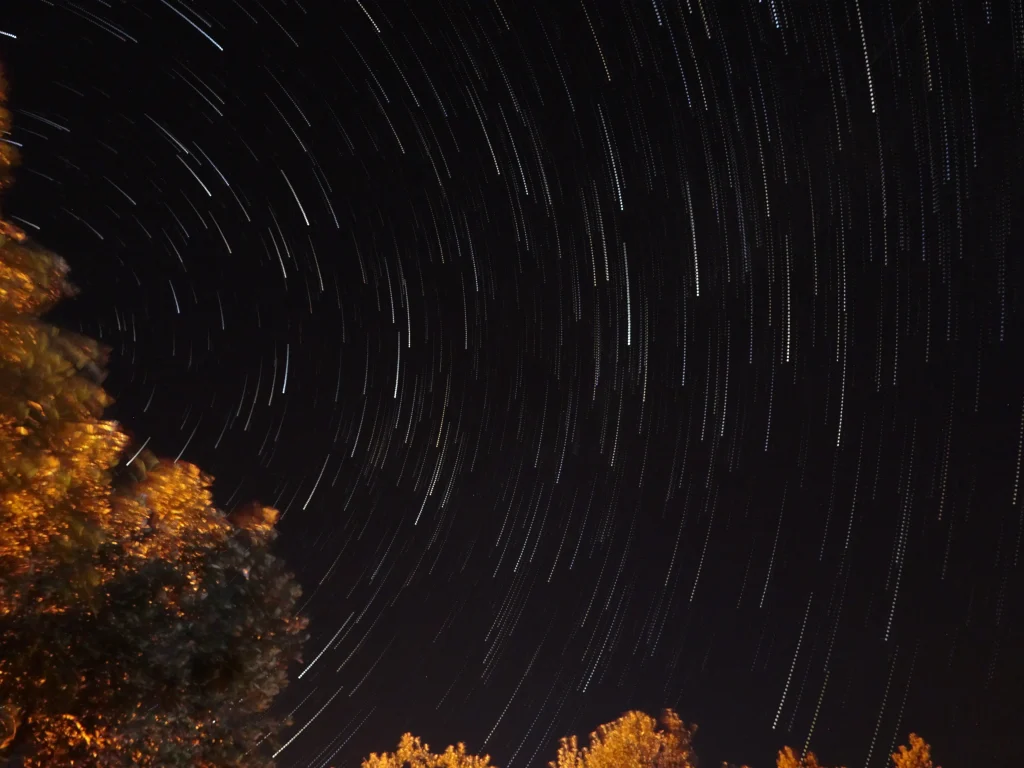
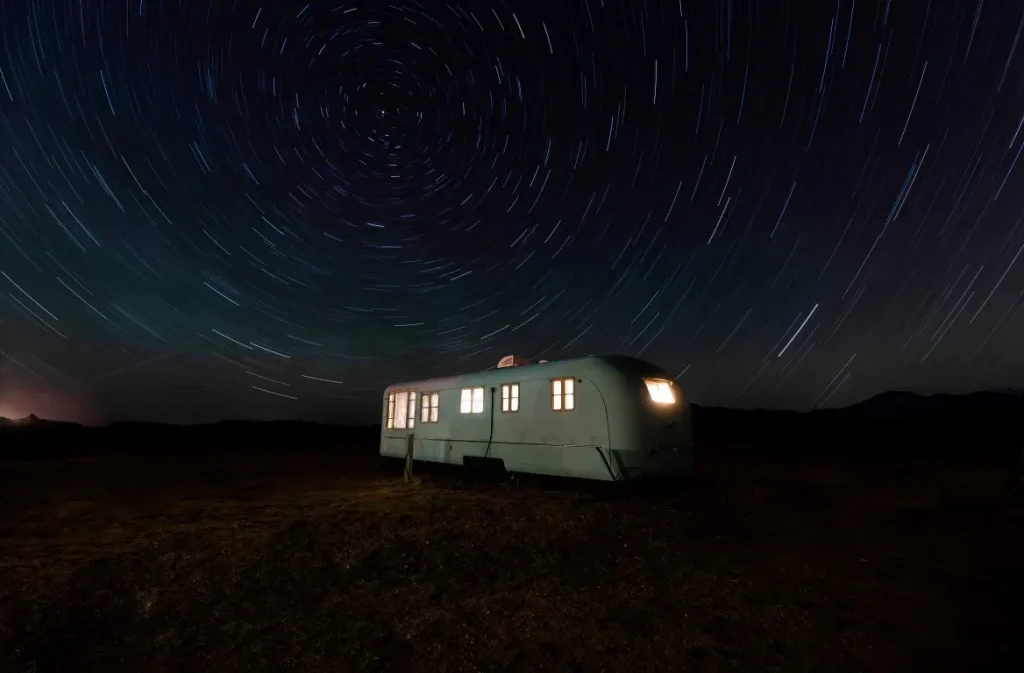
A recognizable landmark, such as a mountain or tree, can add depth and interest to your image.
Camera Settings
Set your camera to manual mode and adjust the shutter speed, aperture, and ISO to suit your scene to capture star trails.
A slow shutter speed of several minutes is typically used to capture star trails. While a wide aperture (e.g. f/2.8) and low ISO (e.g. ISO 400) will open to more light into your camera and reduce noise.
Tripod placement
Once you have composed your shot, the next is to set up your tripod and mount your camera on it.
In this step, make sure the tripod is level and sturdy, and use a remote shutter release to trigger your camera’s shutter if possible, to reduce the risk of camera shake.
Yes, You Can do Single Exposure Star Trails Photography
Star trails are traditionally captured by shooting many photographs of the sky in rapid succession over many hours.
Modern DSLR cameras also support you to take a single exposure of an extended length of 30 minutes or more.
But many photographers prefer to take multiple shots at 30 seconds each and stack them together.
This method removes the possibility of shaky exposures caused by wind or bumping against the setup while the shutter is open
Very Common Challenges and How to Overcome Them
- camera shaking
When photographing star trails, camera shake is a regular problem. A sluggish shutter speed, wind, or simply moving the camera while taking the photo can all create this.
To overcome this, use a tripod that is solid and stable. You can also take the shot without touching the camera by using a remote shutter release or self-timer.
- Noise
When shooting in low light circumstances, such as when catching star trails, noise might be an issue.
Set your ISO to a low range and use a wide aperture to get more light into your camera to eliminate noise.
By the way, I have a guide about astrophotography noise reduction in this blog.
- Hot Pixels
When considering hot pixels, are overexposed, bright pixels that can show in your photograph, particularly when shooting with a high ISO or with a slow shutter speed.
To get rid of this, employ a dark frame subtraction approach, which entails taking a second exposure with the lens cover on to capture the heated pixels and then deleting this from the final image.
- Star trails that are not centered
Star trails that are not centered can be another problem when capturing long exposure star trails.
Using a polar alignment tool to align your tripod and camera with the north star you can overcome this scenario. This will help to ensure that your star trails are centered in your image.
- Foreground elements
Sometimes, foreground elements, such as trees or buildings, can disrupt the star trails in your image.
If you have to face this you should consider your composition carefully and try to keep foreground elements to a minimum.
- light pollution
When it comes to light pollution it can affect the brightness and clarity of your star trails.
To avoid this, you can consider shooting in a dark sky location away from light sources.
Alternatively, you can use a light pollution filter to reduce the effects of light pollution on your image.
Must-Known Tips and Tricks for Capturing Stunning Star Trail Images: Long Exposure
Bringing smooth to your star trail photography can be the key to making your images stand out among others
Therefore, I will share some tips and tricks that you can use to enhance your star trail images and create stunning results.
Now let’s get to it
- Experiment with Shutter Speed: Adjusting the shutter speed is an excellent technique to create unique and interesting star trail photographs. Use a slower shutter speed to create longer, more noticeable star trails, or a faster shutter speed to create more condensed dynamic trails.
- Use a Fast Lens: A fast lens has a wide aperture, often f/2.8 or greater. This permits more light into your camera, resulting in a cleaner image.
- Using a Wide Angle Lens will allow you to catch more of the night sky and include more stars in your photograph.
- Add Foreground Interest: Adding foreground interest to your star trail images, such as a landscape or a silhouette, can add depth and perspective.
- Use the Rule of Thirds: The rule of thirds is a photography composition technique that involves positioning your image’s subject along one of the intersecting lines of a grid divided into thirds. When photographing star trails, locate the center of the trails along one of the lines.
- Plan Your Shot: Planning your shot ahead of time will allow you to make the most of your time and achieve the desired results. As well as you consider the location, the time of year, the moon phase, and any other conditions that have the ability to impact on your photograph.
- Post-Processing: Do you know that an important aspect of star trail photography is post-processing? You can improve the appearance of your image by using tools such as Adobe Photoshop or Lightroom.
Conclusion
Long exposure star trail photography is a fascinating and satisfying photographic genre that allows you to capture the beauty and wonder of the night sky.
I believe that if you follow the procedures mentioned in this article and use the tips and tricks I’ve offered, you’ll be able to make magnificent photographs that highlight the beauty of the stars.
Whether you are an experienced or inexperienced photographer, star trail photography is a terrific opportunity to explore the night sky and capture its beauty in a new and bring creativity.
So, I hope you found this article useful and enlightening in your quest to obtain scenic long exposure star trail photographs. Have fun shooting!
Justin Parker is a professional photographer and has been in the industry since 2007. He attended the University of Georgia. Justin combines his passion for photography and his interest in writing to give life to this blog which talks about photography in order to help and inspire young photographers.