Start with a shutter of around 1/125 and a tiny aperture such as f/8 and f/11 to acquire the most satisfactory results from your lens. Depending on where you are, this may be a little too dark, but you have the freedom to alter it to your liking.
How Photographing The Moon In Daylight
To properly shoot the Moon, you must first have a thorough knowledge of its characteristics.
Although professional astrophotographers typically use a large telescope to Shoot the Moon, a zoom lens of any focal length may provide excellent results.
By referring below tutorial video you can get some tips of moon photography.
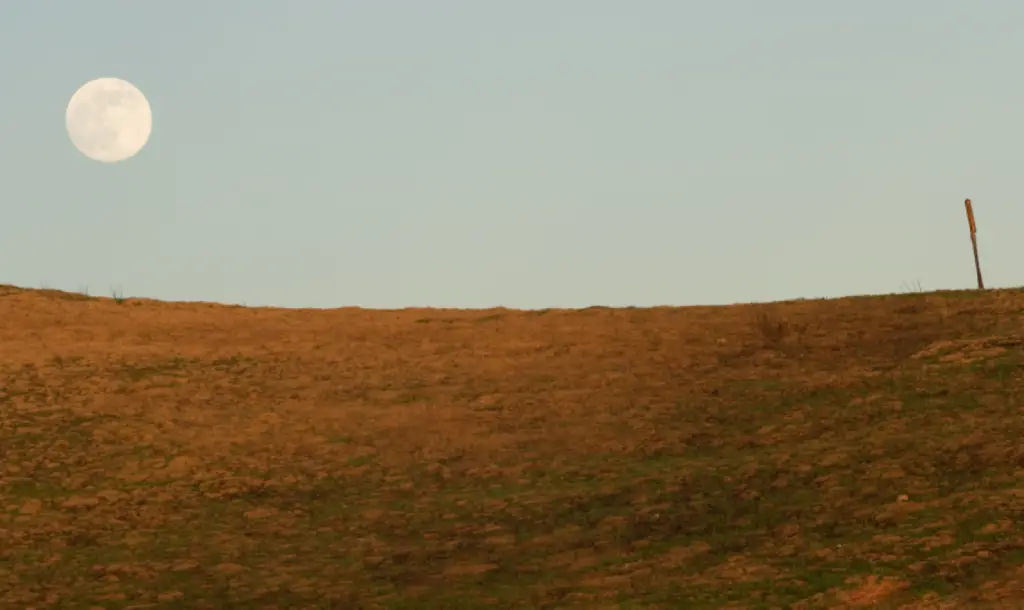
Making the full Moon the entire picture’s focus is simply one method of lunar shooting; another is to use it as a solid supplement to a broad image.
- Equipment
You will need a DSLR, mirror less and bridge camera, a tripod, and a wide-angle or standard telephoto lens, such as someone with a 70-300mm variety and variability.
Even though you may utilize the timer on your camera, a remote strobe cable is recommended to avoid introducing vibrations into the shot.
- Using The Moon As A Focal Point
However, even if you may autofocus on the Moon’s rising or appearance right before dusk, you should focus manually.
Set the focus ring to infinity with your lens in manual focus mode. Finding the right focus point for your lens requires trial and error because most cameras can concentrate beyond infinity.
Try a few different settings and see which one works on the camera’s LCD screen. If you omit this step, you will not be able to get consistently crisp images of the Moon.
How To Get A Good Moonlight Exposure
Keep in mind that the Moon is brighter than you would think. There is, however, a difference between shooting the Moon alone and capturing it in conjunction with a foreground.
Set your camera at ISO 100 to ISO 200, f/5.6 to f/11, and 1/125sec to 1/250sec shutter speed to capture a superb Moon photo and nothing else. To achieve the best results, you will need to tweak these settings based on your camera’s capabilities and the precise phase of the Moon.
If you feel you want to know more about sharpness moon photography. You are really lucky because I have an article on how do I take sharp moon photos to enhance your knowledge.
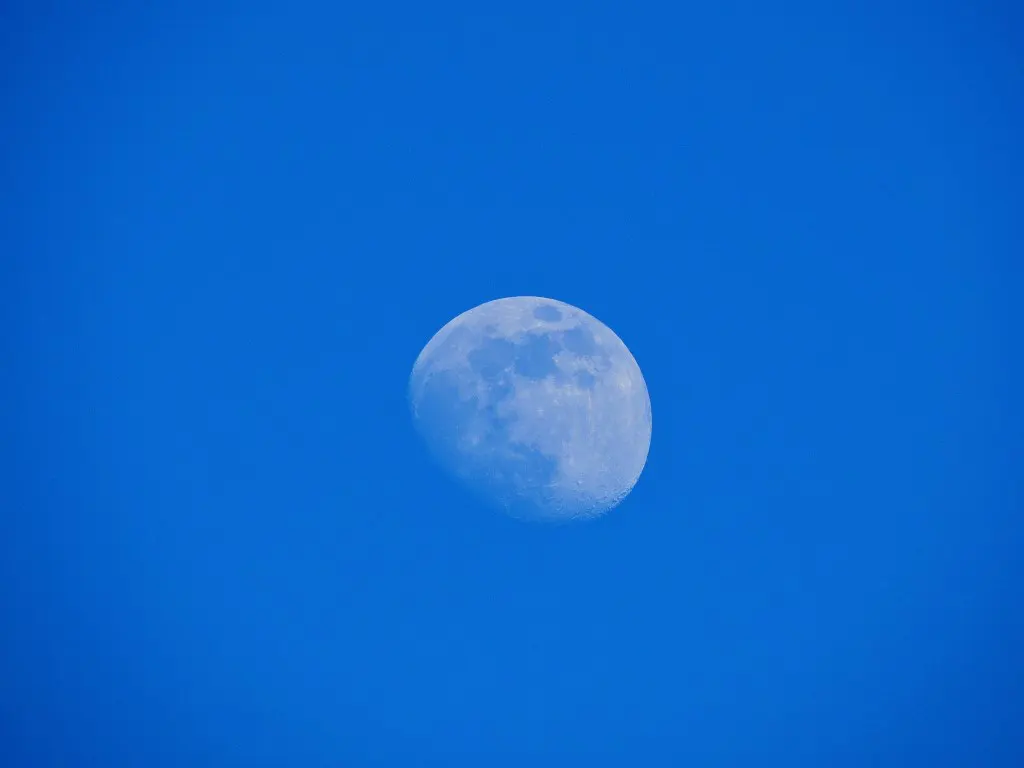
1. Can You Photograph The Moon During The Day?
It is not as dazzling as at night, so you can aim your camera towards the Moon & expose it in the daytime.
1/ISO at f/16 is the recommended shutter speed for well-lit objects while shooting in daylight with a clear sky, according to the “sunny 16 rule.”
You can see things as it truly is. The Moon will seem to be a shade of grey since it is made of rock.
You will need to overstretch by stops or two to capture the Moon as it looks to us. “Looney” (meaning Lunar) 11 Command: At f/11, the shutter should be one-tenth of 1/ISO.”
Due to cloud cover or limited visibility, you will have to adjust your exposure while photographing the Moon.
If you have trouble remembering these guidelines, choose a well-lit foreground and boost the Moon’s brightness until it seems white, whether in Photoshop or otherwise. Brackets are also necessary.
2. How Do You Shoot The Moon In Daylight (Step By Step Guide)?
One of the most rewarding—and challenging—projects for an outdoor photographer is photographing the Moon.
We have put up a list of tips for photographing the Moon during the day.
- Preparation For Photographing The Moon
Before shooting the Moon, select when you want to photograph the Moon and however you want to photograph it — close-ups or the Moon in a landscape.
Location scouting is the next step after you have made your decision.
In a dark region, you can easily take close-up photographs of the Moon from your garden, but if you want to capture the Moon plus a landscape, you will need to hunt for a suitable place.
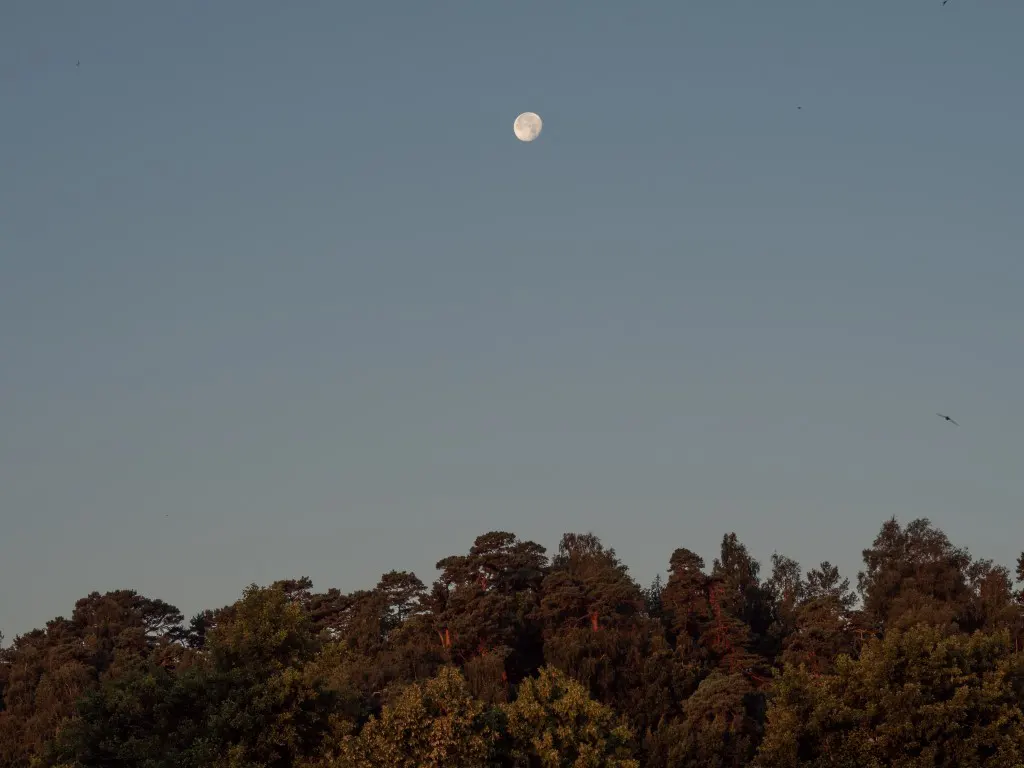
The most significant times to take shots of the Moon in landscapes are just before and just after its rising and setting.
Choose the best time of the month to photograph the Moon. This means you will have to choose a day and time. Watch the weather as well to capture the Moon in its full glory.
Even though dispersed clouds may assist produce stunning moon photos, they can also provide a hazy and chaotic image that is difficult to distinguish from the real thing.
- Moon’s Phases
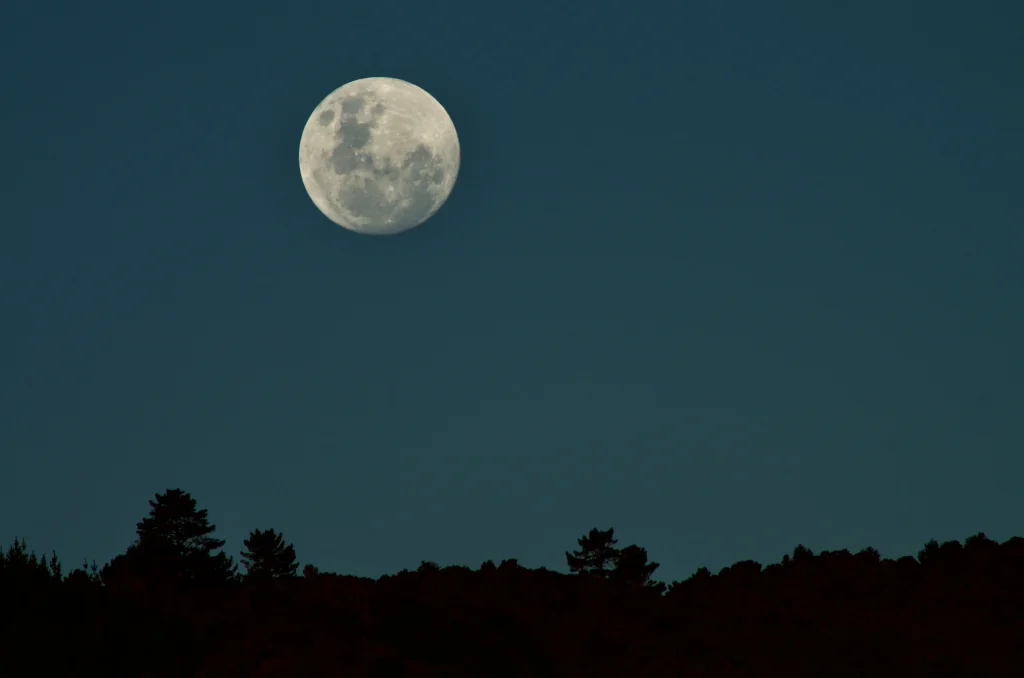
Most folks are drawn in by the magnificent sight of the full Moon. It’s a pity that lunar photographs taken during a full moon are uninteresting.
Why? Due to its complete illumination, the sky seems to have a low-contrast white disc above you.
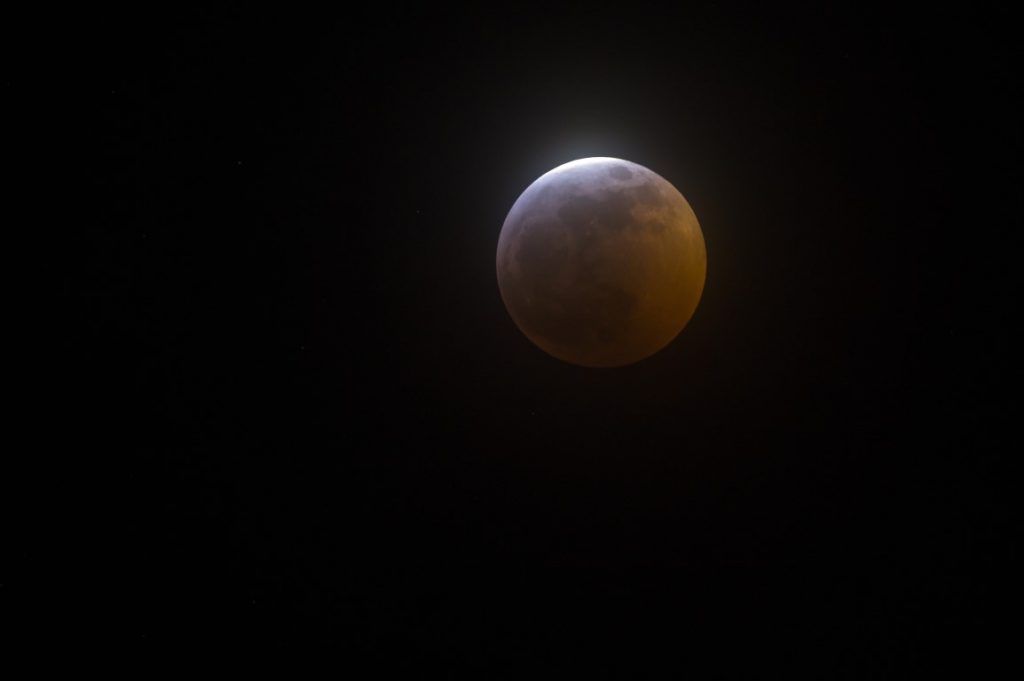
The partly lighted Moon’s craters and shadows are shown when the Moon is nearing or after a full moon.
According to this rule of thumb, a “full moon” is best photographed the night beforehand or the night following the actual full Moon, according to this rule of thumb.
In photography, gibbous, quarter, or crescent moon all have a place and may be aesthetically attractive and captivating.
The Moon is not packed every night, so do not restrict yourself by that (or near complete).
As a cautionary note, it is not easy to picture a little crescent moon due to the reduced area of a satellite visible to the naked eye.
A crescent moon overhead means a brighter sky and higher shutter speeds, which mean less motion, blur, and a clear shot of the crescent moon for the photographer.
High ISO photos on today’s digital cameras also assist keep the crescent crisp.
- Position Of The Moon
Consider the location of the Moon in the sky. You will get a better shot of the Moon when it’s high beyond the horizon when you’re just shooting it.
As a result, the reflection light has to travel farther through Earth’s atmosphere when the Moon sits lower on the horizon.
Regardless matter how far it is from the horizon, the location of the Moon in a landscape photograph is essential.
- Camera Lens
In landscape photography, the amount of the environment you wish to include in the frame will dictate the lens’s focal length.
As long as you have a full-frame camera and a 50mm lens, the Moon’s size in the shot will be about the same as it is when you look at it in the real world.
By the way if you want to know more about 50mm lens astrophotography, I have provided a guide on can you do astrophotography with a 50mm lens. You can read it to refresh your knowledge.
Using a wide-angle lens, the Moon will seem minor in your photograph.
With such a 200mm to 300mm lens, you can obtain decent results when photographing the Moon alone, but to honestly fill the frame, you will likely need a much longer telephoto lens, such as an extra-long teleconverter.
- Tripod
Image stabilization lenses and fast shutter speeds allow for handheld shots of the Full Moon with a 300mm lens—or longer—when the light is bright enough.
Handheld photographs of the Moon have been acquired by photographers using graphics 2000mm super-zoom cameras.
You will need a tripod to obtain the best results if you do not have a steady hand and a little electrical luck.
- Exposure
There are no hard-fast guidelines in terms of exposure for the Moon. Be prepared to adjust several charts as you interact with your celestial model in the sky above.
ISO First things first: Reflected sunlight allows you to use your camera’s native ISO while capturing a gibbous, quarter, and even giant crescent in the sky.
Even though you will most likely be shooting the moonlight at night, keep in mind that due to its brightness, you won’t need to crank up your camera’s ISO to compensate.
With more severe crescent moons and handheld lunar photography, you may need to increase the ISO.
When photographing the Moon as part of a landscape, you may consider adjusting your ISO to keep your aperture and shutter speed constant.
Conclusion
When it relates to capturing stunning images of the Moon, there is no magic formula. To acquire the best moon photography results, you need to practice, practice, and practice!
The best way to get started is to experiment with some of these ideas and see what else comes to mind. Make the most of your camera’s capabilities!
Justin Parker is a professional photographer and has been in the industry since 2007. He attended the University of Georgia. Justin combines his passion for photography and his interest in writing to give life to this blog which talks about photography in order to help and inspire young photographers.