How to take pictures of clothes to sell with an iPhone? Just make sure you know the tips and tricks and have the proper setup, lights, and equipment.
In this article, I’ll explore everything you need to know about taking next-level clothing pictures with your iPhone.
The Goal of Pictures When Selling Clothing
What is the goal of photos when selling clothes?
Simply, you want to showcase all the details of your dress to the one looking for a dress. The only way to do this is by using photos.
What if I could show you how to take killer pictures of clothes to sell with your iPhone? Yes, it’s true.
You do not always need a photography setup that will cost you an arm and a leg. An iPhone is equipped with the necessary features that will deliver excellent pictures.
Types of Pictures You Have To Plan Before Starting the Photoshoot
Every selling site has options to add multiple pictures of your products. I’ve found that capturing numerous pictures from various angles and sides has proven to be effective in boosting my sales.
The followings are my main focus areas. You can try them too.
• Front Side of the Clothes
The front is the main profile for any cloth. You should add multiple front-side pictures so that customers can become sure of what they are looking at.
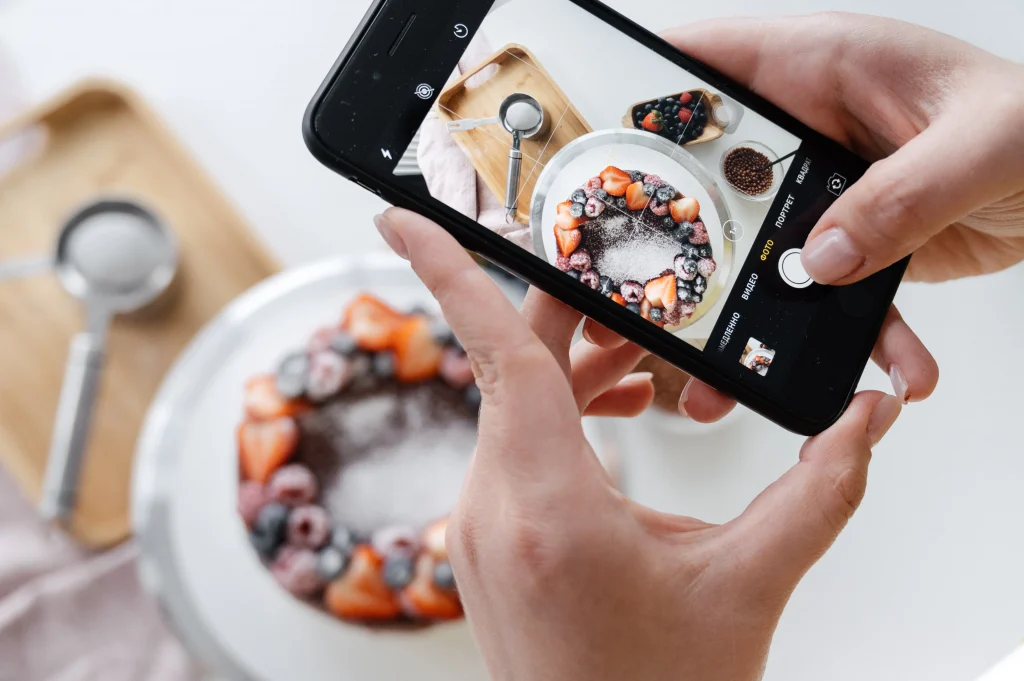
My tip: Take a few close pictures with your iPhone displaying any detailed work on your cloth.
Adding more pictures has its benefits. If you own a flipping business, customers can understand the condition of your product. Do I have to say, it will make them more confident to hit the checkout button?
• Back Side of the Clothes

If you want to give your customers a complete sense of your products, do not leave backside pictures.
My tip: Flip the clothes and capture them with your iPhone.
Make sure you take some close ones for more details.
• Showing Details of the Clothes
Apart from front and back photos, you can add more details like side pictures, showing the fabric materials, zippers, pockets, buttons if available, any care instructions, washing instructions, etc.
My tip: Experiment with different lighting setups and angles to highlight the features and details of your clothing products in your iPhone pictures.
Picture Setup
You can use a dummy or a hanger or take flat-lay pictures of your clothes. All of them can present your clothing pictures pretty well.
So, let’s see how you can take some fantastic pictures using the equipment.
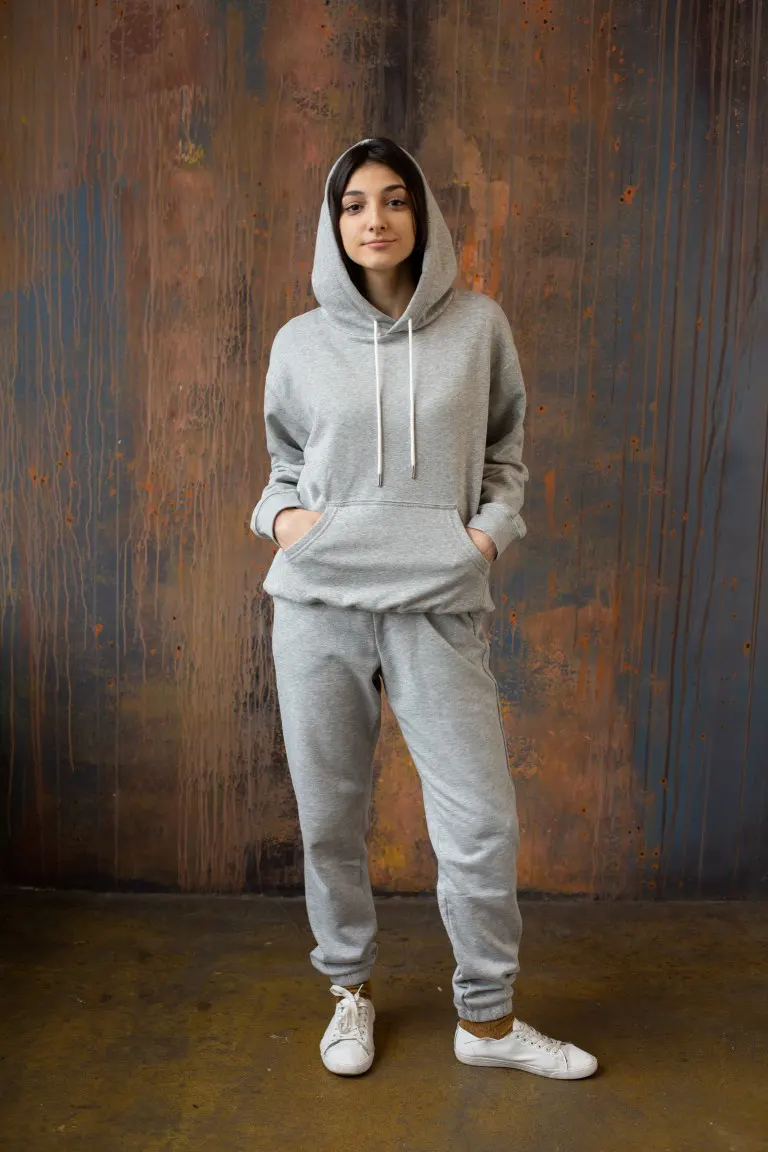
• Mannequin
If you want to capture professional pictures with your iPhone, you can invest in a mannequin. You will find many types of mannequins available at different prices. Make sure you order the right one that goes with your product.
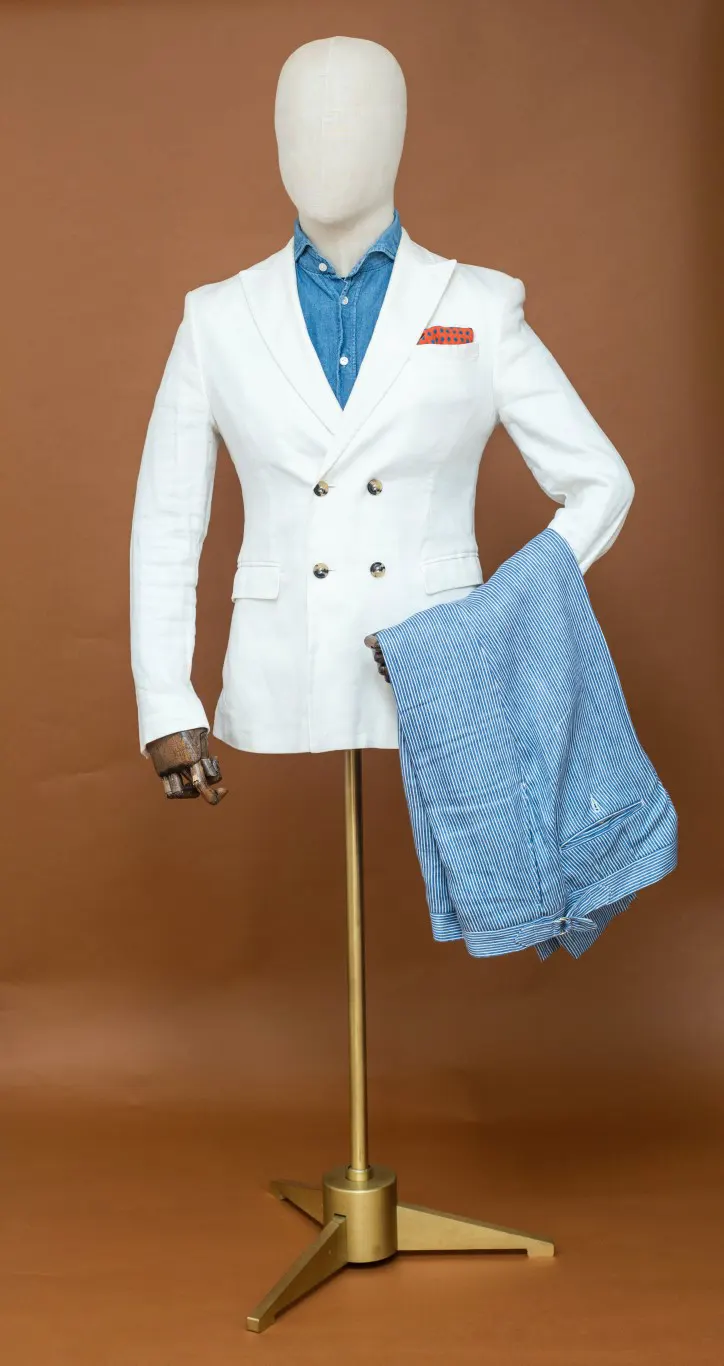
You can quickly put your dress on your mannequin and take some good pictures with your iPhone. You can easily slip your clothes on and off.
Mannequins are best for clothes like tops, shirts, bras, and lingerie. The incredible thing about a mannequin is that you can take professional pictures without a model.
By the way, you can refer to the article on how you photograph clothes with mannequin 3D effects on your clothes.
• Hanger
Hanger is another excellent way to take pictures of your clothes to sell. This simple option will allow you to capture your iPhone real quickly. It works perfectly for flappy dresses, and those are loose.
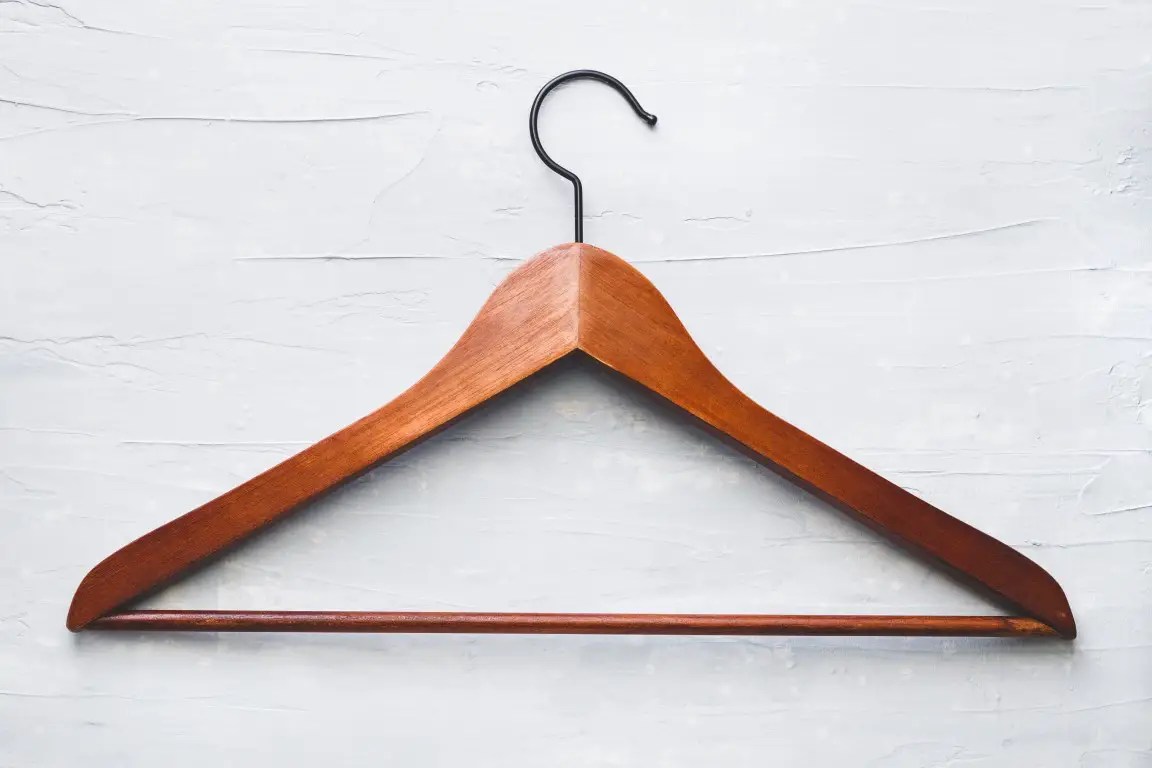
Wooden hangers like the one in the picture above are best for clothing photography.
They look aesthetic in photos, especially with iPhones. Make sure you add a nice background to make your clothing pictures look gorgeous.
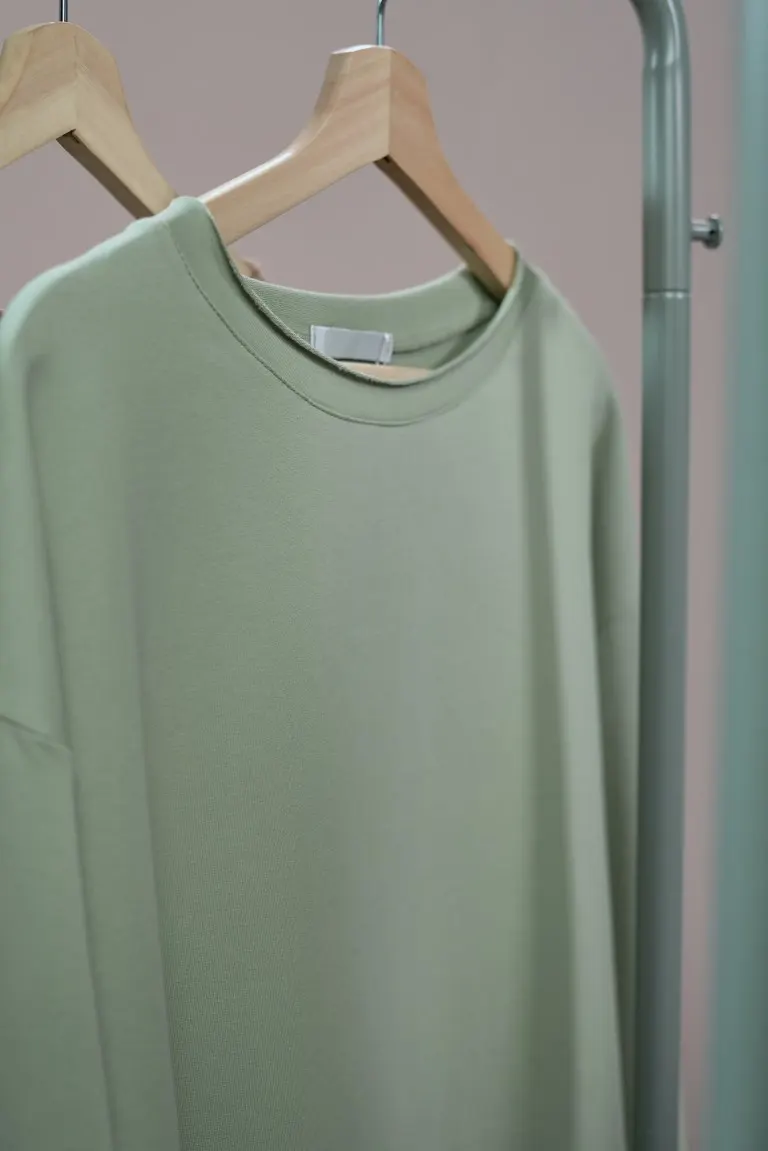
As shown in the above photograph, you can try hanging clothes and try to shoot detailed photographs of clothes.
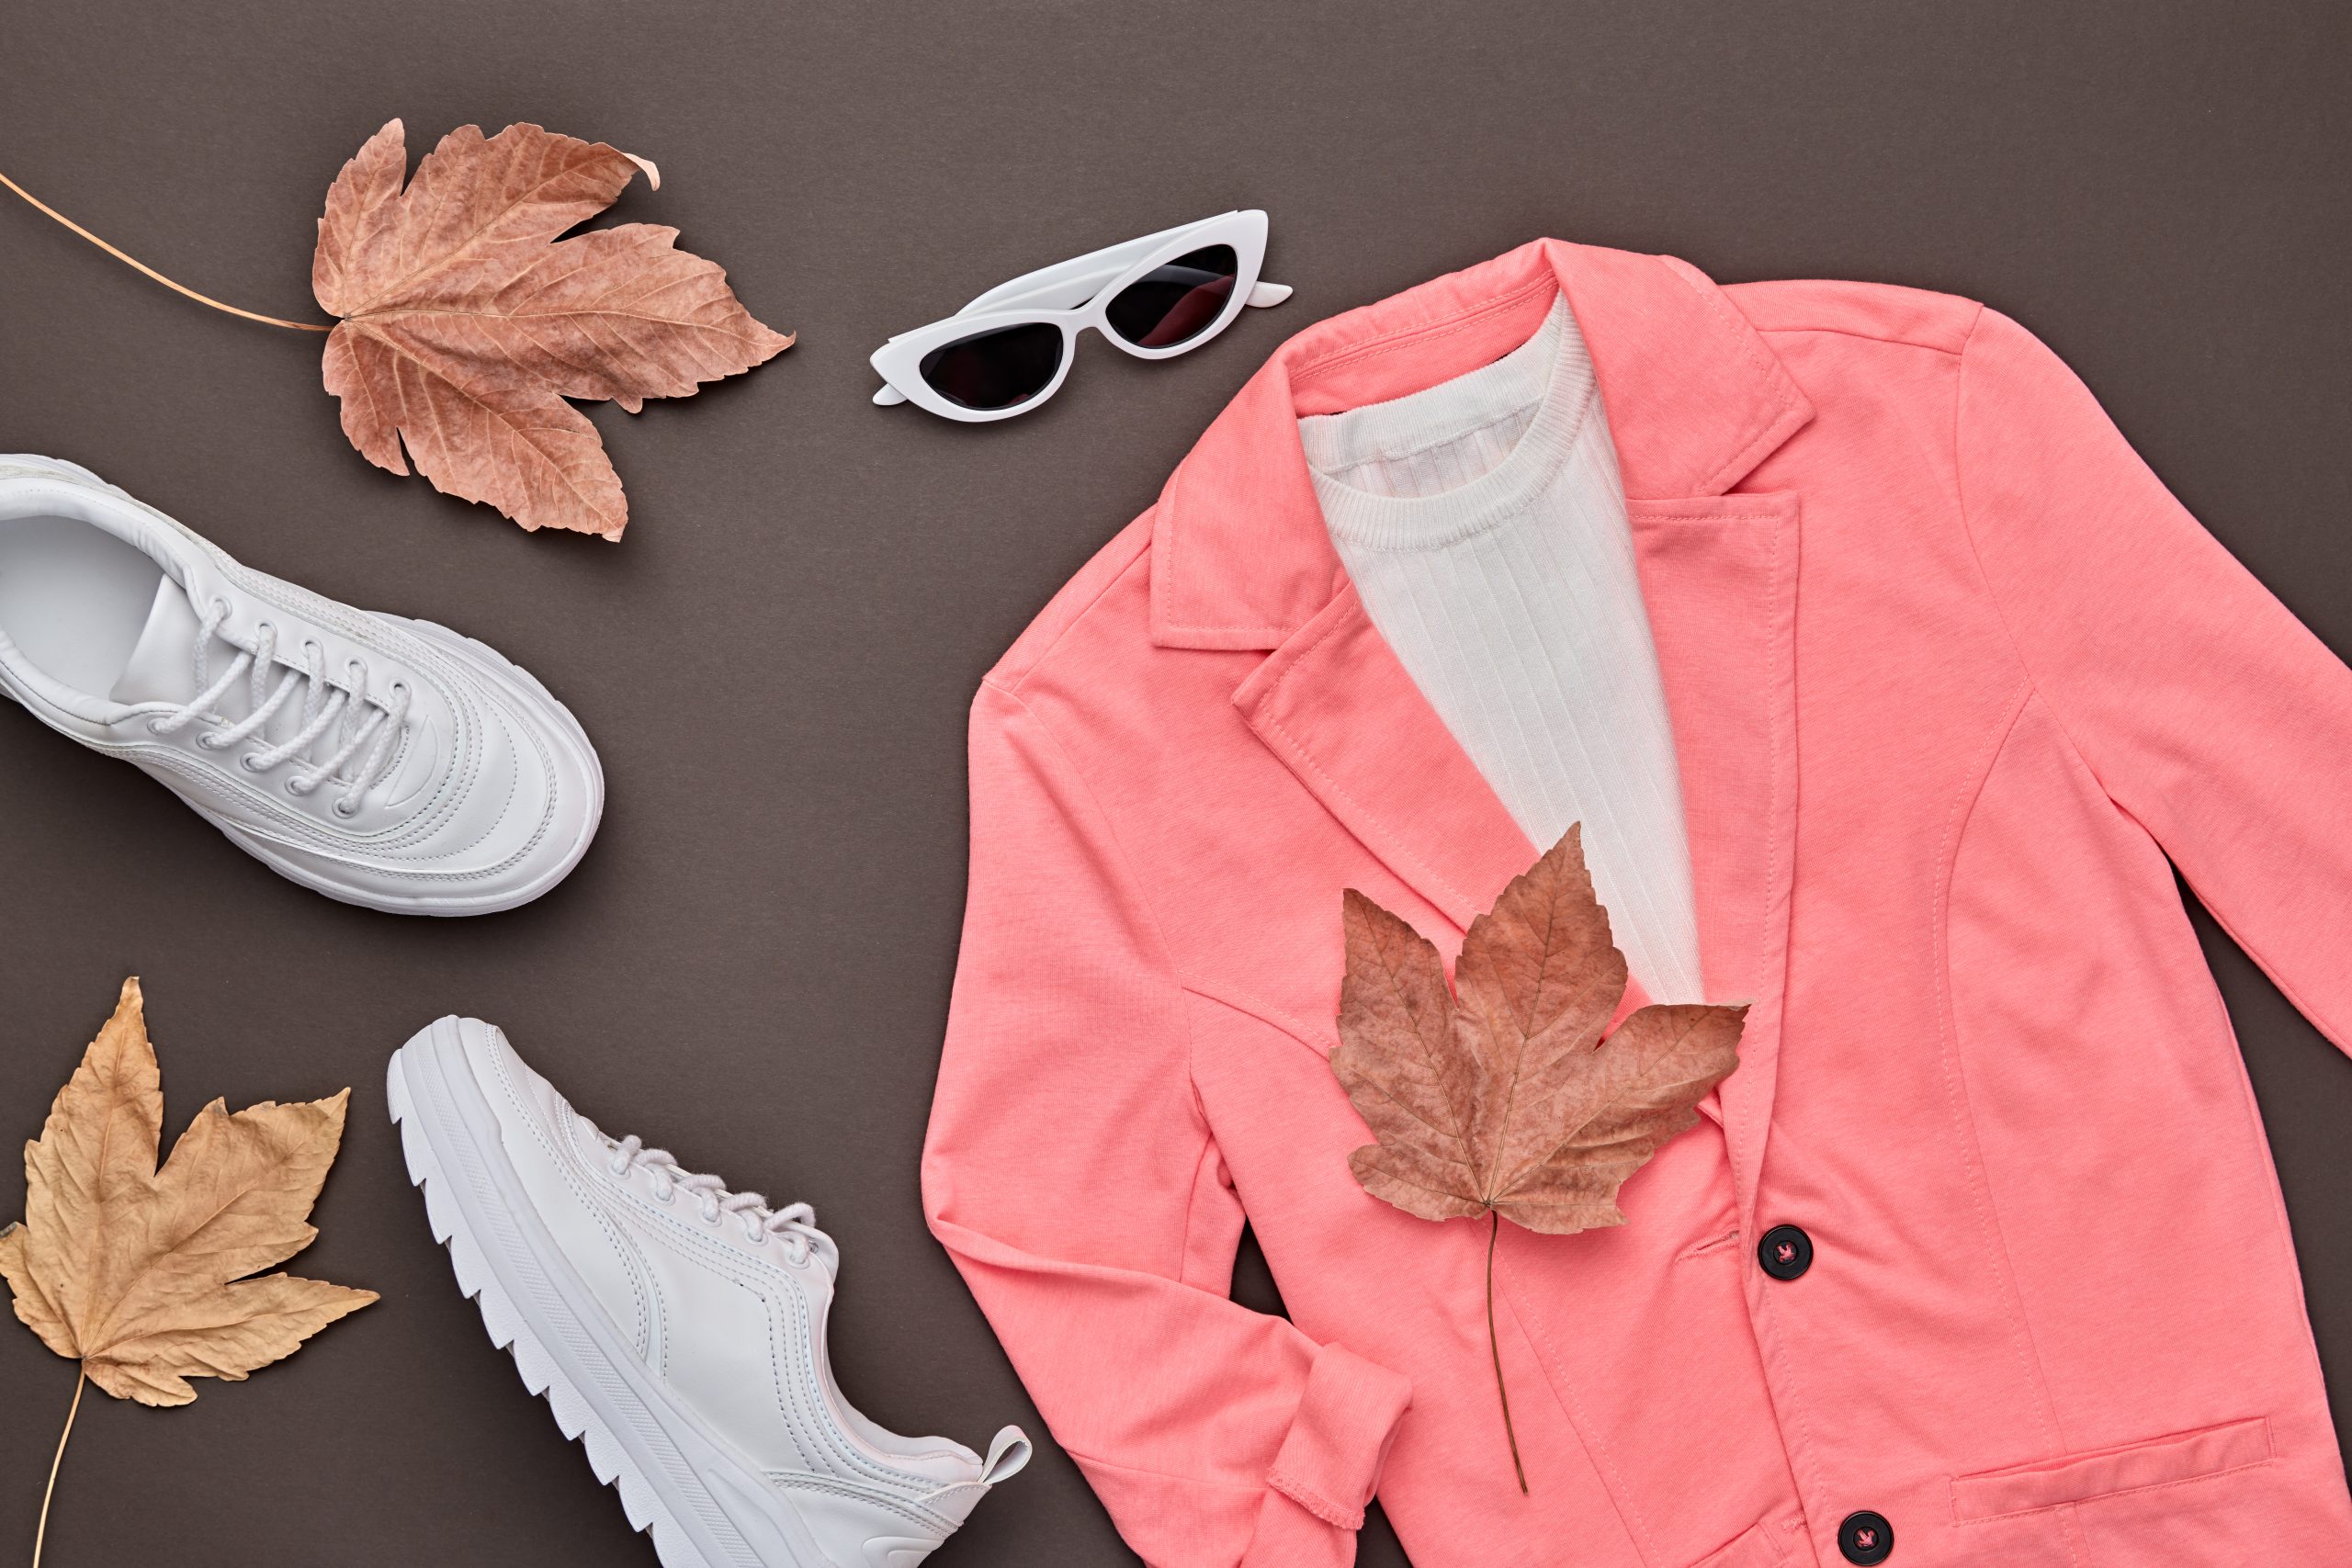
• Flat-lay
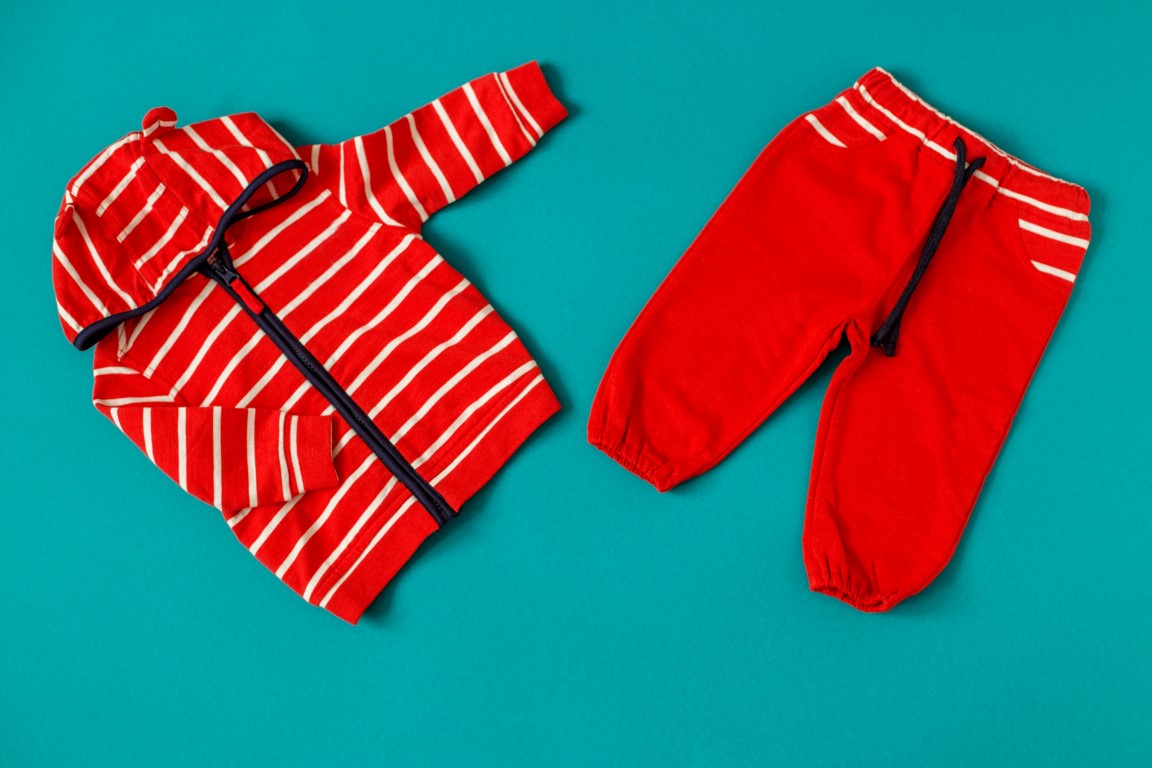
Flat-lay is a good option if you do not want to invest upfront in photography. This simple way requires no equipment or tools, just your iPhone.
To take flat-lay pictures, you will have to lay your clothes flat on a surface and look down to capture them.
I’ve shared some flat-lay clothes photography ideas that I try when doing clothing photo shoots.
It works well with tops and shorts that aren’t floppy, jeans, trousers, etc.
Lay your clothes on your floor, bed, or a backdrop, and take pictures with your iPhone. You won’t need many props for this.
Just make sure you look down directly at your clothes and take pictures. Otherwise, the pictures won’t be that good. Iron your clothes if they are wrinkled.
Moreover, the following video provides a helpful guide on capturing flat-lay clothing photography using an iPhone.
Lighting
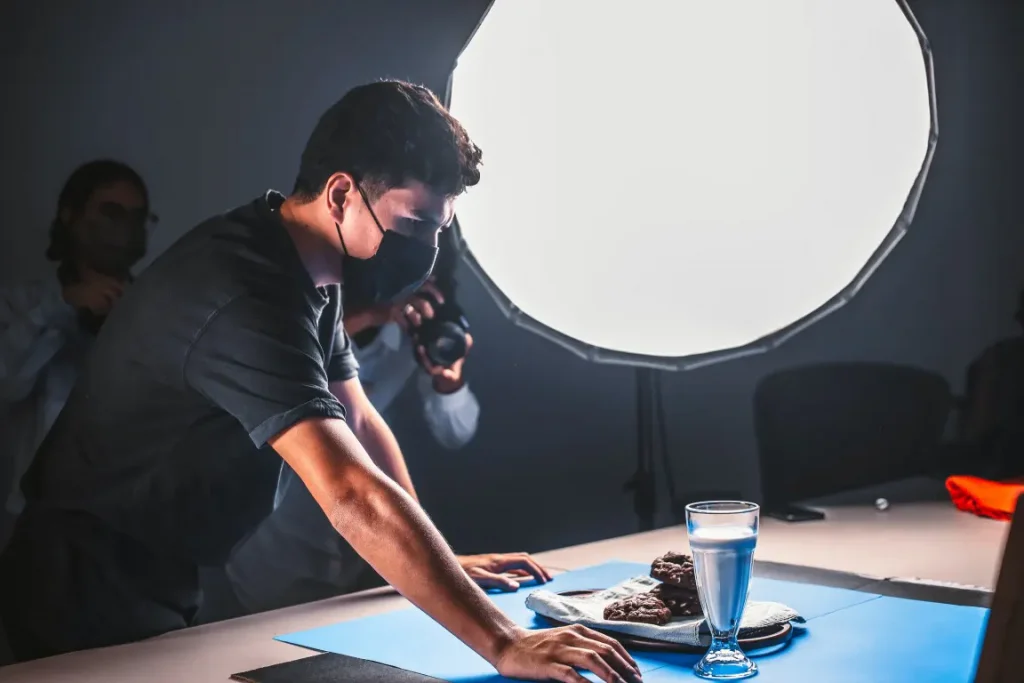
Dark photos tend to lack detail and often exhibit noticeable noise when zoomed in. That’s why, when it comes to product photography, I always prioritize achieving a well-balanced lighting setup to ensure optimal results.
I believe you have already read about the product photography lighting article. With proper knowledge of balancing and selecting the most suitable lighting for your shoot, you can easily capture amazing shots with your iPhone.
In there, you can use lighting kits or natural lights for product photography. You have to ensure that the place is perfectly illuminated.
Besides, I’ve shared my experience with the best strobe light for product photography. You can refer them too.
• How to Use Natural Light
Natural light is the easiest way you can take your clothes’ pictures. You won’t have to invest a dime for a light setup.
All you have to do is ensure that the place has enough light to make your pictures crisp.
The best way is to choose a place beside your windows. You will get maximum light there.
You can also take pictures outside. But don’t do it under direct sunlight. Choose a shady area where the lights are perfectly balanced.
Working with natural light, you have to give extra focus to shadows because your picture won’t do much good if it’s overcast with clouds.
Equipment
You will need some minimum equipment to take clothing pictures with your iPhone. If you invest in them upfront, undoubtedly, you will get better results.
Here are some of the equipment you might need for taking clothing pictures:
- A mannequin or hanger
- Tripod
- Softbox light setup
- Backdrops and stands
- Clip and tapes, etc.
Backdrop
Another important item is the backdrop. You can use a backdrop screen for taking your clothing pictures. It will make your pictures more vivid and crisp.
Use a backdrop when your capture pictures with a mannequin or hanger.
Many people capture flat-lay pictures on a backdrop. You will find various backdrop screen colors. But you should choose between black, white, and green as they will make your pictures more visible in front of a camera.
Camera Angles and Settings
It’s essential to take pictures from the right angle. Make sure your iPhone camera setup is all set for action.
Adjust your camera exposure before taking photos. Make a balance between ISO and Focal Length.
Now that all settings are ready, you have to hold your iPhone at the right angle to take pictures.
Hold your phone straight while capturing in front of a mannequin or hanger. Look down straight while capturing flat-lay pictures.
Clothing Photographs Editing
After taking tonnes of photos, now it’s time to select the best ones and edit them on a photo editor.
Do not add too much brightness, contrast, and saturation. Otherwise, they will lose originality.
• Best Apps for iPhone
You will find a lot of photo editing apps on the apple store. But not all of them are good.
Here are the best professional-looking photo editing apps for iPhone:
- Canva Premium
- Lightroom
- Adobe Photoshop Express
- Snapseed
- VSCO etc.
• Ghost Mannequin Photo Editing
It’s an excellent effect on professional-looking photography. In the ghost mannequin photo effect, you can take multiple pictures of a product on a mannequin, then combine them and remove the model in the editing phase.
It will look like a 3D image.
• Editing to Reduce Wrinkles
Sometimes your clothes might become wrinkled and won’t look nice when you take pictures of them. You can either remove them before taking photos by ironing them or remove them while editing.
Increase smoothness to reduce wrinkles quickly. Then impose some sharpness and reduce the structure of the photos. Now you will see fewer wrinkles on your clothing pictures.
Advanced Tips and Tricks
Taking your clothing photography to the next level involves more than just mastering the basics.
Here are key techniques and tips that enhance my photo quality and continually improve my product photography skills. You can try them too.
- Use a Macro Lens: Enhance your iPhone’s capabilities for detailed close-ups of clothing items.
- Utilize Portrait Mode: Create a depth-of-field effect, focusing attention on the product.
- Experiment with Lighting: Alter the mood of your photos with different lighting techniques.
- Learn from Others: Follow professional photographers and enroll in online courses to gain new techniques.
- Review Your Work: Regularly critique your photos, identifying areas for improvement to enhance your skills.
Conclusion
In conclusion, photography is an important selling point for online shops. Remember, you are not selling your clothes; you sell their pictures.
So, always have the attitude to go the extra mile when you take clothing pictures with your iPhone.
Justin Parker is a professional photographer and has been in the industry since 2007. He attended the University of Georgia. Justin combines his passion for photography and his interest in writing to give life to this blog which talks about photography in order to help and inspire young photographers.