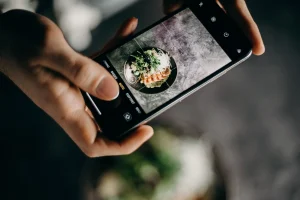
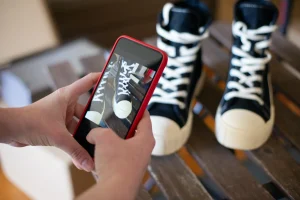
Taking a normal picture is far different from clicking a product’s photograph, especially when you are using an iPhone camera. From taking care of the background colors to picture clarity, there are several factors that need to be considered.
And that’s not all because the actual picture is far more complicated and baffling. In comparison to digital cameras like DSLRs, the small iPhone camera might not deliver the same level of performance.
To make it happen, you need to adhere to some golden rules like glue. Following and abiding your actions by those rules will help you click the best shot.
As the tricks worked wonders for me, I will recommend them to other photographers.
So, what are the rules that will assist you to take some of the best product pics using the iPhone camera?
Keeping the confusion and difficulty in mind, I will give you a tour of the tricks I incorporated into my photography method. And trust me when I say that you won’t be disappointed!
This article will include:
- How to take product photographs with an iPhone camera?
- What are the four types of product photography styles?
- How to take a product photograph using your iPhone camera?
- Can I do 360 iPhone product photography?
- Is it possible to take small product photography with the iPhone?
How to take product photographs with an iPhone camera?
To take the product photographs appropriately with the iPhone camera, its settings need to be corrected.
Auto exposure, proper lightning, multiple angle shots, using the reflector, and several other techniques need to be implemented in well-defined coordination.
Seeing how every factor is dependent on each other, it’s crucial to consider all of them and then come up with the best product photography strategy.
iPhone works in a different manner in comparison to the android OS. Hence, you can’t use the photography skills you learned while using Android.
A study in 2020 revealed that 65% of the population are visual learners. It means that they will purchase a product or show an interest only when the videos and images can back up your content.
That’s why you need to research properly about product photography, starting with its types.
What are the four types of product photography styles?
- White background product photography
- In studio product photography
- Flat-lay product photography
- Close-up product photography
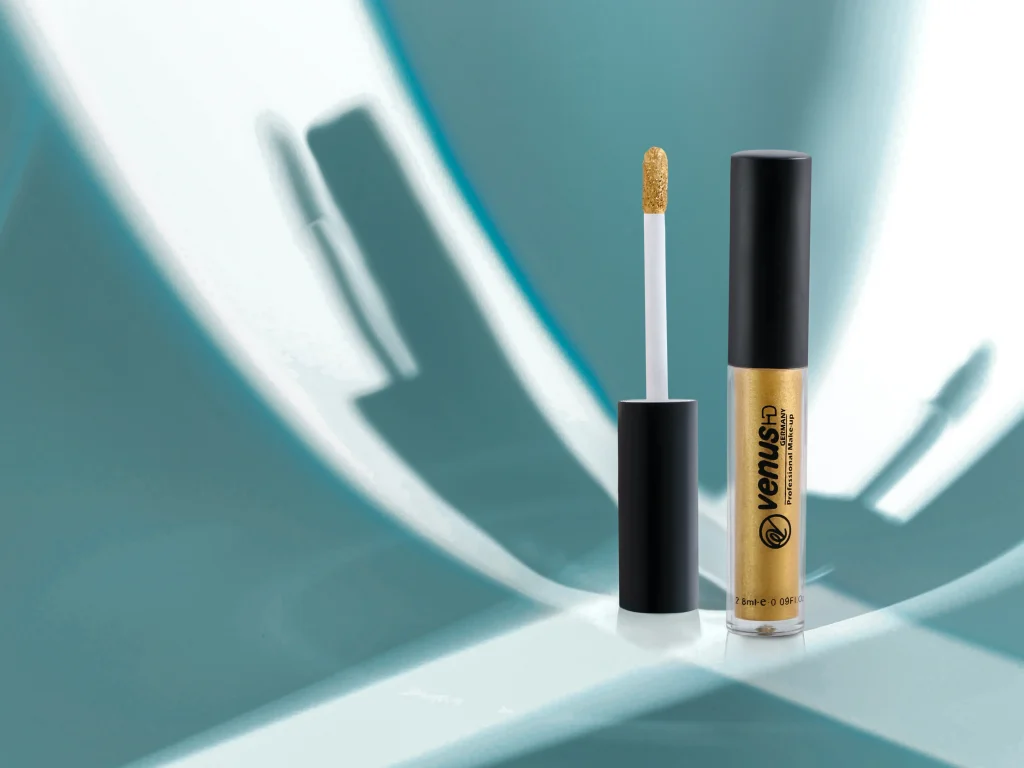
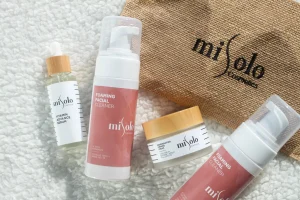
1. White background product photography
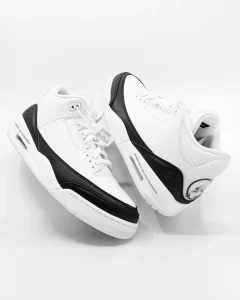
A white background picture is the most important and preferred style for product images.
White is one such color that will accentuate the appeal and beauty of any product, whether it’s a simple dress newly designed or a mobile phone.
2. In studio product photography
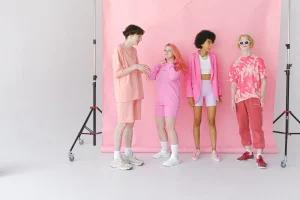
In studio product photography, you will have ultimate control over the settings and lights. So, based on your needs, you can change the lighting intensity or alter the background setting.
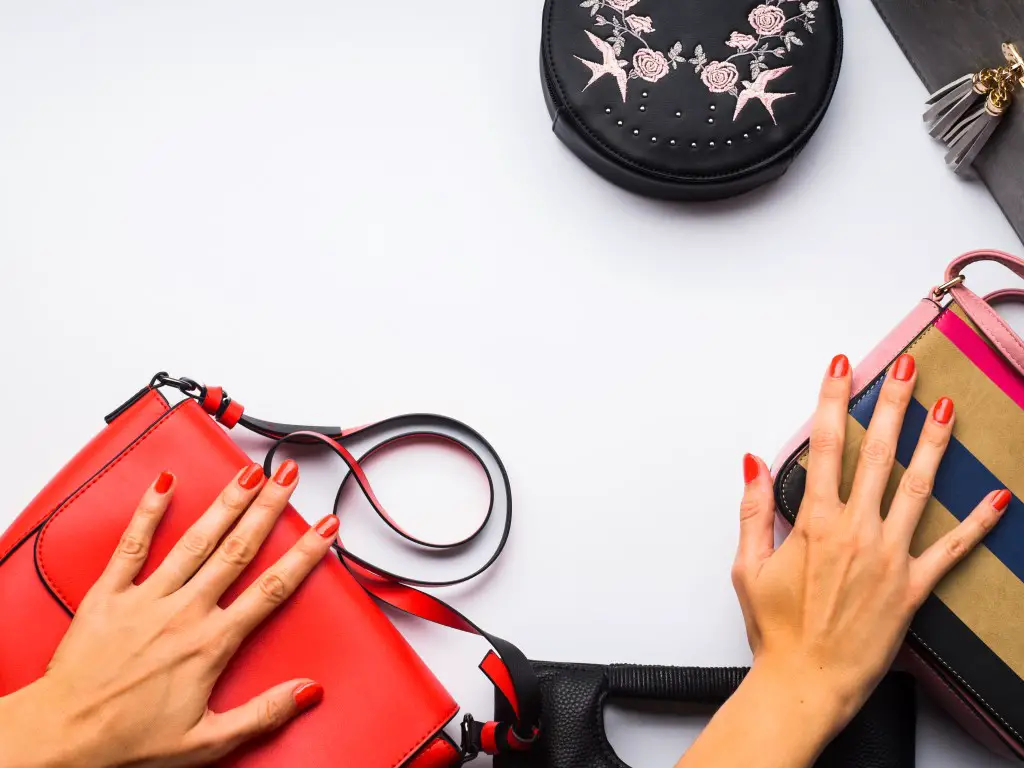
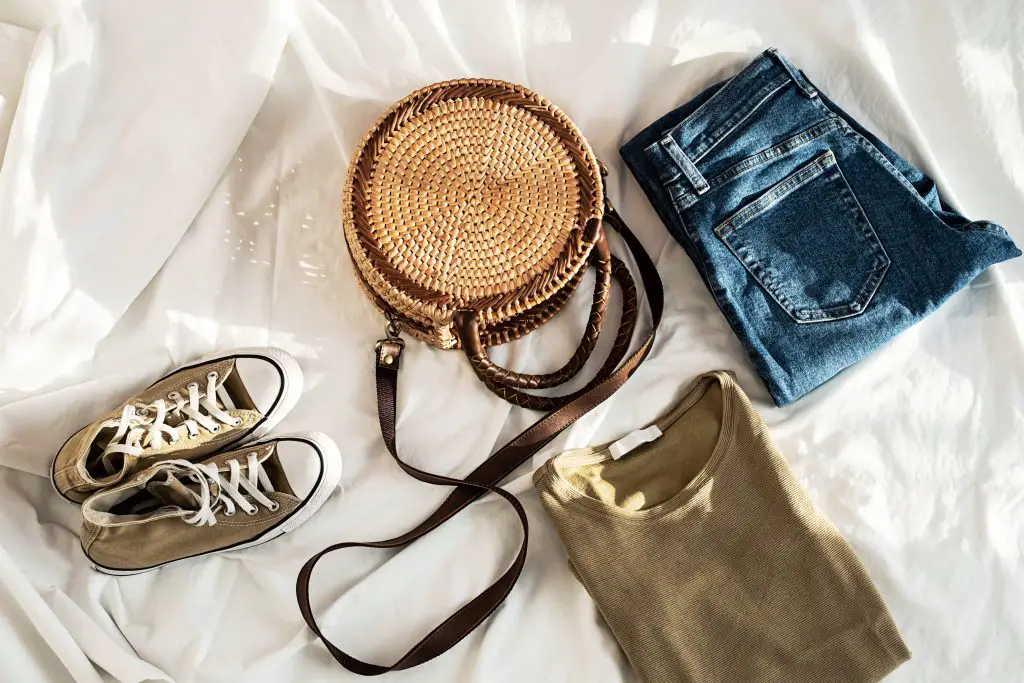
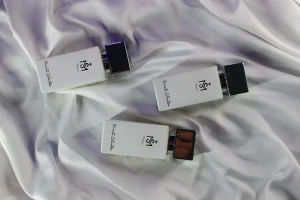
3. Flat-lay product photography
When you want to take photographs of multiple objects of the same type, you have to follow the flat-lay rule. Here, you have to arrange all the units on a white background and then take the picture from an angle.
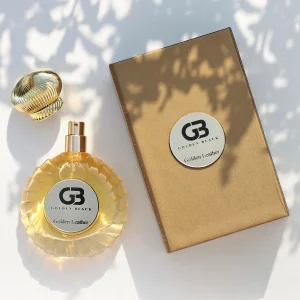
4. Close-up product photography
To impress the customers and attract more audience, the best product photography style will be the close-up ones. These pictures need to be taken from close vicinity so that all the minor and fine product details can be captured.
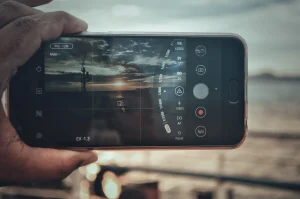
How to take a product photograph using your iPhone camera?
It is essential to make sure that the product photographs are up to the mark. In fact, you also need to ensure they are unique, appealing, and a treat for the eyes.
So, to help you with the predicament, I have rounded up some of my favorite rules for taking pics using an iPhone camera.
- Listing down the camera props to be used
- Adjusting the camera setting
- Setting a proper white background
- Ensuring proper lights
- Choosing the best editing app
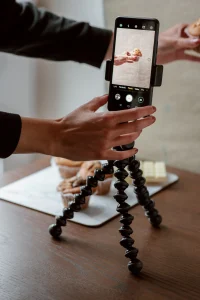
1. Listing down the camera props to be used
Before I even started setting my background, I did a thorough homework session. My main aim was to ensure that I have all the accessories and pros ready to be used so that there is no disturbance in the work.
Since you too are in the same position as I was, you have to start with gathering the props.
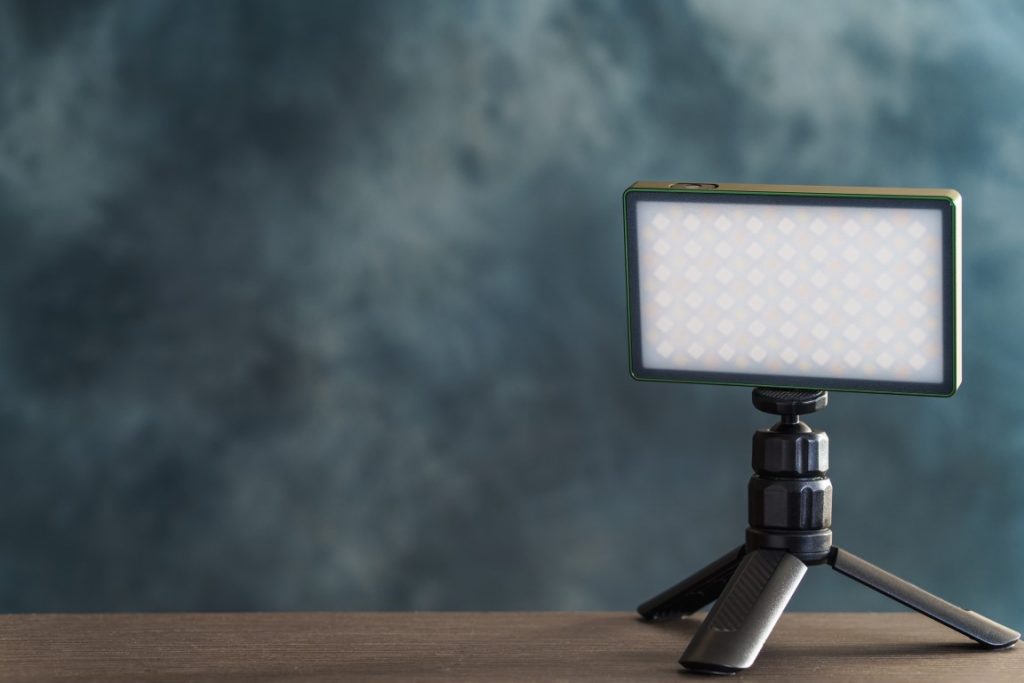
Source: Amazon.com
- iPhone tripod stand will help in stabilizing the device and hence, you can capture sharp, still, and clear pictures. Make sure that the tripod has the same length as the platform where you will keep the product.
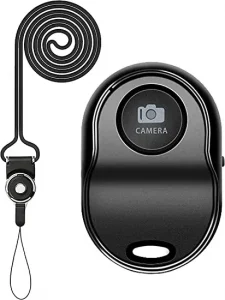
- A remote shutter is also crucial as it will allow you to take pictures and capture videos without the involvement of your hands. Hence, it will become much easier for you to focus on other users.
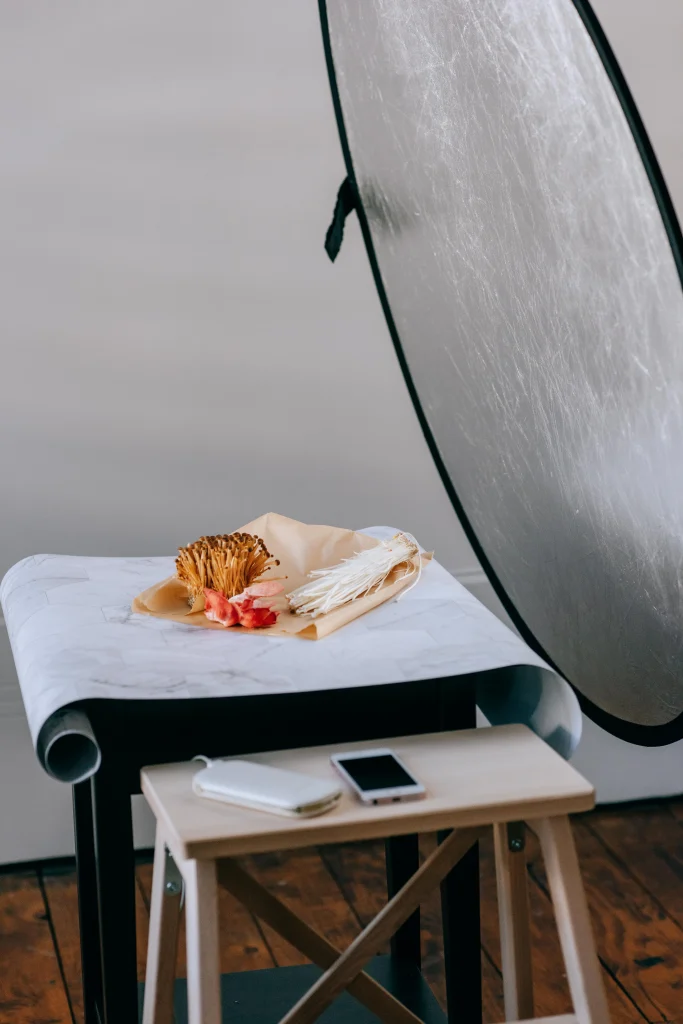
- Another accessory that most photographers use for taking clear and sharp product pictures is the reflector. It will help in concentrating natural or artificial light around the product, thereby reducing shadows.
2. Adjusting the camera setting
The iPhones come with intuitive camera features that allow users to take as many shots as possible. But to do it correctly, you need to adjust its settings first.
- Disable modes like Live photos, Night mode, flash, and more so that the product is illuminated only with the room’s lights. If you use any of these features, there won’t be much clearer photos.
- Use the auto focus or auto aperture feature to make sure that the object is within the focal length of the camera. It will help you to take clear pictures without any blurriness.
- Using the timer will greatly help, especially when you are shooting from multiple angles.
- Change the light setting of the camera based on the ambient light intensity. For example, if you are shooting in dark conditions, use the low light mode.
3. Setting a proper white background
Initially, I used to face a lot of difficulties in setting the right white-colored background for my photography.
That’s when I decided to try out a few arrangement tricks. A white background will need three most important parts:
- At the back, there should be a white, slanting curtain and the product must be placed on this curtain.
- On both sides, white paper or boxes should be kept, provided they have a large height to block the view of any other object in the vicinity.
- A white paper or cloth needs to be hung from the edge of the table or your workstation.
- The curtains, boxes, or papers should be placed in a way that no shadow is being created. Otherwise, it will completely destroy the picture.
4. Ensuring proper lights
A study revealed that with smartphones like the iPhones, about 1 trillion digital photos would be taken every year. Digital photos are sharper and clearer which is why you can easily get swayed away by the beautiful landscapes and urban pictures.
However, when it comes to product photography, you need to add artificial light because these pictures need to be bright and detailed. Arranging proper lights is definitely a cumbersome task.
But if you follow a proper strategy, there won’t be many problems.
For starters, the light should be arranged in a manner that no shadow is formed around the product. Also, glares and reflections must be at the least levels so that the pictures are clear and sharper.
5. Choosing the best editing app
Lastly, you have to select the best editing apps and then use them to make some final changes.
For example, you might have to crop the image, decrease the highlight, increase the contrast, and so on.
The editing app must support the OS of iPhones and should have multiple features.
It should allow the users to edit both images and videos, with or without any texts. Even though there are several free applications, you should go with the paid ones.
Can I do 360 iPhone product photography?
If you don’t know how to take a 360-degree product photo with your iPhone, don’t worry. Here are the steps you need to follow.
Step 1: Take a cup and place your iPhone into it.
Step 2: Switch on the camera and adjust the settings like the focus, brightness, and so on.
Step 3: Click the first picture and check whether it’s up to the mark or not.
Step 4: Leave the arrangement as it is and then rotate the product so that the camera can capture multiple photos from different angles.
Step 5: Transfer all the photos to a 360-degree photo app and it will put together all the snips.
To get a more understanding, you can refer to this video.
Is it possible to take small product photography with the iPhone?
Yes, definitely it is possible for you to take small product pictures with an iPhone camera by using the lightbox. It is a translucent box with films covering all the edges.
Light needs to be placed behind the film so that when they are switched on, the light beams will get concentrated on the product and you can capture a detailed picture.
Final words
Have you understood the tricks you need to apply for taking immaculate and clear pictures of any product with your iPhone?
Well, I do hope so because you cannot proceed with any product-based business unless you have some nice, beautiful, and convincing pictures.
Make sure to pay heed to what I have discussed since these are ground rules. After all, you wouldn’t want to make a blunder and lose customers because of blurred images!
Justin Parker is a professional photographer and has been in the industry since 2007. He attended the University of Georgia. Justin combines his passion for photography and his interest in writing to give life to this blog which talks about photography in order to help and inspire young photographers.