In the vibrant visual world of Instagram, a stunning picture can speak volumes, and for those in the jewelry business, it can even drive sales! So, how to photograph jewelry for Instagram?
Many e-commerce business owners shy away from it due to the intricate details and the shiny nature of the pieces. If you’re one of them, you’re in the right place!
In this article, I’ll walk you through the key steps and techniques for photographing jewelry that will make your Instagram feed shine.
By the end of it, not only will your Instagram feed dazzle, but you’ll also see a positive impact on your brand reputation and bottom line.
Essential Equipment and Props to Consider for Different Types of Jewellery
Many people assume that jewelry tells its story, but product photography statistics show that adding a few essential objects to creative jewelry photography enhances its allure.
Props play an essential part in boosting a product’s sales and reputation in the marketplace.
Many jewelry photographers in the United States are capable of igniting a passion for jewelry in prospective buyers.
One strategy to increase your jewelry sales is to display your pieces in four distinct ways:
- With a plain, light-colored backdrop.
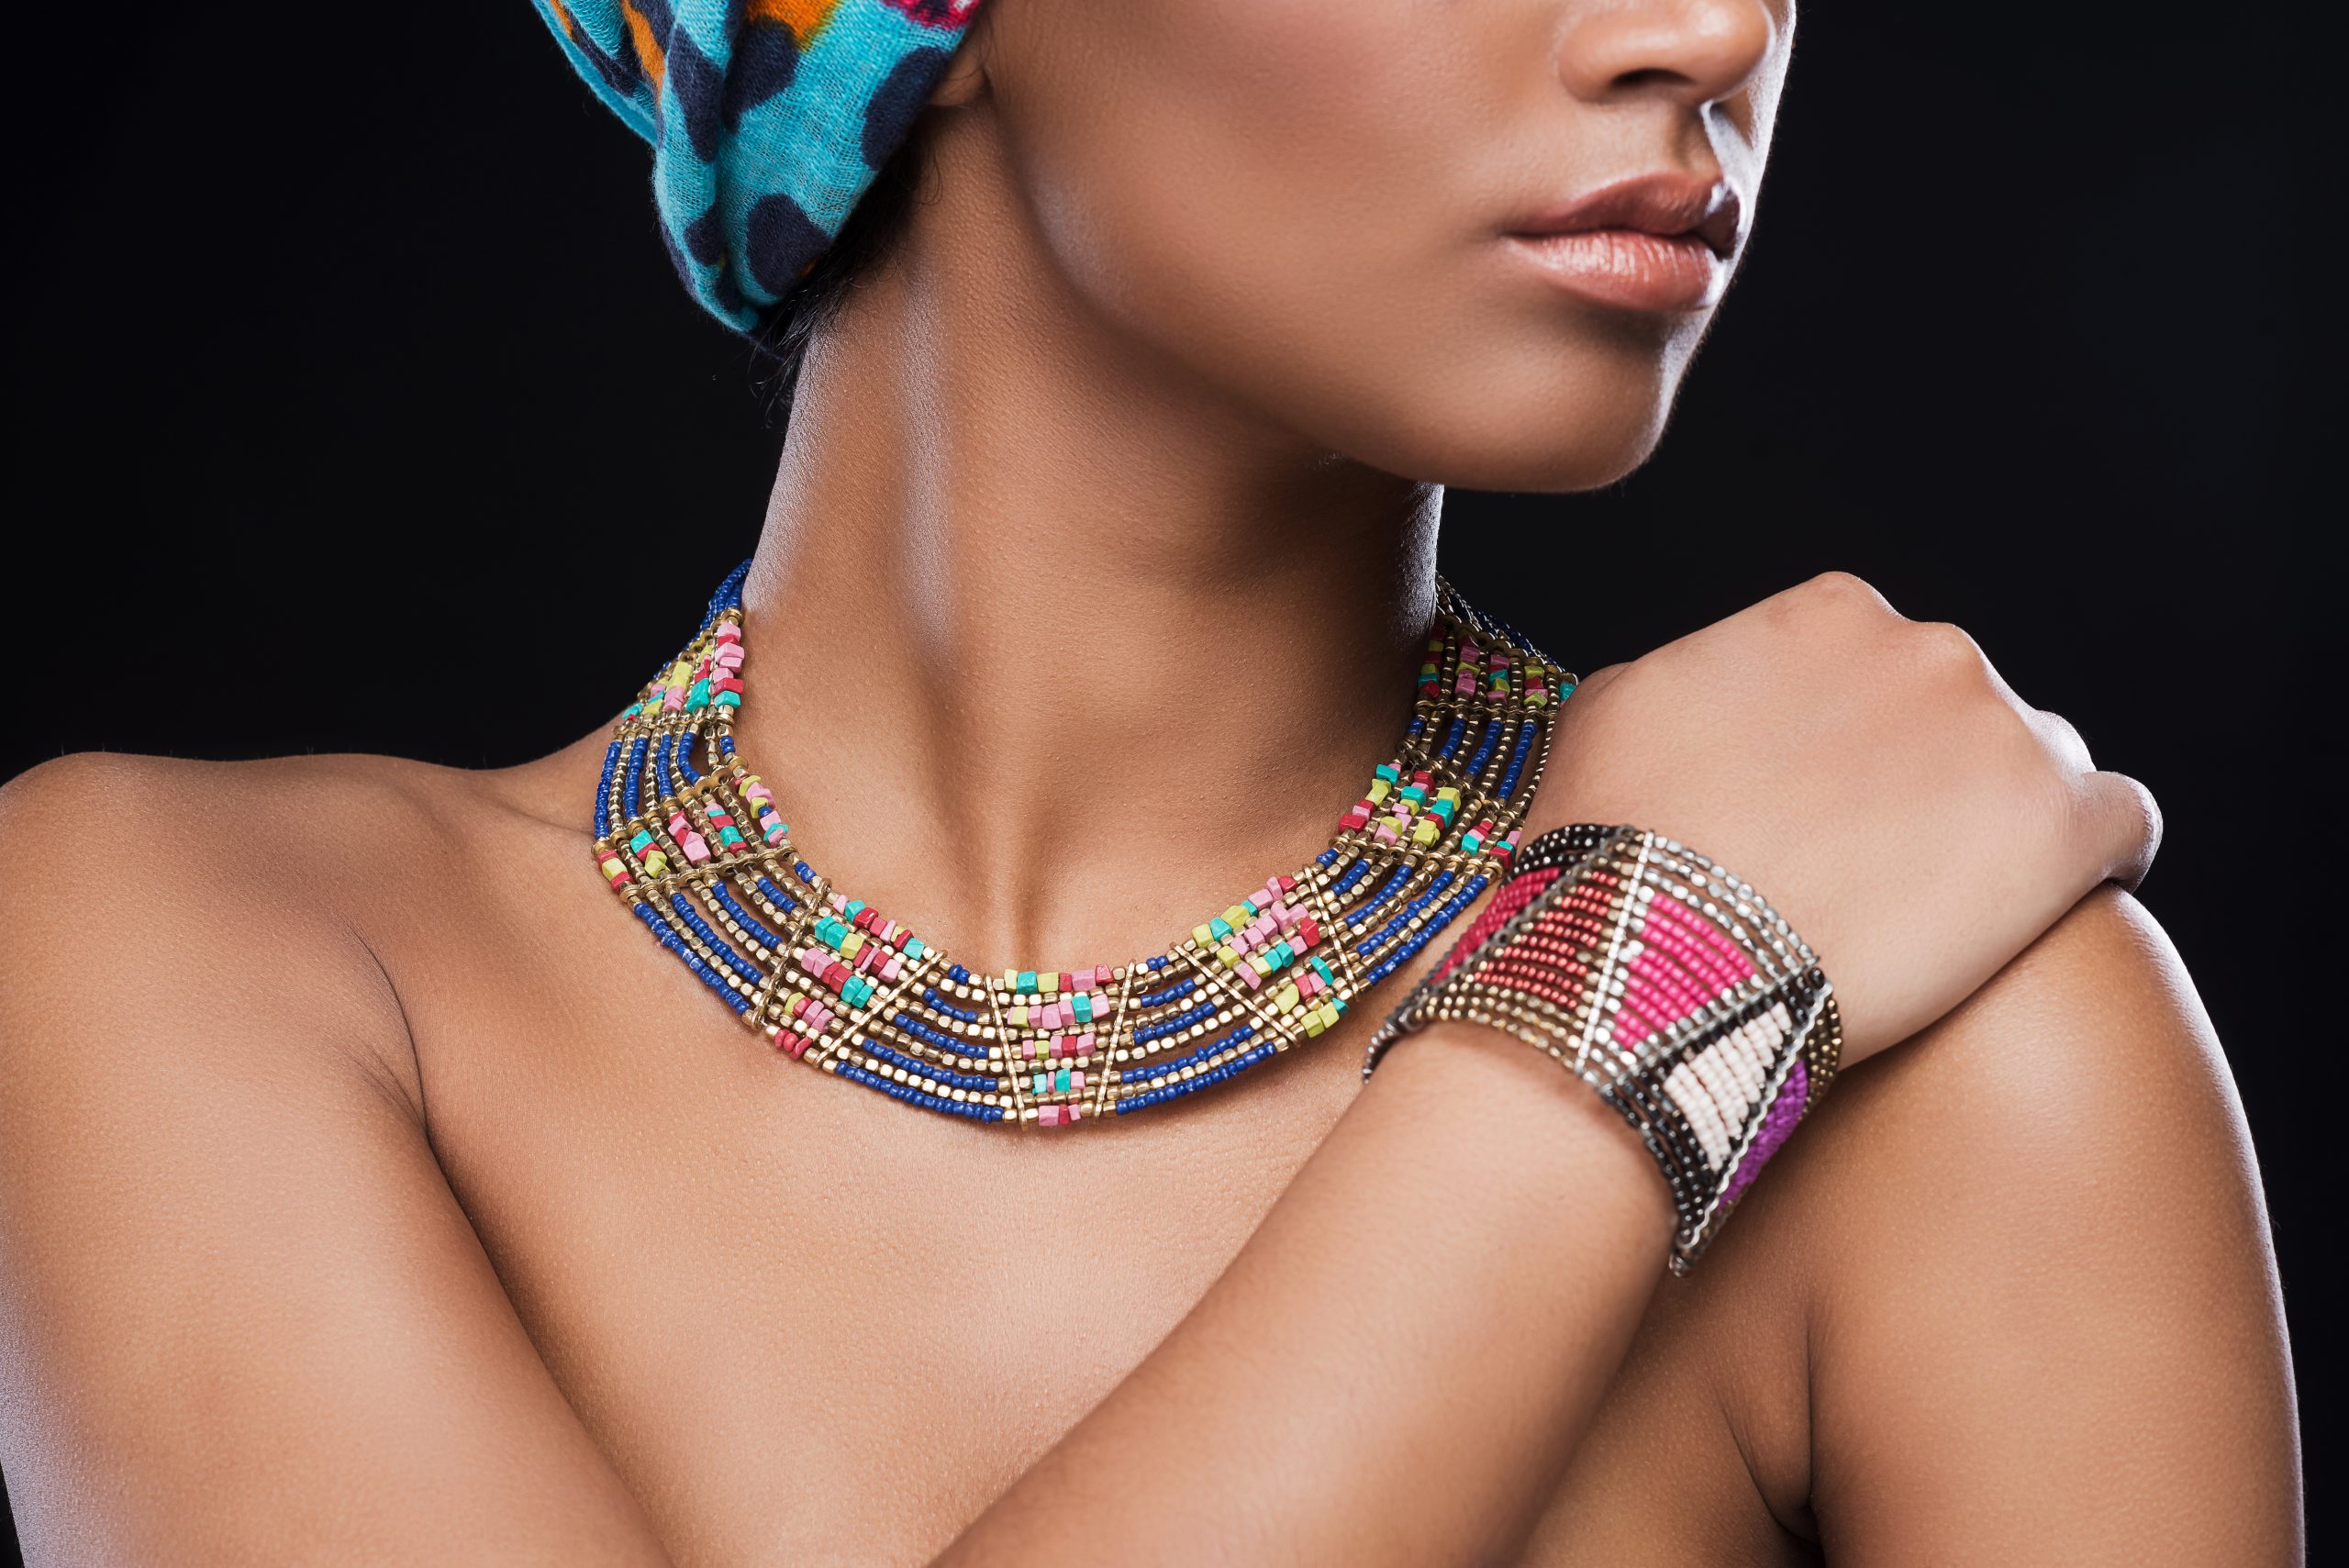
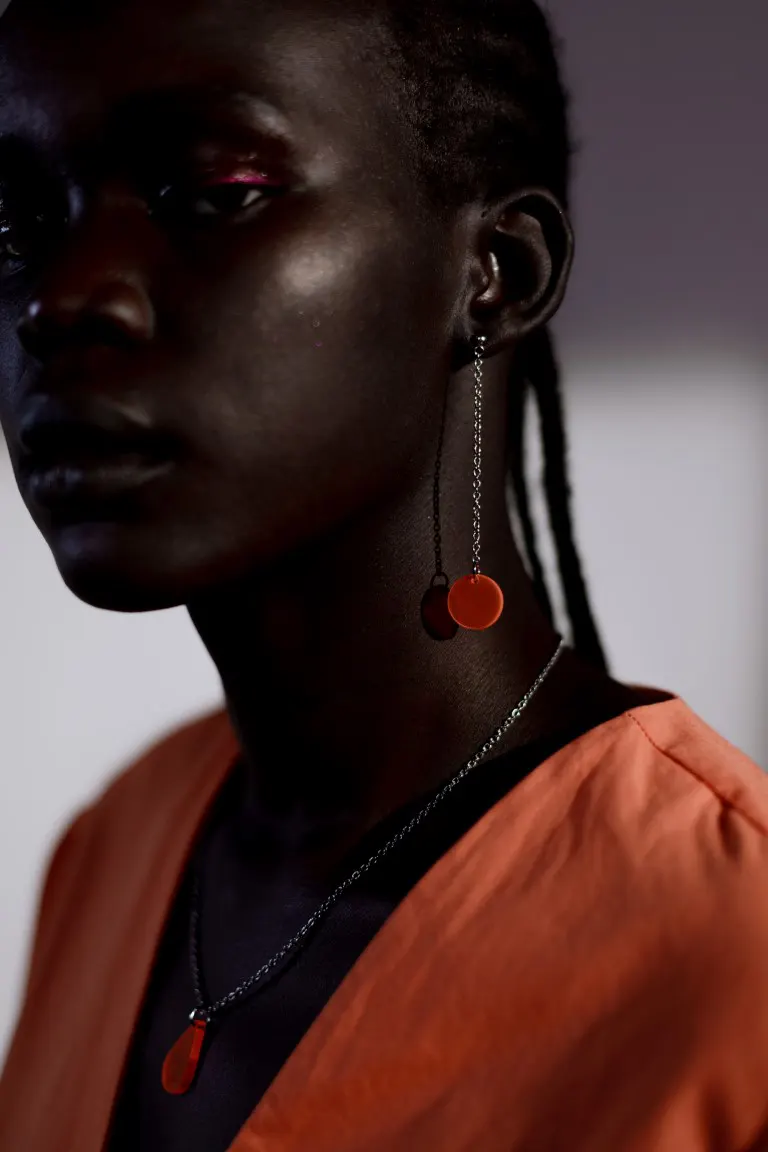
- With a model.
- With a silhouette or stand.
- With the support of innovative jewelry photo props.
• Stands
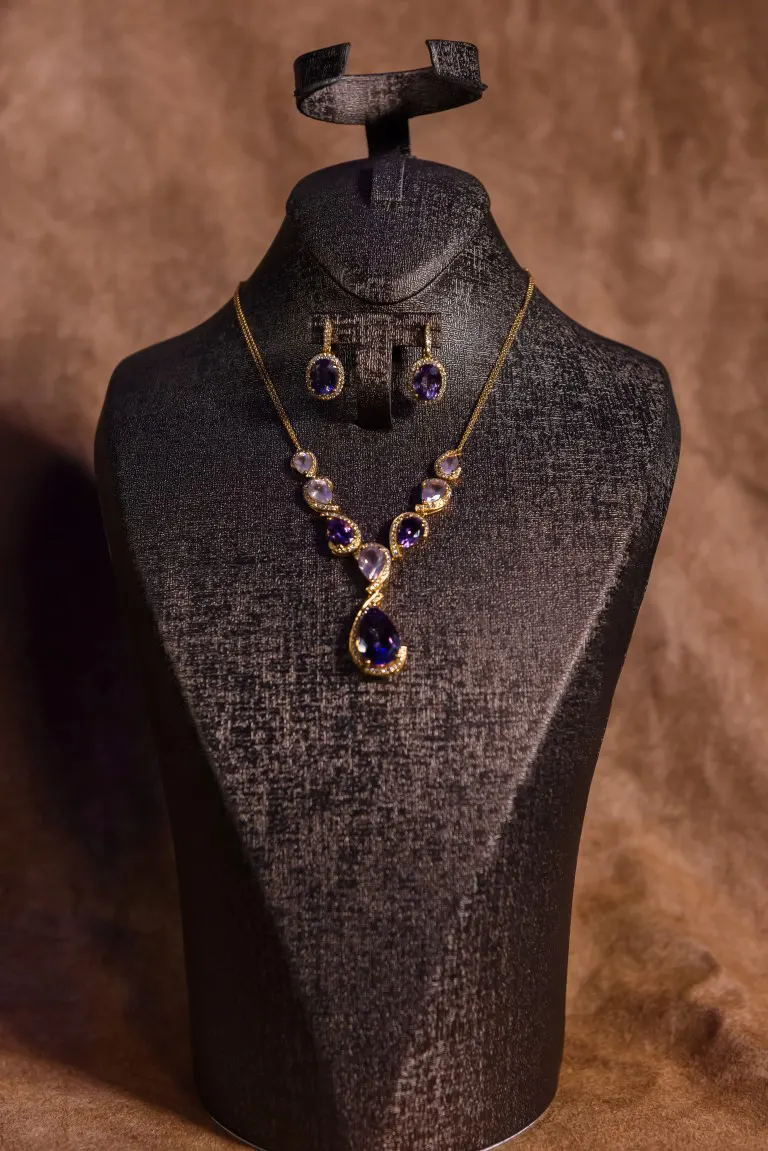
A stand is a great way to hang a necklace, especially if it’s a short one. Despite long necklace supports, they are not recommended for use with long neckpieces.
• Hand Clamp
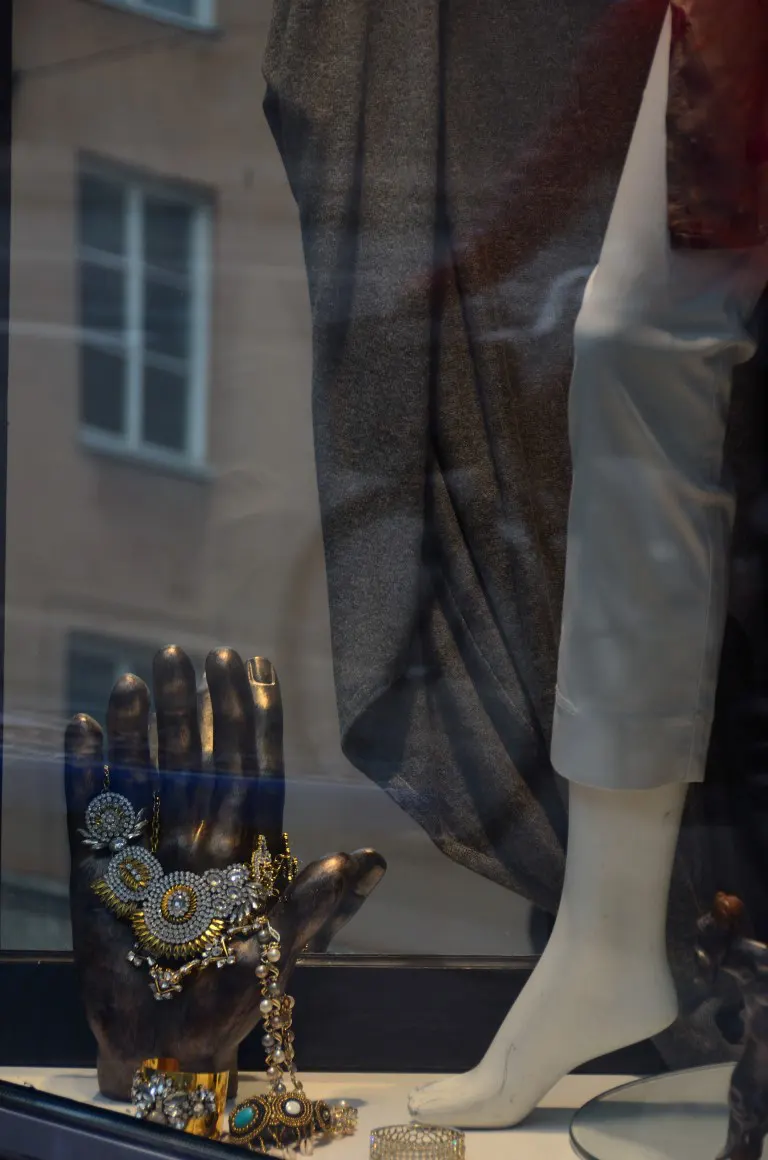
Placing jewelry in plastic emulation hand-shaped props gives the most acceptable visual representation. It’s the most excellent way to see the ornaments form.
• Holding Cases in Acrylic or Wooden
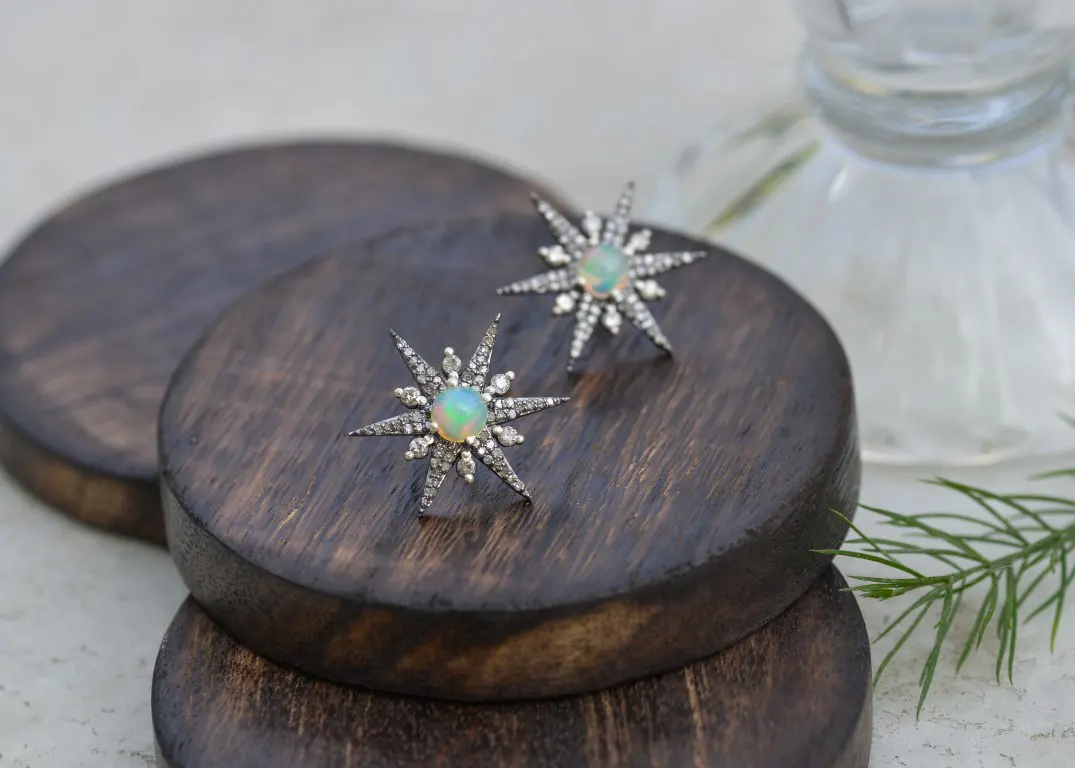
This function eliminates the macro, which reduces the blur that balances the clarity of the photograph with rich colors and effects by allowing you to see the whole location and the jewelry at the same time.
As a result, the eyes may rest comfortably on the picture while still seeing the more delicate features of each different area.
• Brown as Gold
Light adjustment is the key to its beauty when photographing the old and rusty, and not all artists can manage it.
Therefore it’s always best to preserve it by using black and white lenses to ensure the precision and perfection of the image. Lifestyle photography is a big part of my life.
• Traditional Things
Taking pictures of the Indian Festive Selection Wedding Collection and Rich Culture Jewelleries naturally demands something from its essence.
Step By Step Guide for Shooting Jewelry Products
Jewelry photography is relatively complex, whether you’re photographing a diamond ring or a gemstone necklace.
The procedure might be complicated and time-consuming, but there are a few shortcuts you can use to speed things up and enhance your photographs.
STEP 01: Adjust Your Camera Settings & Lighting
To alter camera settings like aperture, shutter speed, and ISO, first, find out which buttons and knobs you need to utilize.
It’s also possible to choose between Auto and Manual modes. Set the camera’s apertures to F14 and the ISO towards the lowest possible levels — generally 100 or 200 — in Aperture Mode.
The camera predetermines the shutter speed while you’re in the aperture mode. Take a photo and examine the shutter speed that was used.
If the colors are correct and the picture is clear, those are the settings.
Use F14 in manual mode with the camera’s predetermined shutter speed.
Shutter speed may either be adjusted slower (for more light) or quicker (for more excellent contrast) to improve the brightness of a picture.
For example;
You may modify the brightness of a picture by changing the shutter speed from 1/5th of a minute to 1/3rd of the second or 1/8th of a second. For all of your goods, use the same camera settings.
The lighting you’ve got is the best setting to use.
Check out my latest article on jewelry photography lighting for a complete guide on setting up lighting that is best suited for your jewelry product.
STEP 02: Using a Model or Not
There is no right or wrong answer when deciding on a style for your jewelry photography.
The most excellent technique to shoot your jewelry may be with live models; however, this may not be the case for everyone and vice versa.
What matters is that you be clear on your end aim. So, how should one go about photographing jewelry?
Begin by determining your ideal consumers, what your product is worth, and how your brand is perceived. In the end, it should bring you to the correct solution.
STEP 03: Editing
When it comes to modifications, this is one of the simplest and most important since it serves as a starting point for more complex adjustments.
• Overexposure
Overexposure (brightness) may be corrected by lowering the brightness. For example, if it’s too dark, you’ll want to increase its brightness.
• Contrast
Contrast may be improved in the majority of photographs as well.
There is no one-size-fits-all answer; it depends both on the picture and your particular preferences.
To ensure that you haven’t gone too far with adjustments, go back and forth between the original and the revised version.
While it is possible to submit your jewelry photographs after adjusting the brightness and contrast, further editing might help you stand out from the crowd!
• Color Balancing/Correction
The color balancing/correction step may not always be necessary despite its importance.
Smartphones and DSLRs are becoming better and better at adjusting color in-camera, but the results vary widely depending on the lighting conditions. Curve the lines by clicking and dragging the spot where you want it to go.
Direct Selection may then be used to fine-tune the points or curve handles to your heart’s content. The path you just created can be used as a mask on a picture.
How To Photograph Jewelry With a Phone
For those who aren’t familiar with DSLR cameras, having a smartphone allows you to take more images since you can capture them fast and post them to social media in seconds.
The following tips and tactics will always help me obtain the most nuanced picture possible from my smartphone. You can try them too.
1. Make The Most of The Sun’s Rays
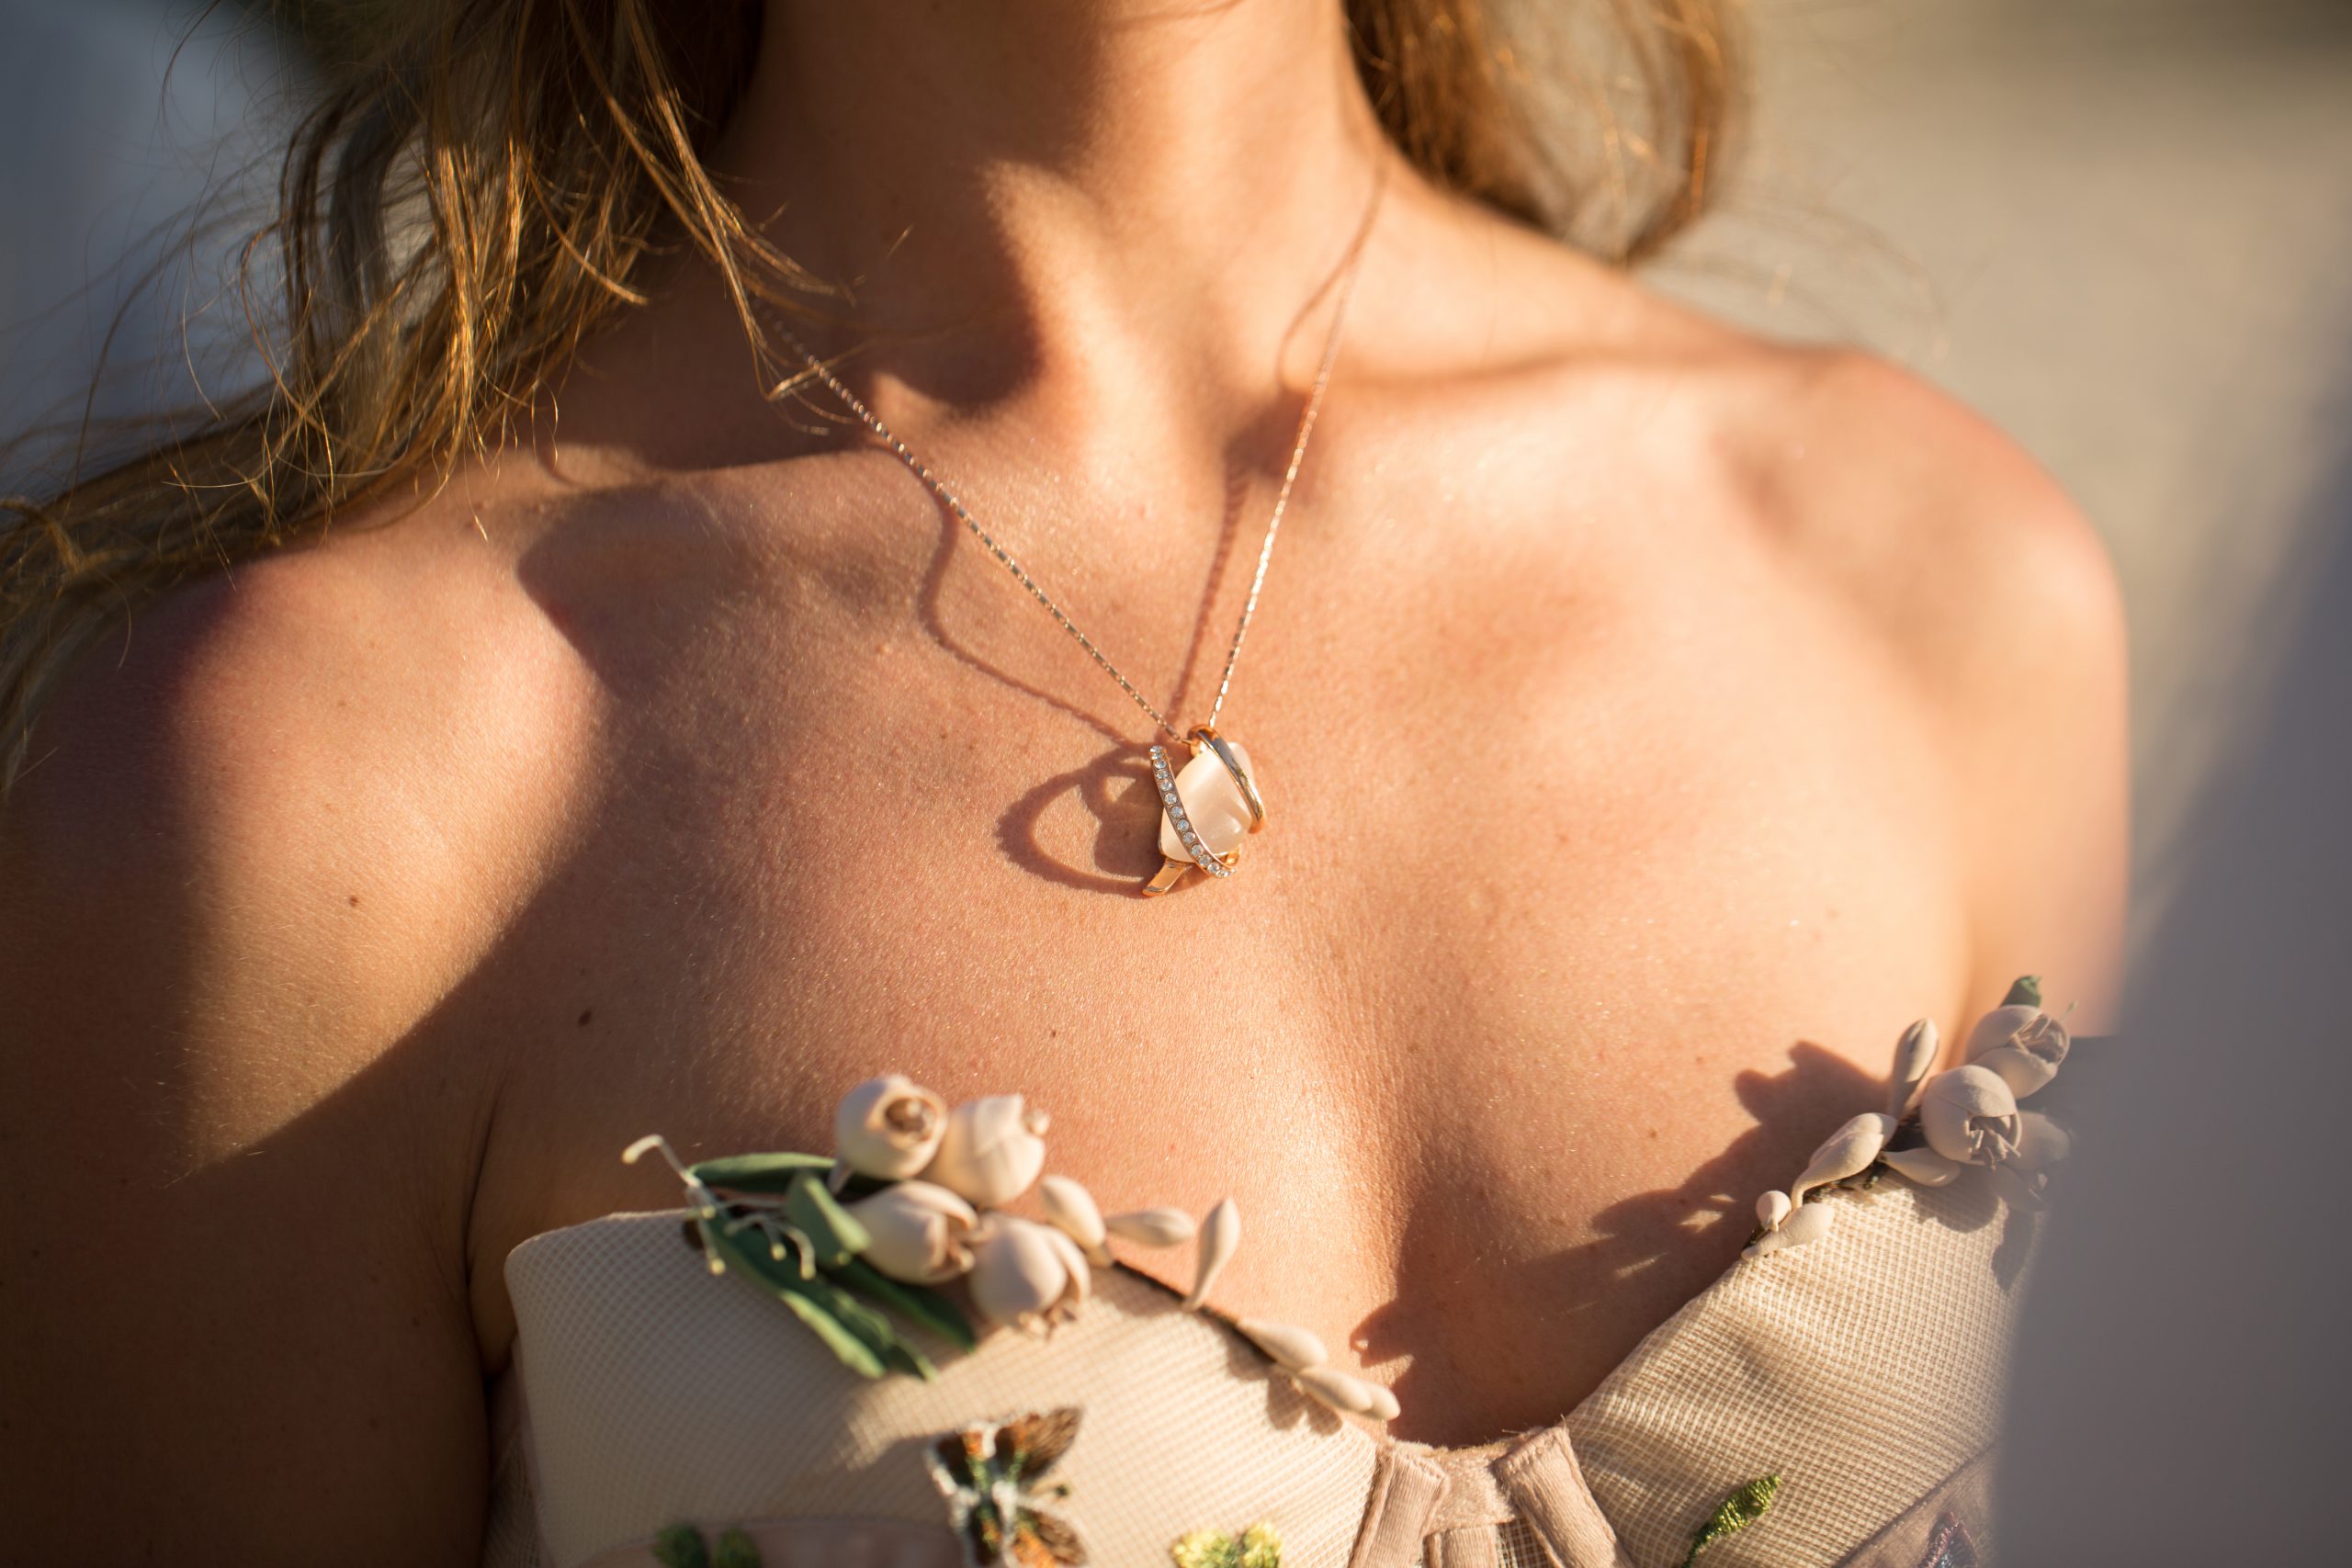
If you don’t have access to a lightbox or other forms of supplemental lighting, try to use as much natural light as possible while photographing your jewelry.
Avoid shooting shots in direct sunlight since this will provide the most outstanding results.
Choose a location with plenty of windows to make use of the natural light.
Avoid photographing in the evening since the lack of light may result in a fragmented picture, even more so when brightening it during the editing process.
2. Use Your Flash Sparingly
According to many individuals, flashing your phone’s camera might have the reverse effect of improving the quality of your photos.
You should avoid taking photos with a flash to get the best picture possible.
People will be able to envision your jewelry in its natural setting if you use natural light to illuminate it.
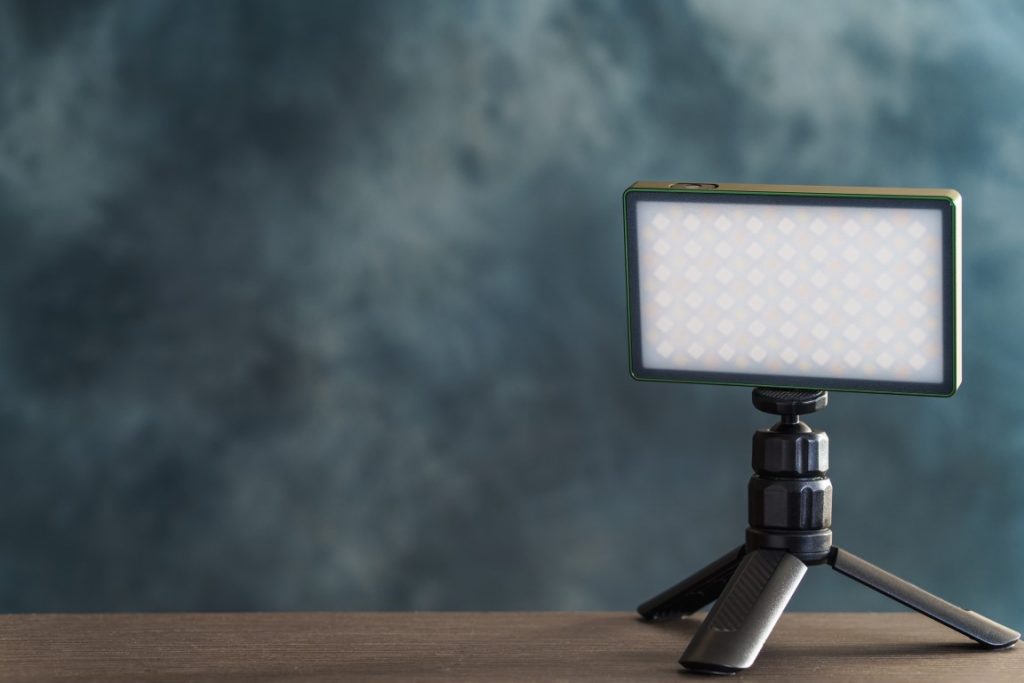
3. Buy a Tripod to Keep It Stable
Stabilization is a feature on many smartphones that prevents the camera from wobbling when held inconsistently.
A blurry shot is more likely to occur if you cannot steady yourself when taking a picture.
Investing in a tiny portable tripod is an excellent method to prevent this and ensure that your photos are always transparent and detailed.
You may also use this to record yourself working in the studios and catch behind-the-scenes activity, which is lovely to post to social media!
Besides, I recommend checking out the article on how you take pictures of jewelry with your phone. It provides a comprehensive guide to help you enhance your jewelry photography skills.
The following video will provide more tips on jewelry photography with your smartphone.
7 Jewelry Photography Apps for Android and iPhone
You may use a jewelry picture editing program to alter your photograph and apply jewelry effects to it. To experiment with different jewelry pieces in your photos without spending money, these applications might be beneficial.
While there aren’t many apps designed solely for this purpose, you can make great use of certain photography and editing apps to achieve professional results.
Here are a few recommendations for jewelry photography apps for both Android and iPhone:
- Snapseed (Android & iOS): A versatile photo-editing app developed by Google. It offers precise control over color and exposure, and it’s great for detailed editing work required in jewelry photography.
- Adobe Lightroom (Android & iOS): Known for its color correction and lighting adjustment features. It’s particularly useful for editing jewelry photos, as you can bring out the details and shine of the jewelry items.
- Adobe Photoshop Express (Android & iOS): Similar to Lightroom, this app provides advanced editing tools like spot healing and blemish removal that can be particularly useful for jewelry photography.
- Camera+ 2 (iOS) and Camera FV-5 (Android): These apps give you DSLR-like manual controls over your phone camera’s settings, allowing you to make adjustments that can enhance your jewelry photos.
- VSCO (Android & iOS): VSCO is not only great for applying artistic filters but also for basic editing tasks such as contrast, saturation, and brightness adjustments. It’s a user-friendly option for enhancing your jewelry images.
- JewelTrace (iOS): While this app is more of a sales and inventory management tool for jewelers, it also allows you to capture, edit, and share high-quality photos of your jewelry.
- Jewelry Photo Editor (Android): An app designed for adding jewelry to photos, but it can also be used to edit photos of actual jewelry.
However, I always try to use a clean, non-distracting background for my jewelry photos and ensure to have good lighting to bring out the sparkle in the jewelry. A macro lens for the smartphone can also be a great investment for close-up shots.
Besides, I found an interesting video that shows some guides on taking jewelry photos at home.
Conclusion
Gorgeous product images are the common denominator among the most significant online jewelry businesses.
This article will show you how to take jewelry photos for Instagram to help you sell your products and establish your business.
As your jewelry photography expertise grows, you’ll be able to include more and more creative aspects in your sessions.
You’ll quickly witness the rewards of your investment in high-quality images and the proper presentation of your jewelry in the form of increased sales and earnings.
If you’re interested in starting a jewelry business on your own, the following video gives the best guide for this purpose.
Justin Parker is a professional photographer and has been in the industry since 2007. He attended the University of Georgia. Justin combines his passion for photography and his interest in writing to give life to this blog which talks about photography in order to help and inspire young photographers.