Wanna capture star trails for your collection or get better engagement in your social media accounts? If so, this article will be useful for you!
I have collected some tips and tricks to capture the star trail photos from different cameras and angles. So, let’s get started and learn to take awesome star trail photos.
How Long Does It Take to Shoot Star Trails?
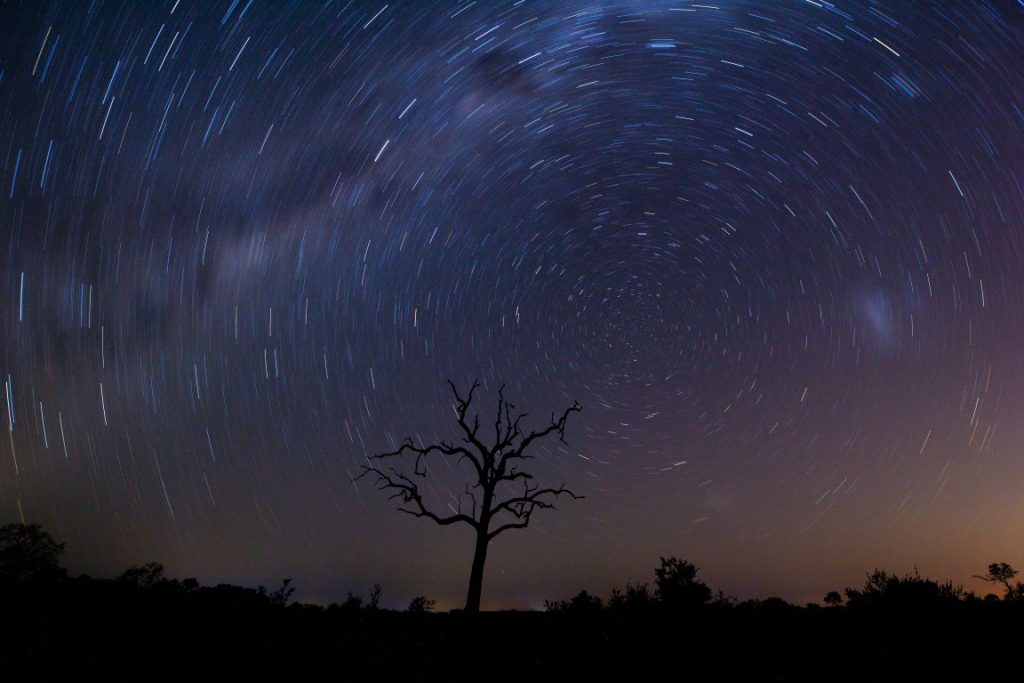
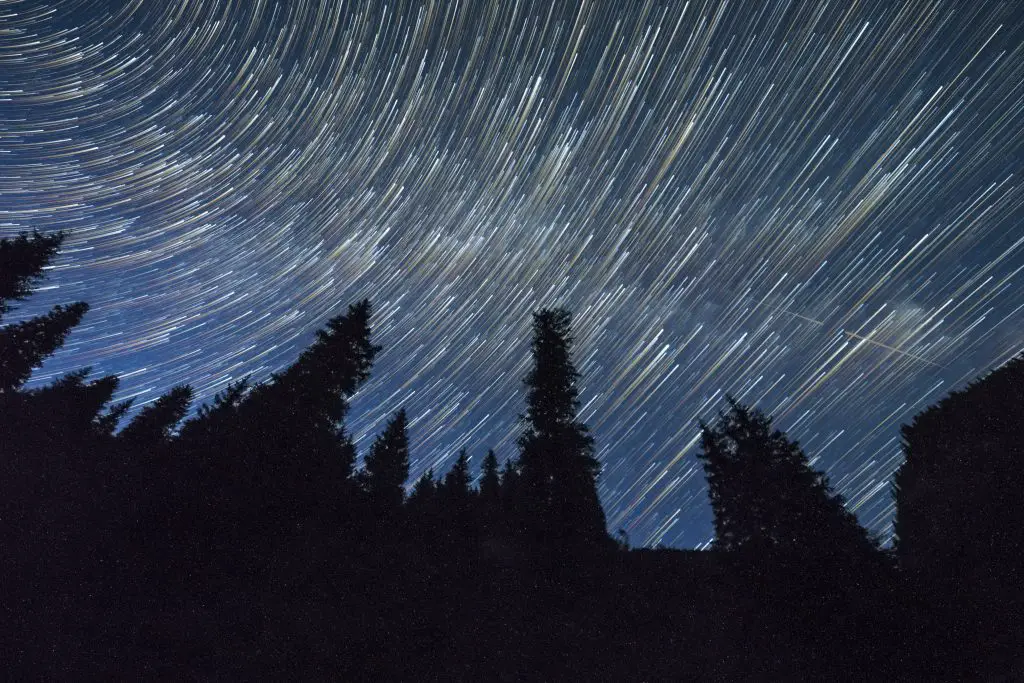
In simple terms, Star trail photography refers to clicking pictures of the star while they are moving in a similar direction, because of the Earth’s rotation, and you can see the movement of individual stars clearly at night.
If you want to know how long it takes to capture the star trails,
It depends on the camera and the angle of shooting the pictures. However, according to the experts and my research, you will need a minimum of 60 minutes of exposure to get the shot.
However, a 90 minutes exposure will get you better star trail shots in the night. If the surroundings and sky are dark, only you would be able to capture the perfect shots of the star trail.
Star Trail Photography Camera Settings
If you are looking to capture star trail photos, you need to set your camera accordingly as there are many things you need to set in a camera to capture the image like lighting, shutter speed, exposure, frame rate, and many more.
Let’s check out the camera setting of different cameras such as canon and Nikon to get clear images of star trails at night.
Here I am taking an example of Canon DSLR or Nikon DSLR camera settings for star trail photography;
1. Aperture/F-stop
Always start with the lowest aperture settings, as it will help in taking the best shot. Then, after every shot, increase your aperture setting by a little less the aperture setting.
The more will the wide open to allow the light to the sensor and lens.
2. Shutter Speed/ Exposure Time
If the exposure time is set for longer, the lens will capture more light. Shutter speed is important in night photography as it will help gather more exposure to light, color, and detail in dark surroundings.
According to my experience, the adequate amount of shutter speed is 30-60 seconds per exposure time.
3. ISO settings
After the shutter speed, ISO settings play an important role as ISO is like the light magnifying tool.
If the ISOs are set at high, the image will be brighter and more exposed to light. Therefore, to get star trail photography, you need to set the ISO from 300-800.
4. White Balance
The image’s background color depends on the white balance as it is responsible for creating warmer or cooler colors.
As per the experts, the perfect white balance for star trail photography is tungsten as it adds a crisp cool blue color to the sky and makes the star trail visible at night.
5. Bulb Mode
In your DSLR camera, you need to turn on the Bulb mode or B mode which allows the shutter to stay open as long as you click on the shutter button.
You need to be careful, too, as any movement during the long exposure will cause image blurring.
For star trail photography, you may need to open the exposure for more than 30 seconds as in many cameras; the default exposure time is till 30 seconds only.
6. Raw Mode
It’s better to take the image in RAW mode to adjust the mistakes later with the help of editing apps.
RAW files are higher in size, so ensure that your camera’s memory card has enough space to store the images.
7. Inbuilt Noise Reduction Settings
Turn off the Noise reduction settings as it causes too much time between the shots, and at the time of star trail photography.
It causes problems like the shots of the star won’t be connected in one trail but look more separated in the sky.
How Do You Take Star Trail Pictures with a DSLR?
If you have a DSLR, all you need to do is ;
Step 01:
Set the camera lens into normal focus and adjust the focus, which can close the distant objects clearly to you.
Step 02:
Next, select the shutter speed of up to 30 seconds and keep the aperture settings at the lowest.
Step 03:
Also, set the ISO to 1600 and click the best shot.
How to Edit Star Trail Photos?
Through my experience and research, I have gathered some editing apps which will help you edit your star trail photos perfectly with an adequate amount of light, color, and exposure.
- StarStaX
- Startrails
- Adobe Lighthouse
- Adobe Photoshop
This software is also available for Windows, Mac, iOS, and android. You can download them from a trusted website. Check out this video to get some insight into editing the star trail image.
How Many Photos Do I Need for Star Trail?
There isn’t a fixed ratio or count of photos you need for Star trail. In simple words, the more exposure you have, the longer your star trail will be.
If you are taking the star trail pictures for the first time, then I recommend taking at least 80-100 exposures.
You can take more than that and organize them in a folder. For example, if you want a shorter star trail, then you can delete some of the photos in between and organize your star trail accordingly.
How Do You Stack Pictures for Star Trails?
Stacking pictures for star trails means arranging the clicks so that it looks like a star trailing and is attractive to the viewer. Some software can help you stack the pictures for Star trail, allowing the overlay of images and combining details.
You can place the clicked photos on software like adobe lightroom or photoshop and then edit them together to get a clear view of the star trails.
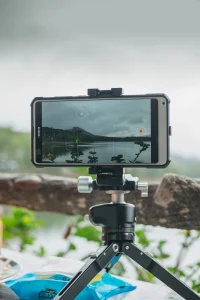
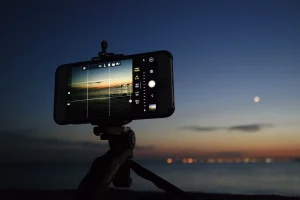
How Do You Take Star Trail Pictures with Your Phone?
Nowadays, many applications in smartphones support the idea of Star Trail photography.
You can also see the environment and lighting with the help of applications like NightCap Pro or SkyGuide, which helps in giving you the exact location of the stars as per the astronomical events.
To capture the star trail from your mobile, you need to follow these steps:
- Take a tripod and place your Smartphone on it as for star trail pictures, the camera must be still.
- Now you need to disable the vibration on the Smartphone while taking a picture as it can blur the image.
- The best alternative to take the picture is through Bluetooth remote control or voice assistance like ‘Hey Siri, Click the picture or from Google Assistance”.
- You can use a shutter delay of 10 seconds, mostly used in taking group selfies.
- Also, enable the night mode, which is now trending in every Smartphone, as it helps take the picture in low-light conditions.
- After that, you can check the picture and edit them with the help of the editing software that I already discussed above.
How Do You Shoot Star Trails on iPhone?
Here’s how you can do it;
- Download and open the slow shutter cam on iPhone
- Turn on the shooting mode to light mode
- Set the shutter speed up to 30 seconds and photo resolution to 12mp
- Mount the iPhone on a tripod and set your shot
- Set the timer and avoid the camera shaking and take the picture.
However, if this won’t work for you. So, don’t worry, I have more methods to take the best shot via iPhone.
Conclusion
That’s all! I hope the above guide has helped you know how to take star trail photos. It is true star trail photography is tricky, and if you want to capture a perfect star trail, you need to be patient and skilled in your work. So, let’s get ready and know and apply these techniques to know things better.
Justin Parker is a professional photographer and has been in the industry since 2007. He attended the University of Georgia. Justin combines his passion for photography and his interest in writing to give life to this blog which talks about photography in order to help and inspire young photographers.