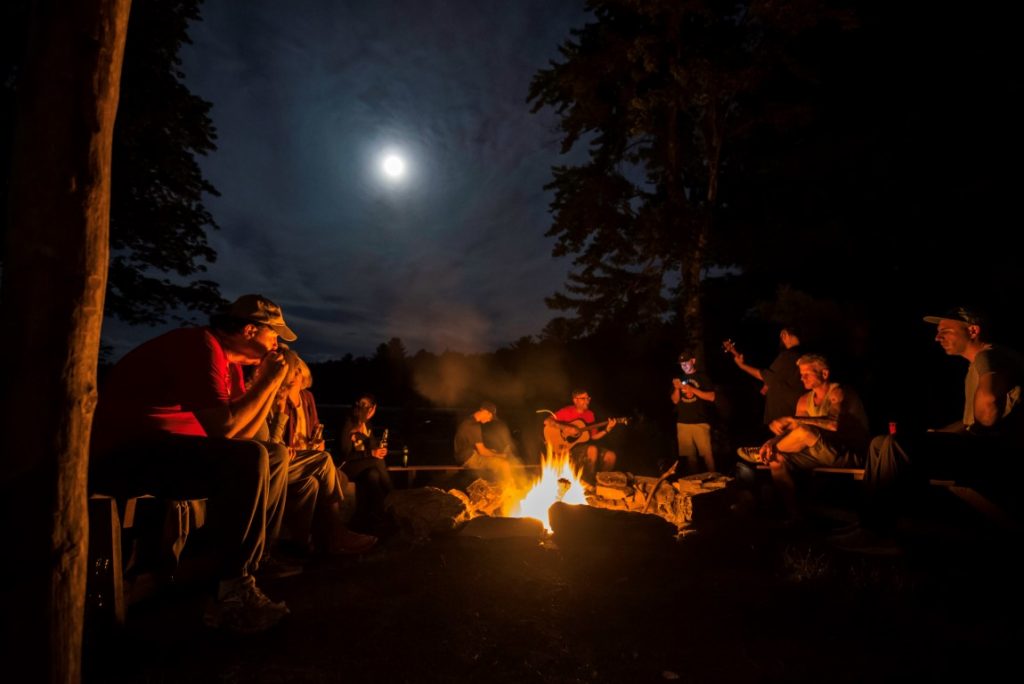
Camping is a fun experience that everyone should experience at least once in their lives. But capturing photos at night can be a little tricky, right? But worry not because we will discuss all the necessary tools for night photography.
Not just that, we will also talk about editing camp pictures and some tips and tricks as well. You will be fully prepared after reading this article. So let’s get started!
Complete Guide for Night Camping Photography
Let me take you through a procedural guide that will help you camp out in the night and click amazing pictures with it.
1) Necessary Equipment for Night Camping Photography
- First and foremost, a professional camera is a piece of essential equipment for clicking photographs, preferably a DSLR. Basically, a camera that has manual settings. Some famous DSLR brands are Canon, Sony, and Nikon.
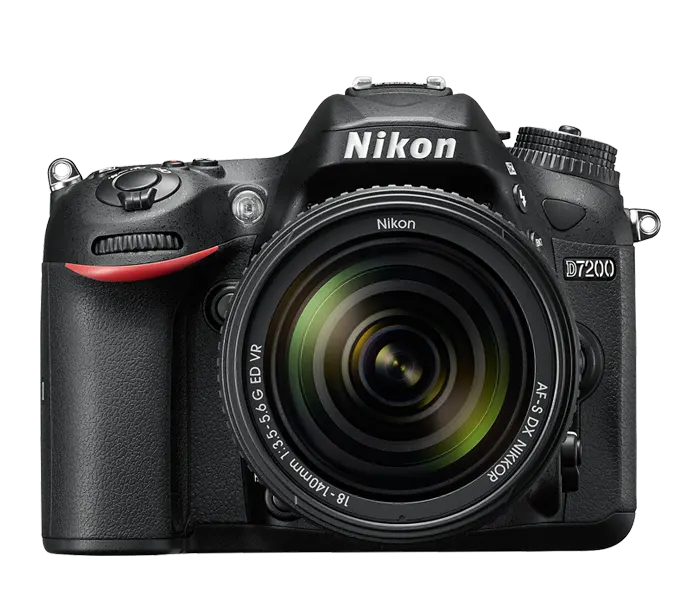
Source: nikonusa.com
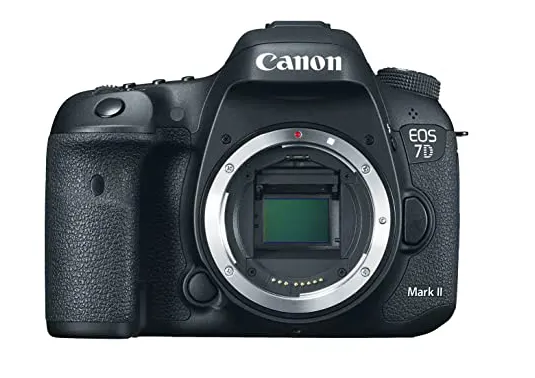
Source: canon.uk.com
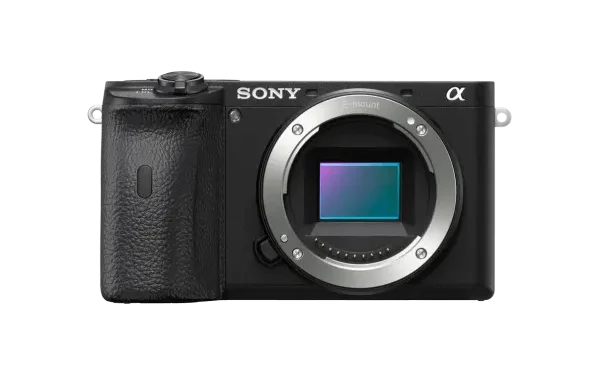
Source: electronics.sony.com
- A tripod stand or any object will hold the camera in place while you click a picture.
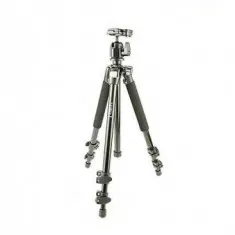
Source: cameralk.com
- Lens, preferably with a wide-angle, to click pictures of a whole scenic frame with absolute clarity. The wide angle should be around 10mm to 50mm.
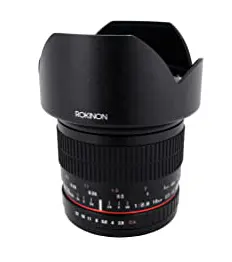
Source: amazon.com
- A shutter release remote will allow you to click pictures without touching the camera.
These remotes are basically connected from the camera’s port with a USB connection so that you can stand away from the camera and click the photo without disturbing the camera.
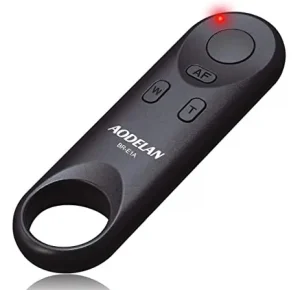
Source: amazon.com
2) What Should be the Selection Field for Night Camping Photography?
While deciding to photograph the night camp, you have to level up the field and prepare it according to your style. If you already have an idea of how to click pictures of the camp, you’ll understand what I’m about to explain below:
- Before going out camping, check the weather report to see if there are any chances of rain, snow, etc., that may hinder your photography session. Knowing the weather will also help you understand what tools you need to carry.
- Since capturing the moon is a given during night photography, check its rising time and setting time to know when is the best time to photograph the moon. This tip is crucial for all Selenophiles.
- Astronomy apps come in handy when you’re trying to locate the stars and the moon’s positions to click their pictures with your professional cameras.
- Polish the lens and the camera gear before going camping to get the best results.
- Check the camera settings carefully (ISO, Aperture, White Balance, HDR, flash settings, etc.).
- For clicking the most mesmerizing pictures, face the southward direction to find the Southern Cross.
- Balance the tripod with some heavy objects like a rock to keep it sturdy and stable.
- Set the camera to RAW quality so that you can edit them afterward.
- Take a few trials with the camera to get through with the camera’s settings.
- Do not use bright, White light; use a red or a night light to get crazy good images.
- Do not stick to three to four pictures but click a bunch of them so that you can select the best one among all of them.
3) Camera Setting for Photographing Night Camps
- Keep the camera at the RAW quality
- Set a manual focus and use it according to the need
- Put the camera in a 2-10 sec timer to click stable pictures
- Set the shutter speed to 20-30 seconds
- ISO has to be at 2000 to 3200
- The aperture can be set from f/2.8 to f/3.5
- Use the live view to reduce the shakiness of the camera
How to Edit Your Night Camp Photos?
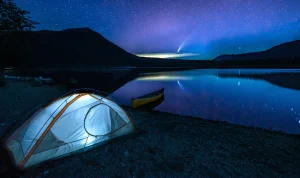
Editing may not be as easy as it seems since night photos have so many limitations. Therefore, the best editing advice that you can follow is:
- Have patience because your ordinary-looking night camp photo will change once you edit them.
- Use professional editing apps such as Lightroom, Snapseed, etc.
- Adjust the color temp according to the mood.
- Set the exposure without disturbing the natural lighting of the area and distorting the pixels.
- Create a dramatic photo by adjusting shadows and highlights.
- Balance the whites and blacks according to the picture.
- Go for color themes like monochrome.
How Do You Take Pictures of a Campfire at Night?
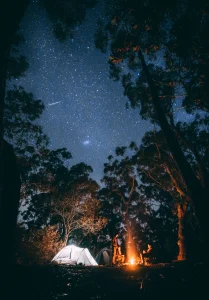
- First of all, always use a tripod stand to get the most stable and precise photos
- Keep a light source of your own such as a flashlight, a glowing light, etc.
- Keep the shutter speed at a low rate, i.e. 20-30, to get crisp and clean images
- If there are people involved, tell them not to move too much to ensure that the photos you click are focused and crispy
- Shoot the campfire in auto-white balance so that it can balance out the colors themselves
- Use a self-timer to not have to use the shutter button at all
- ISO should be kept at 100 to 200 so that you get beautiful frames against a black backdrop
- Experiment with different props like glow lights and no light
How Can I Shoot at Night without a Flashlight?
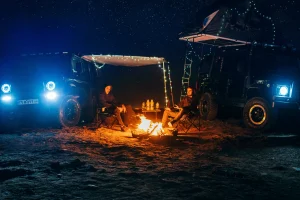
- Get creative with ISO to click the pictures in the surrounding lights without ruining the picture’s quality
- Set the aperture very low, like f/1.4, to get ample light
- Set the shutter speed at 30 seconds and above since the more time it takes to open, the more light it will capture
- Have a camera with a good image stabilization feature and use a tripod stand to click such pictures
- White balance can be kept at auto to click good pictures
How Do You Edit Pictures on a Campfire?
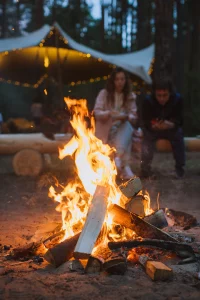
Let’s see how editing can improve a campfire photo’s quality.
- Enhance the color of the fire by adjusting the contrast, texture, and quality
- Set the picture’s color theme according to the photo’s mood and overall vibe
- Use HDR if lighting seems ineffective
- Set the exposure low to get the fire in all of its glory
Camping Photography – Hacks to Look Out for!
- Take the candids of the people that have accompanied you on the trip
- Capture the essence of camping in your photos and tell a story
- Keep your items clean and protected from mother nature
- Carry simple stuff only
- Click pictures in new compositions in new lighting
- Create a unique aura in your pictures
Conclusion
Night camping must be captured at all costs and what better way than to use DSLRs? All these professional cameras are equipped with just the settings you should have, and the supporting tools that come with these cameras save a ton of effort and space.
You can make the best of your camping trip even in the dark if you have the right tools and the will to click the most mesmerizing pictures. These photos will prove your excellence and a way to capture all the things you did in the camp regardless of the light.
Therefore, you can make the most of camping photography at night with the right tools and attitude! Have fun camping!
Justin Parker is a professional photographer and has been in the industry since 2007. He attended the University of Georgia. Justin combines his passion for photography and his interest in writing to give life to this blog which talks about photography in order to help and inspire young photographers.

