Are you as captivated as I am by dark photography? I’ve always been intrigued to know what happens behind those moody, dark-themed mobile phone or wine bottle photographs.
If you’re in that same phase of exploring the gothic grounds, you’ve stumbled upon the right article.
By the end of this article, I will unveil some juicy tips on how to make products pop out against a bold and attractive setting too. So, bear with me as I feed your dark soul!
What is dark photography called?
The term dark photography directly references the darker hues, tones, and colors that pop out in an image. On the other hand, these photos are also informally renowned as low-key photography. As dark-themed photos vitally use darker shades and tones, it might be intimidating to many.

However, the process of acquiring these magnificent pieces doesn’t necessarily have to be a nail-biter.
Think of your favorite dark-toned movie or photograph. Now imagine why these can easily objectify the subject while keeping the environment out of focus and in the dark.
Simply because you only require one bright light to shine upon the subject of your photograph. The darker tones will come easily once the glow is subtle yet brilliant enough to pop out the product.
With multiple trials and errors, you can accomplish these preliminary shots easily. This is what dark photography is all about. Rather than focusing on the dark background, focus your camera and lights on the subject.
Tips for Stunning Dark Photography:
A handful of components can turn an ordinary scene into compelling and stunning photographs when captured in a dark setting.
Let’s take a gander at these tips to discover how you can prosper in this genre of photography.
Camera –
For dark photography, the settings on your camera have to be manual. You need to set the camera settings at shutter speed, and aperture and change the ISO to gain the best results. Ensure that the camera is also attached to a hot shoe and a tripod mount.
Since the hot shoe is engaged to the flash and flash trigger, you can get optimum outcomes. Another component that could help you is IBIS, even though it isn’t a must-have. This technique will reduce the effects of a shaky camera.
Lenses –
The lens you choose will depend on the kind of capture that you aim for.
For larger spaces in a dark setting, you require a wide-angled 23mm lens. On the other hand, you need a 50-100mm lens for portraits in a darker ambiance.
Don’t forget to play around with the autofocus option based on the exact dark shades you require.
Tripod –
Tripods give users easy access to a fixed position without enduring shaky photographs. You can also opt for the slowest shutter speed with tripods. Therefore, if you’re opting for in-motion dark pictures, investing in tripods is a must.
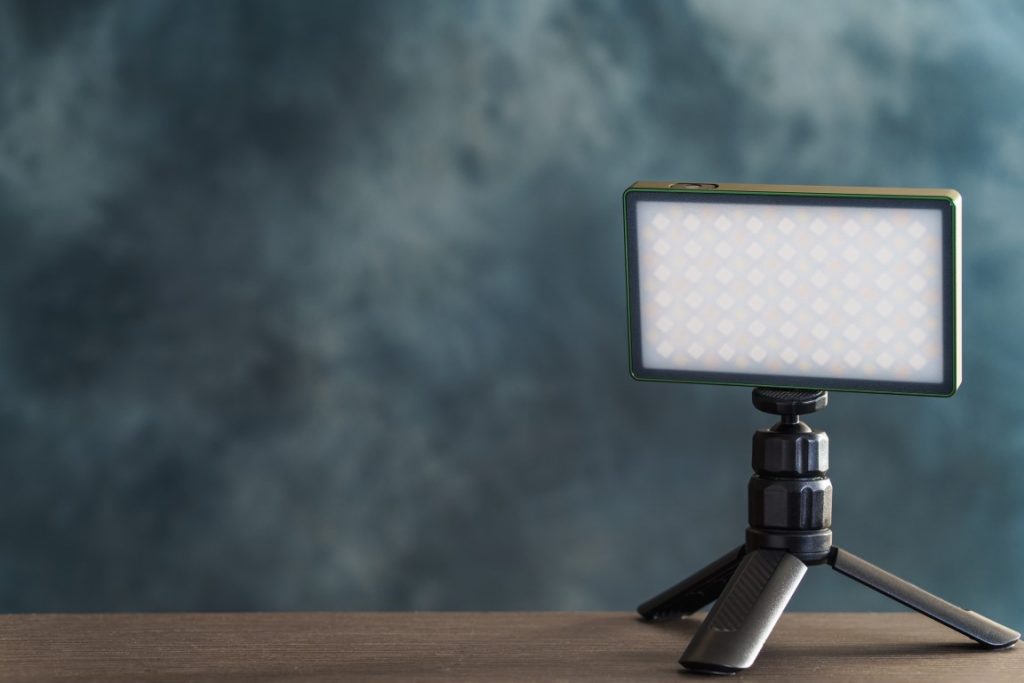
Flash –
A recommended detachable flash set is one of the first advanced pieces you might want to invest in for darkroom photos. It can give you enough control over the lighting and directions.
For heightened ease of use, try purchasing a flash trigger, too, so that you can use off-camera techniques and fire at any time.
Dark Room –
An easy and affordable dark photography setup keeps the environment dark. DSLRs can pick up even the thinnest rays of light if given the proper setting.
Therefore, to avoid unwanted highlights and manage the existing lights in the room, you can try out smaller areas with less to no natural light source. Rooms with dark blinds and curtains work too.
Light Sources –
To cast minimum light on the object, you need low-key lighting to create deeper shadows. Thus, you can use a single source of light with off-camera flashes to enhance the darkness. This composes a darker scene and depth to the stage.
You can also elevate this to multiple lights once you’ve grasped the single-light source technique. You can use multiple sources of lighting by attaching a flash trigger to the hot shoe. This will allow you to control and adjust the light settings accordingly.
Backdrop –
For portraits, a plain black backdrop should suit just fine. However, if you want the aesthetic levels to elevate further, you can try different textures.
Keep in mind that the color must be moody and dark, whatever the texture.
How to shoot Black Objects on Black Backgrounds:

Ready to know what goes on behind the scenes? Let’s take a closer look at how you can achieve a seamless gloomy photo without help and even at home.
Step 1 –
Set your camera and attach the tripods, flash, and other necessary equipment first. After you have the camera setting suitable for a dark photo, you can move to the next step.
Step 2 –
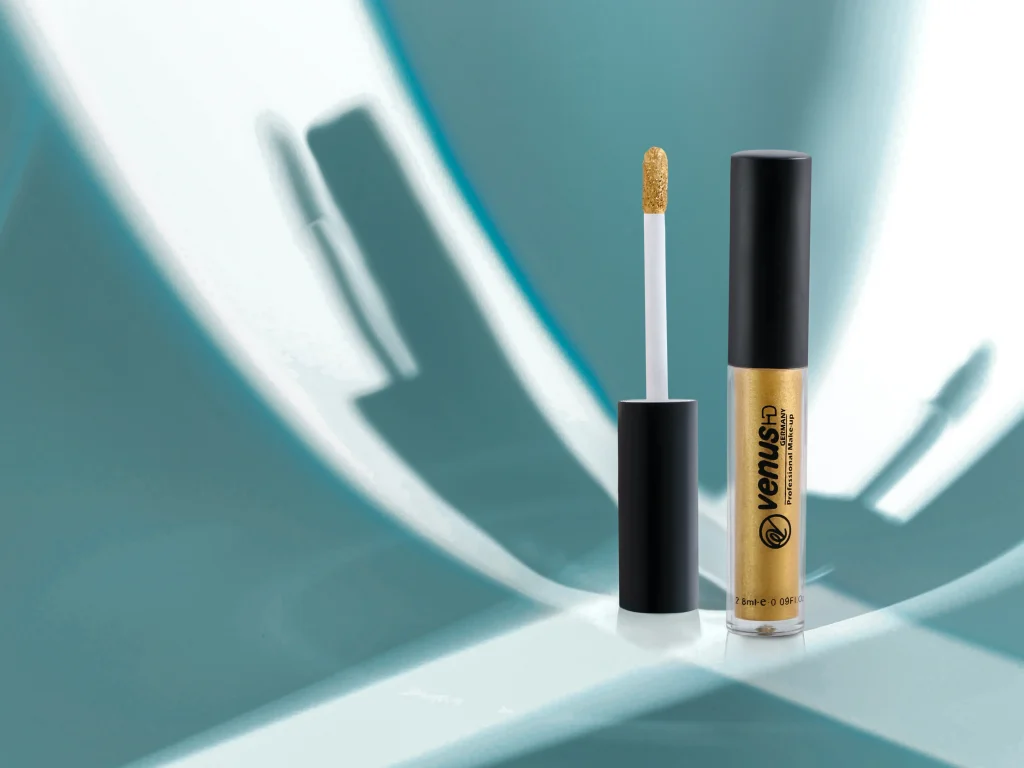
Clean the product before you begin and place it nicely where you want it. Place the subject on a black background or in front of the dark backdrop. Ensure that the subject faces the camera at an angle that shows what you’re trying to capture.
You can start working on the lights after settling into the direction you want them to be.
Step 3 –
You can shine the light from two angles, the front, and the sides, or at an angle in between both. Bring in your flash or even a garage light if you’re trying the cheaper way. You need to separate the object from your black background with a piece of white cardboard.
This step is necessary to clear out the object’s shape on the photo rather than look like a vast black mess.
Step 4 –
Place the white cardboard in a way that neither will it creates a fake silhouette nor intrude on the light. This stage might take a few trials and errors, but you’ll gradually grasp the concept once you move it around a bit.
The trick here is that the white cardboard is needed for the light to bounce off it and fall on the black object, glorifying all the necessary curves, edges, highlights, and shadows.
You can also choose a mirror instead of a whiteboard. Now the size of the mirror can vary from being massive to even the size of your fingers. It will depend on the object’s size.
Step 5 –
Lastly, you need to cut the light by putting a card to shadow the lens. This bit is vital to a dark photograph. It’s necessary to increase the contrast. Otherwise, you’ll end up with a shadow and highlight less photo, which is basically a regular photo.
Step 6 –
Now, you can use the trigger or a self-timer to click the photo. And voila! You have a perfect black-on-black picture.
If you want to style your dark photography with a little creativity, read our article. You can find all the product photography styles that can boost your sales in e-commerce.
Final Words:
Isn’t it interesting how this entire setup works behind capturing a rustic, state-of-art, dark, and sultry photo? With the steps and tips that I’ve discussed above, you can get started and capture darker pictures in any given setting.
The best part about darker images is that they’re extremely far apart from the light, airy ones that we see all the time. It’s intriguing and mysterious, and that’s why we’re so drawn to it.
Pro-tip: you can find the required setting for dark photos anywhere. You just need an eye for it, and you can sync your camera settings to tailor a dark photograph. It’s untrue that you need to break the bank for a solid, rich photo.
So what’s next? Get out, find your perfect scene, and get clicking!
Justin Parker is a professional photographer and has been in the industry since 2007. He attended the University of Georgia. Justin combines his passion for photography and his interest in writing to give life to this blog which talks about photography in order to help and inspire young photographers.