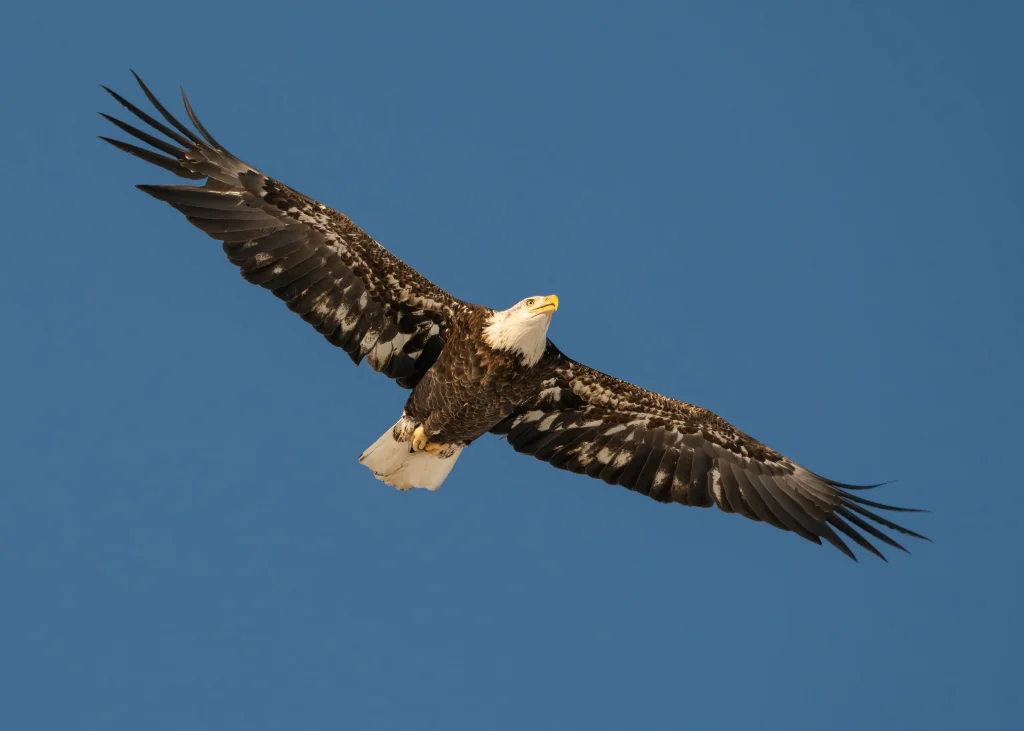
Sharp pictures of flying birds, they’re hard to take. Balancing a heavy camera with your hand isn’t easy, even more so to take clear pictures of moving subjects. So you might be asking, “How do I photograph a sharp flying bird?”
Besides the basics like balancing your camera, you should adjust it to its maximum aperture and have a high shutter speed. It’s best to always be in Manual Exposure and use an ISO to keep changing the shutter speed optimally.
It’s all a numbers and skills game. Which exact values should you be using?
Step By Step Guide to Capture Flying Birds
First, you should follow some structured steps to take the best pictures of flying birds. Let’s go over them one by one.
1. Equipment Needed
As far as equipment goes, you’ll primarily need two things —
- A super-telephoto lens for your camera and
- A tripod or monopod.
i) Super-telephoto Lens
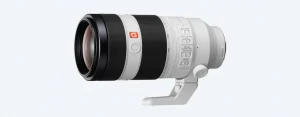
Source: sony.com
These are lenses ranging from 200mm and upwards of 600mm.
Super-telephoto lenses significantly pull in objects at a distance and magnify their image while not losing clarity.
And this is what we need when capturing birds at flight, high in the sky.
To get one, first, check if your camera manufacturer makes a super-telephoto lens of their own. It’s best to use theirs as it’ll be best integrated with your camera. But if they don’t, you can get by with some other super-telephoto lens.
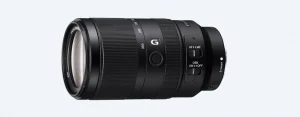
Source: sony.com
We’d recommend Sony’s Alpha, as it’s one of the best and works well with most Sony and similar cameras.
ii) Tripods & Monopods
Cameras themselves are heavy, and if you use a super-telephoto lens, the weight will increase even more drastically. It’s hard to balance so much weight on your hands and keep it still to get a clear shot.
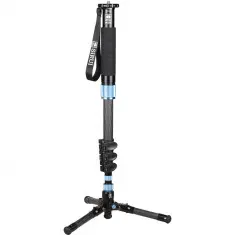
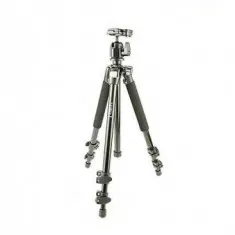
Monopods and tripods combat this issue perfectly. They’re relatively cheap and are one of the best investments to make in your photography gear.
Set either firmly on the ground for aerial photography of flying birds and point it upwards to the sky. We’ve recommended a tripod that you can move around and set at any angle, which will help you photograph flying birds.
2. Camera Settings for Flying Birds Photography
Now that we’ve got the equipment covered, let’s move on to camera settings. Let’s get the numbers out of the way first.
i) The Right Shutter Speed
As birds glide through the air super quick and swiftly, your shutter speed should be pretty high to catch up to them — anywhere from 1/1000th, 1/2500th, or even 1/3200th, if your lens can handle it.
Light is a significant factor as well. If there’s low light, keep your shutter speed just a bit lower, at around 1/1000th or 1/1500th.
Ensure, though, that your shutter speed doesn’t exceed the maximum range of your range.
Consider the example: if your lens is 500-2500mm, your shutter speed shouldn’t be any high than 1/2500th. Doing this might introduce fringing, giving you a blurry shot.
ii) Aperture Value To Set
The ideal aperture range for aerial photography ranges from f/5.6 to f/8.
This range allows for a high depth of field, properly bringing the bird into focus while highlighting essential parts such as the wings, body, and head.
Ensure you’re not going overboard, though. If your camera’s lowest aperture is f/5, it’s best to only go 2 to 3 steps higher. It means you shouldn’t exceed f/8 or f/11, which is around two times higher.
iii) Exposure Mode & ISO Settings
You should set your exposure mode to manual, which works best for most lighting conditions.
Being in manual means the background exposure might vary, but the camera exposure on the focused bird will always be a constant value.
As for ISO, it should be set to allow for high shutter speed. Your camera’s FPS (frames per second) settings should also be set to the highest possible.
How To Photograph Birds Against Bright Sky
It’s an infamous problem among photographers — keeping exposure right and photographing birds with a bright sky. You need to follow a few structured steps ;
1. Use Manual Exposure Mode
First, we’d recommend always being in Manual Exposure Mode to combat the issue.
Say you have a bird on focus in automatic exposure modes, and the background suddenly changes from dim to super bright. In this case, your entire exposure and shutter speed will get thrown off.
This issue doesn’t occur in Manual Exposure Mode, and your bird on focus won’t lose any exposure, although the background lighting changes.
2. Shoot In A Clear Sky
The second thing to do is photograph birds in a clear & white part of the sky. If you remove anomalies such as clouds and other aerial objects, you can better set a constant exposure.
That way, when you spot a bird, it won’t be difficult for you to capture it, although the sky is bright.
Tips To Get The Best Aerial Shots
To leave you off with something, let’s take a look at some tips so that on your next photographing session, you’re left with some of the best photos you’ve ever taken.
1. Find The Right Location
Capturing beautiful images of majestic birds starts with the correct location. The perfect place will have enough food resources for the birds to stay in.
In our experience with aerial bird photography, we’ve found lakes and large rivers to be the best place to find birds in large amounts and varieties.
The perfect lake will provide various angles to shoot at too. A lake’s glossy, watery finish makes the final image even prettier.
2. Disappear From The Birds Eye View
Going invisible is the final thing you should incorporate the next time you go out to photograph birds. Birds get frightened easily and won’t come near if they spot a threat from you.
You can hide under a bush or have green costumes to best blend with the surrounding environment. Setting food bait on the river bank is a great way to lure in the birds.
And If you can go unnoticed, the birds might come near you, and you’ll get some of the best and sharpest shots of your life!
Conclusion
If you came here not knowing how to take sharp images of flying birds, you must be leaving equipped to try the new things you’ve learned. Aerial photography is a sport we love and hold dear to us, so it’s our honour to be sharing our experience with you.
We’d like to suggest one thing at the end. Keep binoculars with you at all times when you go out for a photography session. Flying birds are hard to find as they’re so high up, even more in the bright sky. If you have some ‘oculars with you, you can spot them easily, set up your camera, and get shooting instantly! We wish you the best of luck.
Justin Parker is a professional photographer and has been in the industry since 2007. He attended the University of Georgia. Justin combines his passion for photography and his interest in writing to give life to this blog which talks about photography in order to help and inspire young photographers.