Fire isn’t something you should play with, but surely you can capture it!
Fire photography is quite famous during camping trips and Christmas time. It is dangerous for obvious reasons, but if you take precautions, you can have quite a blast with its photography.
In this article, I’ll talk about all the places you can photograph different forms of fire, as well as the appropriate settings for fire photography that have helped me capture perfect shots.
So, keep reading!
Camera Settings for Photographing Fire
Fire photography is alluring due to its vibrant, dynamic nature. However, its unpredictability and lighting variations pose unique challenges. To master it, one must adapt camera settings to capture its captivating beauty.
So, the key to capturing great fire images, in my experience, lies in carefully adjusting the camera settings.
Here are the proven settings for fire photography that you should consider using:
- Shutter speed should be set at a lesser time, meaning around 20-30 seconds, to get the most light in the photograph for good exposure.
- Buy a light source to maintain continuous and ambient light like focus, strobe, etc.
- Set the white balance on auto so that the colors and the brightness of the picture become balanced automatically.
- Put the camera on a self-timer mode so that you do not have to constantly faze the camera with your touch and risk blurring the images by touching the shutter button to click the picture.
- Adjust the ISO to 100-200, which is more than enough for the light to enter the frame.
- Use HDR for a dramatic twist to the colors of the photograph.
- Keep the exposure in the photo set on a low level so that you can get the actual colors of the fire.
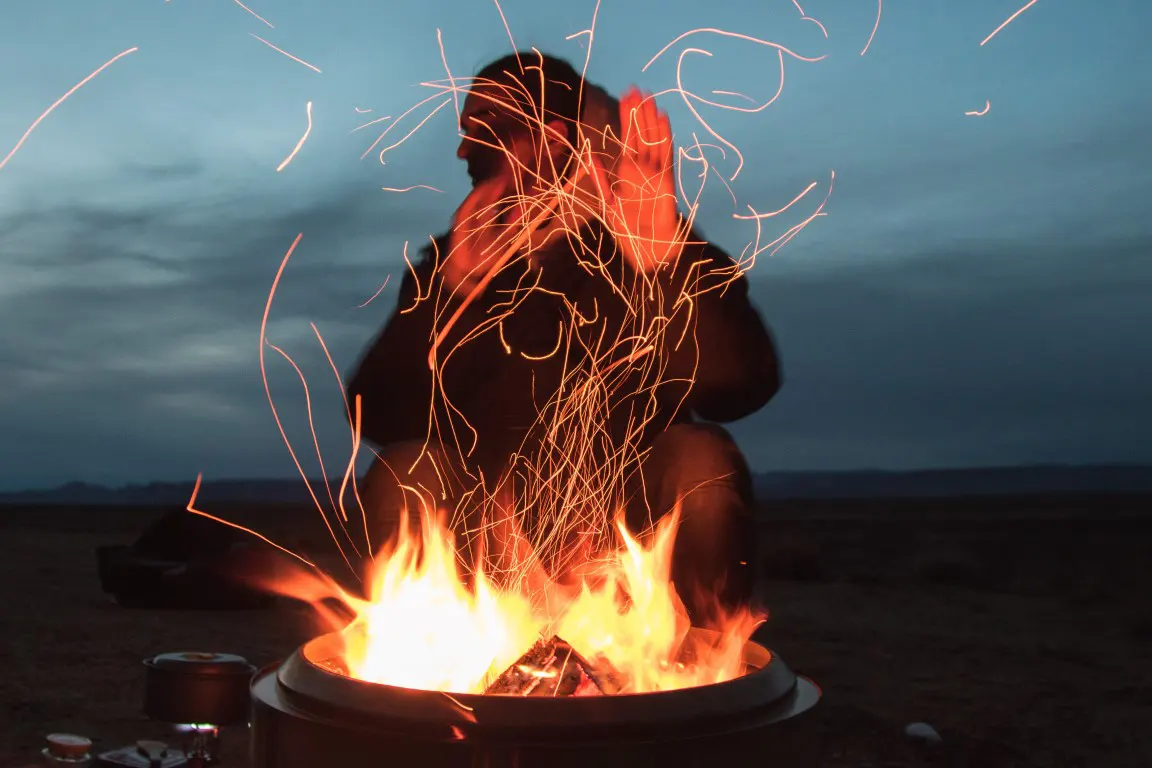
My Tips: When photographing a campfire, inform people if they’re in a frame so they stay still, ensuring the focus stays on the fire and lighting remains consistent.
Besides, I believe you’ve already read my previous article titled How do you take pictures at night camping: a beginner’s guide for capturing enjoyable moments with your bonfire.
How to Take Pictures of Fire from iPhone?
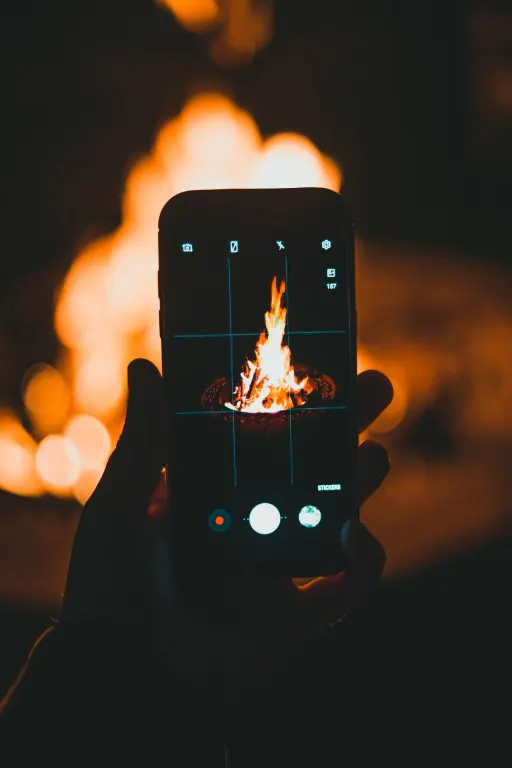
Through various trials with my iPhone in fire photography, I’ve discovered the following settings to be critical when utilizing an iPhone for capturing fire photographs by myself.
- When you keep the shutter speed at longer times, then the brightness is contained in the picture without disturbing the actual colors of the fire.
You can adjust the timer between 5 seconds to 30 seconds for a superb picture. - When you use a wide aperture such as f/2.8 or f/3.4, then you can capture the minimum light required to reach the frame and click an ambient picture.
However, if you still feel that the light is really less, then you can maximize the aperture accordingly. - ISO is usually set low for such pictures because you need the bright colors of the fire and a darker background.
But if you feel like the photo is just not bright enough, then you can increase ISO until you reach the level you desired from the start.
My Tips: Get creative with the lighting available around you and work according to the background involved.
How to Photograph Fire with Flames?
Fire is an excellent subject for capturing amazing pictures without actually needing much.
When capturing fire with flames, I consistently aim for creativity in my shots.
This approach allows me to highlight the fire’s vibrant flames while toning down the surrounding background.
So let’s get creative with the ideas below:
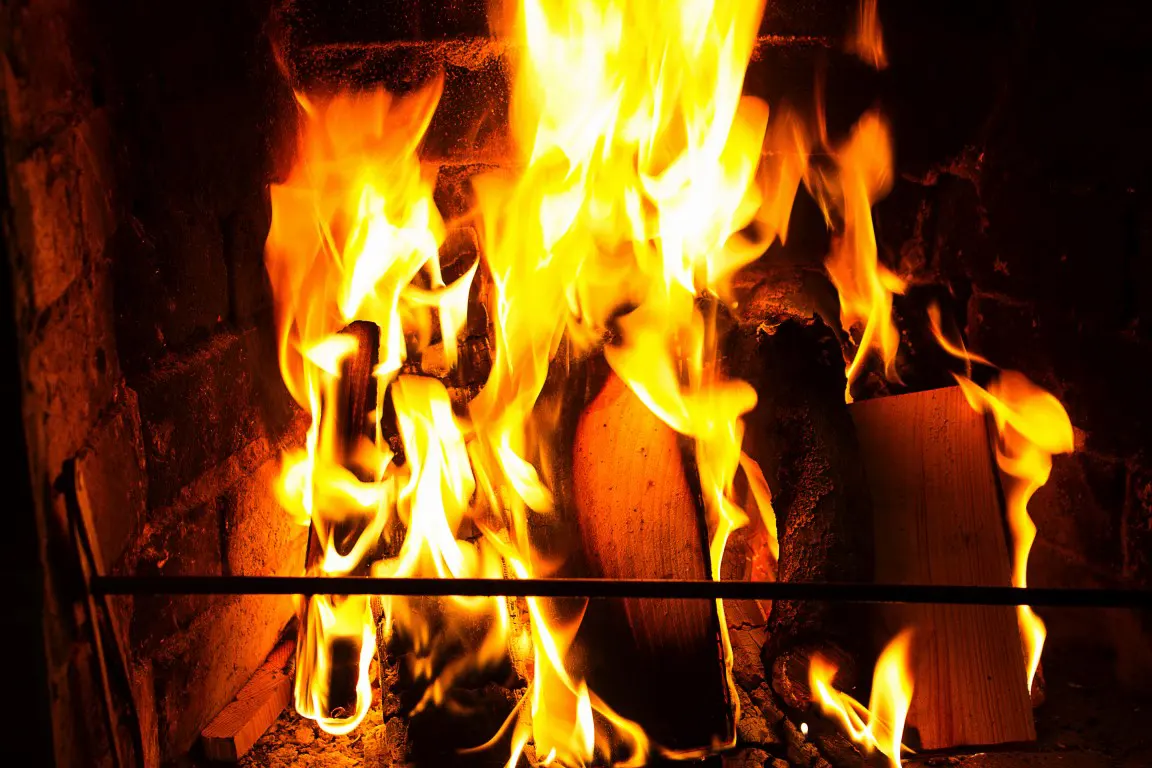
• Take Sharp Photos of the Fire

Landscape shots make for amazing photographs of the flames. You will have to use a narrow aperture for the same so that you can get darker images.
Use f/8 as a standard aperture for fire photos.
• Burry Fire Flames by Using the Long Exposure

Get creative with blurry photos by using the long exposure type of photography.
This way the movements of the flame would be enhanced and you can create shapes and letters with the same.
If you are new to the long-exposure photography technique, check out my previous article titled How do you take a long-exposure night shot? for a beginner’s guide.
• Make the Camera Movements
Keep the shutter mode at a slow speed so that you can quickly move the camera while you make the camera movements.
• Focus on Other Subjects with Flame in a Blur
Try to focus on other subjects with flame in a blur, like if you’re in a camp, blur the flames while focusing on the people in the background or vice versa.
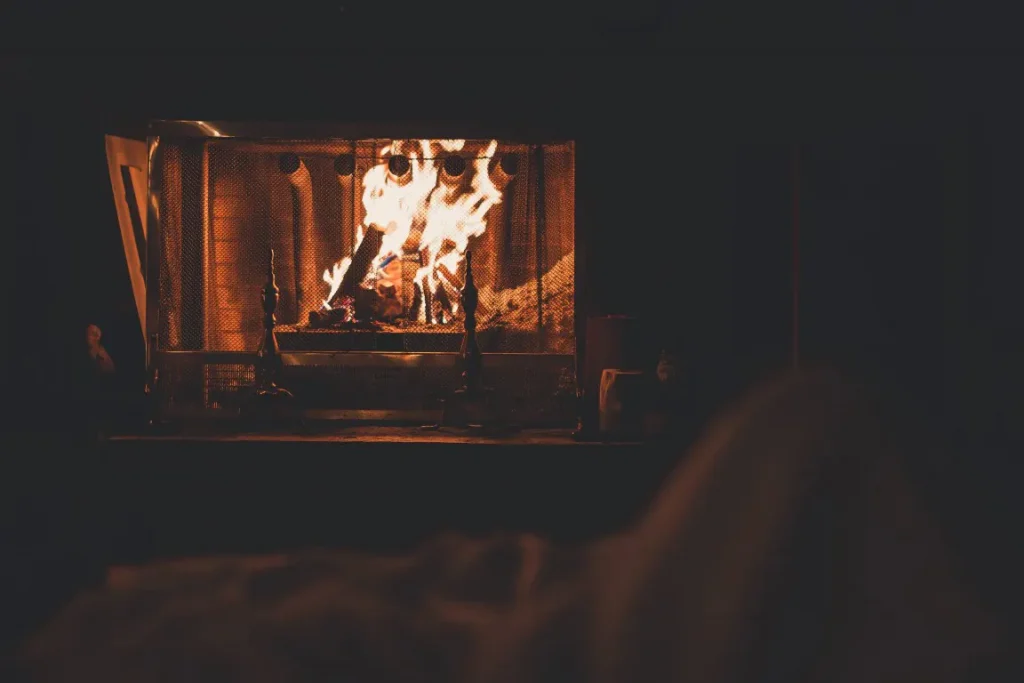
• The Fireplace with a Brick Frame
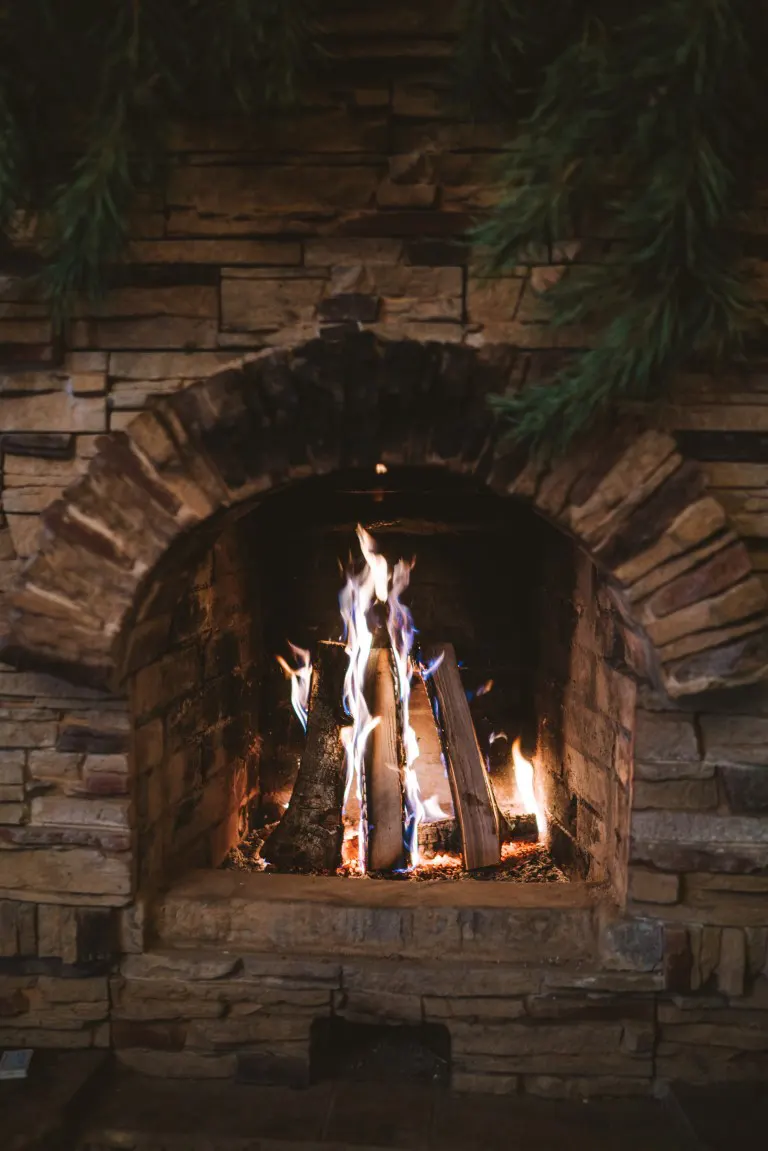
Take a full-on exposure picture of the fireplace at your home with the brick frame in the photo.
Create an aesthetic by focusing on the fireplace with a brick frame around it.
Fire Photography at Home
When considering fire within a home setting, two elements likely come to mind: a cozy fireplace and a lively barbecue.
You can click so many pictures with both of them as the main focal point of the picture.
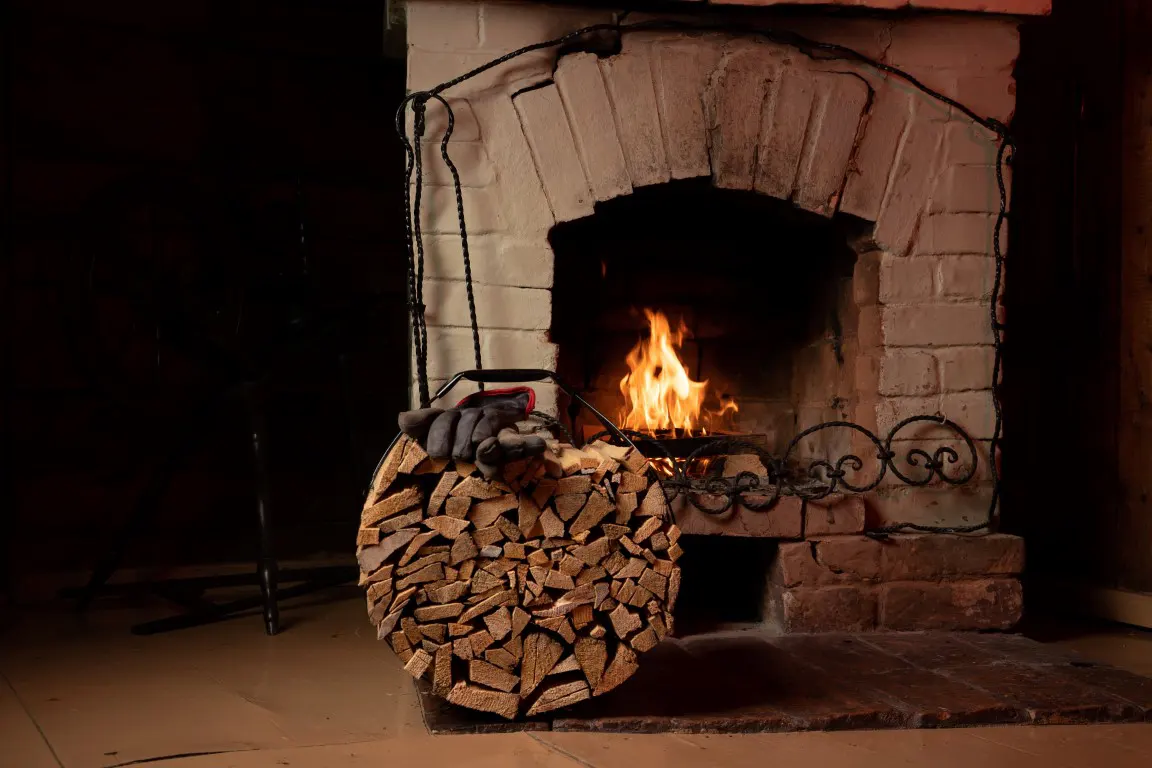
• Photographing a Fireplace at Home
If you have a fireplace, use your inner artist to take a picture where the fire of the fireplace is the focus of the picture.
Use Manual focus mode and tap on the little circle to focus on the full picture and get a crisp picture.
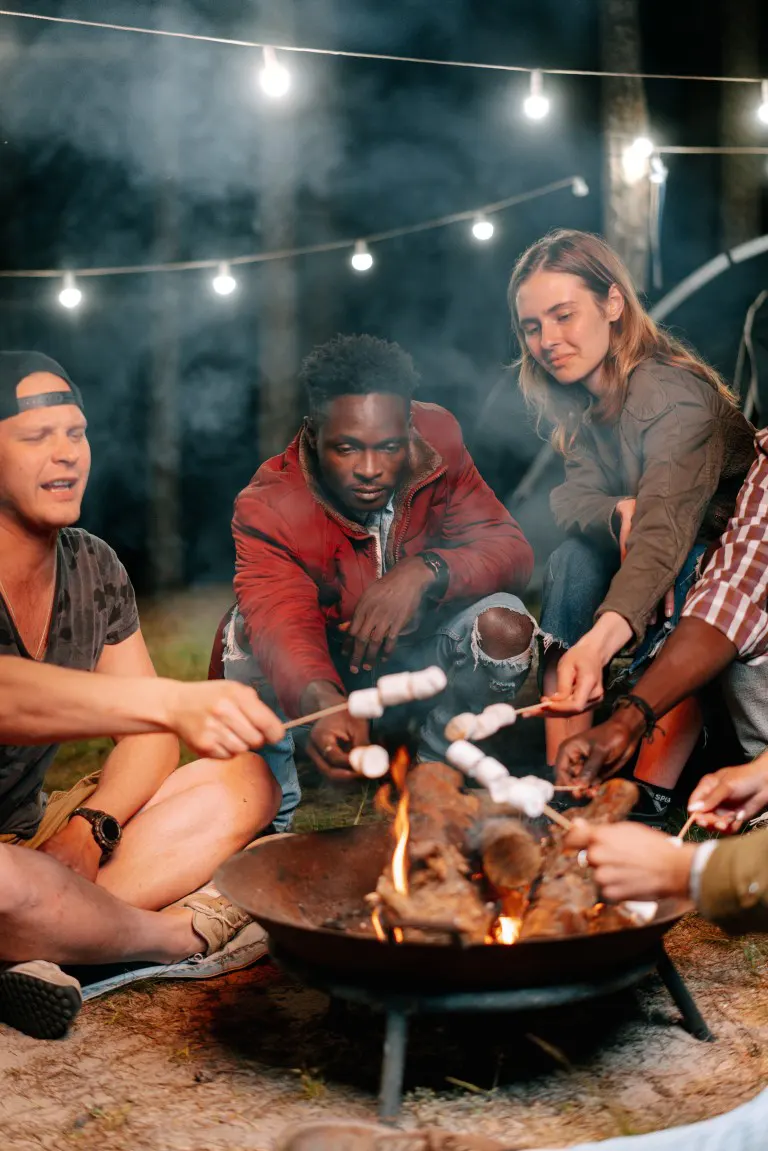
• At the Home Barbecue Area

When you have planned a barbeque for your family and friends, capture the essence of the activity and take a photo of the fire created from the barbeque.
The majestic flames created with it make for a mesmerizing photo.
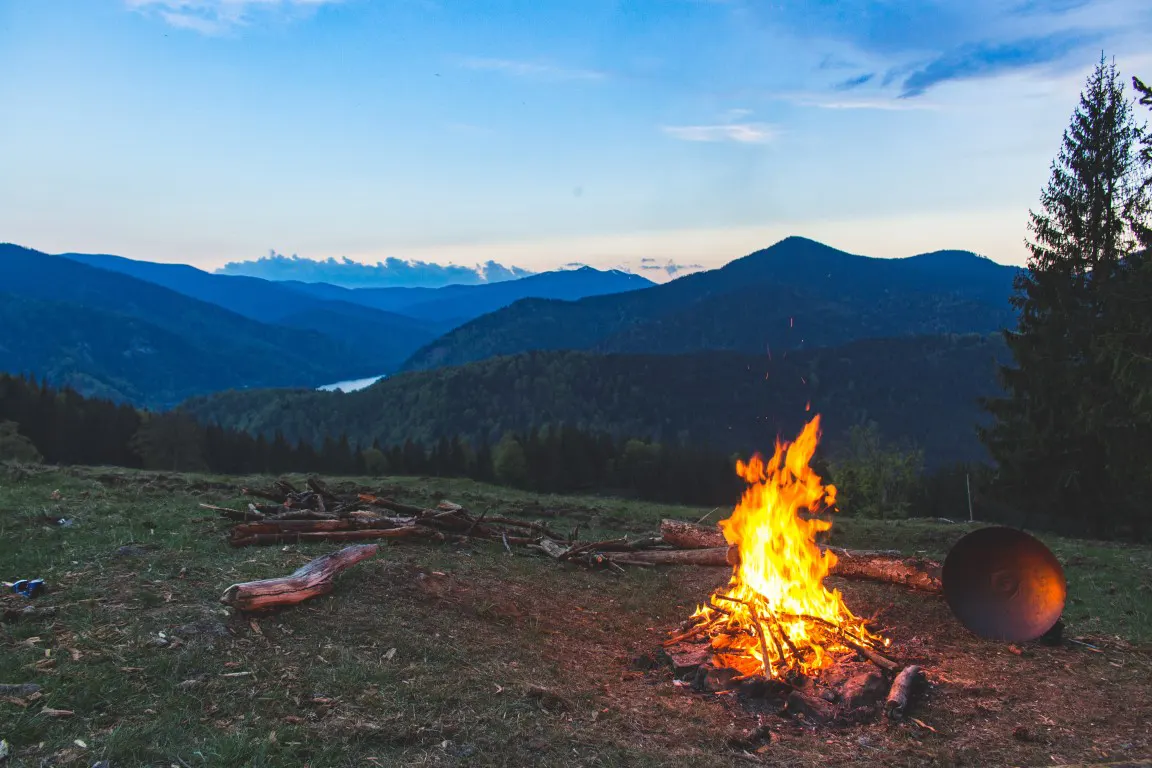
• Bonfire in Your Backyard
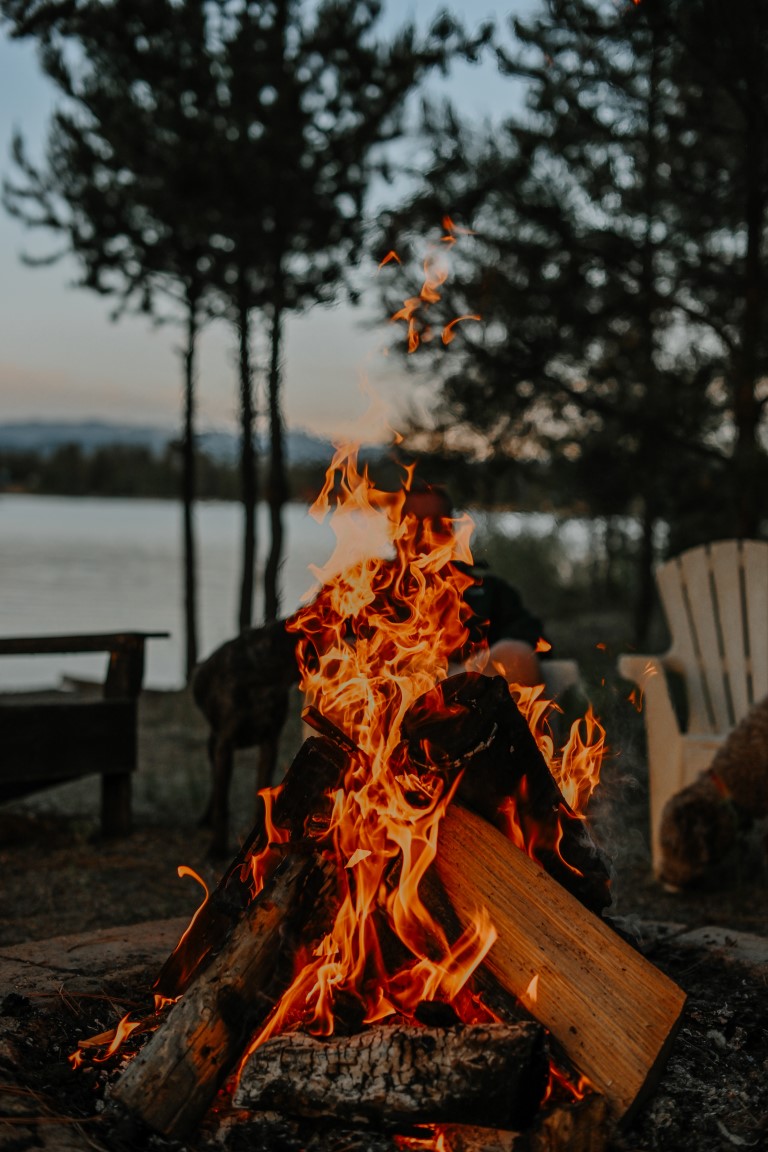
Create a bonfire in your backyard and treat the trees and the garden as your beautiful background.
You can use HDR to enhance the color of the flame with your garden as a greenish background.
Besides, for backyard bonfire photography, blur the flames and take a picture of the background with the shades of fire.
My Tips: Never use a flash of the camera to capture a picture as it would disturb the colors and temperatures of the photo.
Frequently Asked Questions
How Do You Take Pictures of Fire by Yourself?
Look for a subject first, like a fireplace or a bonfire in the backyard. Now, create a setup with focus lights around the background of the fire, or simply use the lights in your house.

After all, this is done, keep ISO high but shutter speed low and use long exposure. Also, remember to click photographs in RAW quality.
What Precautions Should You Take When Photographing Fire?
Drawing from my experiences of photographing fire during my adventurous journeys, I’ve learned that certain precautions are important to achieve the best results.
Here are my recommendations for you.
- Never come too close to the fire to take its photograph because you could risk ruining the lens.
- The sediments that the fire leaves behind may harm your lens as well as you when inhaled through breath.
- If you’re taking a picture of the fireplace, make sure that the camera you place has a wide-angle lens that can zoom enough without ruining the pixels of the photo.
One should always be careful when heat is anyway near the camera as it could serious damage. Not just the camera, but you should also take care of yourself and be careful not to be taken away in the experience.
Conclusion
In conclusion, I’ve explored various settings, techniques, and locations to help you capture the mesmerizing beauty of fire.
Whether you’re using a professional camera or an iPhone, or shooting a cozy fireplace, a lively barbecue, or a backyard bonfire, the key lies in understanding the unique nature of fire and adapting accordingly.
Remember, safety is paramount. As you embark on your fire photography journey, keep these tips in mind, experiment, and most importantly, enjoy the process.
Justin Parker is a professional photographer and has been in the industry since 2007. He attended the University of Georgia. Justin combines his passion for photography and his interest in writing to give life to this blog which talks about photography in order to help and inspire young photographers.