Snowboarding isn’t just an adventure extreme sport; it’s a canvas in motion.
Over the years, I’ve learned that capturing that perfect mid-air trick or serene glide down a snowy slope requires more than just a good camera—it’s about feeling the moment.
In this article, I’ll explore the ways to capture good pictures on a snowboard, along with essential snowboarding photography tips and techniques.
Keep reading!
What is Snowboarding Photography
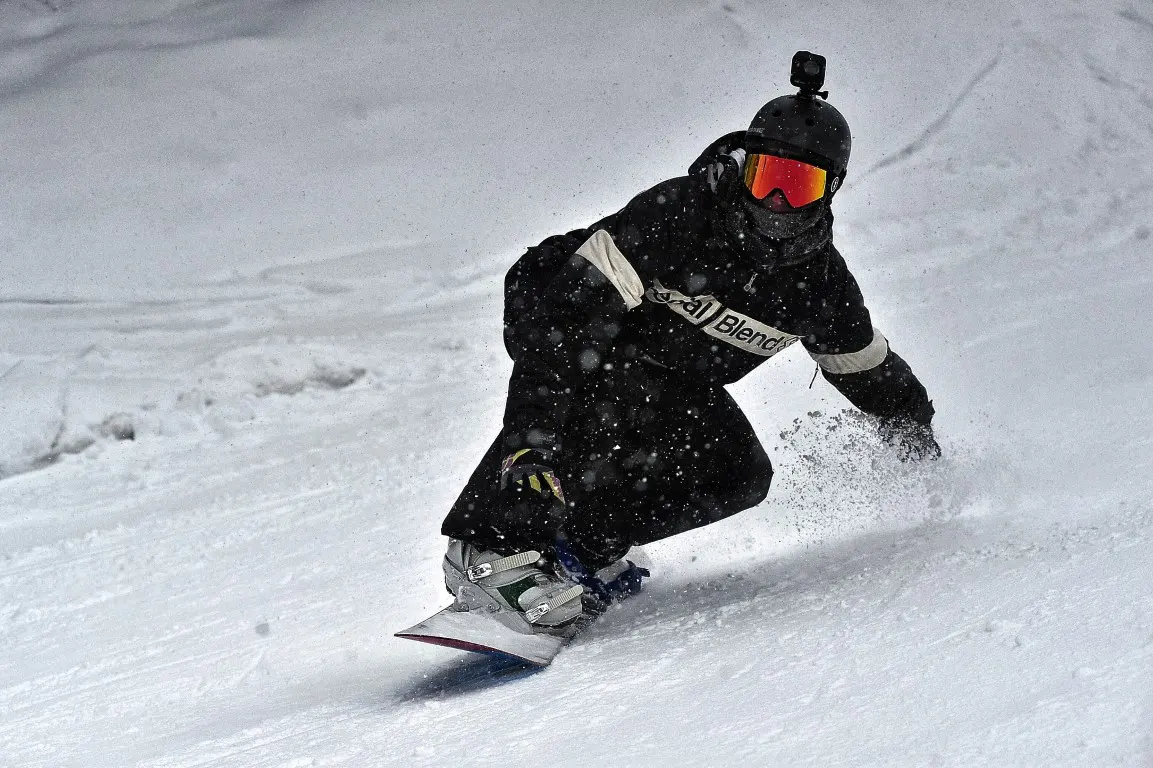
Snowboarding photography is the practice of photographing snowboarders in action, highlighting both their skills and the surrounding snowy landscape.
Having spent countless hours on snowy slopes, I’ve come to appreciate the intricacies of snowboarding.
Every stance, trick, and style tells a story, and as a photographer, it’s my job to narrate that story through my lens. It’s all about being in sync with the snowboarder and anticipating that perfect shot.
Let’s go through each essential phase of photographing snowboarding.
Essential Camera Settings for Snowboarding Photography
When taking good pictures on a snowboard, requires more than just an eye for action; it demands precision in camera settings.
So, I ensure my camera is configured correctly, as it can be the difference between a blurry snapshot and a breathtaking capture of a snowboarder in motion.
The following settings are worth considering when you are capturing snowboarding.
· What Shutter Speed is Needed for Snowboarding?
In my experience, a fast shutter speed is non-negotiable. I typically go for at least 1/1000th of a second to freeze the action.
· What is the Best Setting for Snowboarding Pictures?
The reflective nature of snow can be tricky. So, I often overexpose by a stop or two to ensure the snow retains its pristine whiteness.
· What is the Best Color for Snowboarding Photography?
I’ve seen many snowboarding photos with a blue tint. A simple adjustment to the ‘Cloudy’ white balance setting usually does the trick for me.
Besides, when capturing action shots of snowboarding, it will be more beneficial to refer to the guide on camera settings for action shots before you shoot.
My Go-To Equipment When capturing Pictures of Snowboarding
A robust DSLR has always been my companion. Given the unpredictable nature of snowy terrains, I ensure my gear is weatherproof.
Besides, if you’re looking to capture snowboarding moments while enjoying the ride yourself, I recommend the following cameras for snowboarding photography:
These cameras not only deliver high-quality images but are also designed to withstand the harsh conditions of the snowy outdoors. It’s crucial to invest in weatherproof and shockproof gear, ensuring your equipment remains functional and safe.
For lenses, a variety of options can capture dynamic shots, from wide-angle to telephoto, depending on the desired perspective.
My Tips: My trusty 70-200mm lens rarely lets me down, and for those breathtaking aerial shots, I turn to my drone.
I found a useful video that does a nice comparison between the GoPro Hero 10 and DJI Action 2 for skiing. It will be beneficial for you too when choosing your camera for snowboarding photography.
Setting Up The Shot
Before any shoot, I spend time scouting the location. The backdrop, be it mountains or forests, plays a pivotal role.
Lighting, as any photographer will attest, can make or break a shot. I’ve found the soft light during the golden hours to be magical.
And angles? They’re everything. It’s about finding that sweet spot that does justice to both the snowboarder and the environment.
Advanced Snowboarding Photography Tips
Composition is where art truly comes into play. The rule of thirds, leading lines, and framing have always served me well.
I love playing with colors—the stark contrast between a vibrant snowboard and the white snow can be mesmerizing. Sometimes, I go wide to capture the vastness; other times, I zoom in to catch the intensity in a snowboarder’s eyes.
Besides, with the following advanced tips, you can elevate your snowboarding photography to professional levels.
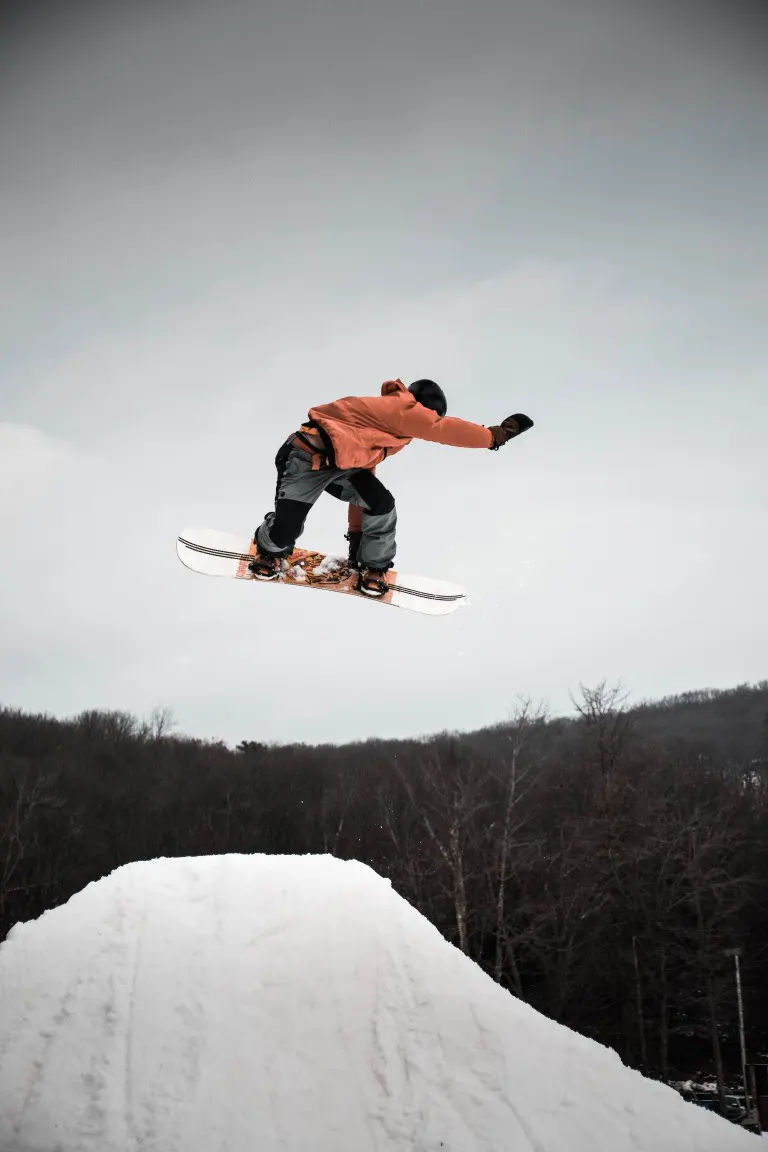
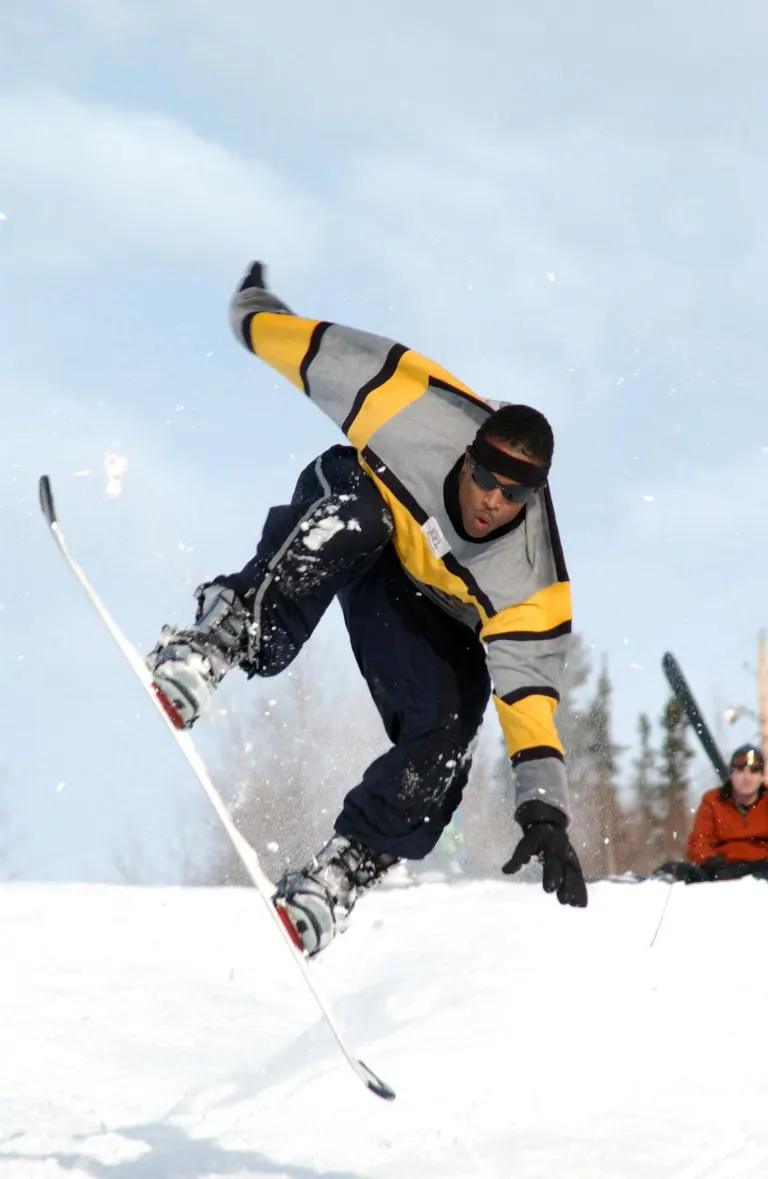
· Learn to Predict A Snowboarder’s Moves
This will help you be ready to capture high-intensity moments, like jumps or tricks.
· Use Burst Mode
The Burst mode allows me to take multiple shots in quick succession, ensuring don’t miss the perfect moment.
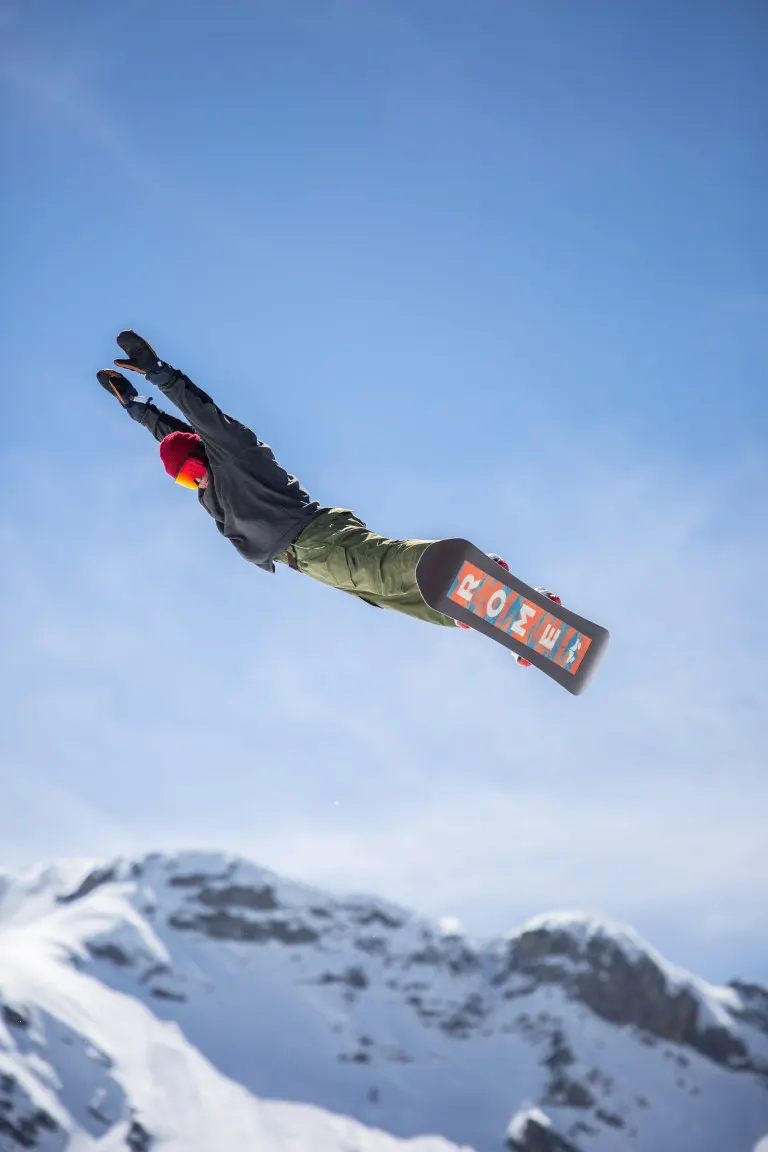
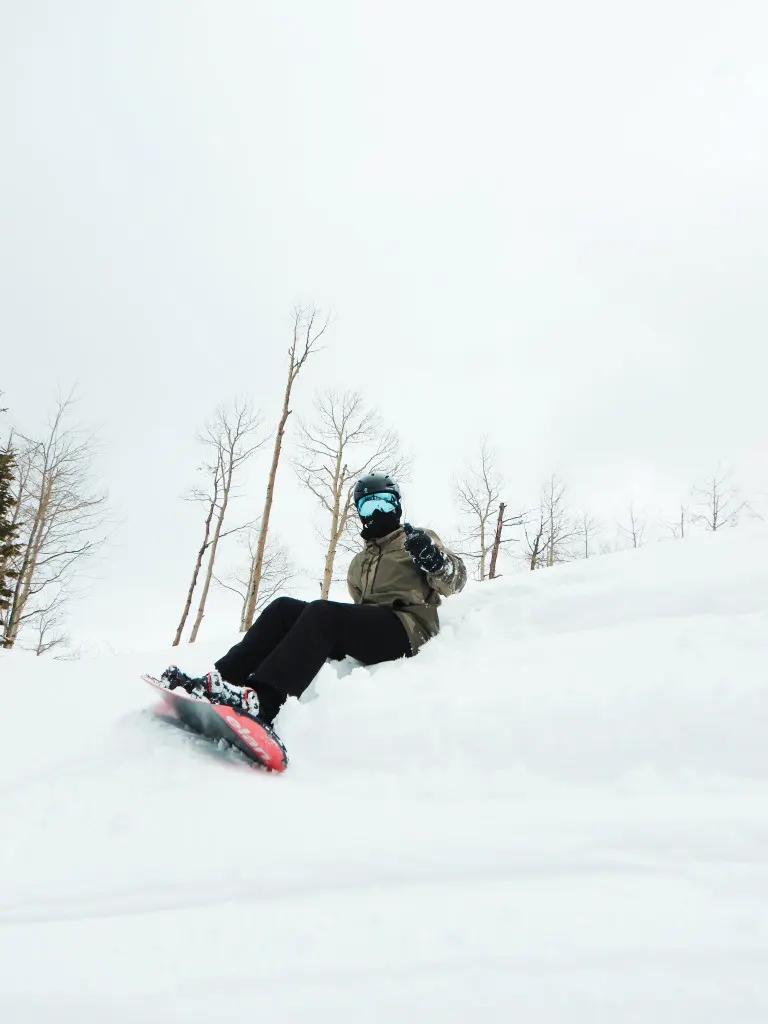
· Play with Shadows
Snowy landscapes can create dramatic shadows. So I use them to add depth and contrast to my shots as in the above picture.
· Experiment with Angles
Don’t just shoot from eye level. Try different perspectives, like low-ground shots looking up or high vantage points looking down.
· Depth of Field
Use a shallow depth of field to make the snowboarder stand out against a blurred background, or a deep depth of field to capture the vastness of the landscape.
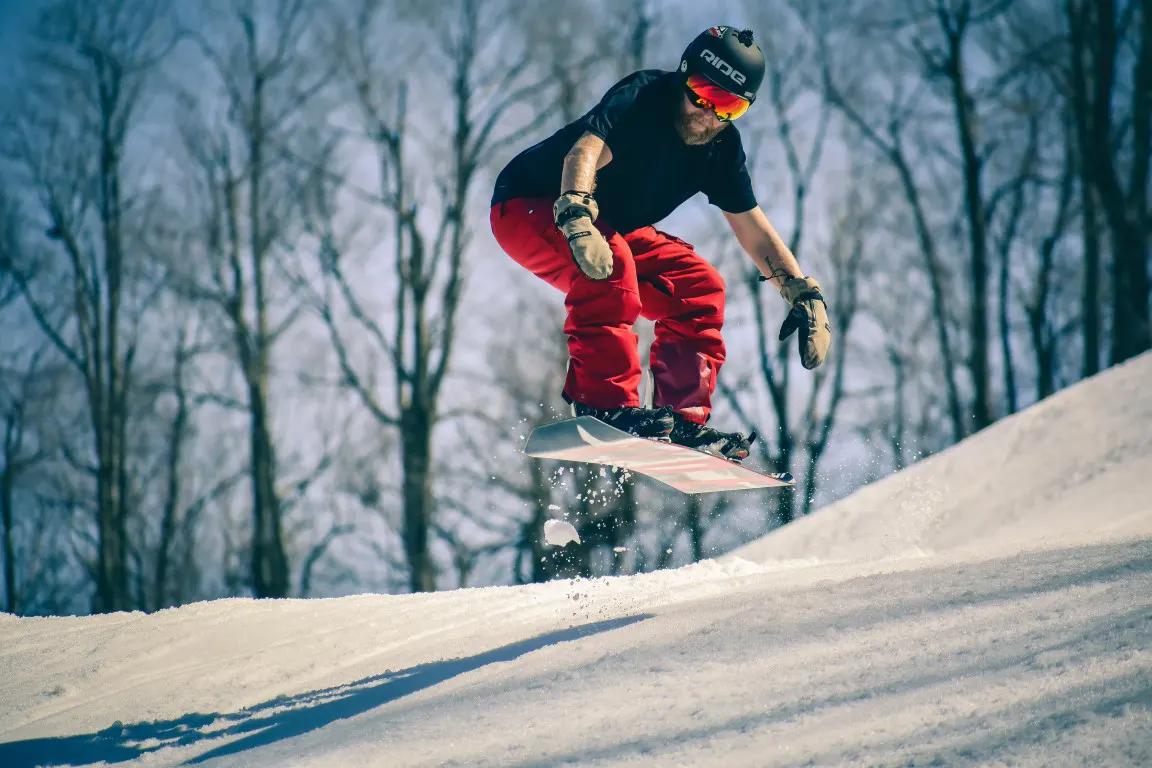
· Pan with the Action
Use a slower shutter speed and move your camera along with the snowboarder. This creates a sense of speed with a sharp subject and blurred background.
· Continuous Autofocus
This will help your camera keep moving subjects in sharp focus, especially during rapid descents or tricks.
· Backlighting
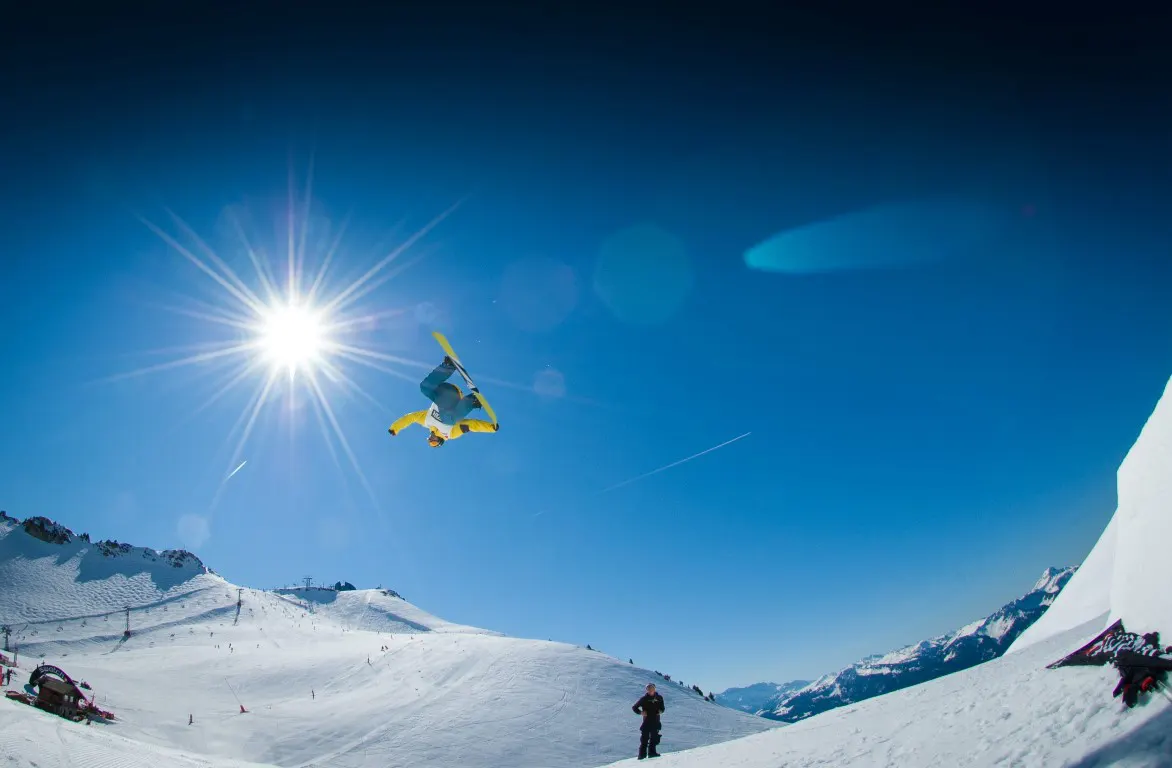
Position the sun behind the snowboarder to create a silhouette effect or to illuminate snow particles in the air.
· Use Filters
Polarizing filters can reduce glare from the snow, and neutral density filters can help manage bright lighting conditions.
My Tips: Ensuring your equipment is safe from snow and moisture is crucial. Use lens hoods to prevent snowflakes from landing on your lens.
Safety First, Always
Having been on both sides of the lens, I can’t stress enough the importance of safety. My gear is always protected, and I’m constantly aware of my surroundings.
Collaborating closely with snowboarders ensures we get the shots we want without any mishaps.
And for those looking to turn their passion into a profession, my advice is simple: build a strong portfolio, network relentlessly, and never stop learning.
Conclusion
In the quest to answer ‘How Do You Take Good Pictures On A Snowboard?’, I’ve discovered that snowboarding photography is a harmonious blend of art and technique.
It’s about capturing the essence of a thrilling sport against nature’s majestic backdrop. I believe you have already referred to my previous article name on extreme sport photography tips for a basic understanding of snowboarding as an extreme sport in photography.
Moreover, with the right equipment, settings, and a keen eye for detail, every shot can tell a compelling story. It’s not just about the camera—it’s about the passion, the moment, and the story waiting to be told.
Besides, if you’re a snow adventure lover like myself, you might be interested in ski photography too. Check out the article How do you get cool ski photos, for your guide.
Justin Parker is a professional photographer and has been in the industry since 2007. He attended the University of Georgia. Justin combines his passion for photography and his interest in writing to give life to this blog which talks about photography in order to help and inspire young photographers.