Nowadays, astrophotography in the city become a challenge because of the presence of light pollution, which can wash out the stars and other celestial objects, making them difficult to see and photograph.
As you know, urban areas are typically full of buildings and other structures. So they can obstruct the view of the night sky, making it harder to find a suitable location for astrophotography.
The purpose of writing this article is to provide tips and techniques for astrophotography in the city, helping you to overcome the challenges of light pollution and other obstacles and capture stunning images of the night sky in urban areas.
End of the day, you can learn how to choose the right equipment, find the best locations, and use the right shooting and editing techniques to create beautiful astrophotography images in the city.
How to Prepare Astrophotography in the City.
Let’s try to know how to prepare for an astrophotography journey in the city.
You don’t need much but let’s get to know about essential things first.
A Camera
I recommended using a camera that has good low light capabilities and the ability to manually adjust settings such as ISO, aperture, and shutter speed.
A DSLR or mirrorless camera is ideal. I normally used DSLR.
However, recently I tried CCD cameras for photographing night sky objects in the city. The main advantage of CCD is its sensitivity.
Lens
Imaging from home can be challenging due to the presence of light pollution.
Using fast lenses like f/1.4 or f/1.8, or a fast telescope that is f/5 or under can make a significant difference in your astrophotography.
With a fast instrument, you will be able to capture more data in each frame, which will have a positive impact on your final image once stacked.
These are my favorite lens that I used in my journey.
- Canon EF-S 24mm f/2.8
- Rokinon 10mm f/2.8
- Samyang 14mm f/2.4
- Canon EF 50mm f/1.8
- Samyang 135mm f/2
Optional Equipment (My Choices)
There are several non-essential but some items that can improve your astrophotography experience, and they come at different price points. Here are some examples:
Spare batteries: long exposures can drain your camera batteries quickly, so having a spare one or two on hand can save you from frustration.
Intervalometer: some astrophotography techniques require taking pictures at regular intervals. While some cameras have built-in intervalometers, an external one is often easier to use.
Apps for exploring the night sky: knowing what to look for in the sky can be challenging, but using apps like Stellarium (free) or PhotoPills (paid) can make it easier to plan and execute your astrophotography sessions.
Star-tracker: this device is mainly used for advanced deep-sky astrophotography and is not necessary for regular wide-angle shots. However, it can be an expensive but worthwhile investment for taking your astrophotography to the next level.
Do you have any idea about Star- Trackers? If your answer is No, the article on budget astrophotography star tracker for you.
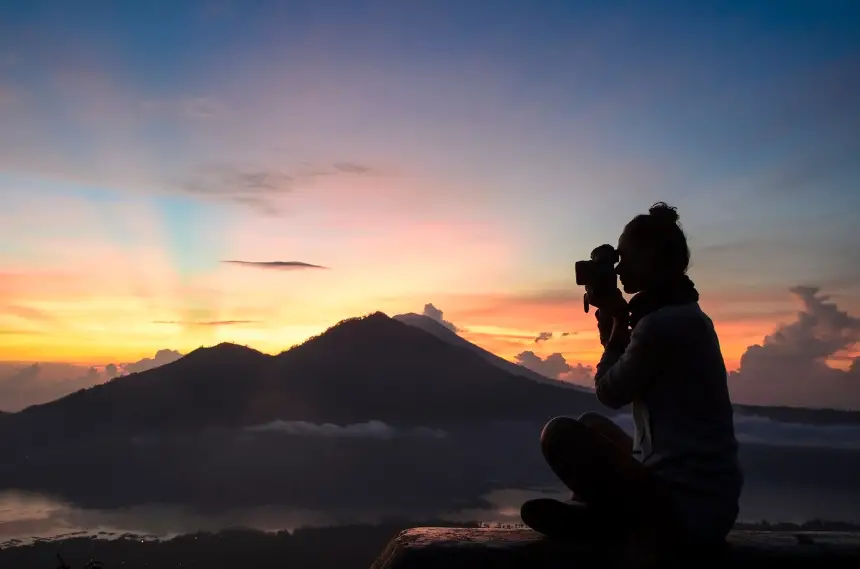
After identifying the essential equipment I think you should know well about your location.
- Research Your City – Find out about light pollution levels in your city, and look for areas that are less affected by it. Check out online light pollution maps or apps to help you find a good location.
- Find a Dark Spot – Look for a location with minimal light pollution such as parks, lakes or other open areas, away from street lights, buildings or other sources of artificial light.
- Check the Weather – Make sure to check the weather forecast to avoid cloudy or hazy nights that can obscure the stars. Also, check the moon phases to avoid shooting during a full moon, which can also add to light pollution.
My Astrophotography Targets When There’s Light Pollution
I think this is a time to discuss about what you can do in terms of astrophotography in an a light-polluted area.
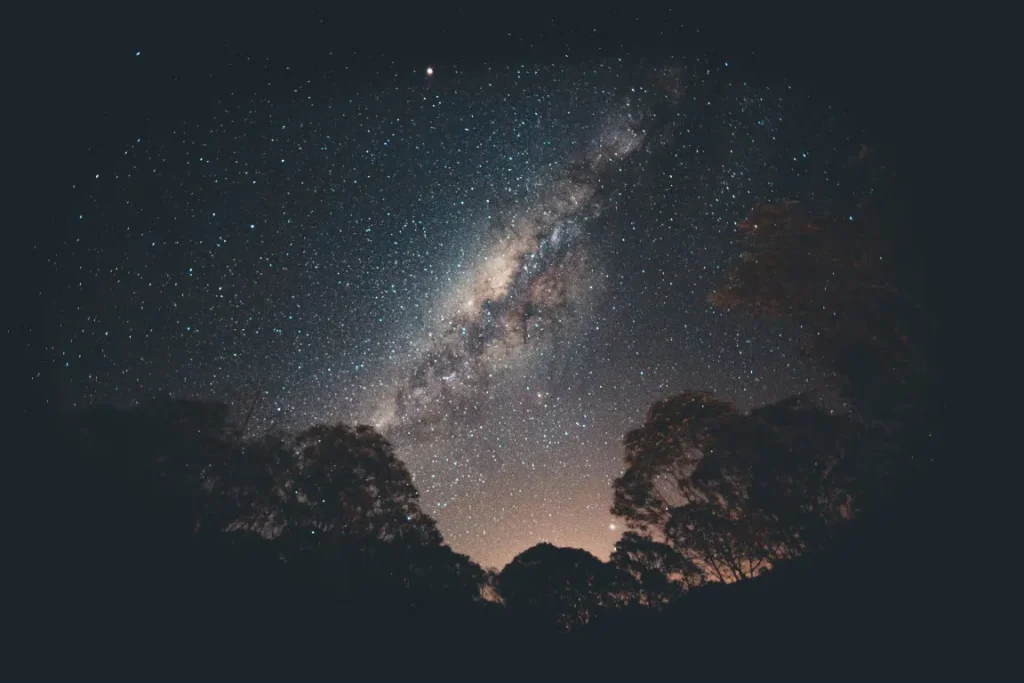
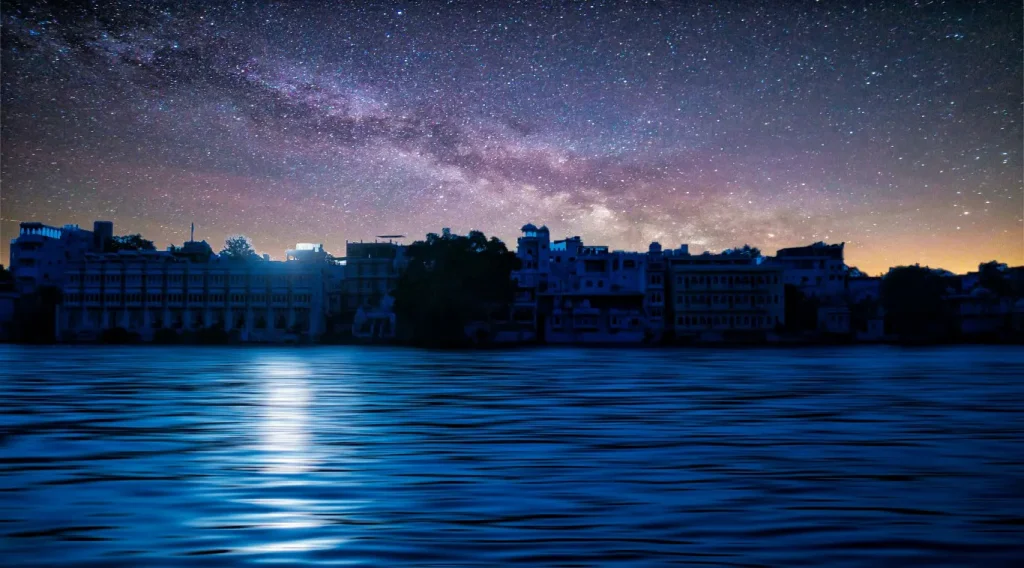
Unfortunately, it’s impossible to get a good picture of the Milky Way in an area with light pollution.
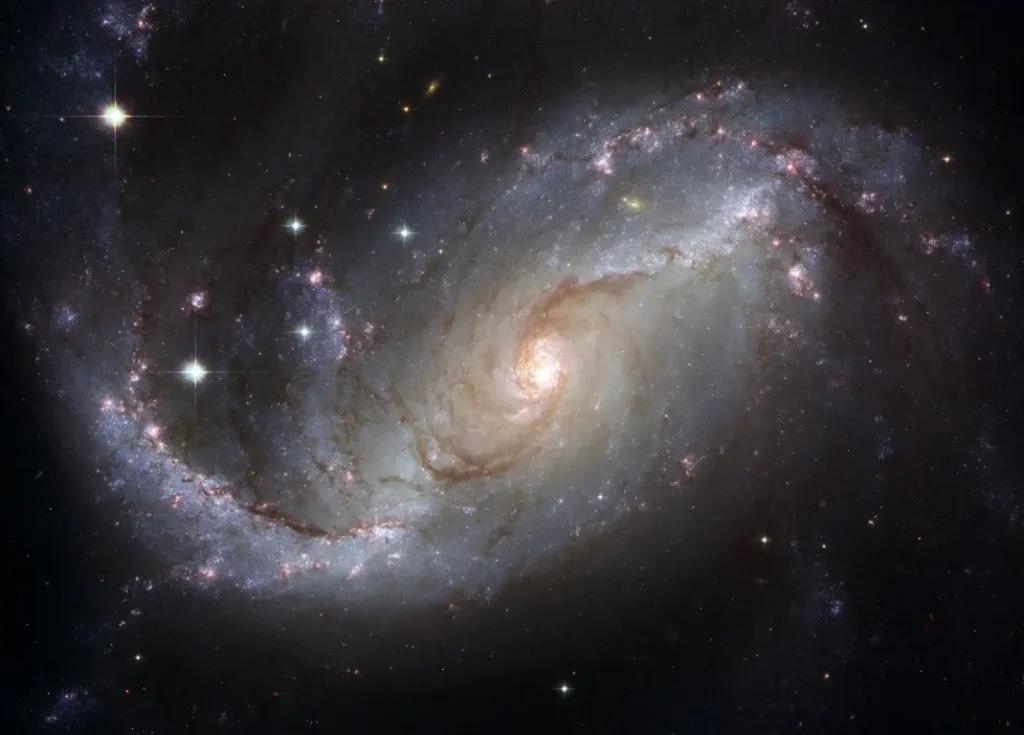
While some deep-sky objects, such as emission nebulae, may require expensive and specialized equipment such as modified astronomy cameras, narrow-band filters, and telescopes,
but, still there are many fascinating objects and phenomena that can be observed and photographed without more accessible gear. Let’s explore some of these possibilities now.
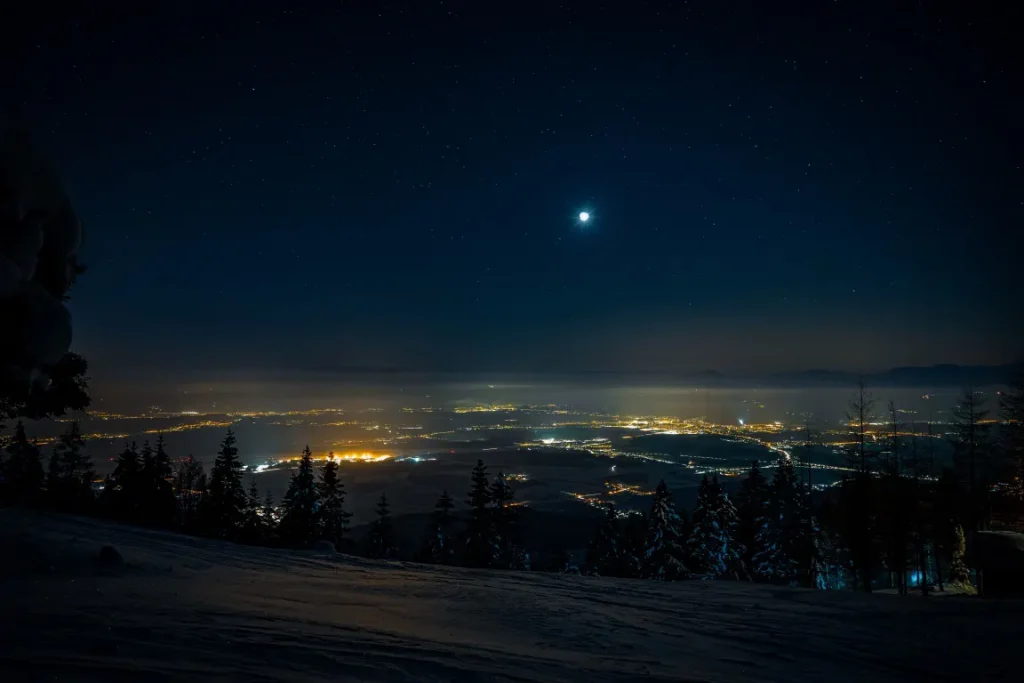
Starry Night Scape
A great option for night-time photography is to capture a city skyline while incorporating the night sky. To do this you can achieve using a wide-angle lens and a shutter speed faster than 25 seconds.
How I do a night sky landscape photography shoot in a light polluted area?
It’s best to start shooting when the sky is dark enough to reveal some stars, and I suggest shooting during the “blue hour,” which occurs approximately one hour after sunset, when the yellow street lights complement the blue night sky.

Star Trails
The easy wide-angle astrophotography in the city is star trails. This happens when lots of pictures of the night sky are taken at regular interval (i.e. a timelapse) for a long period of time.
As the Earth is slowly rotating, the stars will appear like they are moving across the sky in a circle. If you include a nice background for your star trail images it is really fantastic.
If you are interested to know more about long exposure star trails photography. I have already wrote an article about my long exposure astrophotography techniques.
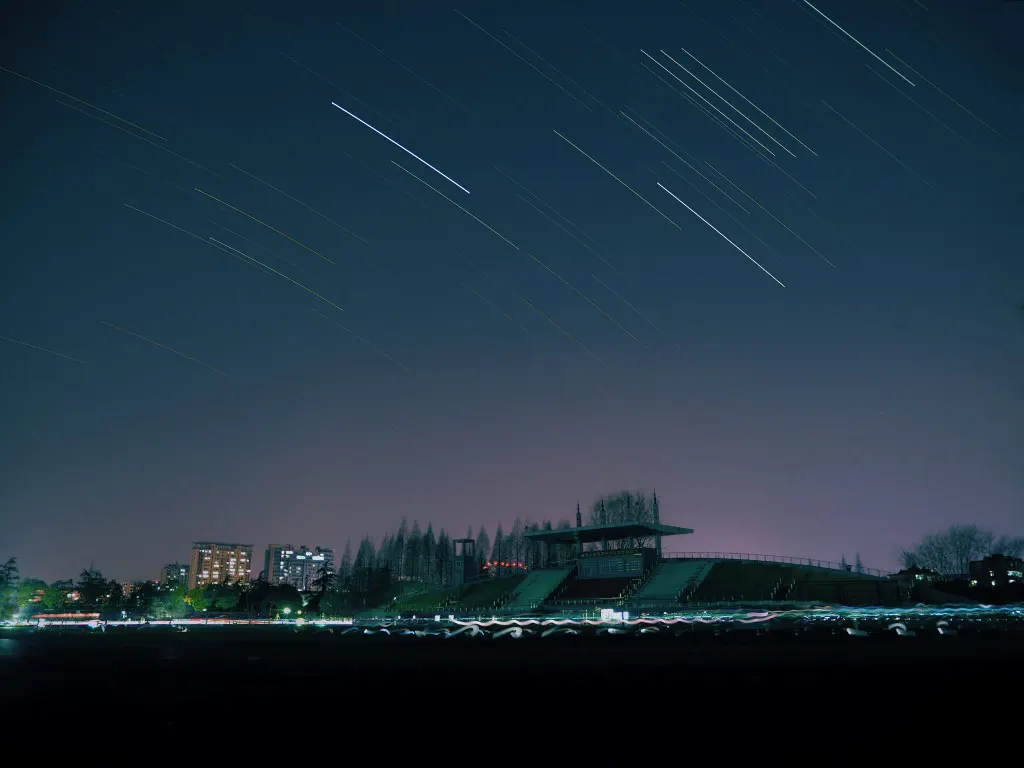
To get a successful image, I recommended setting your camera in manual mode, 30 second exposure, wide aperture (f/1.8 or as low as your lens can go), manual focus to infinity to get sharp stars, and manual white balance.
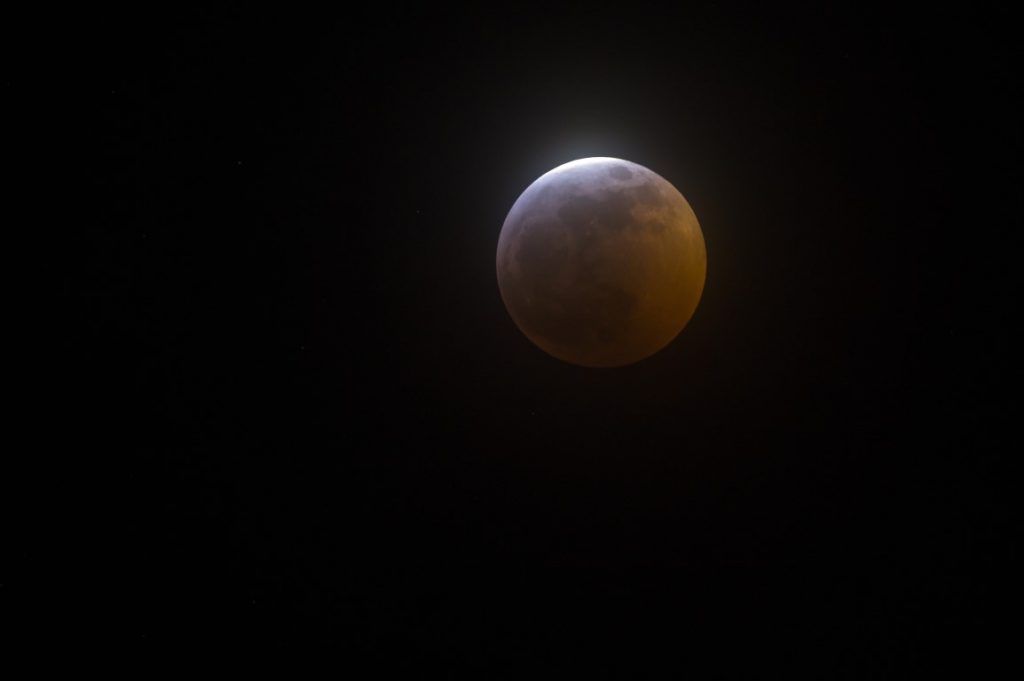
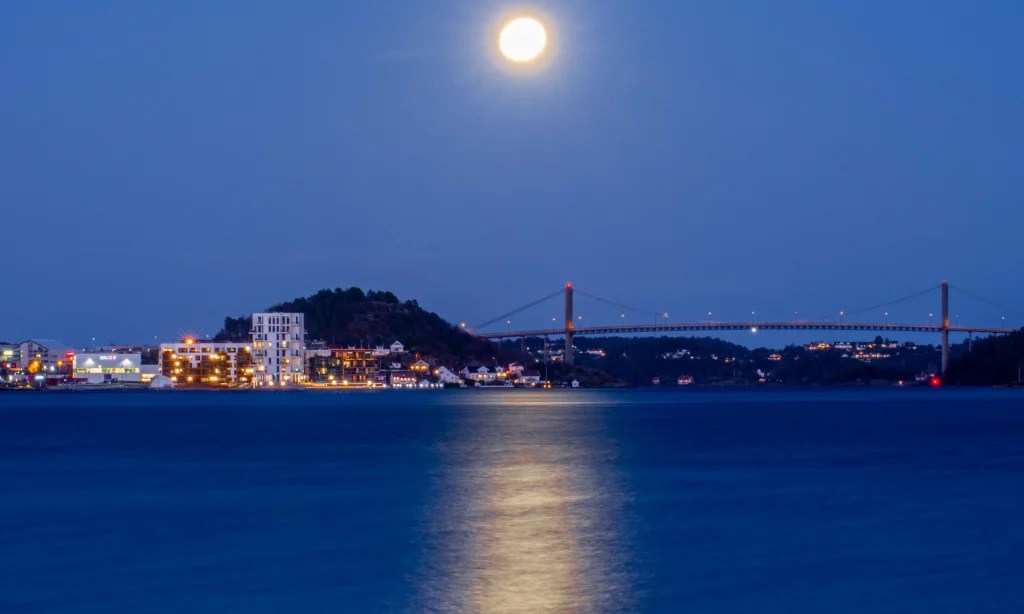
Moon
To create a visually interesting image of the Moon in the city, try composing your shot with a foreground subject such as a tower, building, or trees.
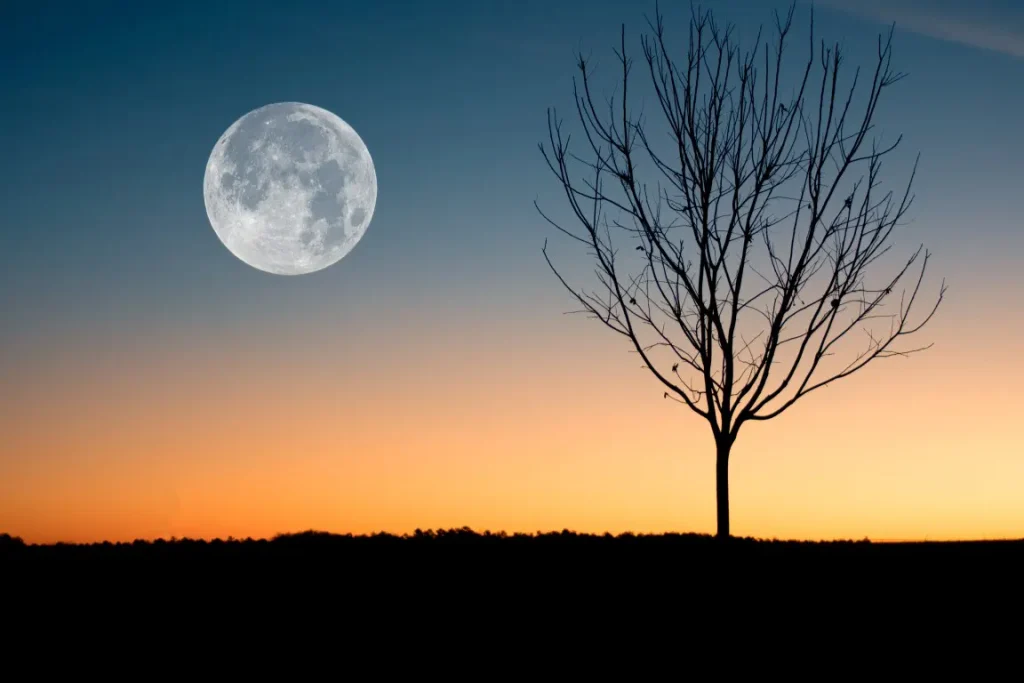
Experiment with different perspectives to position the Moon behind your chosen subject.
Using a longer focal length can make the Moon appear larger in relation to the foreground, allowing you to achieve the desired effect and bring your creative vision to life.
If you feel like want to know more about moon photography, I have written an article on how do I take sharp moon photos. I think this is definitely helpful to your astro-shooting journey.
The Planets
Compared to deep-sky targets, planets can be considered relatively accessible objects in our cosmic neighborhood.
However, due to their smaller size, observing and capturing details on planets often requires the use of a telescope.
When it comes to planet photography in the city, Jupiter and Saturn are some of the easiest targets to capture, as even a small telescope can reveal Jupiter’s bands and Saturn’s iconic rings.
Venus, our closest neighbor, is shrouded in thick clouds and lacks surface details, but photographing its phases can still be a fascinating pursuit.
Mars, on the other hand, is relatively small, and capturing details on its surface requires the use of a larger telescope.
Photographing Deep Sky Objects in the City
When you try to use light pollution filters while photographing the night sky in the city you can be able to capture the deep sky components also.
These filters are designed to block out specific wavelengths of light, typically those emitted by streetlights and other sources of artificial light.
By using a light pollution filter, you can enhance the contrast of deep sky objects and reduce the impact of light pollution on your images.
If you want to know more about light pollution filters, I have already provided an article on best light pollution filters for galaxies
I think this is a good tutorial video for how to do deep sky astrophotography in the city.
What are the Shooting Techniques for Astrophotography in the City
When you shoot stars in the city, it’s essential to focus to ensure that they appear sharp and clear in your photos.
You can use manual focus or autofocus to achieve this, depending on your preference and camera capabilities.
However, I recommended manual focus is often the best option as it allows for greater control and accuracy. Here are a few tips for focusing on the stars:
Use Live View: If your camera has a live view function, use it to zoom in on a bright star and adjust the focus until it appears sharp.
Use Manual Focus: Switch your lens to manual focus mode and use the focus ring to adjust the focus until the stars appear sharp.
Focus on Infinity: Many lenses have an infinity symbol on the focus ring, which indicates the farthest distance that the lens can focus. Set your focus to infinity to ensure that distant stars are in focus.
By referring article on how to focus to infinity at night, I think you can be an expert on focusing infinity on your stunning night sky photo shoot.
Use a Flashlight: If you’re struggling to see the stars clearly, you can use a flashlight to illuminate your camera’s viewfinder or screen. I think this will help you to focus more accurately.
When shooting astrophotography in the city, it’s crucial to use manual settings to have full control over your camera and get the best possible results. Here are the essential manual settings to consider:
ISO:
The ISO determines your camera’s sensitivity to light. In low-light situations like astrophotography, it’s best to use a higher ISO to capture more light.
However, using too high of an ISO can result in noise or grainy images. Experiment with different ISO values to find the sweet spot for your camera and lighting conditions.
Shutter Speed:
The shutter speed determines how long your camera’s sensor is exposed to light. When shooting astrophotography, longer shutter speeds allow more light to be captured, resulting in brighter images.
However, longer shutter speeds can also result in motion blur if there is any movement in your shot. To avoid motion blur, use a sturdy tripod and a remote shutter release to minimize camera shake.
Aperture:
The aperture determines how much light enters your camera’s sensor. A wider aperture (lower f-stop number) allows more light to enter, resulting in brighter images. However, using too wide of an aperture can result in a shallow depth of field, making it difficult to keep everything in focus.
A narrower aperture (higher f-stop number) results in a deeper depth of field, keeping more of your shot in focus.
Experiment with different aperture settings to find the best balance between brightness and depth of field.
When it comes to astrophotography in the city, don’t be afraid to get creative with your compositions. Incorporating urban landscapes into your shots can add an interesting contrast to the stars above.
I think if you look for landmarks, buildings, bridges, and other structures it helps to create a unique composition.
In addition, you can use light pollution creatively to add depth and interest to your images. Try to incorporate the glow of the city into your shots, using it as a natural backdrop.
This can create a sense of place and help tell a story about the location of your shoot.
You can also use light pollution filters to reduce the amount of light pollution in your images, giving you clearer and more detailed shots of the night sky.
These filters come in different strengths and can be used to target specific wavelengths of light, such as those emitted by streetlights and other artificial sources.
Experiment with different compositions and light pollution filters to find the perfect combination that best captures the mood and feel of your urban astrophotography shoot.
What are the tips for capturing stunning Astro shots in the city?
Despite the challenging conditions posed by light pollution in urban areas, it’s still possible to capture stunning images of deep sky objects from your own backyard.
So I’ll share some tips to help you overcome light pollution and capture your favorite celestial objects while shooting from the city.
Using a monochrome camera
One way to combat light pollution in the city when capturing deep-sky objects is to use a monochrome camera instead of a color camera.
This is because monochrome cameras are more sensitive to light and can capture more detail in the faint light of distant galaxies, nebulae, and other celestial objects.
Additionally, using a monochrome camera allows you to use narrowband filters that only let in specific wavelengths of light, making it easier to isolate certain features of deep-sky objects.
However, using a monochrome camera requires extra equipment, such as filters and a filter wheel, and additional processing time to create a color image from the monochrome data.
But if you’re serious about astrophotography in the city, investing in a monochrome camera may be worth it to capture stunning deep-sky images.
Pick the right Target
To photograph an emission nebula from the city, it’s recommended to use a narrowband filter. However, if you don’t have access to filters, consider targeting a larger and brighter object.
The Milky Way galaxy band and the Orion constellation in winter offer plenty of such targets to choose from.
Remember to include calibration frames and consider using dithering in your astrophotography workflow!
To ensure the best results in astrophotography, one crucial tip is to take proper calibration frames.
This is especially important when capturing images from home, where unwanted noise can already be an issue.
Calibration frames, particularly darks and bias, can help reduce noise and simplify the post-processing of data.
For dark frames, take at least 15 shots with the same settings and temperatures as your lights, but with the camera or telescope cover on.
As for bias frames, shoot several images with the fastest possible exposure time, without changing any other setting. Note that bias frames are not necessary when using a dedicated astronomy camera.
While flats are also recommended, bias and dark frames are particularly important for minimizing noise.
If you feel that it’s much better to know about dithering for astrophotography, the article on manual dithering astrophotography is for you.
Watch your Exposure Time and the Histogram
It’s important to always check your histogram, regardless of your shooting location. If you’re not familiar with how to read your histogram, the basics are as follows: you want the main curve to be about one-third from the left.
This will help you get the most out of your raw data during processing.
If you take a test shot and your curve is too far to the left, your image is underexposed. To fix this, you can increase your exposure time, raise your ISO, or open up your aperture (if using a lens).
On the other hand, if the curve is too far to the right, your image is overexposed. In this case, you can reduce your ISO or exposure time, or stop down your aperture.
When shooting from home, many astrophotographers recommend stacking multiple short exposures to achieve the best results.
If you already have referred my article on astrophotography exposure time, it helps you to understand more.
Referring this tutorial video you can polish your knowledge more and more.
Final Word
In conclusion, astrophotography in the city can be challenging due to light pollution and other factors.
However, there are several solutions to these challenges, including using narrowband filters, taking calibration frames, using fast lenses or telescopes, and checking your exposure time and histogram.
Despite the challenges, we encourage everyone to give astrophotography in the city a try.
With the right equipment and techniques, it is possible to capture stunning images of the night sky from the comfort of your own home.
Justin Parker is a professional photographer and has been in the industry since 2007. He attended the University of Georgia. Justin combines his passion for photography and his interest in writing to give life to this blog which talks about photography in order to help and inspire young photographers.