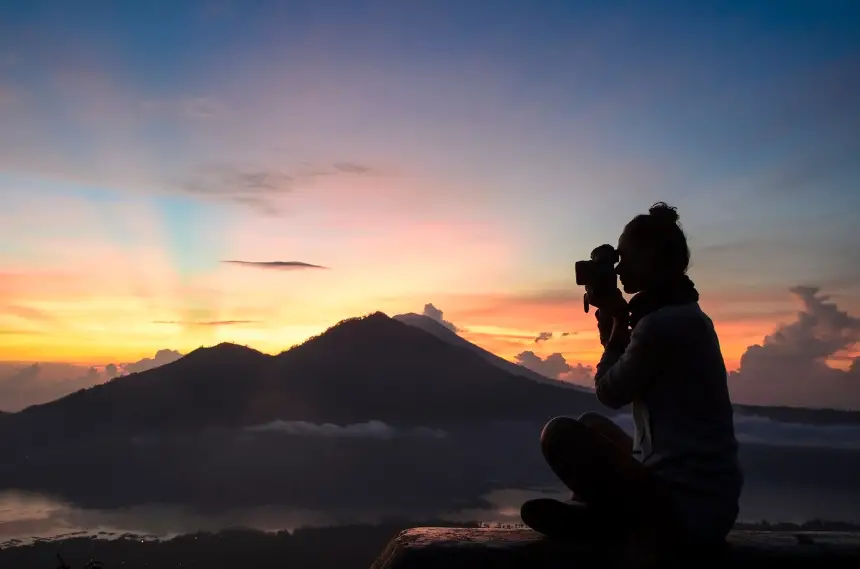
Exposure time is an important concept in astrophotography since it dictates how long the camera’s shutter will be open when capturing a photograph.
As well as exposure time is an important component in determining image quality because it impacts the amount of light captured and the level of detail visible in the image.
So I will provide a definitive guide about all the aspects of exposure time in astrophotography.
Ok. Now, Let’s start.
Understanding Exposure Time in Astrophotography
Exposure time is important in astrophotography because it determines how much light is collected by the camera’s sensor. It refers to how long the camera’s shutter is open, allowing light to reach the sensor.
Light pollution, ISO settings, aperture size, focal length, and camera sensor size are all factors that influence exposure time.
Photographers can use the “500 Rule” or exposure time calculators and applications to calculate exposure time.
When determining the proper exposure duration, consider the object being photographed, the sky conditions, and the camera and lens capabilities.
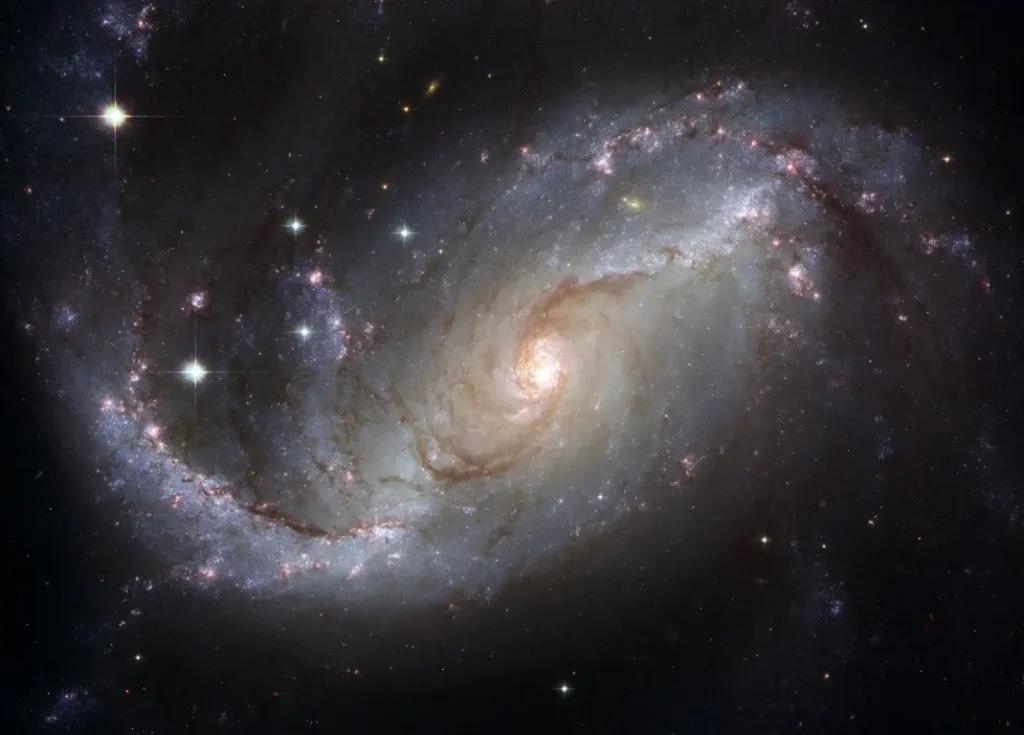
Exposure times for different objects vary from 15-30 seconds for stars and galaxies to several minutes for nebulae.
How to Calculate the Exposure Time in Astrophotography
In astrophotography, calculating exposure time entails figuring how long the camera’s shutter should be open in order to correctly expose the image.
- Using the “500 Rule”
The “500 Rule” is a simple approach for estimating exposure time that specifies that the maximum exposure time in seconds should equal 500 divided by the focal length of the lens being utilized.
- Using exposure time calculators and applications
These applications and calculators consider numerous aspects such as ISO setting, aperture size, and focal length to produce a recommended exposure duration.
However, these are simply suggestions and may differ depending on the individual conditions and equipment used.
500 Rule in Astrophotography
The “500 Rule” is a simple guideline used in astrophotography to determine the optimal maximum time before star trailing becomes visible in the image.
The rule states that for full-frame cameras, the maximum exposure time in seconds should be 500 divided by the focal length of the lens being used.
For example, if using a 50mm lens, the maximum exposure time would be 500/50 = 10 seconds.
The “500 Rule” takes into account the motion of stars in the night sky due to the Earth’s rotation, and provides a rough estimate of the maximum exposure time that will prevent star trailing.
However, it is important to note that this rule is only a rough estimate, and that other factors such as light pollution, ISO setting, aperture size, camera sensor size, and lens quality can all impact the final exposure time.
Additionally, the “500 Rule” is only applicable to full-frame cameras, and sometimes may need to be adjusted for other camera sensor sizes.
While the “500 Rule” is a good starting point for choosing exposure time, actually it is not a hard and fast rule.
And also its experimentation and expertise are important in identifying the best exposure duration for a given situation.
The “500 Rule” should be used as a guideline, with adjustments made as needed to reach the desired outcome.
In conditions of high light pollution, for example, a longer exposure time may be required, but in conditions of low light pollution, a shorter exposure time may suffice.
Finally, we can say, the “500 Rule” can be a valuable tool for establishing the maximum exposure time in astrophotography. However, it is critical to understand its limitations and to use it in conjunction with other techniques and tools for maximum exposure time determination.
By the way, I think you already refer my article on astrophotography optimal exposure time. if not, this is time to read it.
Exposure time calculators and apps
A software tool meant to help photographers determine the best exposure time for their astrophotography photos is an astrophotography exposure time calculator.
The exposure time calculator considers several characteristics such as ISO, aperture size, and focal length and recommends an exposure time depending on these inputs.
Some exposure time calculators also take into account local light pollution levels and can change the recommended exposure time accordingly.
Exposure time calculators are available in a variety of formats, like standalone desktop applications, online tools, and smartphone app.
The photographer enters the appropriate characteristics for their individual setup, such as the camera model, lens type, and ISO level, into an exposure time calculator.
NINA is one of the most advanced and popular online tools among astrophotographers. I’ve added a video here for you so that you can get an idea about how to calculate exposure time using NINA
Then using these factors it calculates the recommended exposure time for the shot.
How to choose the right exposure time
In astrophotography, choosing the right exposure time is crucial to achieving a clear and detailed image of the celestial objects being photographed.
Therefore, I am ready to provide a guide for you,
Let’s dive in!
When determining the proper exposure time, numerous elements must be considered, including the object being photographed, sky conditions, and camera and lens capabilities.
Now let’s discuss them one by one.
- Object being photographed:
The sort of celestial object being photographed, such as stars, galaxies, or nebulae, will have a considerable impact on choosing the ideal exposure period.
Smaller, fainter things may require a shorter exposure time than larger, brighter .
- Sky conditions:
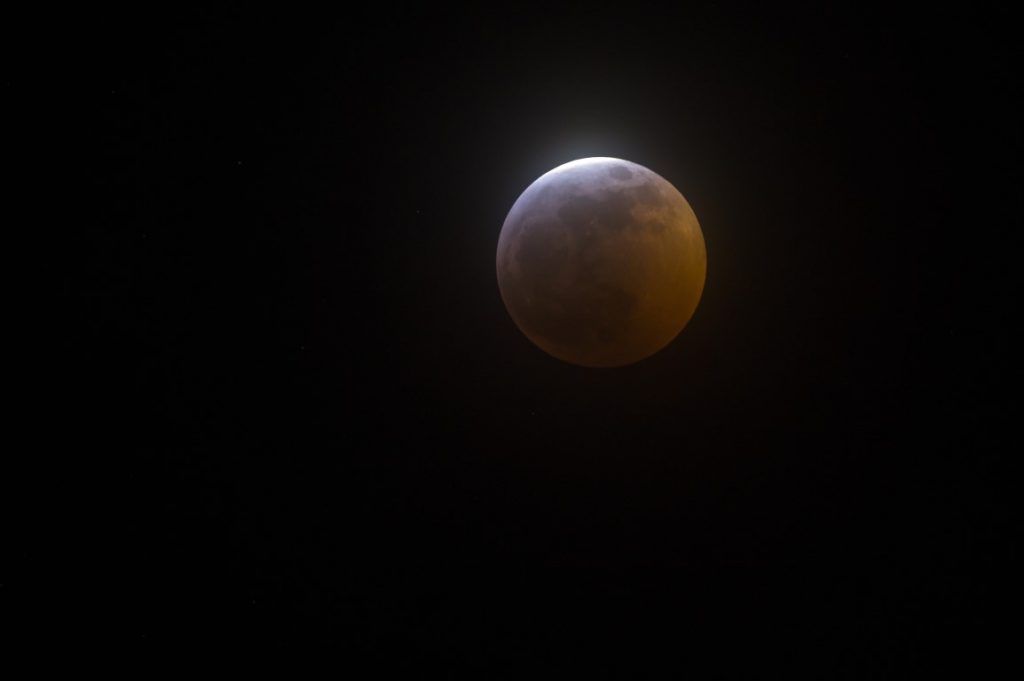
When selecting an exposure time, the moon phase and light pollution levels in the location must be considered.
A full moon may necessitate a shorter exposure time, and higher levels of light pollution may also influence the exposure time.
- Camera and lens capabilities:
When choosing the optimal exposure time ISO setting on the camera and the size of the lens aperture will play the main factors.
A higher ISO setting or a larger aperture will allow for a shorter exposure time with compared to a lower ISO setting or a smaller aperture.
If you want to get an idea about the best astrophotography lenses, I have already written a complete guide to choose the best one.
- Personal preferences:
Ultimately, the exposure time must represent the photographer’s personal preferences and the desired outcome for the final image.
A longer exposure time will produce a clearer image, but it will also introduce undesirable noise or image artifacts.
If you consider these factors and experiment with different exposure times you can find the optimal exposure time for a specific astrophotography setup and situation.
Exposure times in the range of 10 to 30 seconds can be utilized for brighter celestial objects, whereas exposure times in the range of several minutes to several hours may be necessary for fainter celestial objects.
However, these are merely suggestions. As I said earlier, the actual exposure time will be determined by a variety of circumstances, including the camera and lens used, the sky conditions, and the object being photographed.
Long Exposure Astrophotography Techniques
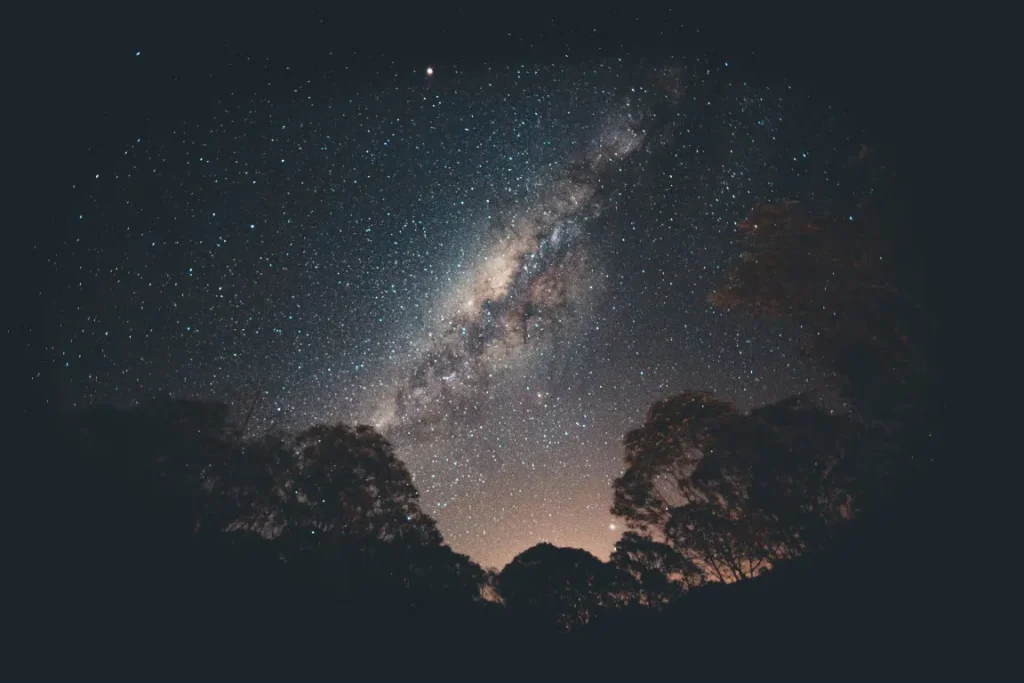
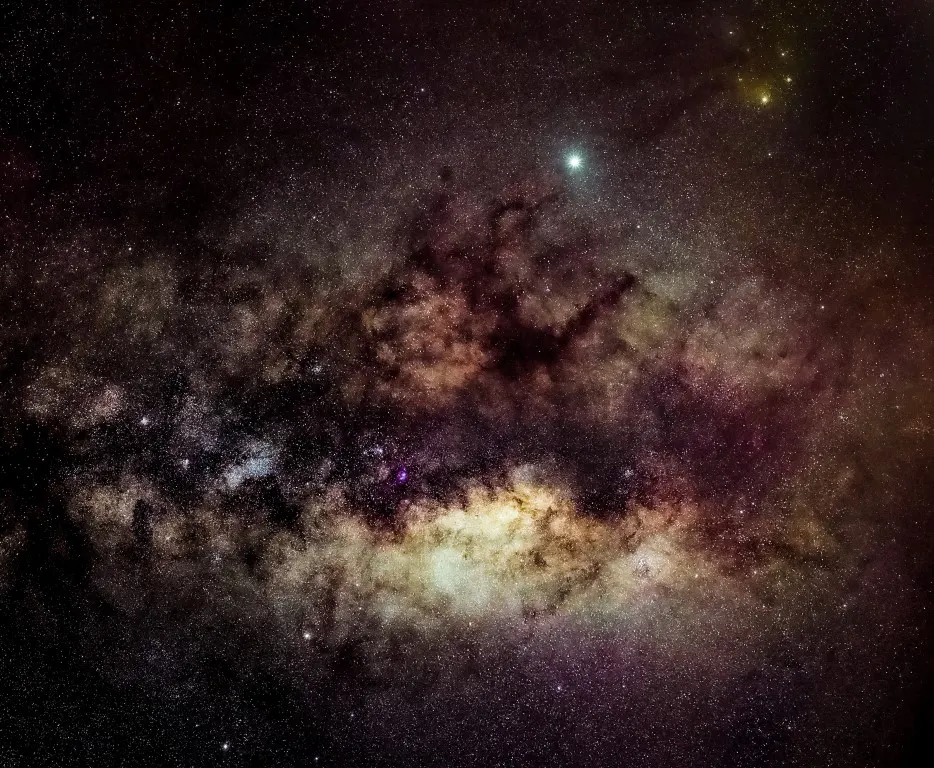
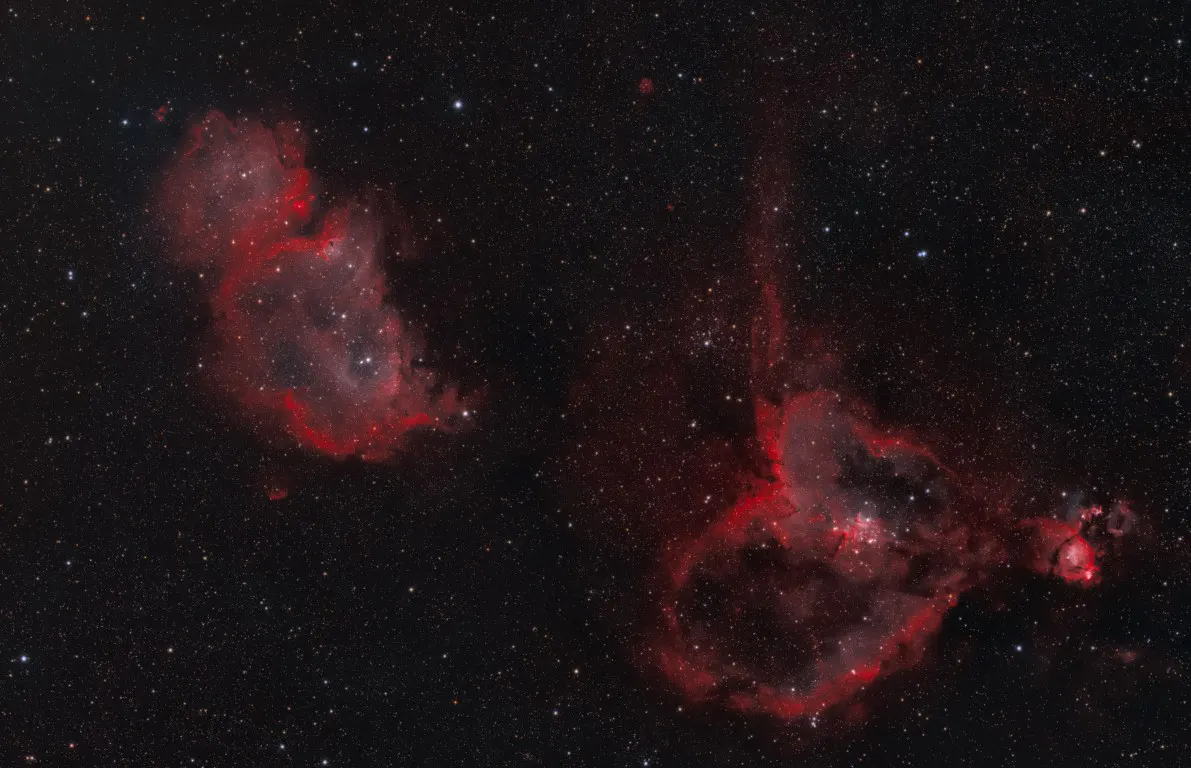
Long exposure times are frequently utilized in astrophotography to capture the faint light of faraway stars and other celestial objects.
There are various approaches available in long exposure astrophotography to create clean and detailed photos of the night sky.
I have listed them below for your clear understanding
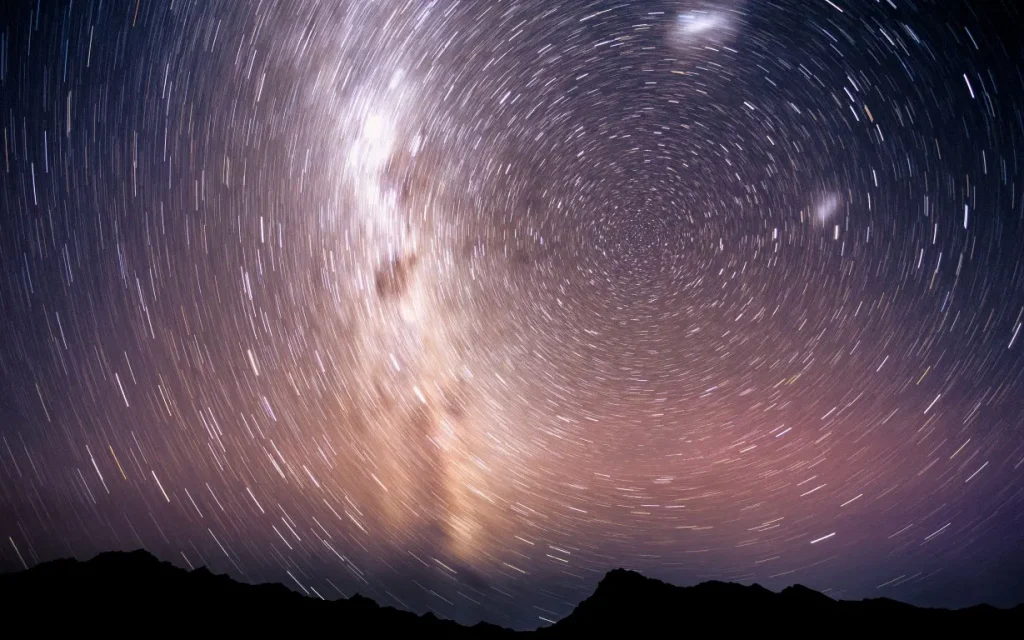
- Star trailing is a technique that includes taking a long exposure shot of the night sky in order to capture the movement of the stars across the frame as a result of the Earth’s rotation.
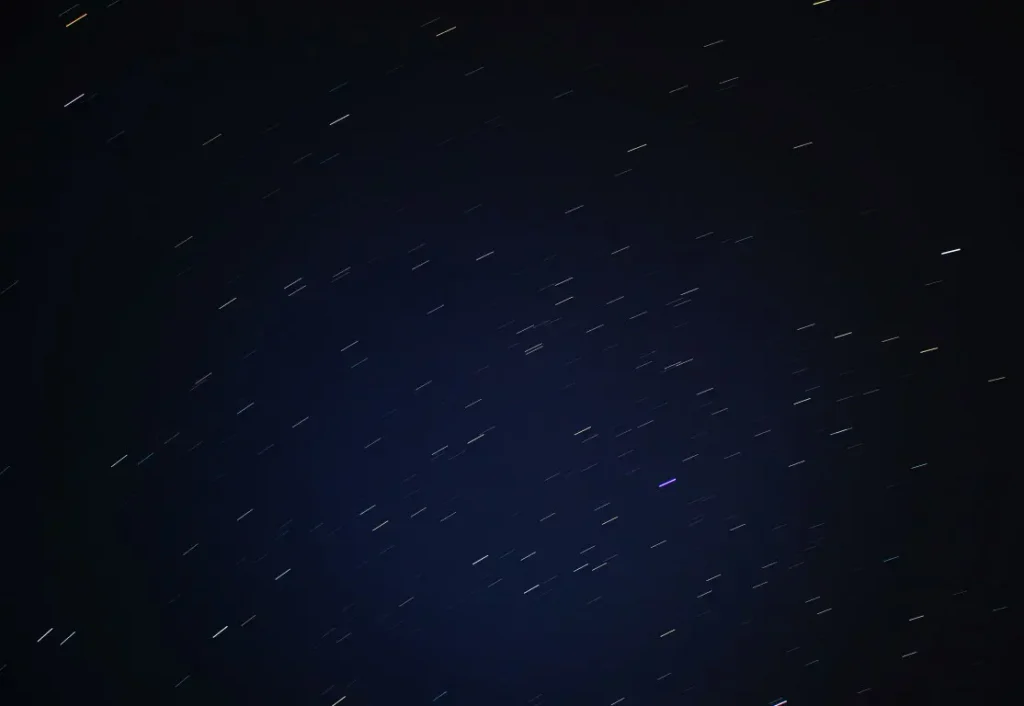
This approach produces an ethereal and dynamic image of the stars, but it necessitates the use of a stable tripod and precise camera location.
If you want to know more about long exposure star trail photography. This is for you
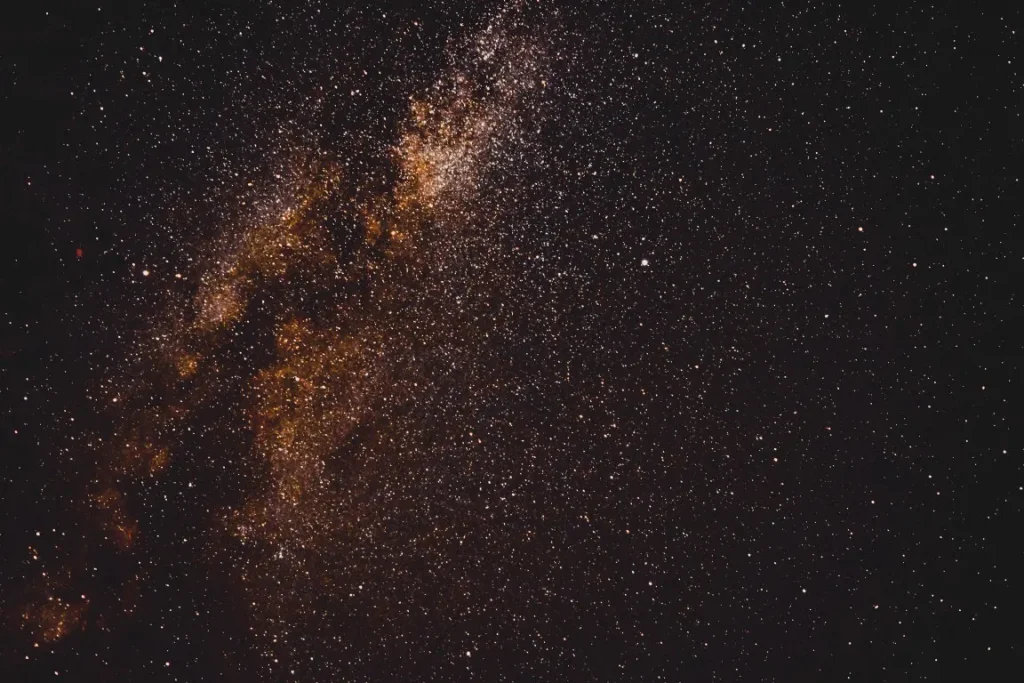
- Star stacking is the process of combining numerous shorter exposure images to create a final image with less noise and more clarity.
This is especially effective for photographing faint objects, such as distant galaxies, that would otherwise be invisible in a single exposure.
- Panoramic astrophotography: here stitches together numerous images to generate a wide-angle view of the amazing night sky.
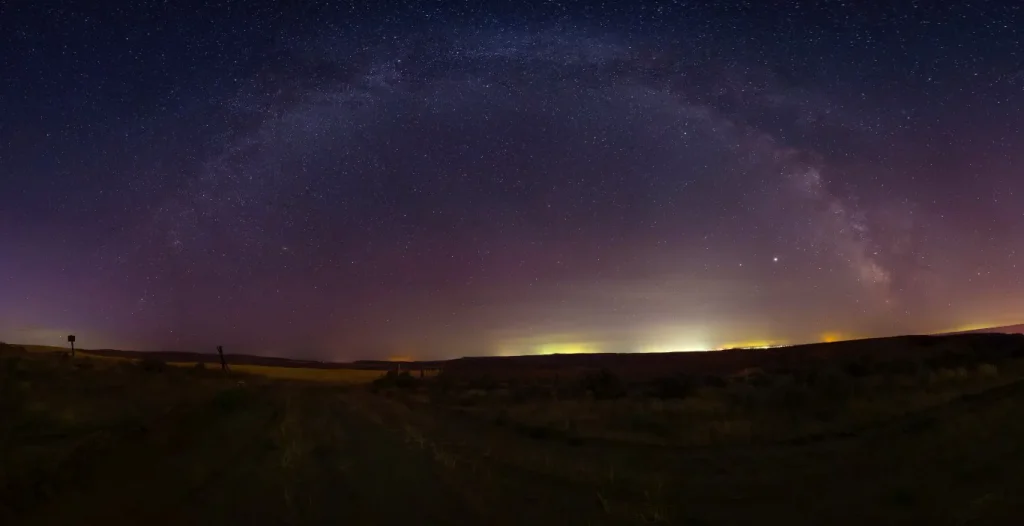
In my opinion, this is an excellent method for capturing the entire scale of a celestial object, such as a large nebula or galaxy.
- Time-lapse astrophotography is capturing a series of shots at predetermined intervals over a period of time and then assembling the images into a time-lapse video.
Most Astro-photographers use this to record the movement of stars and other celestial objects over time, as well as the changing light and sky conditions at night.
Long Exposure vs Short Exposure in Astrophotography
In astrophotography, photographers can capture sceneries of the night sky using either long exposure or short exposure techniques.
Both have pros and cons, and the ideal option for a certain scenario will depend on the photographer’s personal needs and the night sky conditions.
Long exposure astrophotography entails shooting images with exposure durations ranging from a few seconds to several minutes.
This technique may provide magnificent and dynamic photographs of the night sky by capturing the dim light of celestial objects like as stars and nebulae.
Long exposures can also help minimize noise and improve image detail, making it simpler to discern between stars and other celestial features.
On the other hand, long exposures can cause star trailing, which occurs when stars appear as streaks in an image as a result of the Earth’s spin. Photographers frequently use tracking mounts to follow the movement of the stars to minimize star trailing.
Short exposure Astrophotography is the practice of shooting images with exposure durations of less than a few seconds.
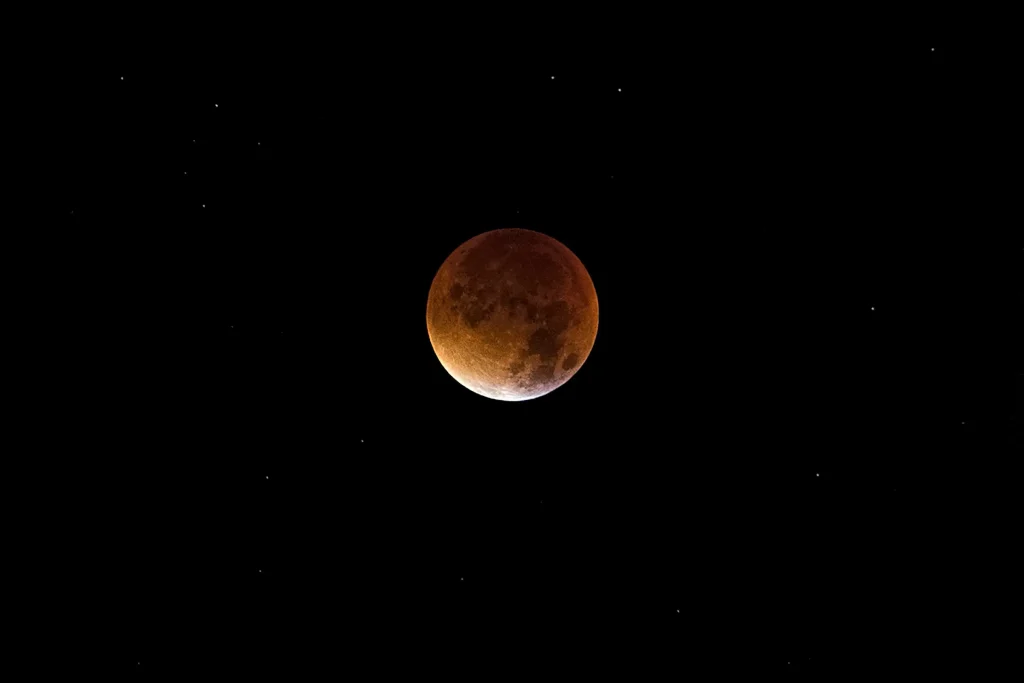
This approach is ideal for photographing brighter objects in the night sky, such as the moon and planets, and it produces clear and detailed photographs.
Short exposures also help to avoid star trailing, making them perfect for photographing constellations and other static celestial structures.
On the other hand, short exposures, may not be appropriate for catching faint objects and may result in a lack of clarity or higher noise levels in the image.
Here I have summarized the differences between short exposure and long exposure for your clear understanding.
| Long Exposure | Short Exposure |
|---|---|
| Suitable for photographing faint astronomical phenomena like stars and nebulae. | Excellent for photographing brighter objects such as the moon and planets. |
| Can create visually appealing and dynamic visuals. | Can produce photos that are sharp and detailed. |
| Image detail can be improved by reducing noise. | Avoids star trailing, making it perfect for photographing constellations and other fixed astronomical features. |
| Can result in star trails | It may not be appropriate for capturing faint objects, resulting in a lack of detail or higher noise levels in the image. |
| Tracking mounts are required to reduce star trailing. | Perfect for avoiding star trails. |
The following video contains an experiment to do astrophotography using short exposure time and long exposure time. If you are interested, you can have a look.
Conclusion
In conclusion, understanding exposure time in astrophotography is critical for producing crisp, detailed photographs of the night sky.
The exposure time of an astrophotography shot is crucial in defining the final result, as it can affect the overall brightness, detail, and noise levels of the image.
By the way. Do you want to know about how to reduce noise in your astrophotography? If your answer is yes. Then I highly recommend you to read my article on astrophotography noise reduction.
Astrophotography is a fascinating and interesting pastime that can result in magnificent photos of the night sky.
Understanding exposure duration and the techniques employed in long exposure astrophotography is essential for success in this subject.
Anyone may become an experienced astrophotographer and take photographs of the night sky that are both technically impressive and visually beautiful with time, patience, and practice.
Justin Parker is a professional photographer and has been in the industry since 2007. He attended the University of Georgia. Justin combines his passion for photography and his interest in writing to give life to this blog which talks about photography in order to help and inspire young photographers.