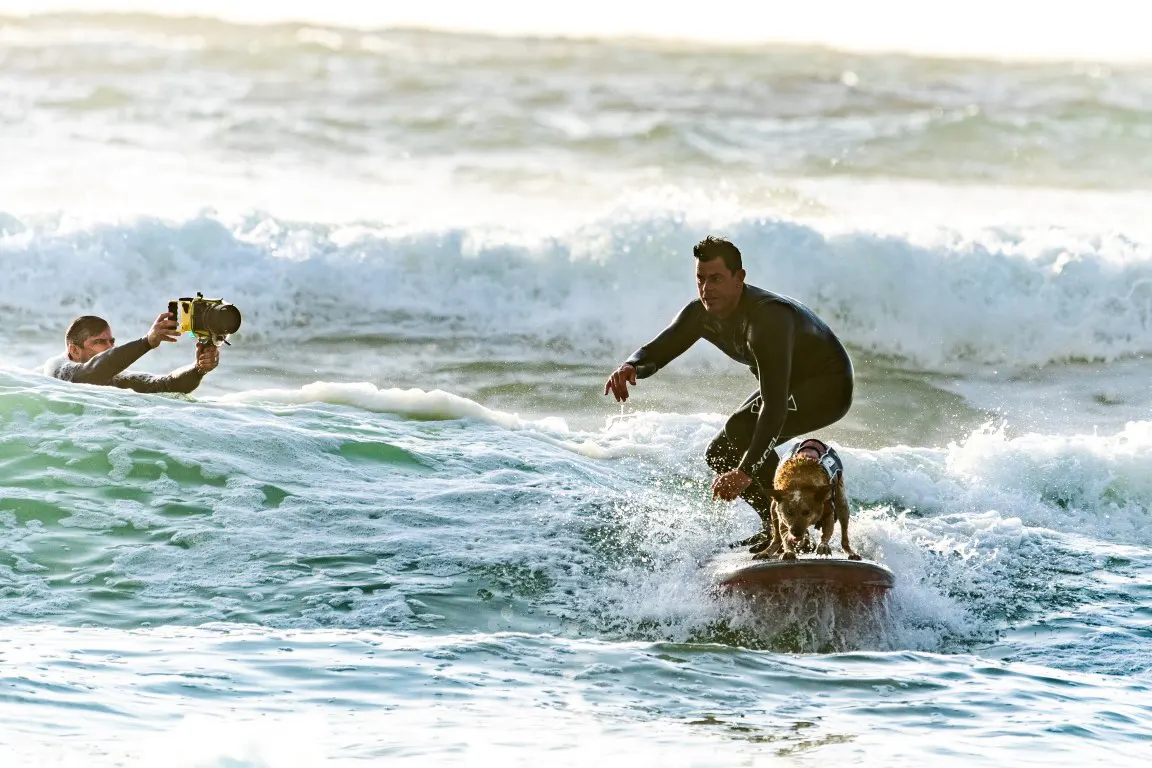
Surfing photography is a unique and exciting niche in the world of adventure photography.
It captures the thrill and beauty of surfers riding the waves and requires specialized skills and equipment.
In this article, I’ll provide an in-depth guide to the basic of surfing photography, covering techniques, gear, locations, and editing.
Let’s dive in!
How do You Become a Surfing Photographer: Techniques and Tips
To become a surfing photographer, you need to have a passion for action sports and photography.
Besides, you should develop some skills, invest in the right equipment, and practice capturing the beauty and action of surfing.
But don’t worry, follow this guide and you’ll take your first steps in surf photography!
1. What Do You Need for Surf Photography? Choosing the Right Equipment
The first thing you need for surf photography is the right equipment. It’ll make it easy of capturing amazing shots on the surf.
· Cameras and Lenses
High-quality cameras and lenses are essential for taking sharp, detailed shots from a distance.
Here are a few recommendations that give me the best results in surfing photography.
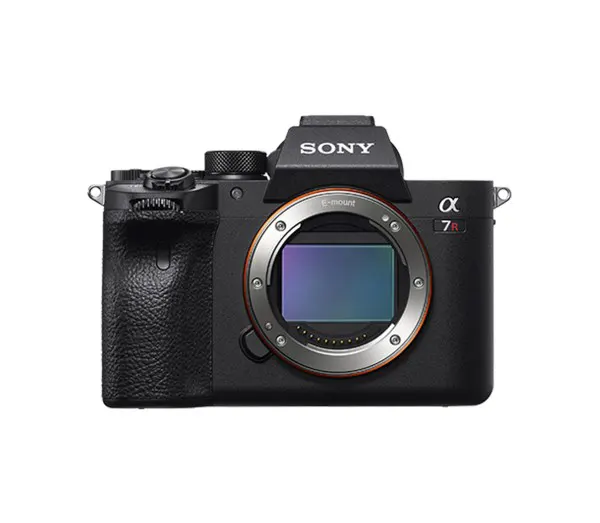
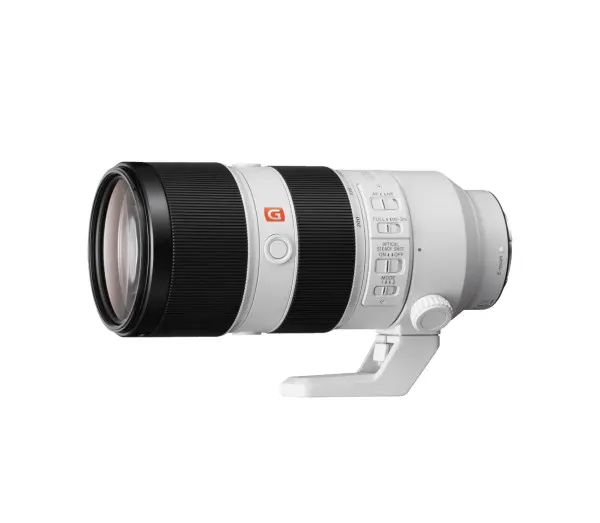
Source: electronics.sony.com
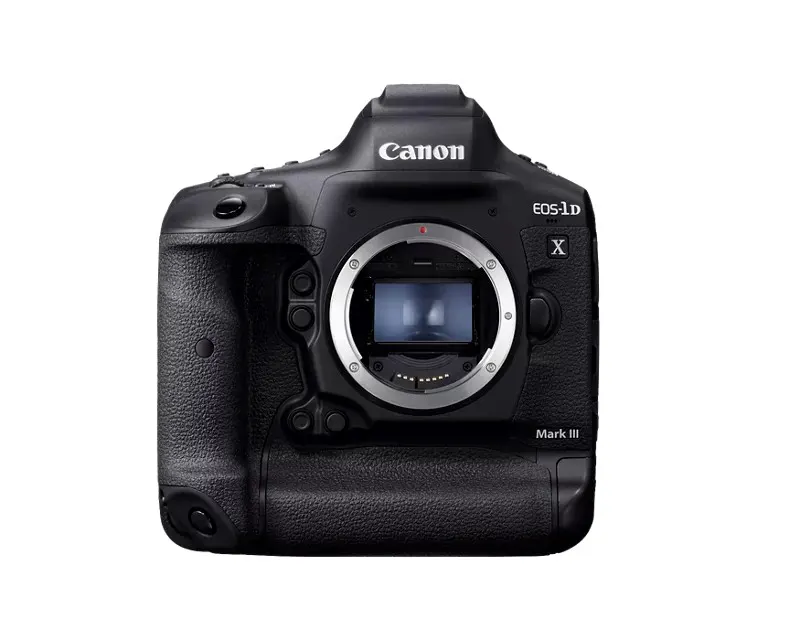
Source: usa.canon.com
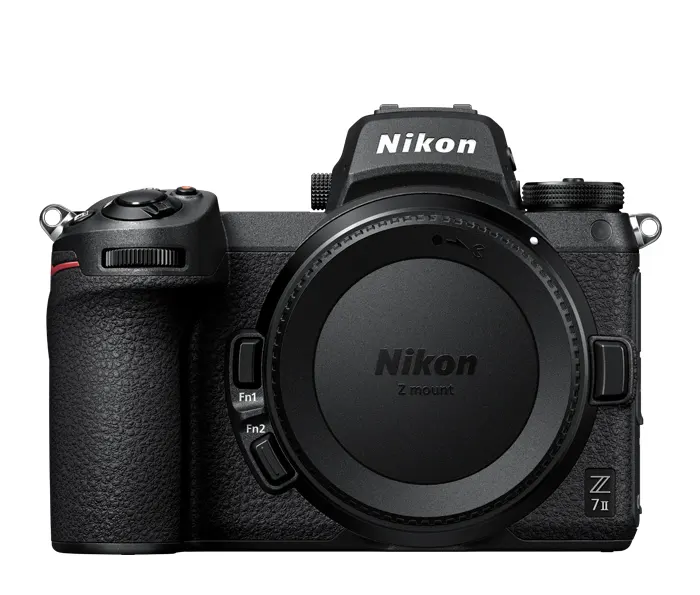
Source: nikonusa.com
| Cameras | Features |
|---|---|
| Sony A7R IV | The full-frame mirrorless camera has a fast autofocus system and a high-resolution sensor for detailed shots |
| Canon EOS-1D X Mark III | DSLR camera with a high-speed autofocus system can shoot up to 16 frames per second, making it ideal for capturing fast-moving surfers. |
| Nikon Z7 II | A mirrorless camera has a high-resolution sensor and an excellent image stabilization system for capturing sharp, detailed shots |
Besides, my latest article on the best surf photography camera will provide a perfect buying guide for you.
In addition, it’s important to consider camera settings for surf photography that suit your camera and your shoot preferences.
Source: electronics.sony.com
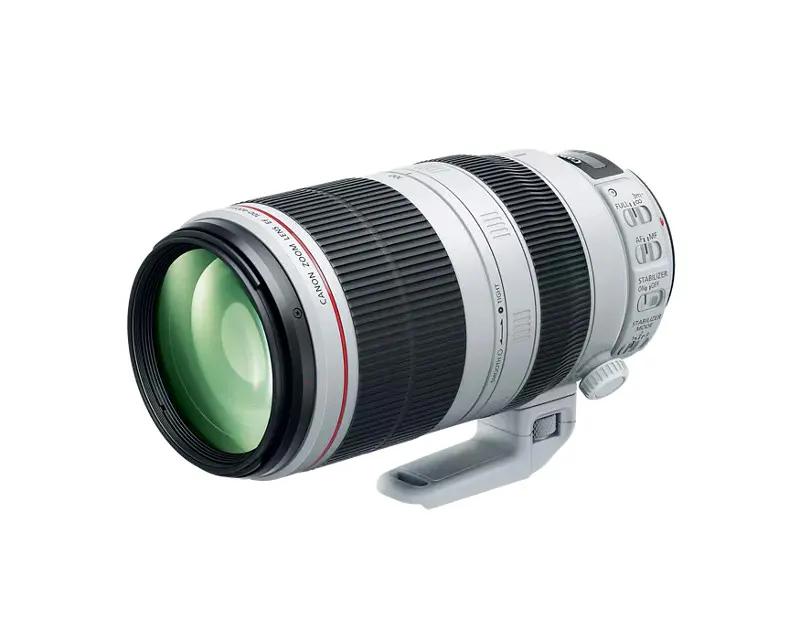
Source: usa.canon.com
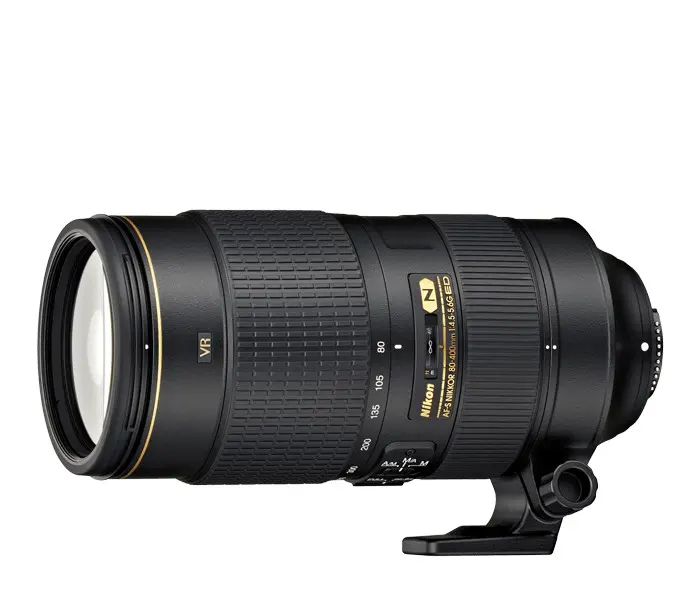
Source: nikonusa.com
| Lenses | Features |
|---|---|
| Sony FE 70-200mm f/2.8 GM OSS | A telephoto zoom lens with a fast maximum aperture of f/2.8, making it ideal for low-light conditions and is great for capturing both surfers and waves. |
| Canon EF 100-400mm f/4.5-5.6L IS II USM | A telephoto zoom lens, perfect for capturing surfers from a distance, with a focal length range of 100-400mm |
| Nikon AF-S NIKKOR 80-400mm f/4.5-5.6G ED VR | A telephoto zoom lens has a versatile focal length range and built-in vibration reduction to minimize camera shake. |
If you’re interested in exploring other lens options, be sure to refer to the article on the best lenses for surf photography from the beach. In it, you’ll find recommendations and professional reviews to help you make an informed decision for your lenses.
However, the most suitable camera and lens will depend on your budget, preferences, and shooting style. So, focus on comparing them before you buy.
· Accessories
Accessories such as water housings, tripods, and filters can also enhance your shots and help you get the perfect shot.
The followings are my favorites, you can also try them.
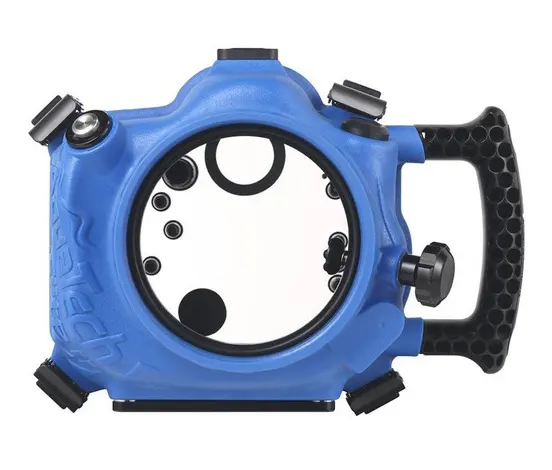
Source: bhphotovideo.com
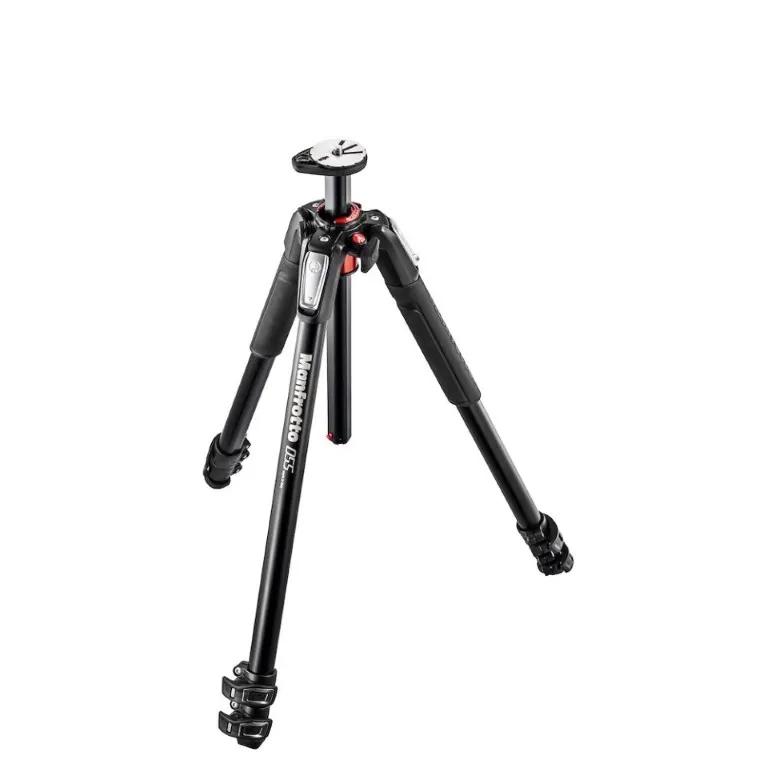
Source: manfrotto.com
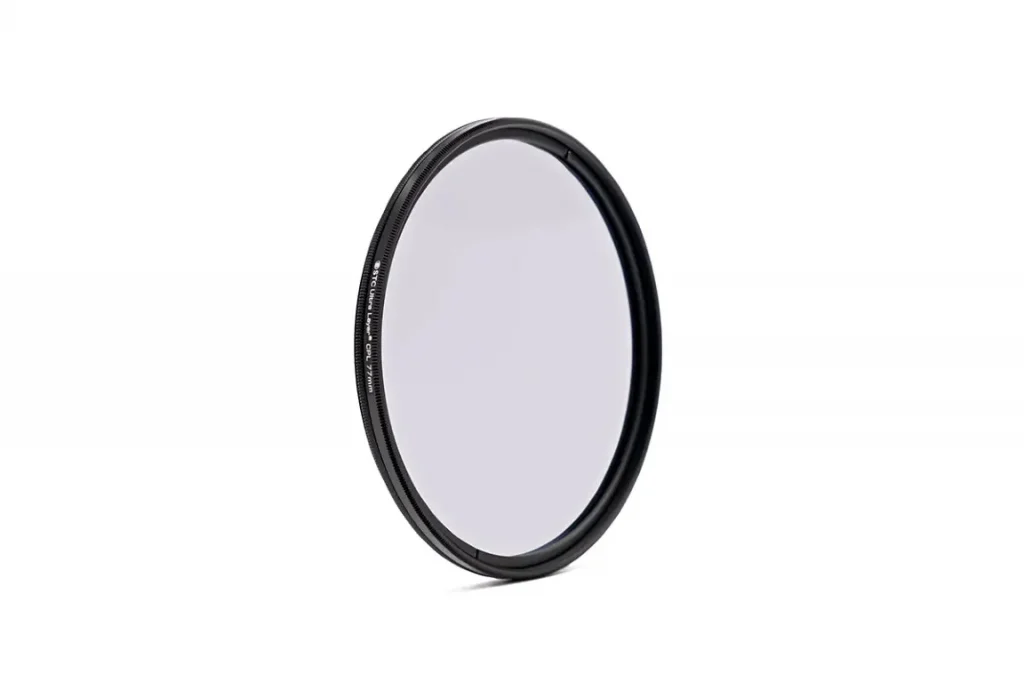
Source: stcoptics.com
| Water Housings | Tripods | Filters |
|---|---|---|
| Aquatech Elite II Water Housing | Manfrotto MT055XPRO3 | Polarizing filters |
| SPL Water housing Dome Port | Gitzo GT5563GS Systematic | Neutral density filters |
By the way, you can read the article on surf photography equipment, which shows a perfect guide on every necessary equipment that you need to have for a successful surfing photography shoot.
2. What Makes Good Surf Photography?
Good surf photography is more than just technical skill and equipment.
So, it requires understanding composition and timing to capture the essence of surfing, conveying the thrill and beauty of the ocean and its surroundings.
Let’s go through one by one explore the key elements of good surf photography, including lighting, composition, and the ability to capture the perfect moment.
I. Understanding Lighting and Composition
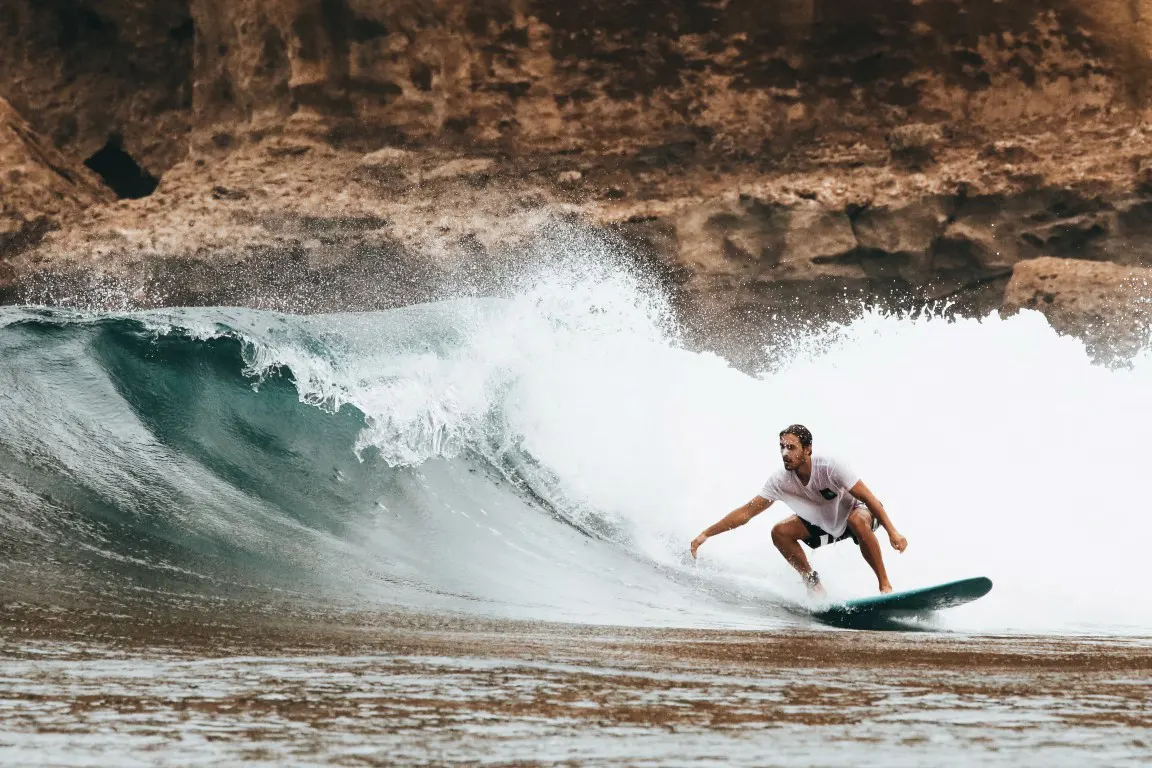
Surfing is a fast-paced sport, and it’s essential to capture the action in your photographs while framing your shot.
· Capturing the Action
Use a fast shutter speed to freeze the motion of the surfers and the waves.
Besides, pay attention to your timing to capture the perfect moment.
· Framing the Shot
The way you frame your shot can have a huge impact on the final result.
Experiment with different angles and perspectives, and try to capture the power and beauty of the waves.
Keep in mind the rule of thirds and use leading lines to guide the viewer’s eye.
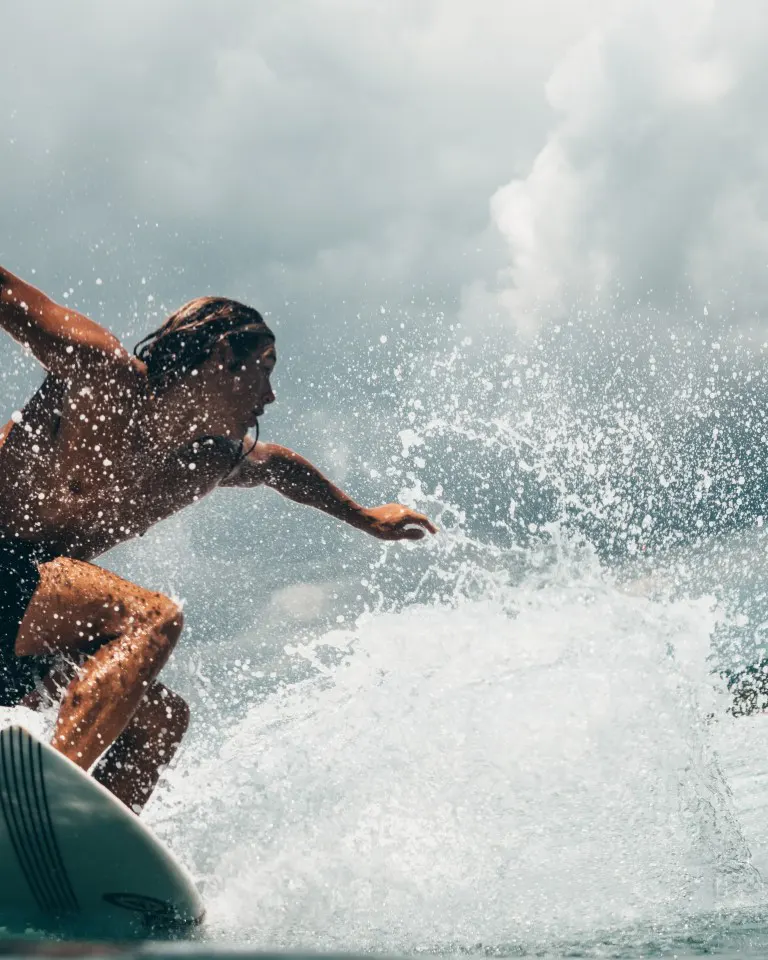
II. Capturing the Essence of Surfing
Capturing the essence of surfing is also important.
· Timing is Everything
You need to be patient and anticipate the perfect moment to capture the surfer in action.
Meanwhile, study the waves and the surfers, and be ready to press the shutter button at the right time.
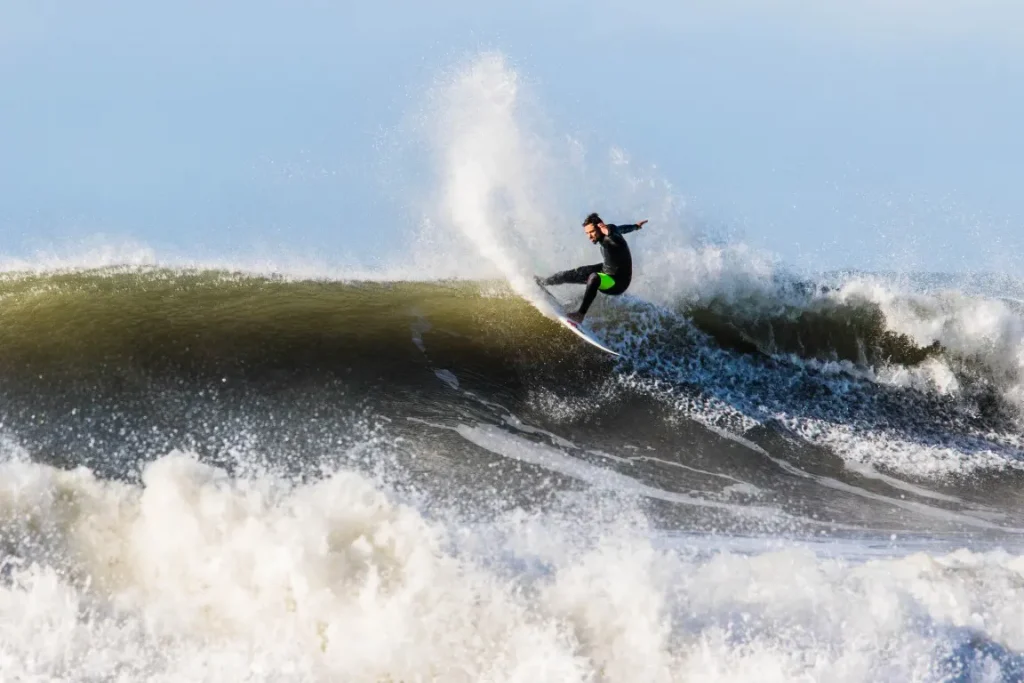
· Anticipating the Wave
Pay attention to the surfer’s movements and try to predict where they will be on the wave.
This will help you to position yourself in the right spot to capture the perfect shot.
How do You Take Pictures while Surfing?
Taking pictures while surfing by yourself is an exciting challenge but not impossible.
Here are some tips and techniques to help you capture stunning photos while riding the waves:
- Use a self-timer or a remote trigger to take photos of yourself while surfing alone.
- Practice your timing by taking photos of other surfers and predicting when they’ll catch a wave.
- Experiment with different camera angles, such as placing the camera on the nose of the board or mounting it to your body.
- Use a wide-angle lens to capture more of the scenery around you.
- Adjust your camera settings to compensate for the movement and changing light conditions.
- Consider investing in a waterproof camera or housing to protect your equipment from the water.
- Always prioritize safety while taking photos and be aware of your surroundings and other surfers.
How to Choose the Best Locations for Surfing Photography?
1. Factors to Consider When Choosing a Location
· Weather and Climate

Check the forecast and choose a location with good weather and lighting conditions.
Cloudy days can make for dramatic shots, but sunny days are ideal for capturing the colors of the ocean and landscape.
· Wave Conditions
Look for locations with consistent waves and good surf breaks.
The size and shape of the waves can have a big impact on the quality of your photos.
· Accessibility
Choose a location that is easy to get to and has good parking and facilities.
2. Tips for Getting the Most out of Your Location
Sometimes, when we go to a new surf spot, it can be a bit difficult to capture the perfect shot.
By the way, the following tips always help me overcome those situations.
- Take time to scout out the location and find the best vantage points for shooting. Walk along the beach or cliffs and look for interesting angles and compositions.
- Watch how the surfers ride the waves and try to capture their style and technique. Look for unique moments, such as a surfer ducking under a wave or catching air.
- Play around with the camera settings to get different effects.
For example, you can use a slow shutter speed to create motion blur or a fast shutter speed to freeze the action.
After photographing surfing, how is the post-processing process? Let’s go through that important part.
How to Editing Surf Photos Like a Pro?
Editing is an important part of any photography process, and surfing photography is no exception.
1. Overview of Photo Editing Software
There are various photo editing software available in the market such as Adobe Photoshop, Lightroom, and Capture One.
These programs offer a range of tools and features that will enhance your surfing photos and make them look more professional.
2. Basic Editing Techniques
The basic editing techniques involve adjusting the exposure, color balance, cropping, resizing, sharpening, and noise reduction.
· Adjusting Exposure and Color Balance
Exposure adjustment is used to correct the brightness and contrast of the photo.
Besides, color balance adjustment will adjust the temperature and tint of the photo.
· Cropping and Resizing
Cropping and resizing can use to remove unwanted parts of the photo and adjust its size.
· Sharpening and Noise Reduction
Sharpening and noise reduction are useful to improve the sharpness and reduce the graininess of the photo.
3. Advanced Editing Techniques
In addition to basic editing techniques, you can also use advanced editing techniques to take your surfing photos to the next level.
· Adding Filters and Effects
Adding filters and effects will enhance the mood and atmosphere of the photo.
· Removing Distractions
Removing distractions may use to eliminate any unwanted elements that may be present in the photo.
· Creating Panoramic Photos
Creating panoramic photos can help you stitch together multiple images to create a broader perspective and give a sense of the scale of the waves.
Besides, the following video provides good guidance to edit surf photos using Adobe Lightroom.
Conclusion
In conclusion, surf photography is an exciting and challenging genre in adventure photography.
As mentioned in this article, by understanding lighting and composition, capturing the essence of surfing, choosing the right location, and using editing techniques with the right equipment, you can take the first steps in capturing surf photos.
However, you may be a bit intimidated by in-water surfing photography. No worries, the article on surf photography from the beach will provide a detailed guide for you.
With practice and dedication, you can develop your skills as a surfing photographer and create a portfolio of images that truly stand out.
Remember to ensure your safety first before anything else!
Justin Parker is a professional photographer and has been in the industry since 2007. He attended the University of Georgia. Justin combines his passion for photography and his interest in writing to give life to this blog which talks about photography in order to help and inspire young photographers.