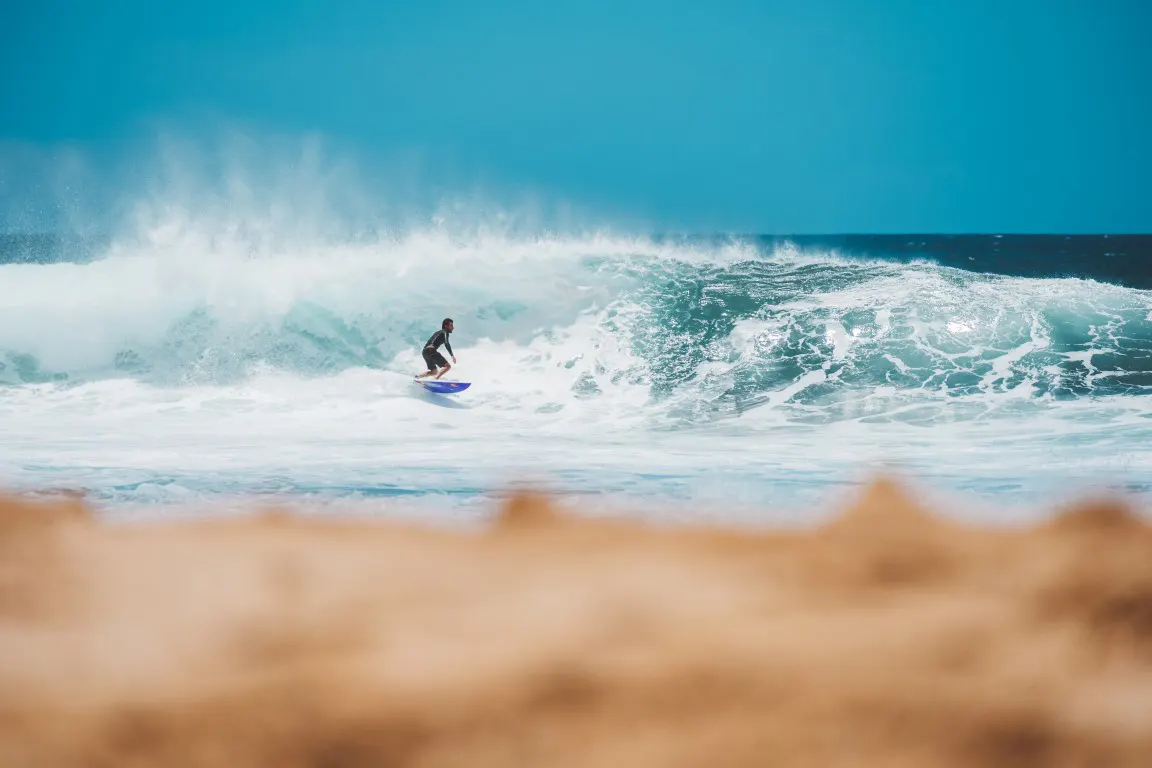
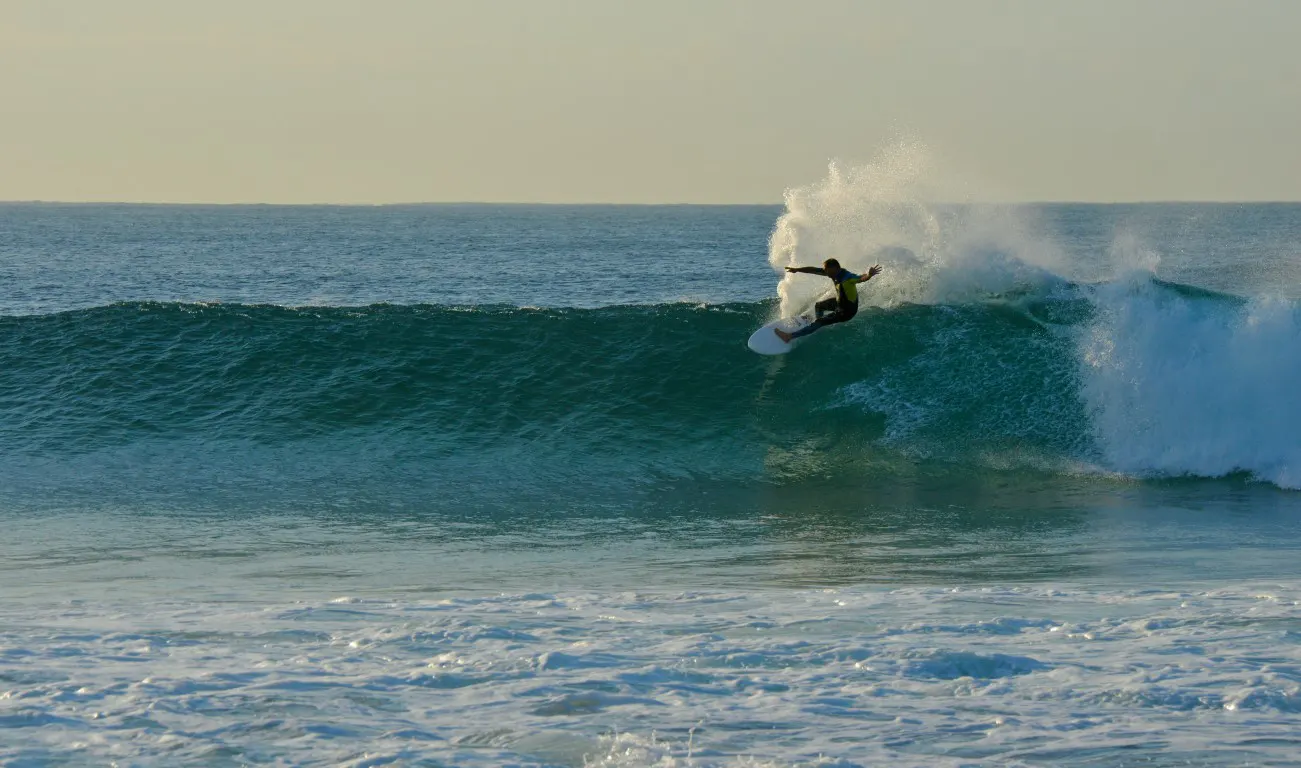
Looking to capture amazing surf photography but feeling intimidated by in-water shots? Don’t worry! I’ll guide you on how to do surf photography from the beach.
In this article, I’ll share tips and tricks for capturing fantastic surfing shots from the land, including techniques for framing your shots and creating long-exposure surf photography.
Without further ado, let’s dive in.
Gear Required for Surf Photography from the Beach
First and foremost, you’ll need the right gear to capture stunning surf photography from the beach.
· Camera Gear Required for Surf Photography from the Beach
When it comes to surf photography, having the right camera gear is crucial.
The camera and lens combination you choose can make or break your shots.
I recommend bringing a camera with fast autofocus and burst mode capabilities to capture action-packed shots.
If you’re unsure about which camera to use, check out my previous article on the best surf photography cameras for a more detailed guide.
As well as a telephoto lens with a focal length of at least 300mm best option for surf photography from the land to capture distant surfers and waves.
However, if you’re interested in exploring other lens options, be sure to refer to the article on the best lenses for surf photography from the beach. In it, you’ll find recommendations and professional reviews to help you make an informed decision for your lenses.
In addition to my gear, you can watch the following video to learn more about the gear needed for a surf photographer.
· Accessories to Help You Capture the Perfect Shot from the Beach

In addition to camera gear, some accessories can help you capture the perfect surf shot from the beach.
1. A sturdy tripod
A sturdy tripod is essential for keeping your camera stable and preventing shaky shots.
2. A filter
A polarizing filter can help reduce glare and enhance color saturation, while a neutral density filter can help you create long exposure shots during bright daylight.
3. A waterproof camera bag
Don’t forget to bring a waterproof camera bag to protect your gear from saltwater and sand.
By the way, I believe that you already read the article on surf photography equipment, which shows a perfect guide on every necessary equipment that you need to have for a successful surfing photography shoot.
Techniques for Capturing the Best Surf Photography from the Beach
There are a few necessary techniques that you need to know for your surf photography shoot from the beach.
1. Adjusting Camera Settings to Suit Your Surf Photography Needs
Adjusting your camera to the right settings is crucial for capturing great shots. I’ll tell you what I do basically.
- Firstly, you’ll want to use a fast shutter speed to freeze the action and avoid blur. A shutter speed of 1/1000 or faster is recommended.
- Secondly, use a low aperture (f/4 or lower) to create a shallow depth of field, which will make your subject stand out from the background.
- Finally, consider using a high ISO (800 or higher) to compensate for low light conditions and keep your shutter speed fast.
With these basic camera settings, you’ll be able to capture stunning surf photos from the beach.
However, you can read the article on camera settings for surf photography for a complete guide on your camera settings.
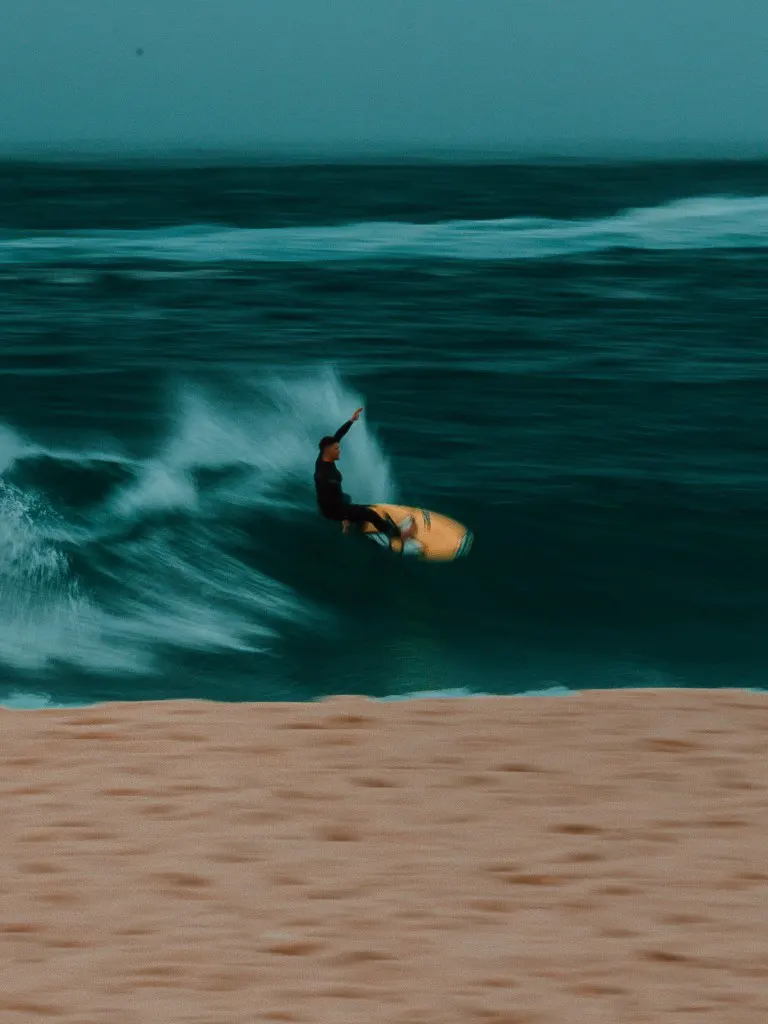
2. Framing Your Shot
Framing your shot will help to create a sense of depth and perspective.
Here are some tips that I use in my surf photography shooting time at the beach.
- Consider using a wide-angle lens to capture the vastness of the ocean and create a sense of scale
- Look for interesting patterns and textures in the waves and the ocean surface to add visual interest to your photos
- Try shooting from different angles and perspectives, such as from low to the ground or from a higher vantage point, to create variety and interest in your shots
- Use leading lines, such as the lines of the waves or the horizon, to guide the viewer’s eye through the image and create a sense of depth and movement.
- Try to include some foreground elements such as rocks or surfboards to add interest to your photos.
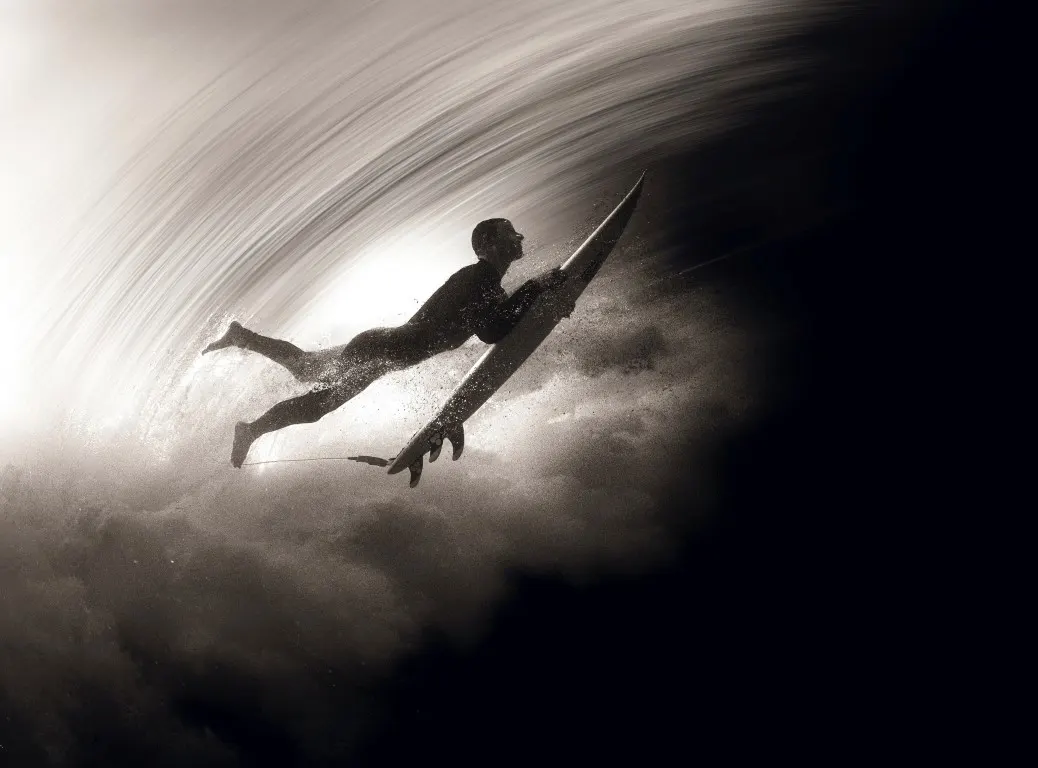
3. Timing Your Surfing Shot
Timing is everything in surf photography, and capturing the perfect moment can make all the difference in your photos.
The following tips will make you get the best shots;
- Pay close attention to the waves and the surfers
- Look for interesting moments such as when the surfer is dropping in or getting barreled
- Try to time your shot so that the surfer is in the sweet spot of the wave and the background is clear of any distractions
The following video explains 10 more tips you can try on your surf photoshoot.
How to Capture Long-Exposure Surf Photography from the Beach
Long-exposure surf photography is a technique that involves using a slower shutter speed to capture the motion of the waves and create a dreamy, ethereal effect in your photos.
Here are the tips that you need to follow for perfect long-exposure photos from your surfing photography.
- Use a sturdy tripod to keep your camera steady and prevent blur
- A neutral density (ND) filter will reduce the amount of light entering the camera, which allows for longer shutter speeds without overexposing the image
- Prevent camera shake and ensure sharpness in your photos by using a remote shutter release or self-timer
- Choose a location with interesting waves, such as point breaks or shore breaks, to add more movement and interest to your photos
- Experiment with different shutter speeds to find the right balance between sharpness and blur. Generally, shutter speeds between 1-5 seconds work well for long-exposure surf photography
- Manual focus can be used to ensure that the surfer or the waves are in focus and not the background
- Pay attention to the direction of the light and the position of the sun, as this can affect the color and mood of your photos
Besides, be patient and persistent, as capturing the perfect long-exposure surf photo can take time and practice.
Editing Surf Photography
Some post-processing techniques that you can use to enhance your surf photos include adjusting exposure, color correction, sharpening, and adding contrast.
You can also use creative techniques such as adding filters, adjusting saturation and vibrancy, and cropping to highlight specific elements in your photos.
· Tools to Use for Editing
There are many options available for editing surf photographs.
Professional-grade software such as Adobe Lightroom and Photoshop
More affordable and user-friendly options such as VSCO, Snapseed, and Canva.
However, the best editing tool depends on your style and workflow.
Conclusion
In conclusion, surf photography from the beach can be less intimidating than in-water photography.
Choosing the appropriate camera gear, including a fast autofocus camera and a telephoto lens, is essential.
Accessories like a sturdy tripod, polarizing and neutral density filters, and a waterproof camera bag can help you take your surf photography to the next level.
Adjusting your camera settings, framing your shot, and timing your shots are critical techniques that can make a difference in your photos.
Finally, with the tips and techniques I mentioned you can develop your skills to capture the thrill and excitement of surfing in a unique and artistic way.
So, what are you waiting for? Grab your camera and let’s hit the beach!
Justin Parker is a professional photographer and has been in the industry since 2007. He attended the University of Georgia. Justin combines his passion for photography and his interest in writing to give life to this blog which talks about photography in order to help and inspire young photographers.