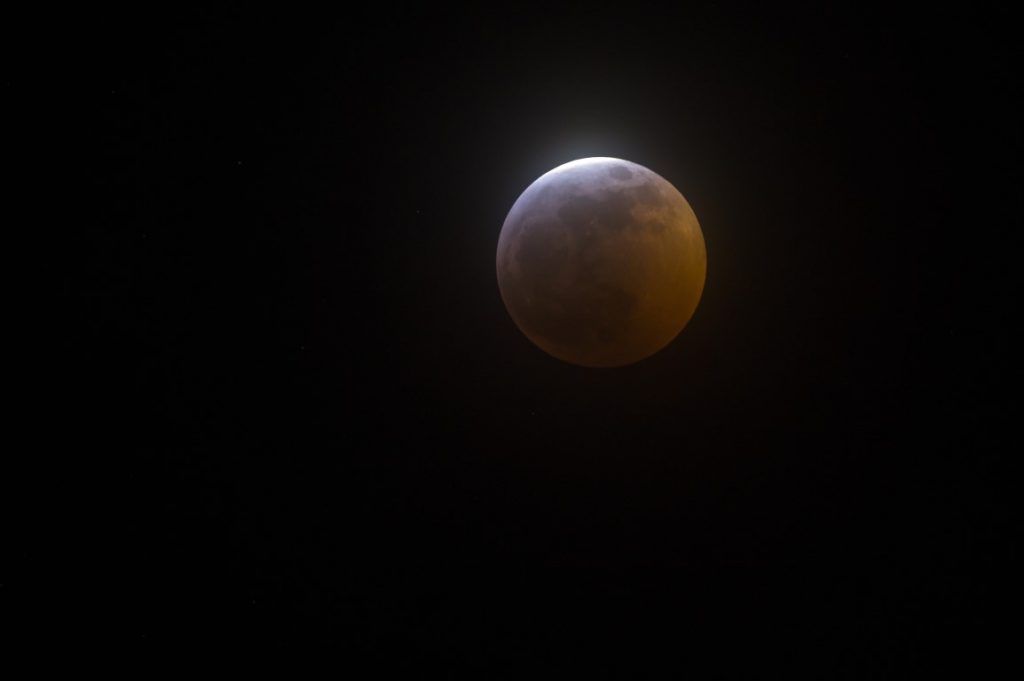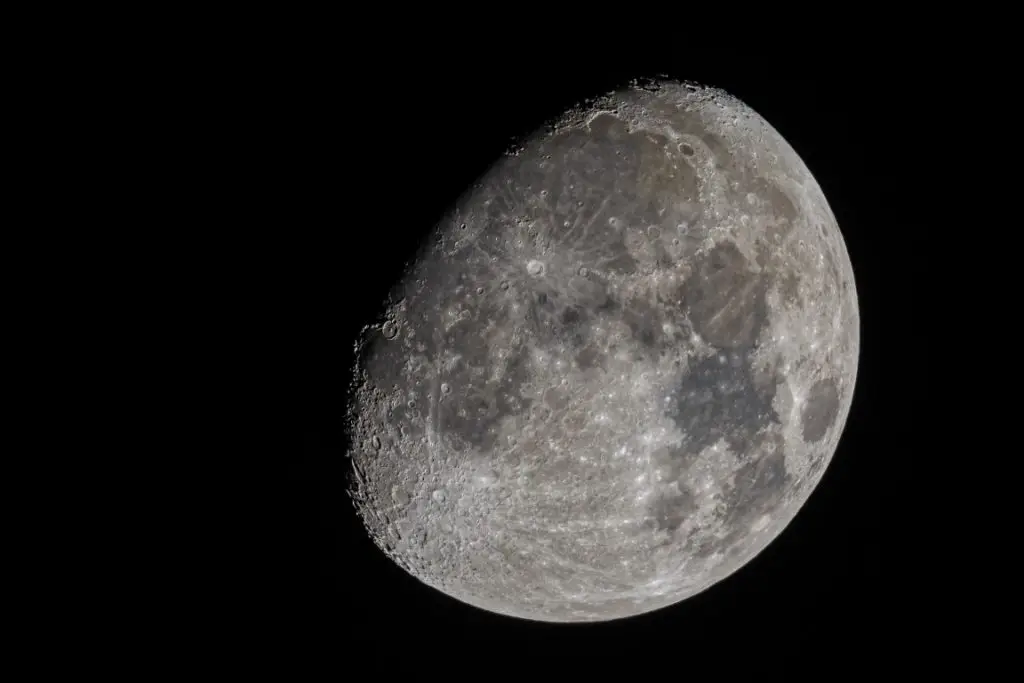
With the wide range of advanced cameras and lenses, it is very easy to take pictures of objects that are far and make them look big. An example is the moon.
Some pictures of the moon look too big while the images of the background buildings look so small. This concept is known as Background compression.
How does the moon look so big in some photographs?
Have you ever looked at some pictures of objects at a far distance and wondered how big they look.
Then looked at the objects that are closer to the ground and seems so small and even got more confused. How do they achieve to take such pictures?
There are a lot of factors that play part in making pictures look so big and clear. One of the concept is Background compression.
Background compression is a concept where an image is taken in longer focal length. This again depends on the distance between the camera and the objects.
For example if you want to take a picture of a moon, you can change the focal length to get the objects closer to the ground smaller.
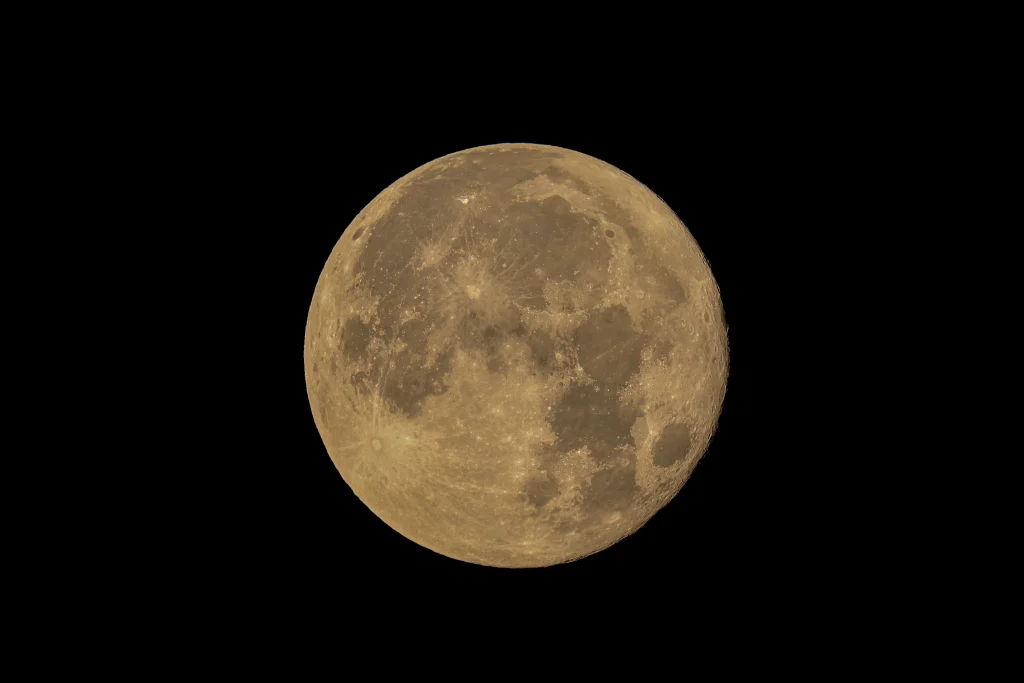
Since the distance between the moon and the camera cannot change, the moon will appear larger than the objects closer to the camera.
You also need high-quality camera to get a high quality photograph. Some of the factors that affect the size and the quality of image include;
- Lenses
- Camera setup
- Location
- And timing.
Keep reading this guide to find out how this factors affect the quality of the image taken.
How to take big moon photos in all cameras?
The size of the camera does not determine the quality of the images taken.
It actually does in a smaller extent. You have seen people with expensive cameras and the latest lenses, yet their photographs are just not appealing.
Professional photographers have mastered the art of taking clear pictures. Everything in photography requires some imagination and some strategy.
You can use this tips to achieve some of the best moon pictures.
1. Lens
The type of lens you use to take photographs determine the quality of images. When taking a moon picture, you will need lenses that can filter some background objects and focus on the moon.
In this instance, you want to take big image of the moon. What you will need to do is add the focal length. Large focal length is equal to large image.
Set your lens to a focal length of 400mm and beyond. This way you will be reducing the angle of view. You can move at least 1km away from objects in the background and focus on the moon. The lens will blur the objects on the ground. This is where background compression is utilized.
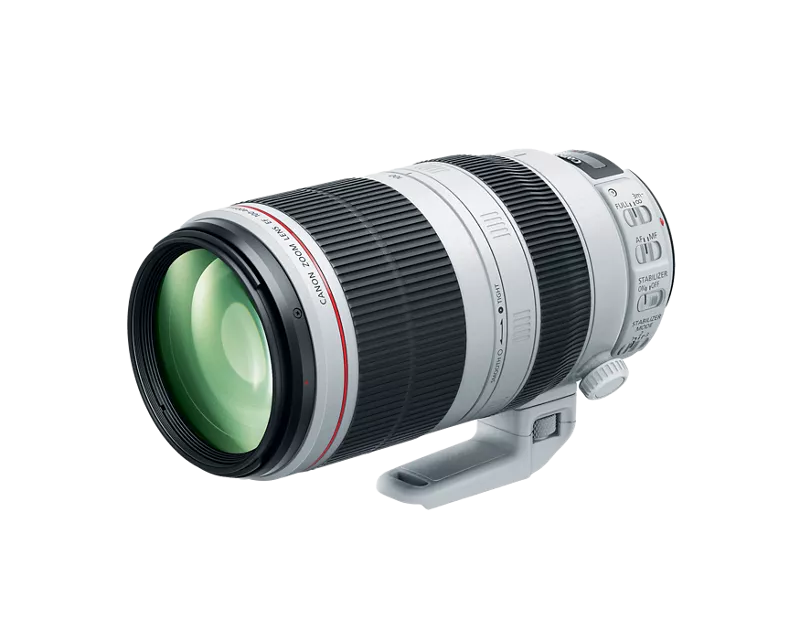
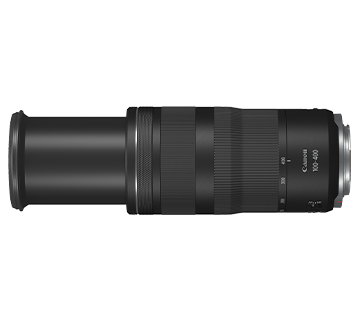
Some of the best camera lens with telephoto zooms of between 100-400mm are;
- Sigma 100-400mm F/5-6.3 DG OS HSM
- Canon EF 100-400mm F/4.5-5.6L IS II USM
- Canon RF 100-400mm F/5.6-8 IS USM
- Canon RF 100-500mm F/4.5-7.1L IS USM
- Tamron 100-400mm F/4.5-6.3 DI VC USD

Use tele-converter to capture the moon depending on the size you want.
Not only in moon photography, but for every astrophotography event having a better idea about the best astrophotography lenses is a very important thing. So, you can follow our complete guide to polish your knowledge.
2. Camera setup
One of the factors that determine the end results of a photography session is the setup of the camera.
If you setup the camera in a way it picks almost all background noise, it can get hard to crop the picture to make the moon look bigger.
Taking pictures with your camera set with a greater sensor’s resolution, you can crop your picture very easily.
Dynamic range of the camera determines how the image of the moon appears.
For example, if you are taking a picture of the moon during the day, you will need to darken the rest of objects.
A camera will better dynamic range will make it easier to bring the image of the moon as you imagine it.
Again if you are taking a picture of the moon at night, you will need some surrounding to make the picture look realistic. Some of the top quality camera for moon shots include;
- Nikon D7200
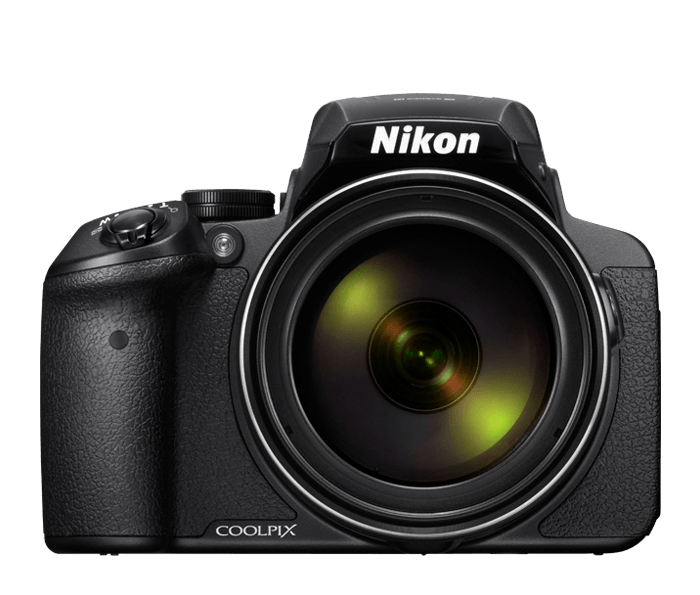
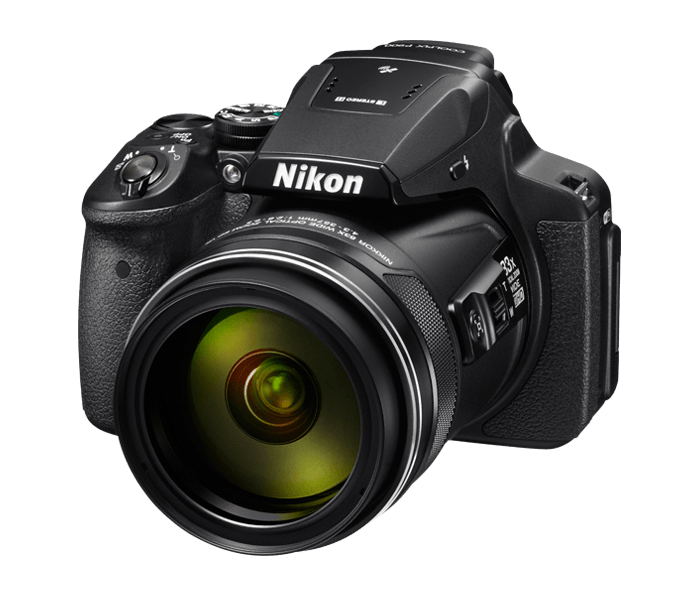
- Nikon P900
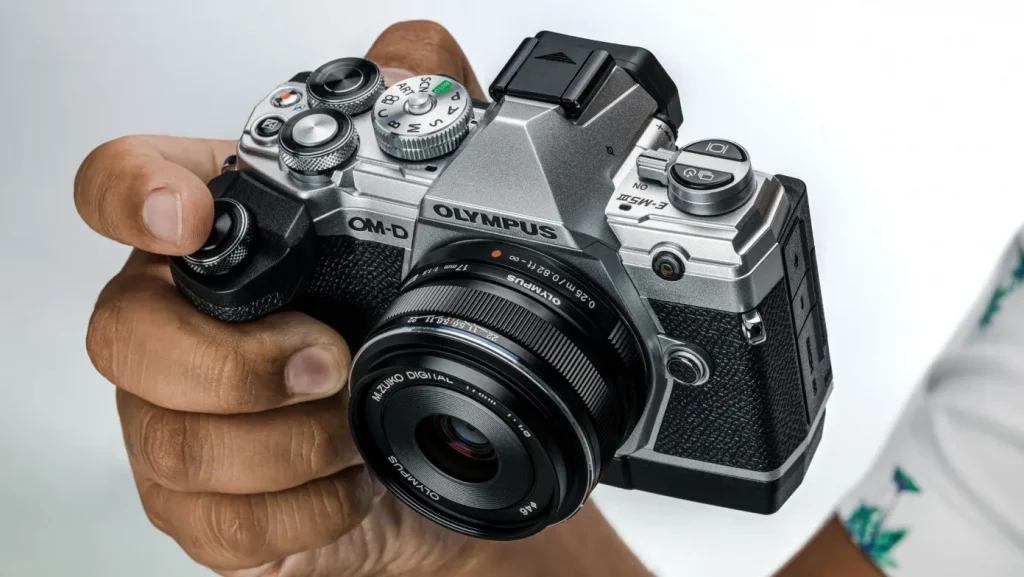
- Olympus OMD EM-5 Mark III
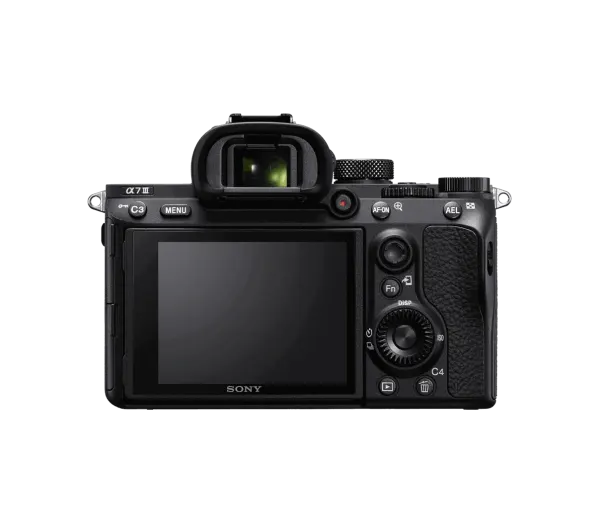
- Sony A7 III
- Cool pix P900

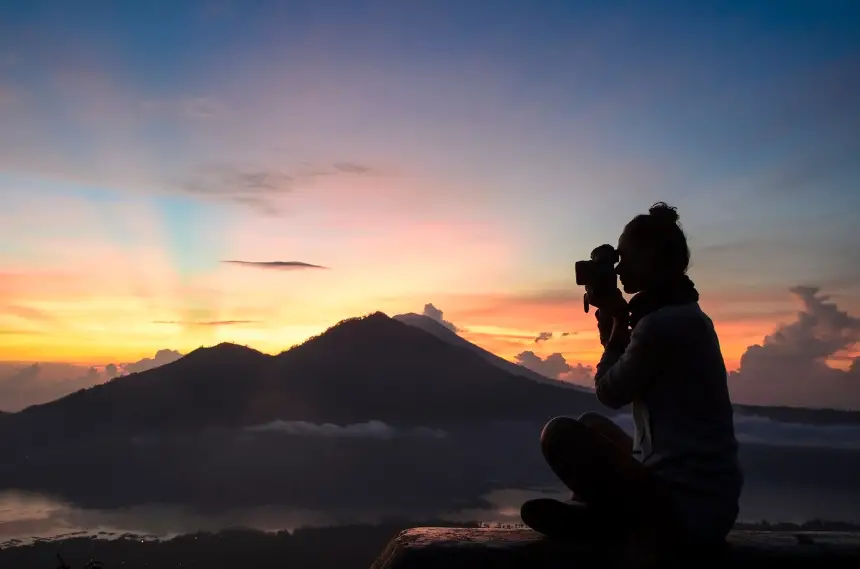
3. Location
The location is one of the important part of taking pictures. You can take the picture of the moon from anywhere. What you will need is to attach long lenses and focus on the moon.
However, to make the picture more appealing to the eyes, the location matters.
Choose a background where you can see some buildings, natural attraction like lakes and rivers, and hills.
Once you find a good location, start finding the best angles to take good pictures. Pythagorean theorem will work wonders when taking pictures.
4. Timing
Photographs taken when there is less light in the sky will be definitely look better than pictures taken under the daylight.
However, we can capture the moon in daylight also. If you would like to know about it. You can read the article on Photographing moon in daylight.
When taking pictures of the moon, you can time when the stars are shining and the sky is a little darker. This will make the moon stand out as it will outshine the rest of the images.
If you are taking the picture of the moon during the day, ensure it is early in the morning before the sun rises and the moon is still the brightest object in the sun.
5. Starting up
Once you have all the requirements, you can go ahead and take the pictures. Take as many pictures as you can and choose the best of all.
You can carry some extra lens and an extra battery and some SD cards in case you will need to take more pictures.
You can then use some of the best editing software to crop and edit the pictures.
Creating the Illusion of a Larger Moon (Composition Technique)
You might have a good camera and choose the best time to take best moon pictures but they appear smaller than you wanted. When taking pictures of far objects, you need to learn a few tricks.
- Choice of lens
The focal distance between the object and the camera matters a lot when taking pictures.
When adjusting the focal length, it would be advisable you also adjust the angles in a way the objects closer to the ground will appear further than the object you are photographing. In this case the moon.
Using telephoto lens with a perspective compression effect will make the moon look larger than when viewed with naked eyes.
Set the distance at 400mm and beyond. Pictures taken at 280mm will appear smaller than what you view with naked eyes.
- Location
Taking a picture with a crowded background will make the picture appear smaller.
Choose a location with a big foreground. An example is the slope or a water body.
A picture of the moon taken in front of a large water body will create a reflection effect which makes it more appealing.
You can still make the moon appear to be far but larger by setting up the camera at a 45° angle.
Another thing is to ensure you are bringing your imagination into reality.
You cannot go and take to the picture of the moon plainly. You can research and see some of the amazing moon pictures online and then incorporate your own imagination.
Did you know considering the sharpness of moon photography is a critical thing in your astro object photography journey? I have a good guide for it. You can refer it about how do I take sharp moon photos.
Conclusion
Photography is a journey that only the imaginative can prosper. When taking pictures you will need to find the best lens, a good quality camera, and strategy.
When taking the picture of the moon, you must make it look larger than the naked eyes can see. For that matter, the lens play a large part in the process.
You need to choose a lens with perspective compression effects. Location and timing also matter.
Justin Parker is a professional photographer and has been in the industry since 2007. He attended the University of Georgia. Justin combines his passion for photography and his interest in writing to give life to this blog which talks about photography in order to help and inspire young photographers.