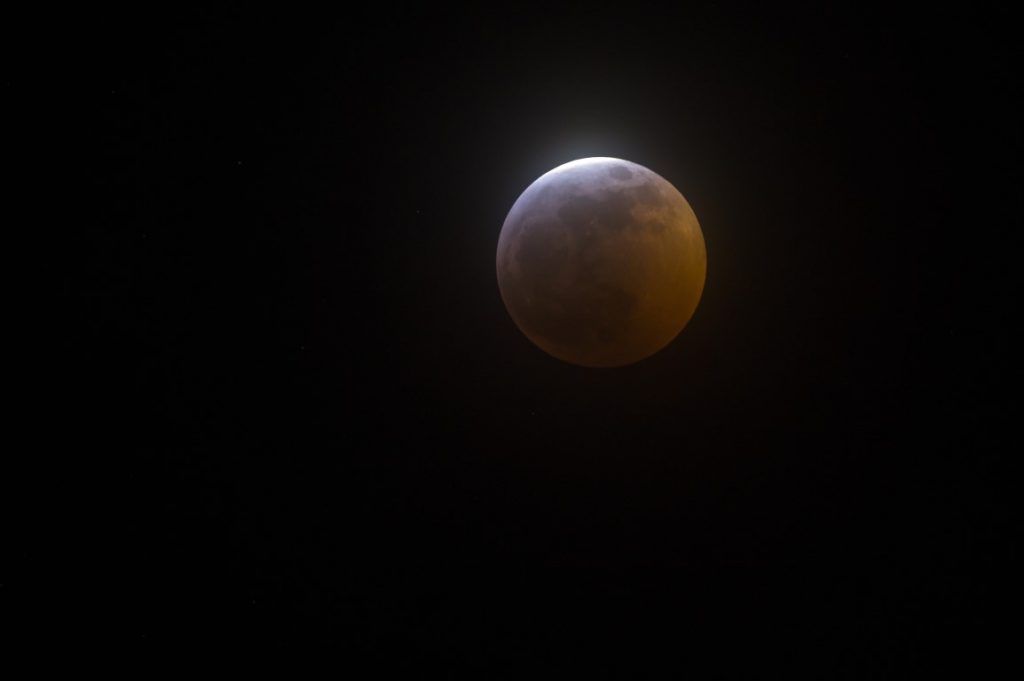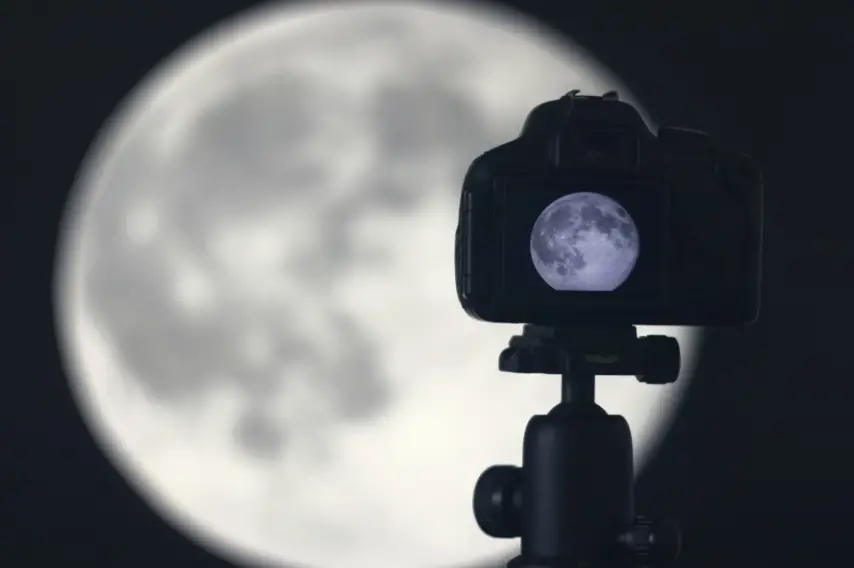
Taking perfect moon pictures is not that hard. With the right accessories you can capture quite a number of amazing pictures without editing.
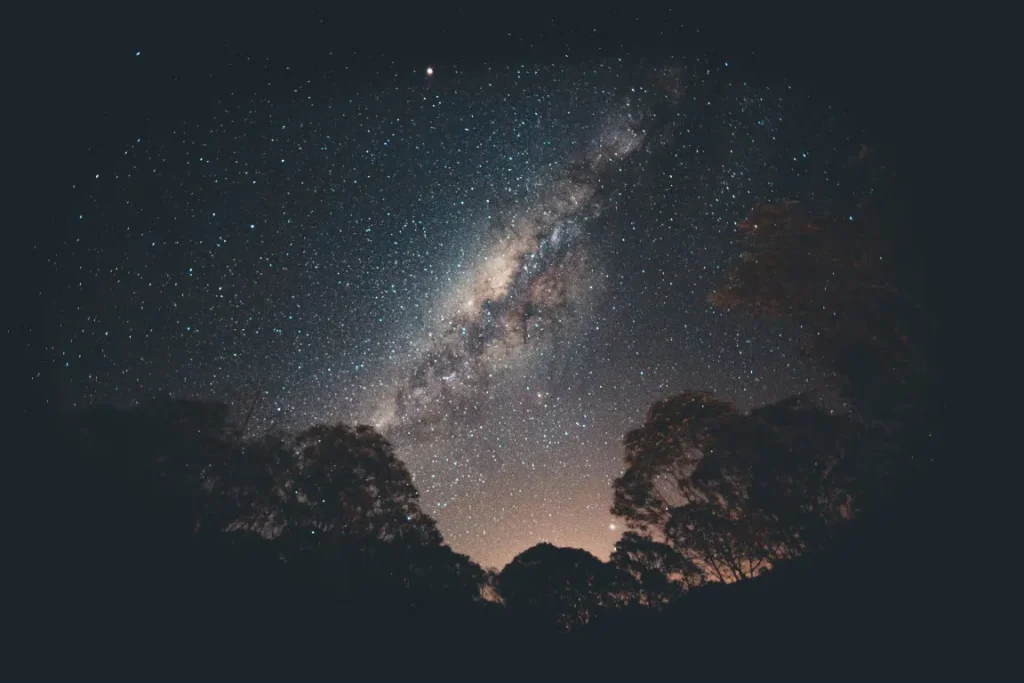
Keep reading this guide to find out how you can perfect your astrology photography passion with your ordinary camera.
Best 75-300mm lenses for moon photography.
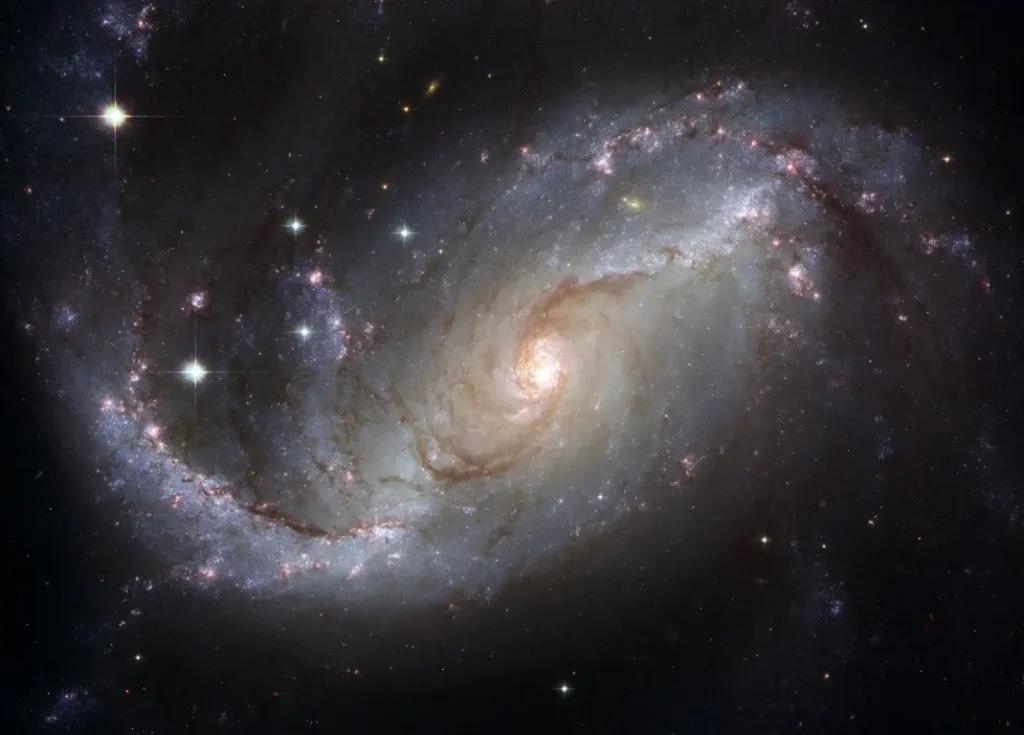
If you have a good quality phone, you take good moon pictures. However, in order to outdo the many available pictures online, you need a good camera.
Most digital camera come with an imaging chip that can with focal length of between 35-50mm.
This focal length might only give you inferior moon pictures. If you don’t have lenses with over 75mm, you can attach a tele-converter to your camera and take good moon pictures.
If you want to get knowledge about teleconverter pros and cons you can refer below video.
Tele-converters can only take good pictures.
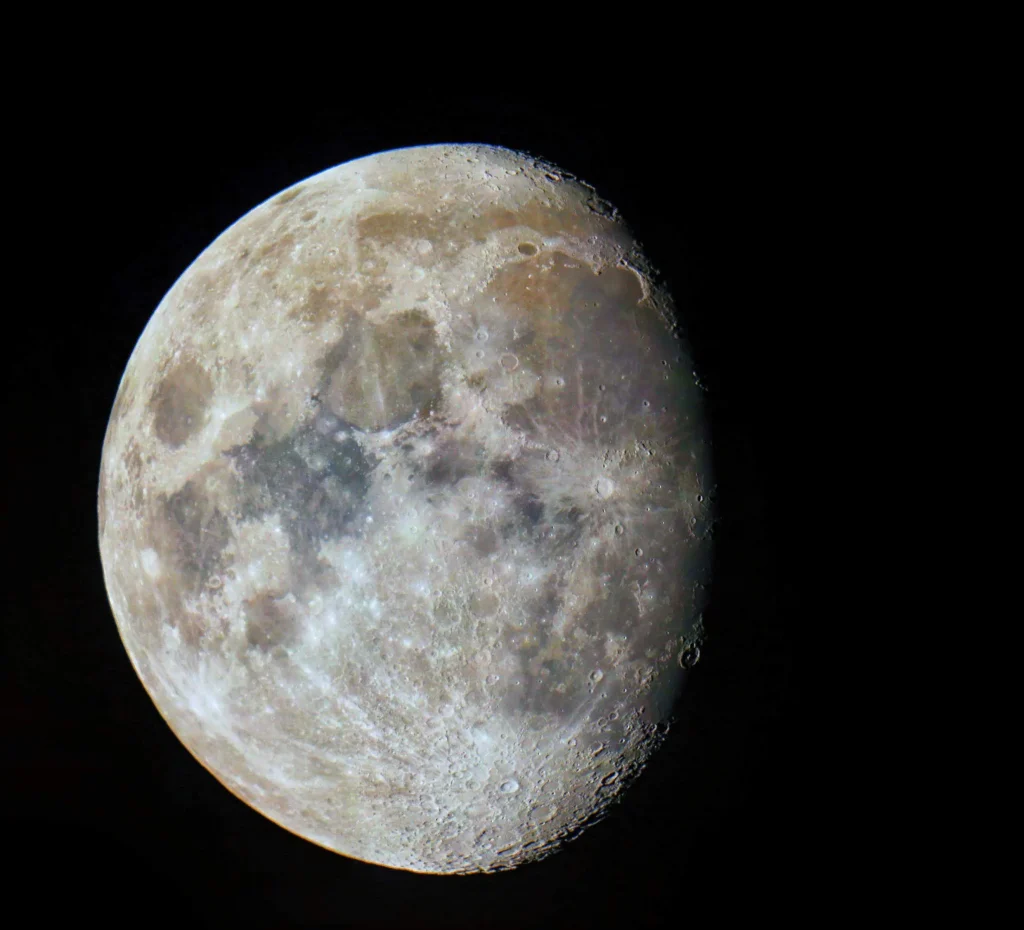
And as you know, the internet is full of good pictures. So if you want to take extra ordinary premium pictures, you can invest in separate lenses with a focal length of somewhere between 75mm- 300mm.
You can find lenses with even 500mm focal length.
Below are some of lens that has a focal length of 75-300mm.
Canon EF 75-300mm F/4-5.6 III USM
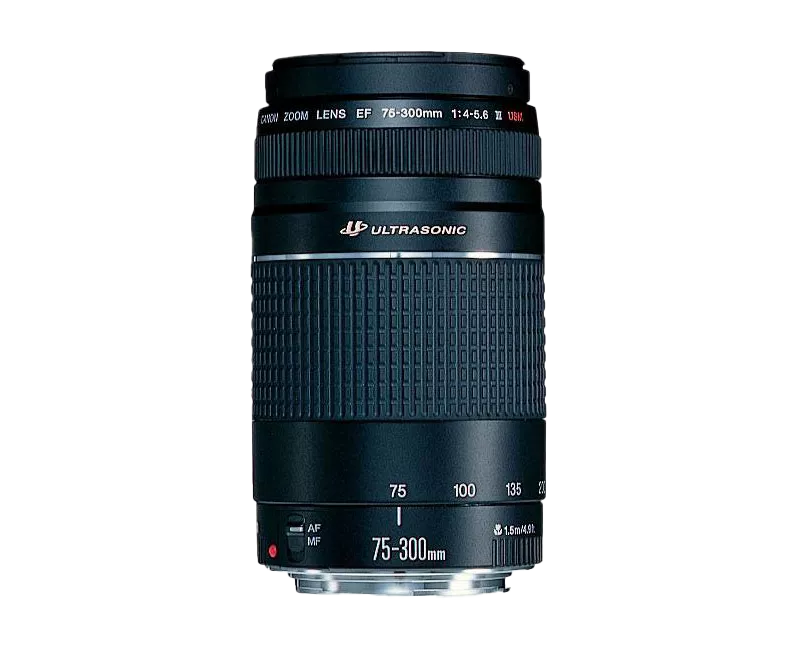
Canon EF F/4-5.6 is one of the cost friendly lenses from Canon. It is small and lightweight making it easy to pack in a small bag.
Features
- Filter size: 58mm
- Dimensions: 2.8 inches in diameter and 4.8 inches long
- Maximum aperture: F/4-5.6 USM
- Weight:16.8 ounces
- Zoom system: Rotating
Let’s reveal the pros and cons of this lens.
| Pros | Cons |
|---|---|
| Great autofocus | Cheap therefore low quality |
| Amazing zoom | Not for professional use |
| Affordable | Does not have an image stabilization. |
| Perfect for outdoor pictures |
2. Nikon AF NIKKOR 75-300mm f/4.5-5.6 Lens

Nikon AF lenses have been in the market for years now. The lenses still offer the greatest sharpness as they used in 1989. This lenses work well with every FX camera.
Features
- Brand: Nikon
- Lens type: Telephoto
- Minimum focal length: 75mm
- Maximum focal length: 300mm
Below I have listed Advantages and disadvantages of Nikon AF lenses.
| Pros | Cons |
|---|---|
| Accommodates any intermediate aperture | Outdated |
| Affordable | Cannot focus on cameras with autofocus AF-S lens |
| Smooth focus and zoom | |
| Produce sharp pictures when using automatic |
3. MINOLTA AF 75-300mm f/4.5-5.6 D
Minolta AF lens are some of the most technologically advanced lens in the markets. They are light weight and has complete lens system which makes them ideal for sports.
Feature
- Item weight: 1.01 pounds
- Complete lens system
- Lens description: 75-300mm
- Zoom ratio: 4×
Let’s look at the pros and cons of Minolta AF lens
| Pros | Cons |
|---|---|
| New advanced distance encoding device for easy calculation of flash exposure | Only compatible with Minolta camera. |
| Has a wide-range to large aperture | |
| Has continuous macro setting for accurate focus from 4.9 foot to infinity | |
| Amazing lens |
4. Olympus M.Zuiko Digital ED 75-300mm F/4.8-F/6.7
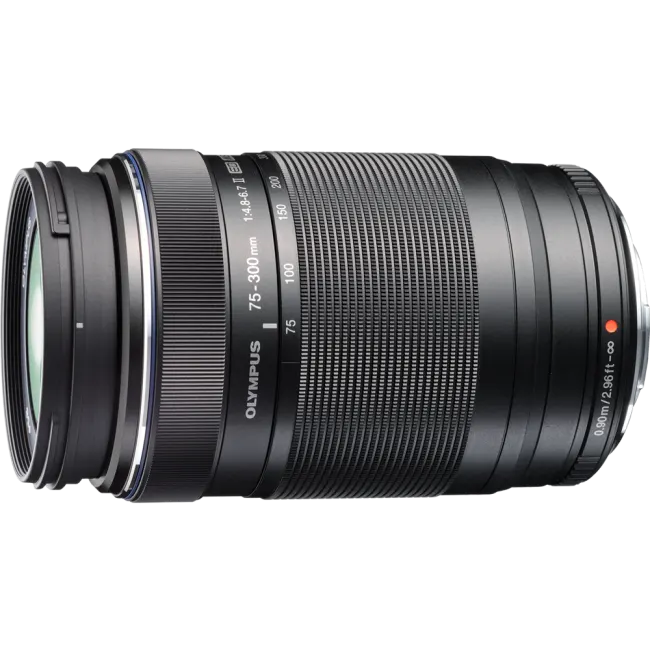
These amazing lenses from Olympus offer some of the most extraordinary images at a high speed. Despite of the greatness they are quite heavy.
Features
- Lens type: Telephoto
- Weight: 16.90 ounces
- Minimum focal length:75mm
- Maximum focal length: 300mm
- Compatible mounting: Micro four thirds
here i listed pros and cons of Olympus M.Zuiko Digital ED 75-300mm lens
| Pros | Cons |
|---|---|
| Has a fast auto focus function | Heavy |
| Clear imaging | Quite expensive |
| Versatile | |
| Come with on lens accessories | |
| An excellent image quality | |
| Operates at high speed |
5. Sony SAL 75-300mm f/4.5-5.6 ED Lens
These lenses from Sony are spectacular for close up portraits. They also come with 7 aperture blades.
Features
- Zoom ratio: 4×
- Compatible mounting: Minolta
- Lens type: Telephoto
- Max aperture: F/4.0-5.6
- Filter diameter: 55mm
- Weight: 1 pound
- Magnification:0.25×
Let’s move to pros and cons of Sony SAL 75-300mm lens
| Pros | Cons |
|---|---|
| Light weight | Not compatible with NEX system. |
| Has distance encoder | |
| Unleashes a whole new dimensions | |
| Decent quality | |
Additionally, if you feel it valuable to know about the best astrophotography lenses, visit this article I have provided for you. I think that It provides a complete guide.
10 Tips For Moon Photography With A 75-300mm Lens
75-300mm lens are ordinary lens. That does not mean you cannot capture amazing images with this lens.
This lens allow you to adjust the focal length with the minimum being 75mm and the maximum focal length being 30mm.
I have seen a lot of people complain that this lens do not capture the picture of the moon as they imagine it.
That is because almost of these people limit themselves to the default settings of the lens.
You need to be a little creative when it comes to any type of photography. Even 500mm lens can take bad pictures.
Good pictures are produced by a good photographer. Luckily, I have captured amazing moon pictures with my Canon EF 75-300mm F/4-5.6 III USM lens.
Below are some of tips I learnt over the 2years I was using this lenses.
- Play with the settings
Do not limit yourself to the focal length you saw someone use on a YouTube video. You can adjust the zoom in between 75mm-300mm. You might find out the best is at 290mm.
Keep changing the settings until you capture the best moon pictures.
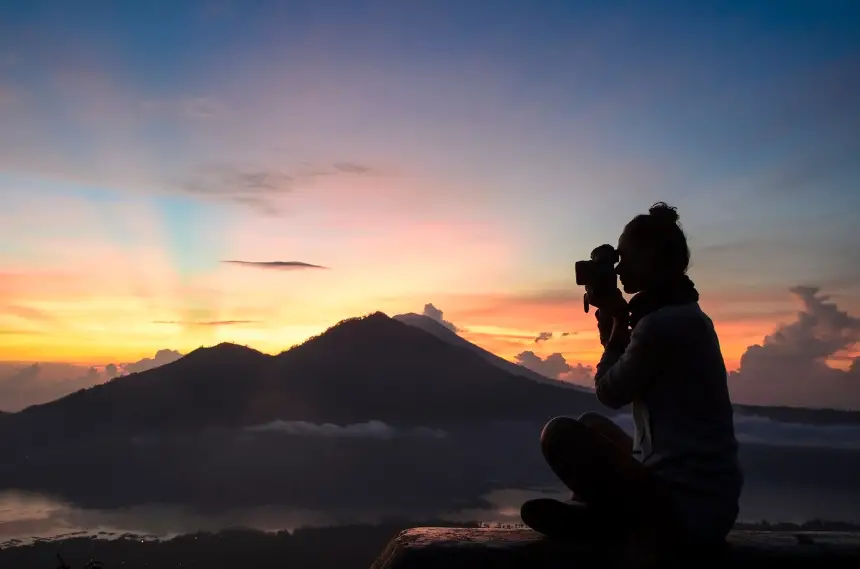
- Take advantage of your landscape
The background in an image changes how the picture looks completely. If you want to take bomb images you need to find the best landscape.
A good landscape should have a large and empty foreground. A good example is the slope of a hill or mountain and a water body.
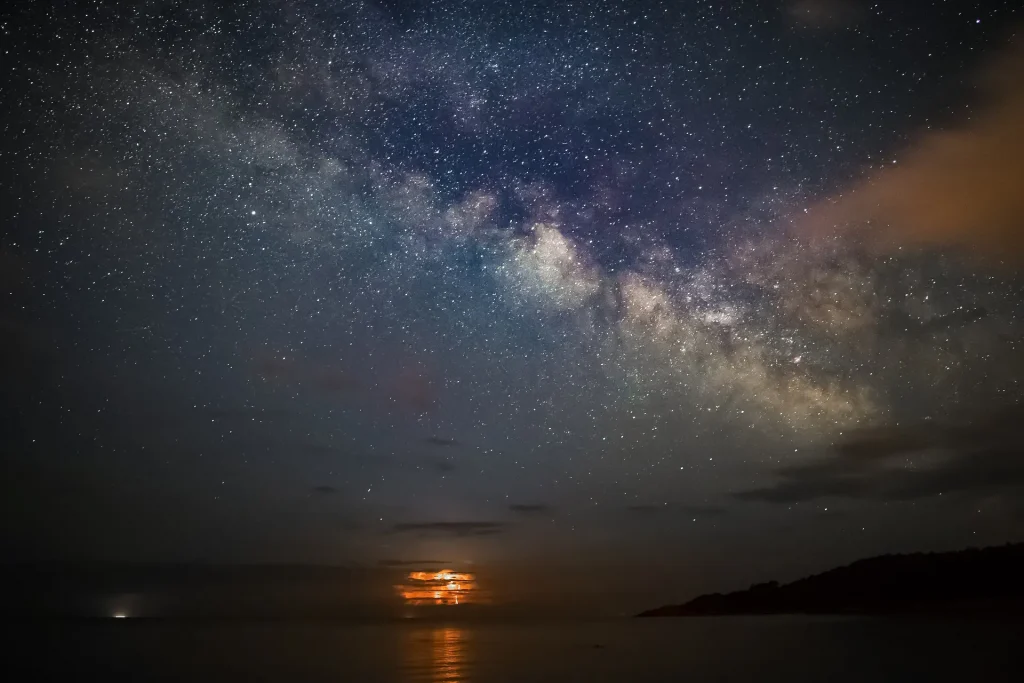
The hill will create an illusion of a large moon while a water body will create a reflection. Avoid places with a lot of tall buildings.
- Make use of background compression
If your landscape does not give you a choice of not capturing the buildings, take advantage of background compression
Background compression allows you to increase the focal distance of the lens. Since the distance between the moon and the camera does not change no matter what, the image will remain bigger.
However, for objects closer to the ground like the buildings will move a little bit further, the moon will be the outstanding object in the picture.
Refer this video to more about background compression.
- Timing
Great moon pictures are captured either at dawn or in the evening. The camera will focus on the moon since it will be only shining object in the sky.
- Ignore the exposure warning
There are some light that will hit your camera when you are taking pictures with 75-300mm lenses.
The camera will detect the light and start giving you exposure warning. Don’t take note of the warning. Keep taking pictures provided you feel okay with the results.
- Adjust the aperture
Each camera lens come with a certain aperture. Most people don’t play with the aperture. This results to basic pictures.
You can change the aperture of your lenses and achieve some of the extra ordinary moon pictures.
- Shoot in raw
If you are using a camera with raw option, shoot the moon using this option. This is because shooting in jpeg will compress the image making it look smaller.
The image will the look crispier if transferred to editing app like Photoshop.
- Adjust the shutter speed
You can start with the smallest shutter speed and keep adjusting till you capture pictures that are appealing.
If you shooting an object closer to the camera, you might need to adjust the shutter speed to about 1/1000 per second.
However, as the distance between the camera and the object increases, you should increase the shutter speed.
There is no limit to the speed you can use. Make sure you make the picture look realistic.
- Adjust the ISO settings
When taking pictures of the moon, you can reduce or maintain the default ISO settings. This is because, ISO is responsible for reducing noise in the image.
If you increase the ISO settings, you might end up getting crispier picture.
Reducing the ISO settings will ensure the image created looks realistic.
- Have patience
There is nothing that beats patience when taking pictures. You might have the right accessories and skills to capture good pictures.
However, lack of patience will interfere with the general quality of the picture.
Take enough time to prep for the photoshoot. Arrange all the accessories, test different focal lengths and camera settings before deciding to take pictures.
Carry extra SD cards for storage and extra batteries Incase you decide to take lots of pictures.
Finally, no matter what lenses you are using, you will need to edit the images to make them look amazing.
Without patience you cannot achieve astrology photography. Remember you will have to wait when the sky is a bit darker that requires patience.
Conclusion
Anyone who has access to a digital camera or a phone can take good moon pictures. However, good is not enough at this era.
You will need to capture something extraordinary to compete in astrology photography industry.
Lenses are a game changer when it comes to photography. You can adjust the settings and change the outlook of the pictures completely.
When using the 75-300mm lenses, you can use a focal length of 75mm to 300mm.
At each focal length, you will capture images at high quality. Do not limit yourself to the default settings if you want extra ordinary images.
Patience is another major tip when taking moon pictures with 75-300mm lenses.
Justin Parker is a professional photographer and has been in the industry since 2007. He attended the University of Georgia. Justin combines his passion for photography and his interest in writing to give life to this blog which talks about photography in order to help and inspire young photographers.