Looking for capturing awesome kitesurfing pictures? Well, you are in the right place.
Photographing the exhilarating extreme sport of kitesurfing can result in some of the most dynamic and dramatic images you’ll ever capture. The combination of high-speed action, dramatic skies, and stunning coastal landscapes makes kitesurfing photography a rewarding challenge.
In this guide, I’ll walk you through everything you need to know to start kitesurfing photography, with awe-inspiring kitesurfing pictures.
Let’s dive in!
The Basics of Kitesurfing
Kitesurfing, also known as kiteboarding, is a wind-powered water sport that combines elements of wakeboarding, surfing, paragliding, and gymnastics. Riders harness the power of the wind with a large controllable kite to be propelled across the water.
The athleticism, skill, and daring of kitesurfers make for dynamic and interesting subjects. Capturing fast-paced action, aerial stunts, and intense expressions can result in compelling and visually striking photos.
What are Essential Gears for Kitesurfing Photography?
1. Cameras
A DSLR or mirrorless camera with fast autofocus and high burst mode capabilities is crucial for capturing the rapid action of kitesurfing.
Nikon and Canon are my favorite choices. They offer flagship full-frame cameras with fast auto-tracking and continuous shooting features.
However, depending on your budget and needs, you might choose between a cropped sensor or a full frame. Here are some recommended specific models:
- Canon 1DX
- Nikon D4
- Canon 5D Mark IV
- Nikon D850
- GoPro Hero10 Black
- DJI Osmo Action
Additionally, you can also use cameras specifically designed for surfing photography. If you want more recommendations, check out the article on the best surf photography cameras.
2. Lenses
There are a few options on lenses for using kiteboarding photography.
However, the main choice I’ll have to make is between a prime lens and a zoom lens. Prime lenses are sharper and perform better in low light but are less flexible. Zoom lenses offer more flexibility at the cost of some sharpness.
The followings are my top picks:
- Canon F/2L IS 200mm d/2.8L
- Canon 100mm f/2
- Canon 70-200mm f/2.8 IS II
3. Accessories
Necessary accessories include multiple SD cards and lens cleaners. So, I always make sure to have extra batteries, memory cards, and a sturdy camera bag with me during my kitesurfing shoots.
4. Protective Gear
Since I’ll often be shooting in wet and sandy conditions during my kitesurfing shoots, waterproof and weather-resistant gear becomes a priority.
A quality backpack can protect the gear and make transportation easier. Some recommended models are from the Lowepro Flipside line. Besides, Roller bags can also be a convenient option.
Rain covers, like those from Think Tank or LensCoat, can protect my camera during these outdoor events.
Besides, when I was taking kiteboarding photography from underwater, I found that the Ikelite Underwater Housing for the Canon 5D Mark IV provided the best.
Must Known Technical Aspects Consider for Kitesurfing Photography
Understanding the sport and its movements will help me anticipate key moments in kitesurfing. Let me share the most important ones with you.
- Fast shutter speeds are needed to freeze action, while slower speeds can create interesting motion blur effects.
- Light and weather conditions can significantly impact your images. Early morning and late afternoon offer the best lighting conditions for dramatic shots.

- Composition plays a key role in kitesurfing photography. Remember to consider elements such as the horizon line, the rule of thirds, and the use of negative space.
Best Ideas for Kitesurfing Photos
To capture stunning kiteboarding pictures, it is necessary to focus on different approaches.
You can try different angles and perspectives. Shoot from the water for a dramatic viewpoint, or from a cliff or drone for a bird’s-eye view.
However, timing is key in kitesurfing photography – be patient and wait for the perfect moment.
Besides, the following poses are among the top trends in kitesurfing photography for 2023. You can try them too.
· Top Kitsuring Poses for Photography in 2023
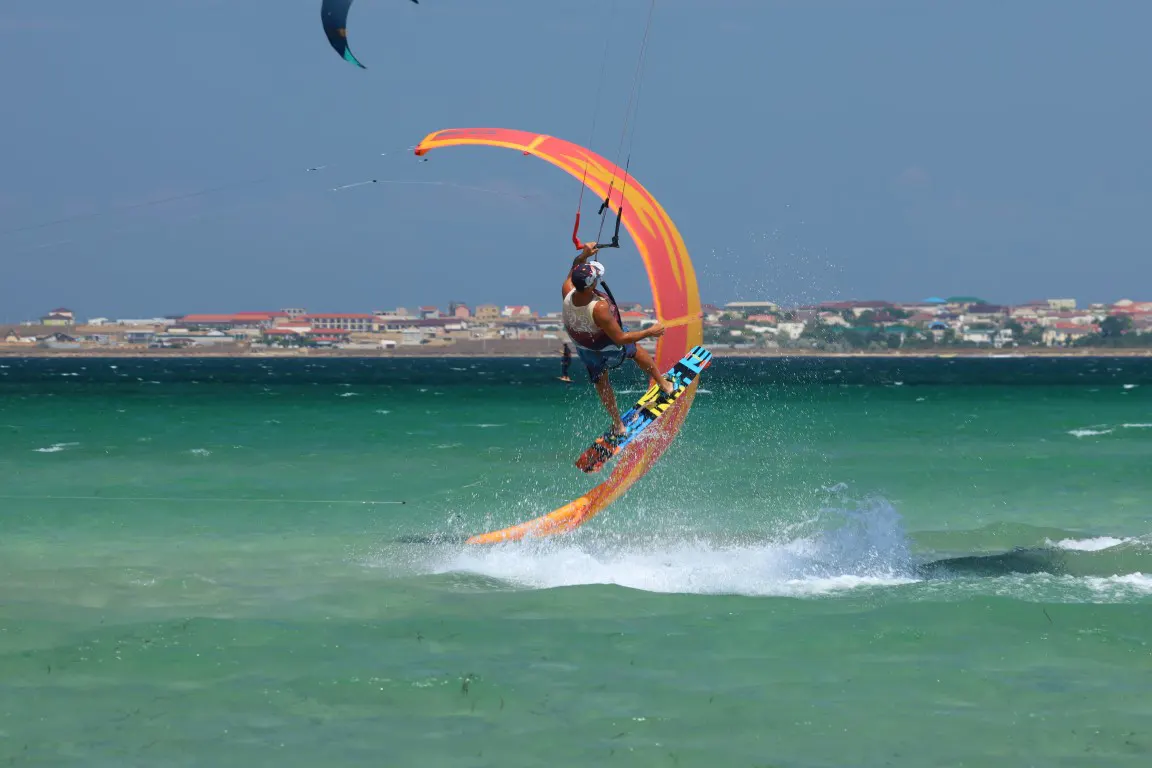
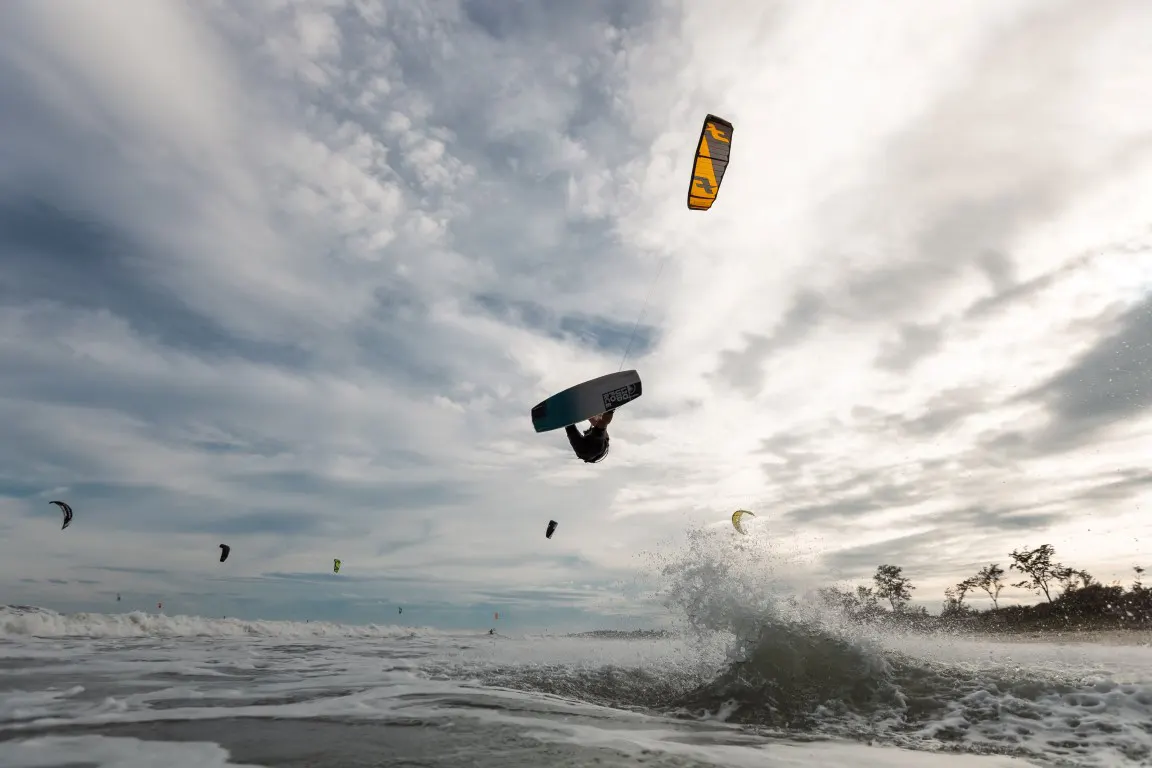
1. The Big Air
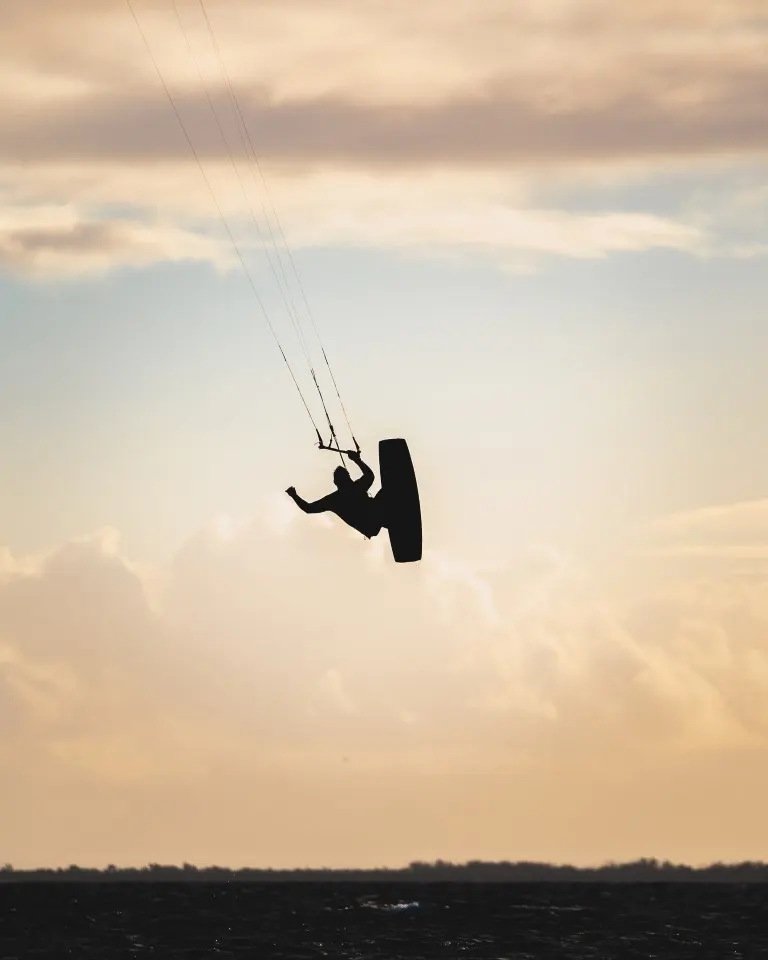
Capture the moment when the surfer is at the peak of a jump. It’s especially dramatic if the sun is low in the sky, creating a silhouette.
2. The Splashdown
Take a photo just as the surfer lands back on the water, creating a big splash.
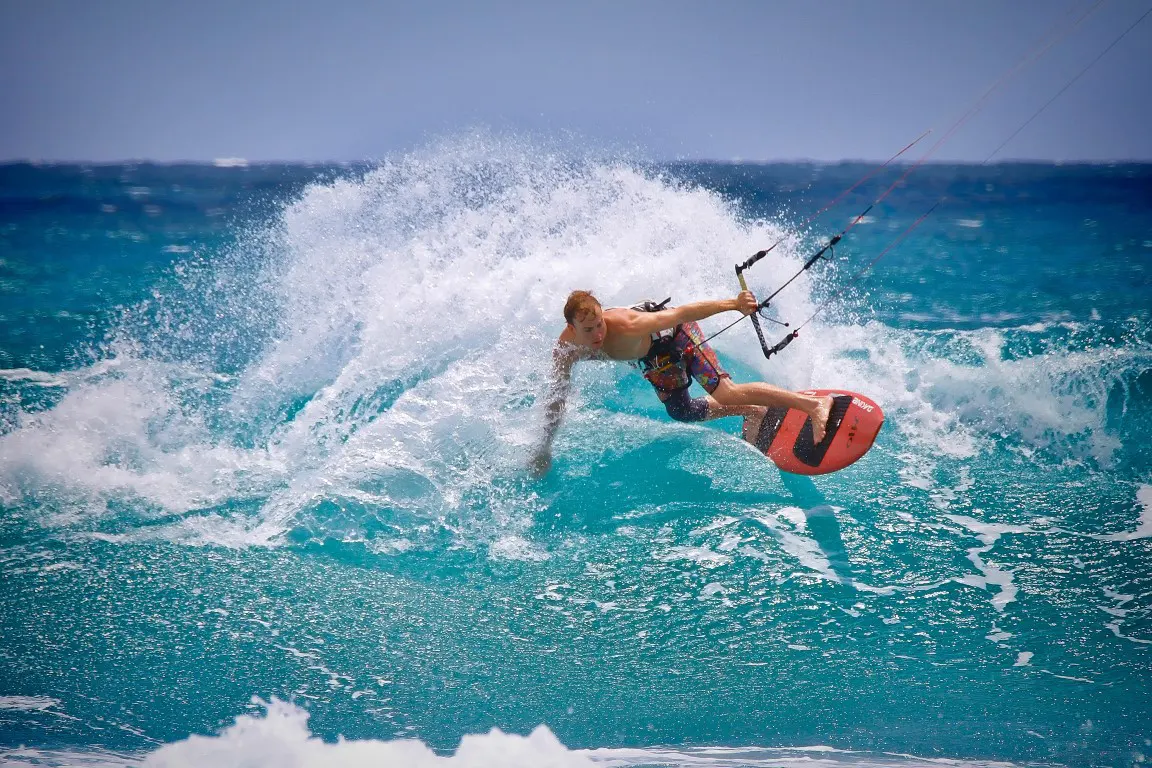
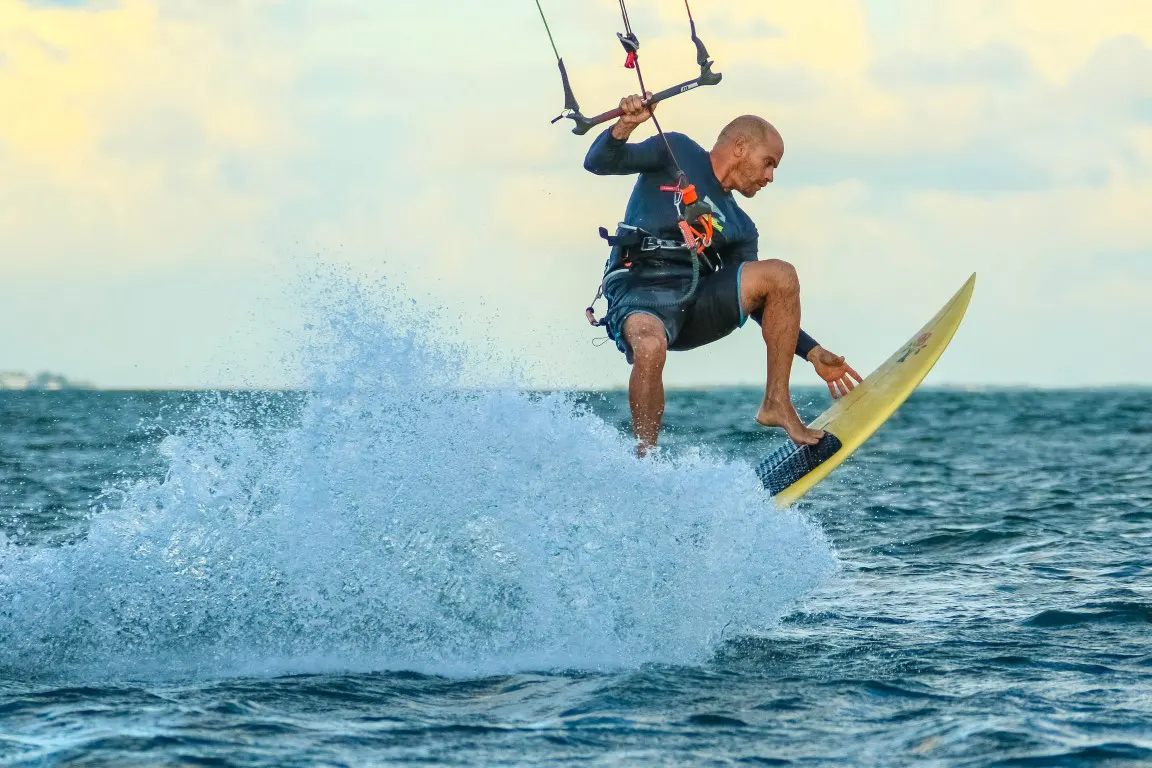
3. The Close-Up

Use a long lens to get a close-up shot of the surfer. This can show off their concentration and determination.
4. The Launch
Catch the surfer the moment they launch their kite. This can be especially powerful if you can get a low angle, looking up at the surfer and the kite.
5. The Panorama
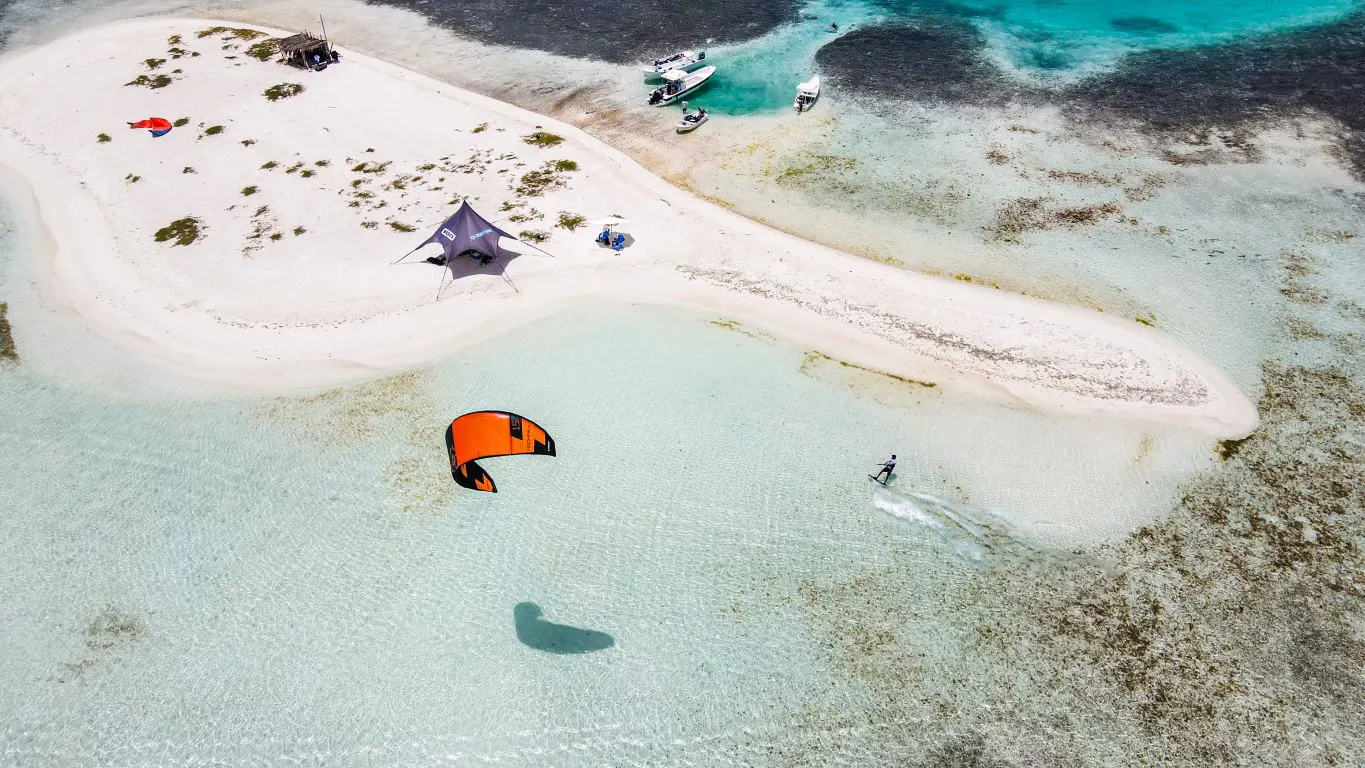
Take a wide-angle shot of the surfer in the context of the larger landscape. This can give a sense of the scale and beauty of the location.
Remember, safety is the most important aspect. Always ensure that you and the photographer are not putting yourselves in dangerous situations to get these shots.
· Take Good Kitesurfing Pictures by Yourself
If you are passionate about both kitesurfing and photography, try capturing selfies while enjoying your kiteboarding moments. The following will make your shots more unique.
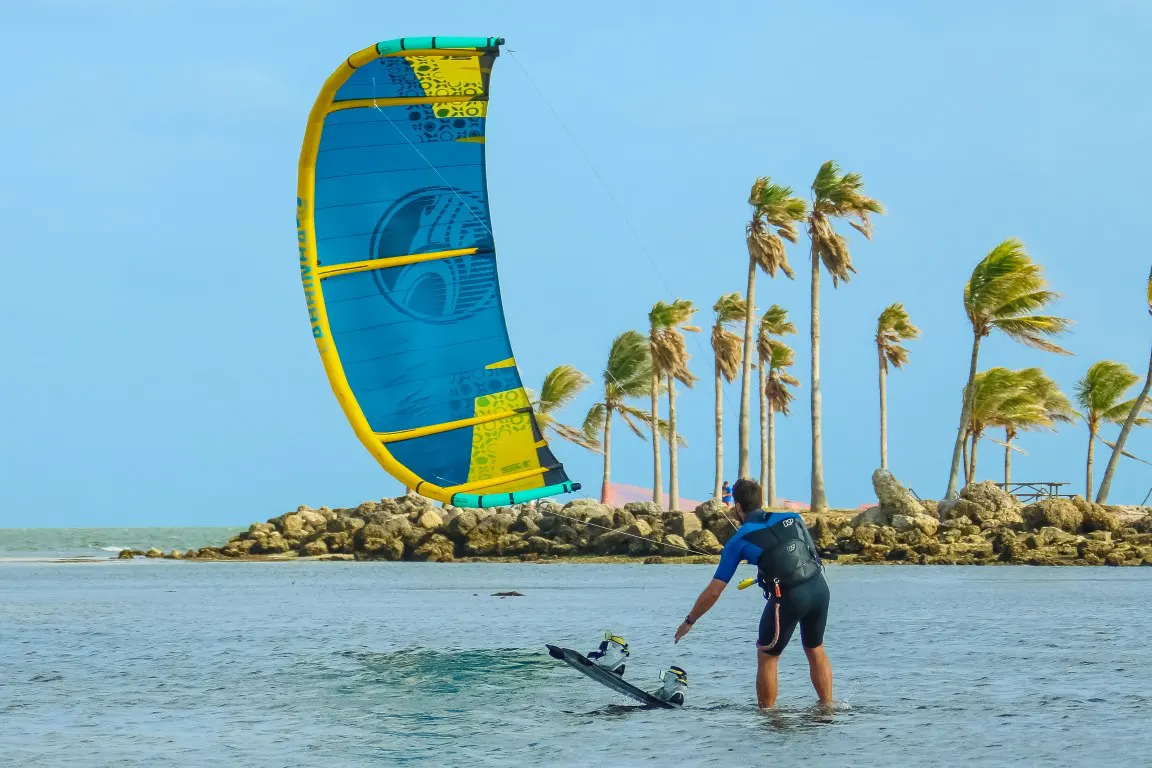
1. The Pre-launch
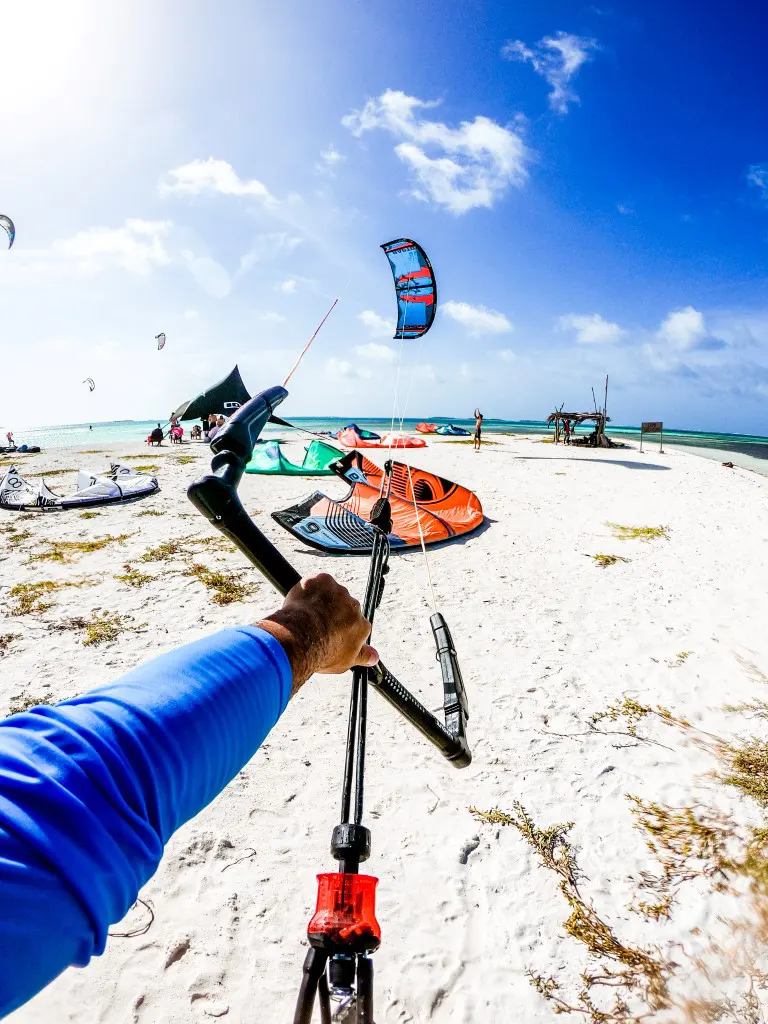
Before you start riding, take a selfie with your board or kite, or both in the background. It’s a great way to show off the environment and your gear.
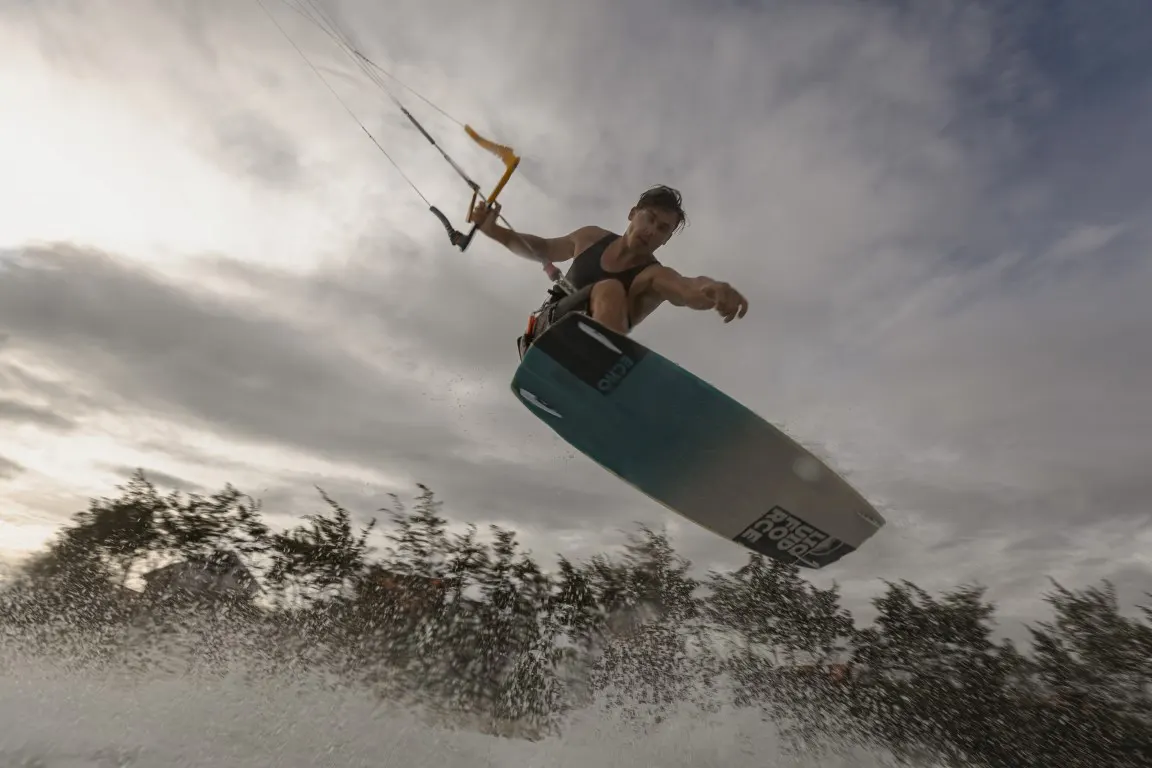
2. The Board Grab
While in mid-air, reach down and grab the board. Make sure the camera captures both your expression and the board in your hand.
3. The Look Back
Look back towards the camera while surfing. This will give the audience a sense of speed and excitement.
4. The Trick Shot
If you’re able to perform any tricks, like jumps or flips, these can make for incredible selfies. Just make sure to keep the camera steady.
5. The Wave Ride
Capture a selfie while you’re riding a wave. Try to get the wave cresting behind you in the shot.
What are the Best Locations for Kitesurfing Photography?
Popular locations for kitesurfing include Maui, Tarifa, and Cape Town.
These locations offer not only great wind conditions but also stunning landscapes for the backdrop.
However, kitesurfing photographing in water and beach environments comes with its own set of safety considerations.
So, always be aware of tides, currents, and weather conditions. It’s also important to respect local regulations and protect the environment.
Post-Processing Kitesurfing Photos
If you want to make your captured kitesurfing photos look more professional, try using some post-processing tips and tricks. They will help enhance your kitesurfing images further.
Software like Adobe Lightroom and Photoshop offer tools to adjust exposure, contrast, and color. So, don’t be afraid to experiment to highlight the drama in your kitesurfing photos.
Conclusion
Kitesurfing photography is a thrilling genre that combines action, adventure, and art.
With the right gear, techniques, and plenty of practice, you can start capturing your stunning kitesurfing images.
Don’t forget to draw inspiration from kitesurfing pictures and the poses mentioned in this article. So why wait? Get out there, and start shooting!
Justin Parker is a professional photographer and has been in the industry since 2007. He attended the University of Georgia. Justin combines his passion for photography and his interest in writing to give life to this blog which talks about photography in order to help and inspire young photographers.