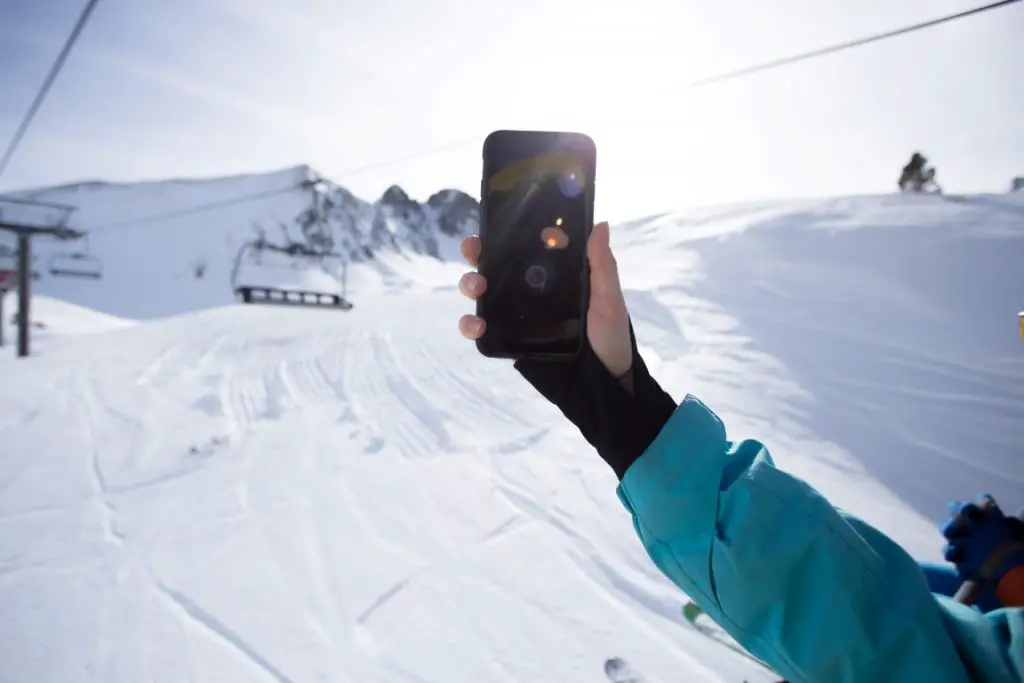
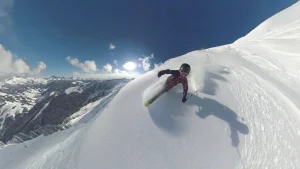
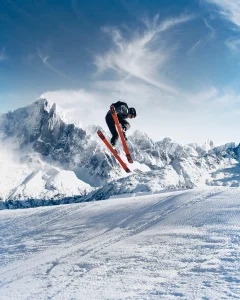
Are you going to Ski this winter? You can capture those memories and relive them later by using cameras. Ski Photography is tricky because you cannot actually carry the camera, but you need to mount them to yourself to get great shots.
This article will see how to click the best images with an iPhone, which is essentially not a professional camera. We will also talk about editing pictures that you clicked on your iPhone. So let’s get started!
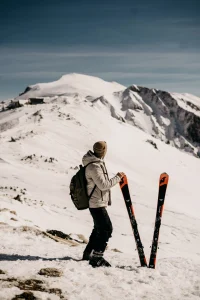
How do You Take Good Ski Pictures with an iPhone?
iPhones are great at clicking photographs because they are light and portable, making the pictures look pretty. Here are the most important tips for perfect skiing photography.
- Burst Mode
Burst mode is a great function present in iPhones, which lets you click multi-images simultaneously. You basically click multiple frames per second.
Skiers essentially depend on burst mode to get a stable picture from a fast-paced motion. This feature is actually good since you can select the clearest picture and further edit the image to your liking.
- Keep the Charger Handy
Never forget to carry your charger since it may take more than 2 hours to click images. Not only that, you will use your phone for so many other factors.
So you need to keep the charger with you so that you can charge the phone at any point of the day.
- Keep Your Phone Warm
If you know the temperature around snowy areas, you will understand that keeping electronic devices in minus temperatures can freeze them if they stay out in the open.
Therefore you can keep the phone and the charger in either your pocket or inside your jacket to keep it warm and stop the phone’s battery from dying.
- Buy a DxO One Camera Attachment

Source: amazon.com
Attach the camera to the charging slot of your iPhone and control it from the phone’s touch screen.
The camera has a better sensor for high-resolution photos and can even shoot images in RAW format. It even captures low-light conditions well.
iPhone Camera Settings for Ski Photography
If you’re going to use an iPhone for clicking pictures while skiing, then you can follow the steps below:
- Use the HDR mode to ensure that the image is evenly colorful and bright throughout the whole frame.
- Set the exposure at +1 to get a good effect of snow in your photographs. The exposure captures the true light of the surroundings.
- White Balance can be kept on Automatic settings since not many colors are going to disturb the image. Moreover, since HDR is on, HDR will capture the colors properly, and the white balance will automatically adjust to it.
- Flash should remain OFF. It can potentially ruin the color composition of the image and may get a darker picture. Getting a dark snow picture would ruin the whole vibe of the image. You have to capture the sky as well as the people around you properly.
How to Edit Snow Pictures on iPhone?
Do not forget to Accentuate the Colors of the Photo
Since the background of the picture is white, any color would pop out against it. Therefore, if there are people in your frame or even just a simple landscape, set the color contrast appropriately to get all the colors to pop.
Even landscape pictures, such as a backdrop of trees around the snow would look great if you maximize the contrast of the trees and lower the highlights of the picture so that you don’t get blinded by constantly seeing white.
Get Creative with Shadows and Highlights
When you edit a picture, increasing the shadow effect can do wonders for your picture. When you increase the shadows of any snow picture, the objects in the image get a depth from it, whereas adjusting the highlight can improve the shadowy effect from a picture that you just clicked in a hurry.
Even if you use flash, you can easily adjust the shadows and highlights and create a balanced photo. But you have to practice first to understand how the picture would improve.
Lighting is Crucial
Safe to say that lighting is the most important part of the whole photography. But in winter, the lighting time may vary accordingly. Therefore, if you want to click photos at night, then you need to carry an extra flashlight to get enough ambient light.
If you are trying to click a sunrise or sunset then you need to click raw images first and then edit the picture in warmer-toned colors with some color correction.
Try Out the Temperature Setting Too
When you get to edit a snow picture, adjusting the temperature of the picture may do the trick of making the most beautiful snow picture. Since the snow can be only white, correct it using a temperature setting and lower the temperature.
If you adjust the tint of the picture, it will help in making the snow’s color look more natural.
Do not Mess with the Vibrance and Saturation Settings
Vibrance is usually needed when you want to elevate the picture’s color. So you can use both features only if there are objects in the image that need the colors to be lifted.
Saturation deepens the colors of the pictures, but you should not use them for snow pictures. Since snow is already white, increasing the saturation may not do much good to them.
Add Grain to the Picture and See the Magic
Grain is a feature that gives the impression of old pictures that use tiny particles in images and give a grainy texture.
Therefore, adding grain to your snow pictures would create a difference in the objects from the snow, which will do wonders for your picture.
Give Clarity and Texture to the Picture
The clarity feature allows the pictures to get crisp looking, and each subject of the picture gets defined in the image. It basically gives a clean-looking image.
However, adjusting the texture would improve the feel of the picture and deepen the picture to give it a better look. It darkens in places that need to be darkened and the same with brightness.
Make Some Changes in Contrast to Improve the Picture’s Color Quality
A snow picture can never be a plain picture since you have to have some objects placed casually in the photo. The object may be the sky, but it will have a different color than the sky.
Therefore, increasing the contrast of the photo will increase the color of the sky and any other color in the sky. However, please do not increase the contrast so much that it looks fake or disturbs your eyes.
You Can Even Use Pre-Installed Filter Themes to Improve the Picture
Editing apps or tools come with some filters already installed that you can use to improve the picture’s overall look.
Conclusion
Snowing is fun until you think of clicking your ski pictures. Of course, it can be a bit tricky to click pictures while skiing, but with a good setup and a great camera, you can click the most amazing picture ever.
Just be patient and purchase the best tools, with the camera set in the most appropriate settings to get the perfect image.
Besides, try out some tips and tricks to capture your best ski photo. My previous article, how do you get cool ski photos, provides smart tips for taking awesome ski pictures.
Justin Parker is a professional photographer and has been in the industry since 2007. He attended the University of Georgia. Justin combines his passion for photography and his interest in writing to give life to this blog which talks about photography in order to help and inspire young photographers.