Are you in need of crisp product photography but are on a limited budget? It might interest you to know that brands and individuals have long used smartphones to generate buzz for their products without spending thousands of dollars on a professional camera.
With an iPhone 11, you can create captivating product pictures that increase customer perceived value whether you’re on Amazon or Facebook Marketplace.
Capturing stunning product images with your iPhone 11 is not rocket science. You’re not going to be needing any heavy gear, and you don’t have to worry about getting too many accessories.
Want to find out how you can use your iPhone 11 to create eye-popping photos and boost your product listings? Let’s get snapping!
Can You Take Product Photography with iPhone 11?
Yes, the iPhone 11 has a ton of features that makes it suitable for your product photography spree. The smartphone packs a triple camera array, with a wide-angle, super-wide, and telephoto lens, all of which measure 12 megapixels.
You’ll also get to enjoy great consistency in tone and color across all three cameras, resulting in clean, high-res images. Plus, the wide-angle lens gives you greater flexibility in case you’re working with a larger figure.
How Do I Take Product Photos with My iPhone 11? (10 Tips)
Having an iPhone 11 for your product photography is just one hurdle in the race. To get the best results from your snapshots, you’ll need to pull out several tricks from your hat.
- Use the auto exposure/auto focus feature
- Shoot in grid mode
- Use natural light
- Lamps work too
- Clean your surroundings
- Clean your product
- Get a tripod
- Take lots of shots
- Avoid texts and borders
- Edit your photos
- Use the auto exposure/auto focus feature:
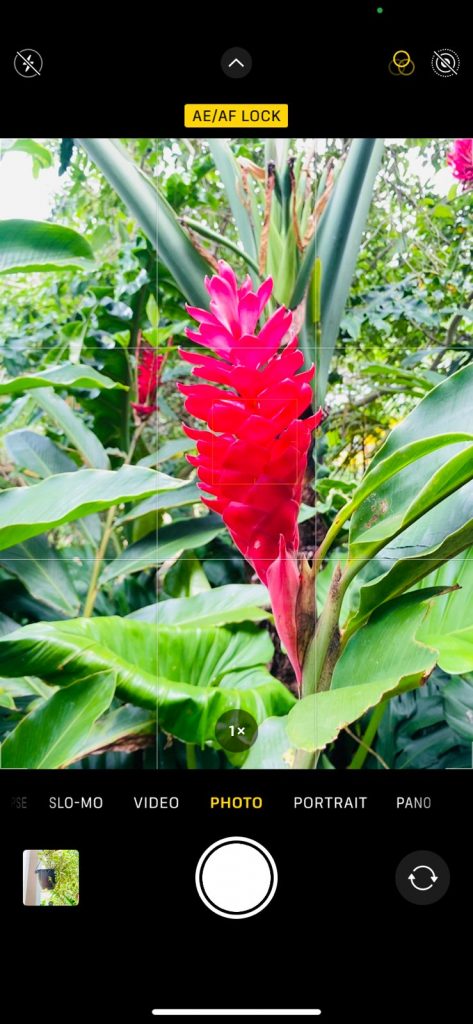
The AE/AF lock function on your iPhone 11 ensures that you create sharp images that are well-exposed without fail.
You’ll see the AE/AF lock indicator in a yellow square on the screen when you tap and hold the part of the screen where you want to lock in the exposure point. Release to lock the settings in and you can frame your shot without losing the exposure and focus settings you have set.
- Shoot in grid mode:
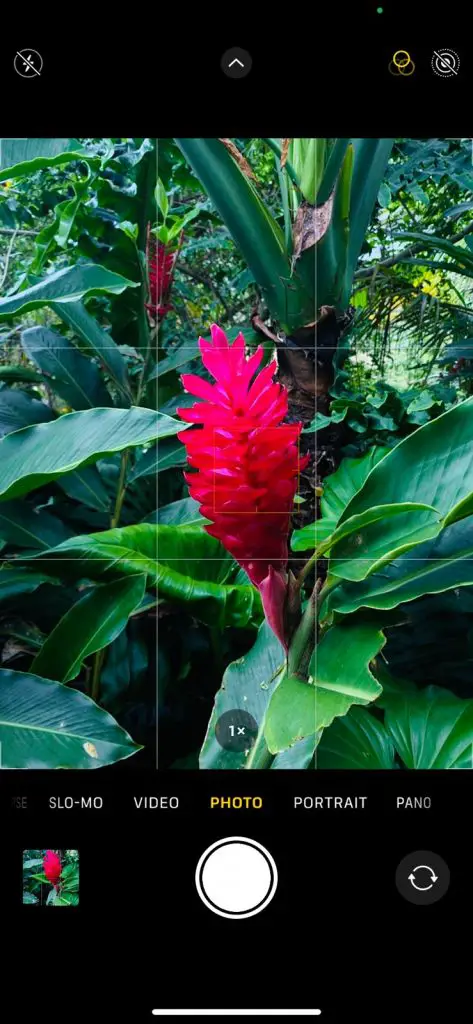
Shooting in grid mode allows you to line up your shots easily. Toggle the grid switch in “camera settings”, to find faint gray lines that divide your screen into nine squares. The lines help you balance your products for a flawless shot.
- Use natural light:
Capture your product during the day when natural light can radiate on it. Windows are a natural light source because they provide a blend of filtered sunlight and sufficient shade for your photos.
You can also shoot outdoors on the front porch or in the backyard. The science behind using natural light is that it allows the product to be reproduced true-to-color.
I recommend shooting early in the morning or late in the afternoon for an enchanting illumination against the direct, harsh glare of the noontime sun.
- Lamps work too:
Apply some creative aesthetics to your products and make them more attractive by illuminating the view with lights.
A pair of lights coming from opposite directions will eliminate most invading shadows and provide high-detail lighting.
Sounds like a lot of work, right? Not necessarily. Support your product with a poster board or desk lamp. There’s no need to purchase professional lighting equipment.
- Clean your surroundings:
You want all your customer’s attention to be focused on your item and not on distractions in the environment.
Get those piles of clothes on the chair or bed out of the way or risk shoppers switching to the next seller. Your backdrop should not look busy.
- Clean your product:
As simple as it sounds, a lot of noobs in product photography forget this all-important step.
Before flicking away, give your items a quick wipe to remove any specks of dust or muck. These impediments are a real downer and can weaken the appeal of your product.
To clean, use a microfiber cloth to gently wipe the product. If you’re capturing clothing, remove wrinkles and creases. Review ruffles and pleats.
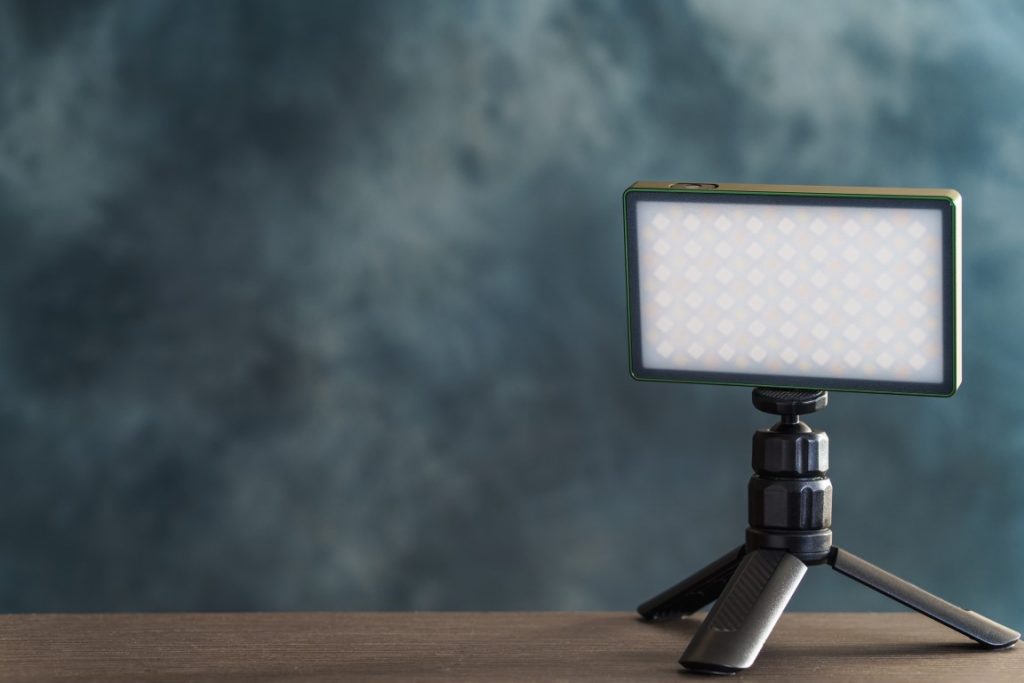
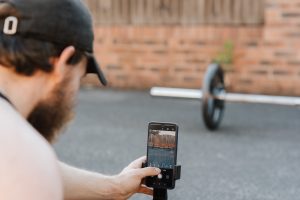
- Get a tripod:

A sturdy, iPhone-safe tripod will stabilize the camera and prevent shakes, resulting in clear images for your e-commerce page. It also helps you to maintain consistency throughout your photos.
- Take lots of shots:
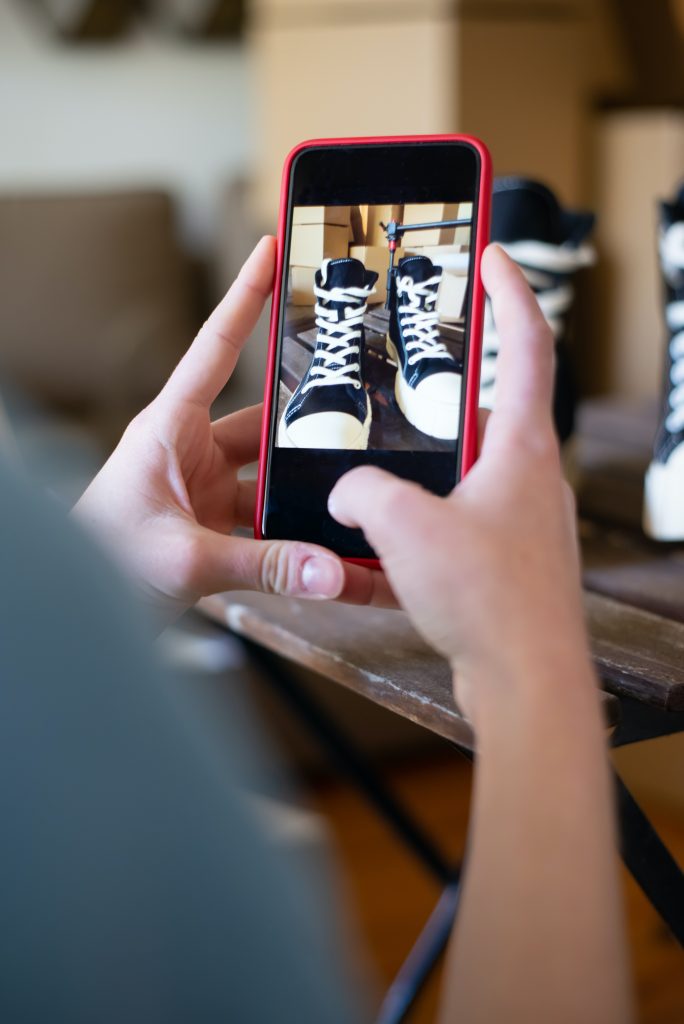

It’s time to recall your geometry classes because you’ll be taking full-body shots, close-ups, side shots, back shots, overhead shots, and angular shots.
- Avoid texts and borders:
Don’t throw all the good work you have done out of the window by adding text and borders to your photos. They make the photographs look unprofessional.
Focus on the frame. You’re not designing a magazine or a book cover.
- Edit your photos:
Did you still find some smudges and tags after cleaning your product? Now is the time to edit them out in a photo editor. And, you don’t need to be a photoshop whiz to perform this.
Apple’s built-in Photos App offers simple retouching toolkits. All in all, use software improvements for minimal aesthetic enhancements and not to glam it up for the Gram.
Best Practices to Use when Using iPhone 11
Let’s look at some creative ideas when using your iPhone 11 for product photography.
Experiment with the outdoors

Indeed, some products work well with outdoor photoshoots. Capturing boots and camping equipment will be more attractive outdoors than kitchen utensils.
Find a well-lit location away from direct sunlight to reduce shadowy effects. Also, ensure that the natural background does not interfere with the product that you’re displaying. Background ideas for outdoor photography include vegetation, rocks, and waterways. Avoid any location that looks too busy.
Practice taking lifestyle shots to give unexpected twists to your product story

This implies capturing your product when it’s being used or applied. When you’re showcasing a product in the thick of the action, it gives it the highest desirability. Challenge your iPhone 11 by adding more variables to the photo frame.

For example, you could add a model holding the knife you want to sell. This means you’d have to put more effort into controlling the setting, the lighting, and the camera.
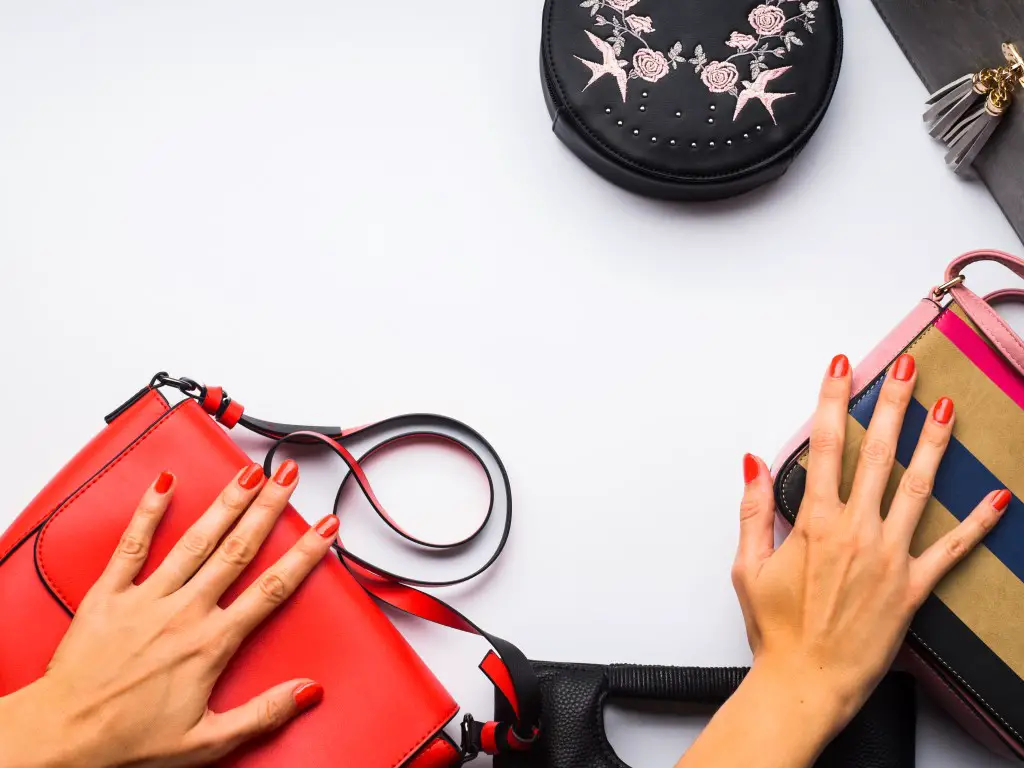
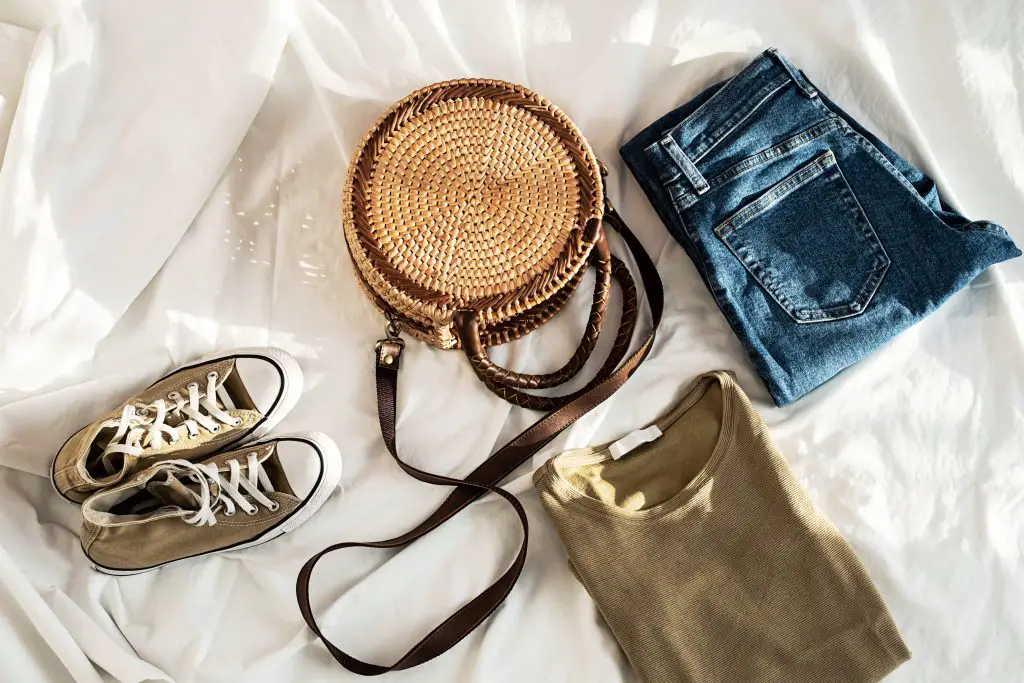
Flat-lay products

Move with the current trend of flat-laying products. This technique usually involves arranging the product with a group of other products along with props in an artistic way and shooting from an elevated standpoint.
We can try this method for many types of products. Example: Flat-lay clothing photography is one of the best techniques for clothing photography.
Small items can be set on a table with your camera with a tripod fixed on an elevation nearby, while bigger items can be arranged on the floor in front of a background and captured from above.
Try mirrors

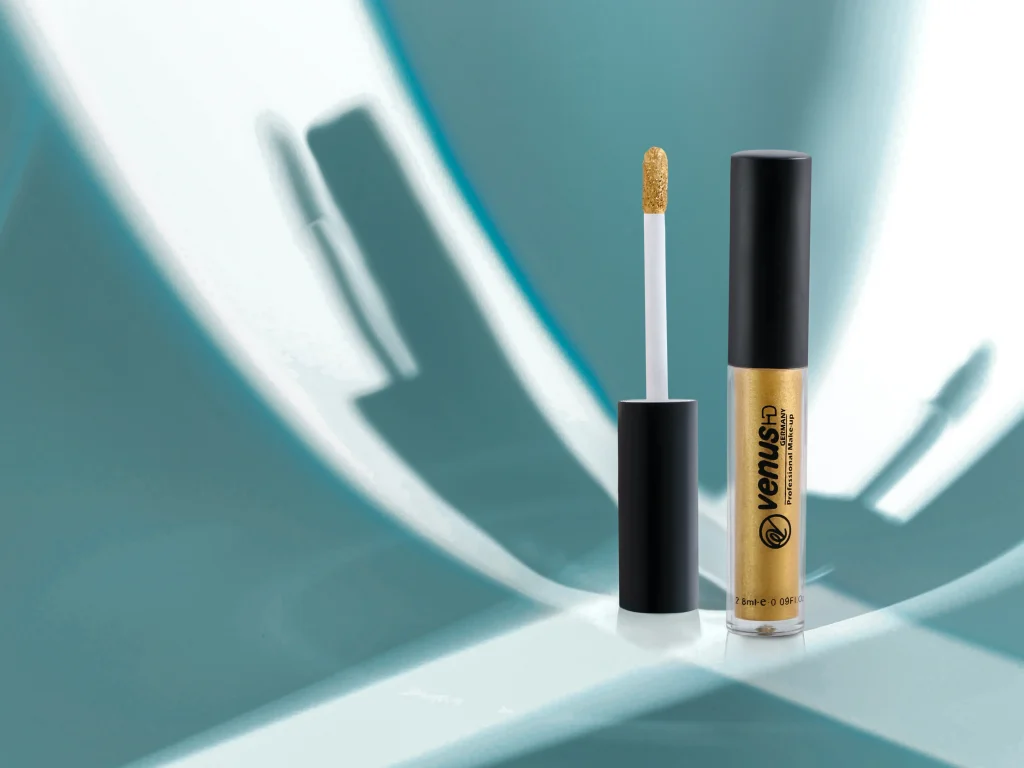
Mirrors or other reflective surfaces are product photo tricks that many people overlook. A mirror produces crisp images and will work superbly for makeup products, shoes, jewelry, and kitchenware.
But, for other surfaces like fabric and earthenware, metal trays and polished stone are suitable as they give off softer reflections.
Reflection images should be captured at an angle and not as a flat lay.
Conclusion
iPhone 11 users are furnished with amazing product photography-enabling features besides its sleek design, rigid securitization features, and long battery life.
However, gaining mastery in the art of iPhone 11 product photography requires a substantial amount of practice. Several methods have been outlined, and I am confident that with these simple tips and tricks at your fingertips, you’ll be churning out compelling product photos in no time.
We have also looked at some best practices that many iPhone 11 users swear by. With patience and dedication, your smartphone can be credited with capturing the most memorable moments in your life and hustle.
Justin Parker is a professional photographer and has been in the industry since 2007. He attended the University of Georgia. Justin combines his passion for photography and his interest in writing to give life to this blog which talks about photography in order to help and inspire young photographers.