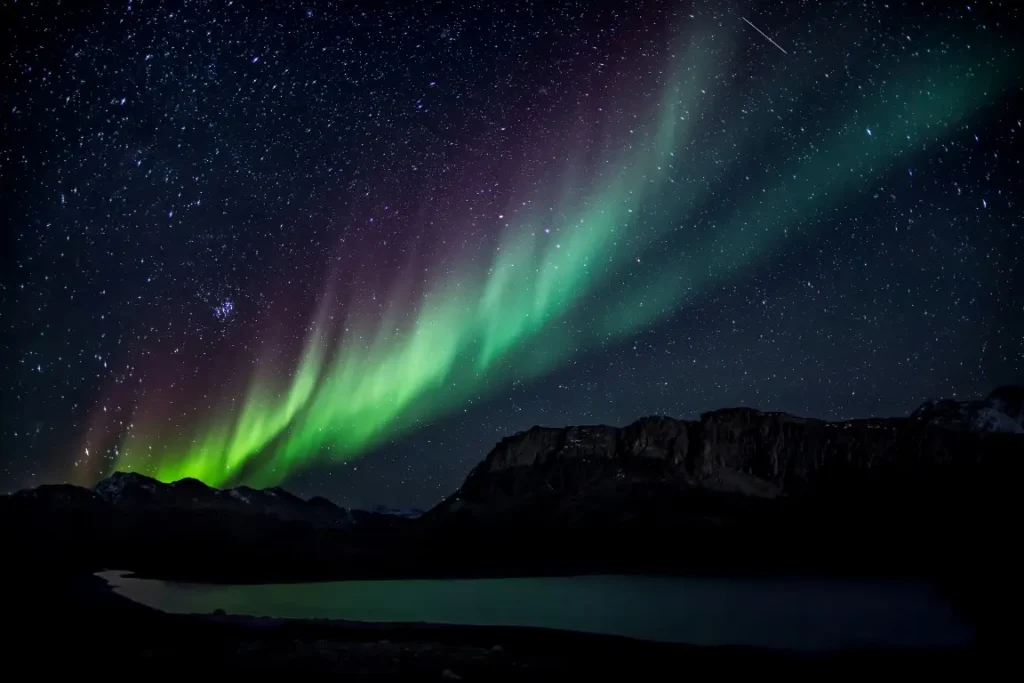
If you happen to be near the North or South Poles, you might be in for a treat. Beautiful light shows in the sky occur frequently. These are known as auroras.
When talking about astrophotography aurora, it has gained in popularity in recent years. Nowadays technological developments have made it easier for photographers to obtain high-quality shots of auroras.
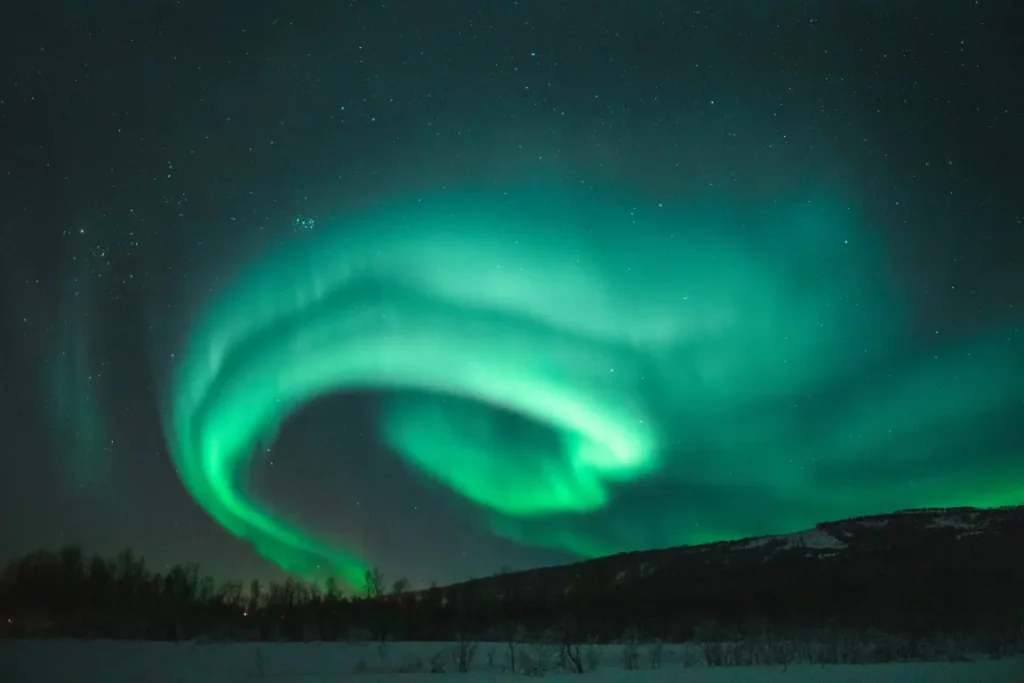
Auroras are regarded as one of the most beautiful natural phenomena in the world, and photographing them is a unique and satisfying experience.
Furthermore, aurora astrophotography gives a platform for scientists to investigate the auroras and collect significant data.
In this article, I’ll provide a comprehensive overview of aurora photography along with key techniques to achieve photographing aurora excellence.
Let’s get started.
When and Where to see the Aurora
As you know, there are two types of aurorae called “Aurora Borealis” and “Aurora Australis”. Aurora Borealis occurs in the Northern Hemisphere, and the same phenomenon known as the Aurora Australis does appear in the Southern Hemisphere.
This far southern display often happens far out over the Southern Ocean and Antarctica where far fewer folks have the opportunity to photograph its magic. On occasion during very active nights, it is sometimes seen over the far southern reaches of South America, New Zealand, and Tasmania.
So here I will mainly focus on Aurora Borealis in Northern Hemisphere.
However, if you hope to capture Aurora Australis, this guide is best for both.
What Equipment and Techniques for Astrophotography Auroras
Photographers interested in aurora astrophotography must have the proper equipment to capture high-quality photographs.
So, I listed the following items that are required for aurora photography according to my experience:
Cameras to Capture Aurora
Aurora photography requires a digital camera with manual controls for aperture, shutter speed, and ISO. Although a full-frame camera is ideal, you can use a crop-sensor camera also.
I recommend a Canon EOS 5D Mark II SLR camera for your aurora journey.
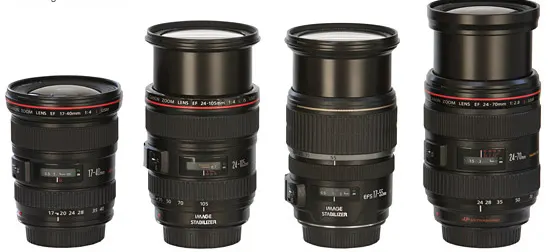
Lenses Best for your Aurora Photography
For aurora photography, I can recommend a fast, wide-angle lens with a full-frame focal length of 14mm to 30mm. A fast lens (f/2.8 or below) is required to allow for a low ISO and short exposure time to miss the star trail.
According to my experience, a Canon 17-40 mm L-Series wide-angle zoom lens and a Sigma F/2.8 15 mm fisheye lens can be considered suitable lenses for aurora shots
If you want to take more ideas about the best astrophotography lenses. You can refer this article for more understanding.
Best Tripods for Aurora Photographers
To provide crisp shots and eliminate camera shakes, a sturdy tripod is required. For altering the camera angle, a tripod with a ball head is very useful.
My Manfrotto tripod is more resistant to cold than those with plastic parts, apart from that the ballhead allows for quick and easy switching between horizontal and vertical images.
Optional Aurora Photography Gear
- A remote shutter release aids in reducing camera vibration during lengthy exposures.
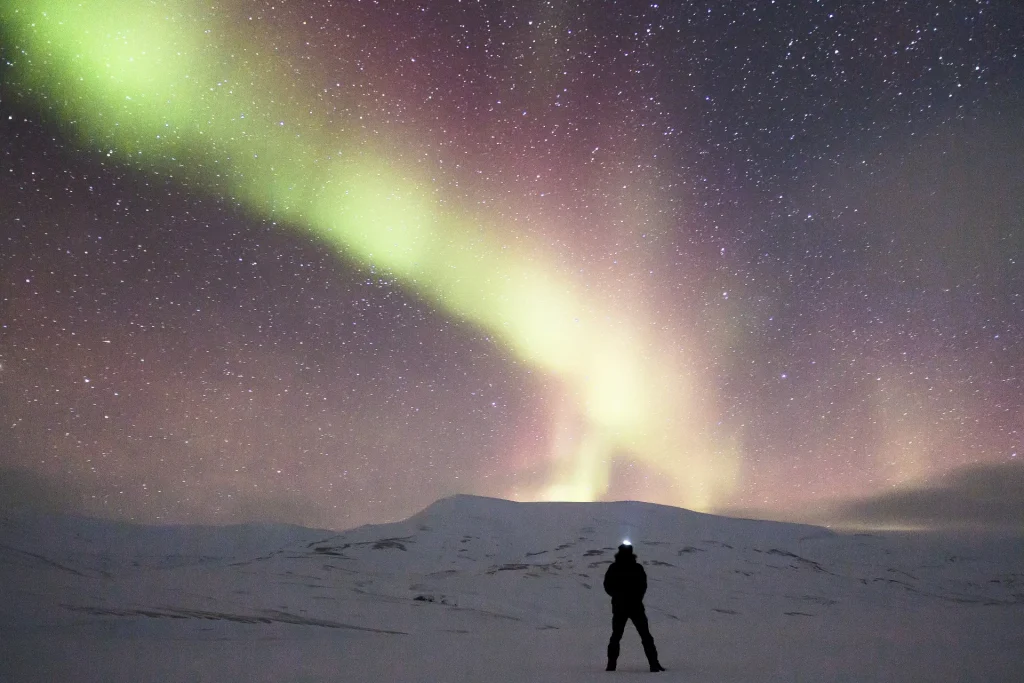
- Headlamp/Torch or Flash Light – You must be able to see in the dark, particularly since you will be fiddling with camera settings in the dark. So having a headlamp/torch or flashlight is an essential thing in Aurora photography.
How to Set Your Camera for Optimal Aurora Photography (Camera Setting)
Actually, I think, photographers should utilize the following camera settings while capturing the best aurora photos. those help me to capture amazing shots in my journey.
Let’s go through them.
- To begin, switch your camera to manual mode. Although modern cameras have excellent automatic modes, manual camera settings are better suited to photographing the Northern Lights.
- Set your focus to the most distant point possible, or “concentrate to infinity.” Instead of interacting with your lens in the dark, set the focus during the day and indicate the exact lens location.
- Aperture: To allow more light to reach the sensor, use the widest aperture feasible (f/2.8 or lower).
- Use the slowest shutter speed feasible. Exposure periods of up to 20 seconds could be used if the Aurora moves slowly. If the lights are moving too quickly, lower it by adjusting the settings.
- Because you’ll be photographing at night, set your camera’s ISO to 2,000 or higher. If you’re lucky enough to see an extremely bright Aurora, you can go lower (about 800).
- Take a test shot with automated white balance to see how the image turns out. If it’s not that fantastic, a Kelvin value of roughly 3,500 is a good manual setting.
Below given tutorial also provides a clearer understanding of camera settings in Aurora capturing.
Some tips to plan your next Aurora photoshoot
Here, I am ready to provide some tips and tricks that are used in my aurora photography journey.
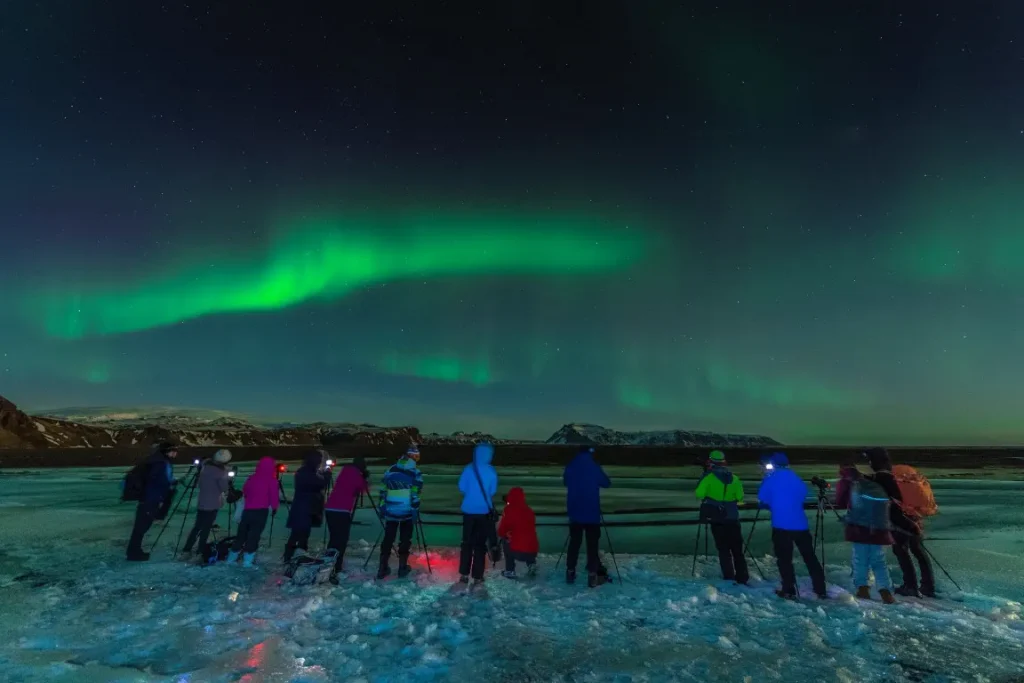
- Plan your journey around the finest places to see the northern lights. Check the weather forecast for clear skies and keep an eye on solar and geomagnetic activity. As well as avoid towns and other sources of light. When you are out in the dark, you will be able to capture the Aurora better.
- Most of the time, aurora photography often takes place in cold, remote locations, So, keep in mind that dress in warm clothing and bring extra layers.
- I emphatically say that, don’t be scared to try out new several camera settings and techniques. You should try to take many images and experiment with different compositions to see what works best.
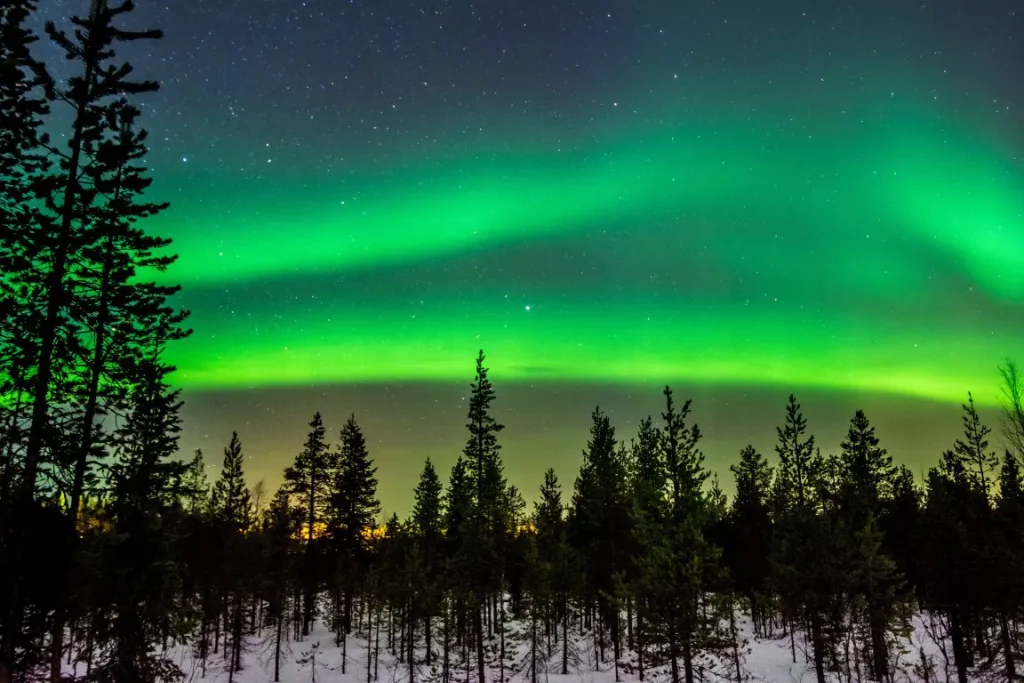
- Auroras frequently appear towards the horizon, so it’s important to keep in mind it when composing your photographs. Consider using a lens with a wider focal length (14-35mm) to catch more of the aurora and surrounding environment.
- Photo editing can help you bring out the best in your aurora photographs. So when you consider utilizing photo editing software it helps to improve the brightness, contrast, and color of your photographs, as well as to remove noise and other flaws.
In addition, I hope the following tips will also help you to improve your photographs of Aurora.
Pro’s Tips for Aurora Photographers
Composition:
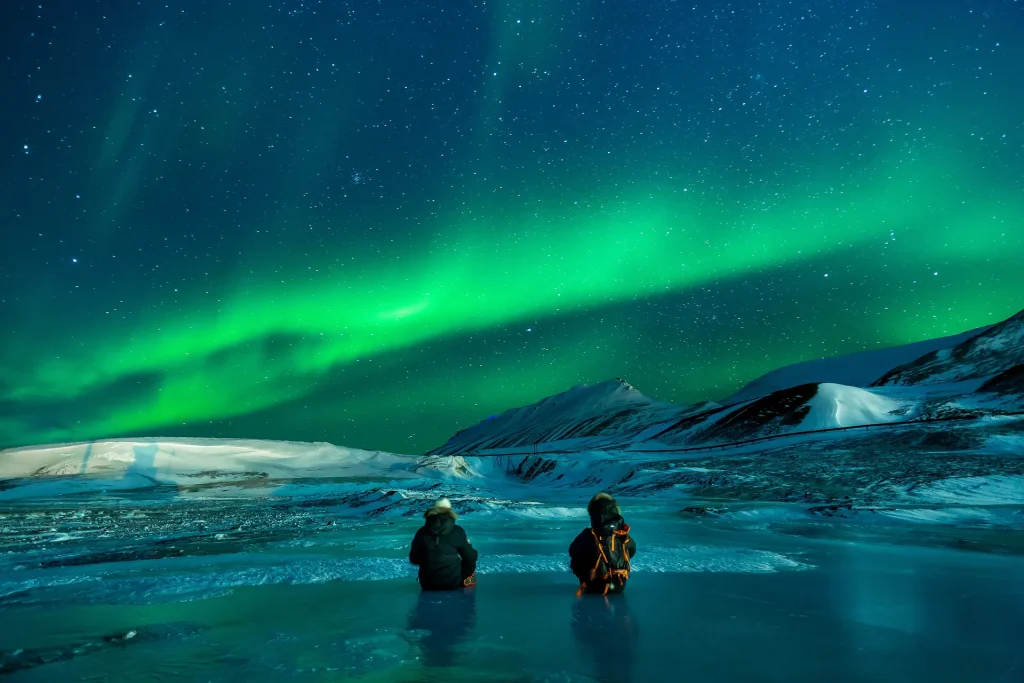
One of the best practices when aurora photography is considering the photo’s composition, particularly the placement of the aurora in the frame and the addition of foreground features like mountains or trees.
Long Exposures:
For catching the full intensity of the aurora and avoiding star trails, you can use long exposures.
Are you familiar with astrophotography exposure time? If your answer is No, here I have provided a perfect guide for you.
Time Lapse:
I recommend utilizing a time-lapse technique to capture the aurora’s dynamic character and produce a one-of-a-kind photograph.
Planning and Preparing for an Aurora Photography Session.
Step 1: Choosing the Right Location for Aurora Photography
Actually, location is critical in aurora photography. To shoot the greatest aurora shots, find a place with a clear view of the northern or southern horizons, depending on where you are in the world.
The Arctic and Antarctica, Alaska, northern Canada, and northern Europe are all attractive sites for aurora photography.
Consider the following variables while choosing a location:
- The availability of dark skies: A clear, black sky is required for successful aurora photography. Avoid areas near cities or other sources of light pollution, as these will diminish aurora visibility.
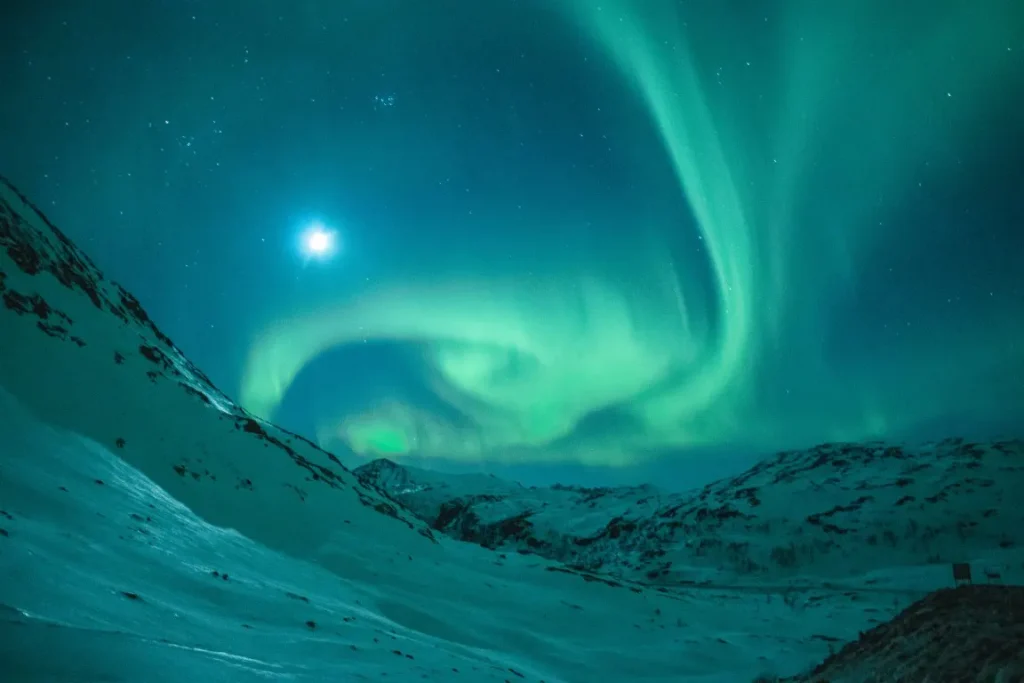
- The surrounding scenery can have a significant impact on the appearance of the aurora in your images. To add depth and interest to your images, choose a location with attractive foreground components, such as mountains, lakes, or forests.
- Accessibility: Some spots for aurora photography are isolated and difficult to reach. Choose an accessible site and evaluate the mode of transportation you will require (e.g., a car, snowmobile, or boat).
Step 2: When to Schedule Your Aurora Photography Session
Auroras are most seen at night when the sky is dark and the stars shine brightly.
The optimum time to photograph auroras is at peak auroral activity, which usually occurs around the equinoxes (March 20th and September 22nd).
Solar flares and other events can also influence aurora activity, so check the aurora prediction and plan your photographic session accordingly.
Consider the following when planning your aurora photography session:
- Consider the periods of sunset and sunrise, as the sky can be too bright during the twilight hours to observe the aurora.
- Moon phases: A full moon can make seeing the aurora difficult, so look for a new moon or a waxing crescent moon.
- Check the aurora prediction to see when the best time to photograph the aurora is. Aurora forecasts can be found on websites and apps such as Aurora Watch UK, the Geophysical Institute at the University of Alaska Fairbanks, and the Finnish Meteorological Institute.
Step 3: Preparing for the Unexpected
Aurora photography can be unpredictable, so be ready for the unexpected.
Bring warm clothing, a flashlight, and a backup power source for your camera and other equipment, as well as food and water in case your photographic session lasts longer than intended.
Also, be cautious of your surroundings and stay careful, as aurora photography frequently takes place in remote locations.
Step 4: Taking your shots of the beauty of Aurorae.
After achieving the above step. You are able to take your photo shoot on Aurorae.
Please make sure that you are full of the essential gear for aurora as I mentioned earlier and be careful with the suitable camera settings that I provided.
Conclusion
Aurora photography is a fascinating and lovely topic for astrophotographers.
It takes time to plan and prepare, but the results may be breathtaking. Anyone can take amazing aurora images by knowing the science behind them and using the necessary equipment and procedures, and planning and preparing.
Aurora astrophotography is a pleasant pastime or vacation for those who enjoy photography and the natural world.
It is a chance to connect with and capture the grandeur of the night sky, and the results may be quite magnificent.
We invite you to pursue astrophotography aurora, whether you are a seasoned photographer or just starting out, and see what stunning photographs you can generate.
Justin Parker is a professional photographer and has been in the industry since 2007. He attended the University of Georgia. Justin combines his passion for photography and his interest in writing to give life to this blog which talks about photography in order to help and inspire young photographers.