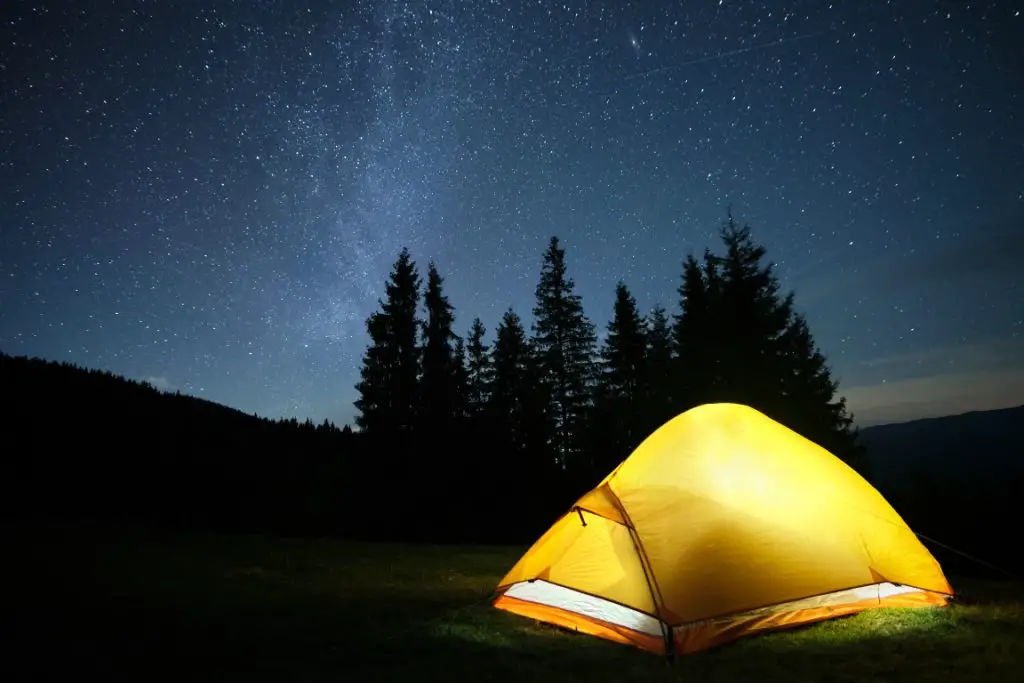
Are you curious how professionals get bright tent shots at night? We will talk all about photographing an aesthetic picture of the tent at night.
All you need are some important equipment that will capture the whole vibe of the camp tent and the surroundings while capturing the actual memories of the trip. It sounds interesting. Let’s get started then!
Photographing a Tent at Night
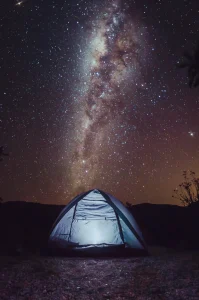
Among all the amazing subjects you can shoot in a night camp, clicking a glowing photo of the tent is a classic camp photo that you shouldn’t miss at all. The tent shot is the most basic since it does not need very much thought behind it.
However, you still have to deal with the darkness around it. Even though it can be challenging to take a photo at night with less illumination around, it’s not impossible.
Things You Need to Photograph the Tent
Before you go on this tent photography expedition, remember to carry a few important tools such as:
1. Camera
The times have excelled and revolutionized so much that these days you can buy a camera that is capable of clicking pictures at night, like a DSLR.
Smartphones can also click night pictures, but you need to have certain settings in the camera that will help you click the image you want.
2. Light
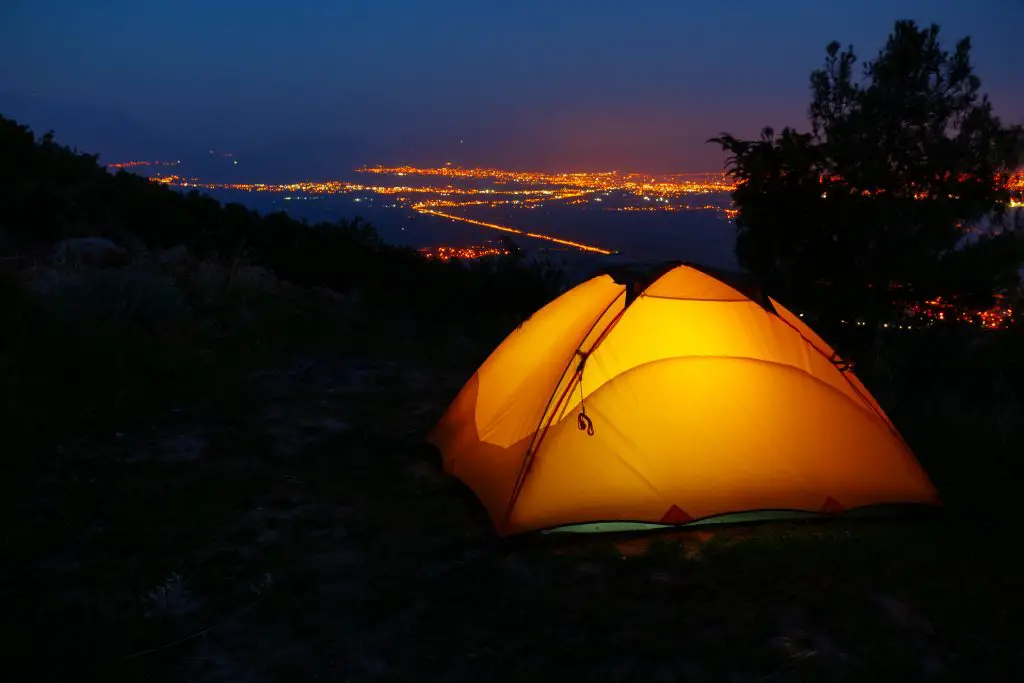
Buy ambient lights like glow lights, flashlights or even a head torch, which will help you illuminate the area around the tent and inside the tent.
Lit-up tent with pitch darkness outside is a typical tent photo.
3. Tripod

This object is necessary when clicking night pictures as you will need a stable camera to get a crisp and clean shot. Our hand vibrations may disturb the clarity of the photo.
4. A Tent
For obvious reasons, do not forget to bring a tent since you will take a picture and make all those efforts for a tent photo.
Camera Settings Appropriate for Capturing a Tent Photo at Night
Light is the basic necessity of a photograph for obvious reasons. Therefore, cameras that support settings for increasing the light exposure while you click a picture at the night are very important.
However, the camera’s settings will dictate how your picture will look.
Let us see what the best settings for the camera are:
1. Shutter Speed
The more time you set the shutter speed, the longer it stays open, which leads to the full entry of light.
Therefore, if you wish to photograph a tent in the dark, increase the time and set it between 10-30 seconds.
2. ISO
A higher ISO will give a brighter image. Therefore, when you click a picture, try out several ISOs before settling on one. We would recommend that you keep it under 800 to 3200.
However, be careful not to increase the noise in the picture with a higher ISO.
3. Aperture
The lens has a little hole through which the light actually passes. This hole can be referred to as an aperture. Therefore, the wider the aperture, the more light will be able to reach the lens.
However, the wideness is denoted with a number such as f/2.8, etc. Conversely, a small number denotes a wide aperture.
So you should select apertures such as f/4 or f/2.8 for maximum light.
4. Focus
Put the focus on Manual (M) instead of Auto Focus (AF) since you will be able to take in everything around the stars and focus everything at once.
Autofocus is permanent, so you will not be able to control the focus.
How to Photograph a Tent and the Night Sky?
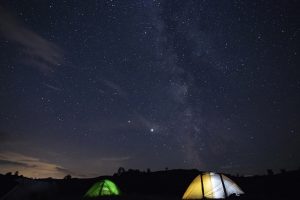
All those shots of a glowing tent under a starry sky have taken up so much effort for the person aiming for such a click. But it is actually easy to do if you keep a few things in mind. So let’s see some important pointers below:
- Come early and find your location early during the day to understand the picture’s composition you are aiming for and the overall landscape. Aim for a wide night sky shot so that the tent glows naturally against it.
- Buy a strobe light or continuous light and put it at a low output to decrease the light even lower than that. You automatically create a bright tent that will shine against the dim stars in the background, giving you the perfect shot.
- Invest in a good tripod that will support the camera in a fixed place. Also, remember to fix it in place with a heavier object so that it doesn’t just fall off on touch and damage your camera and equipment.
- Buy a shutter release remote to click the photo with a single button without disturbing the camera and its fixed settings.
- If you do not have a shutter release remote, set the timer of the camera to 2 seconds or 4 seconds to get a professional shot without disturbing the composition.
How to Get a Glowing Tent Shot?
Clicking a glowing tent shot under the night sky can be a dream come true if you do it right.
- Purchase special types of equipment that you can afford to buy because it will make all the difference when clicking a glowing tent photo.
- Since you will be photographing in long exposures, you could risk having hazy pictures if you hold the camera yourself. Therefore, rely on a tripod stand and click on focused and crisp photos.
- Keep the main subject in a one-third frame, which could be horizontal or vertical, as it offers a very creative approach to the photo and adds more focus to the subject. Therefore, you can line the tents in accordance with the dim stars in the background.
- Camera settings appropriate for glowing tent shots:
Keep the camera manual and set the Aperture, ISO and shutter speed yourself. Shutter speed can be between 10-30 seconds, while the aperture can be f/2.8 at the night. At the same time, the ISO should be 600 to 3200.
Conclusion
Do not fear the process of capturing the most spectacular night sky shot with a glowing tent in front of you. So many great photographers have created this shot, so it is a possible shot that anybody could give a try.
However, one should be ready way before they actually take the shot by carefully planning everything. Everything should be set beforehand, from the camera equipment and extra tools to the location and the composition and theme of the location.
Therefore, we can safely say that capturing the night sky with a tent is an easy job if you are prepared well enough.
Justin Parker is a professional photographer and has been in the industry since 2007. He attended the University of Georgia. Justin combines his passion for photography and his interest in writing to give life to this blog which talks about photography in order to help and inspire young photographers.

