Long exposures are better than short exposures. It would be better to have a guided CCD camera as it allows you to dry out different exposures.
The focal length of the lenses and the camera software limit the exposure to a certain time.
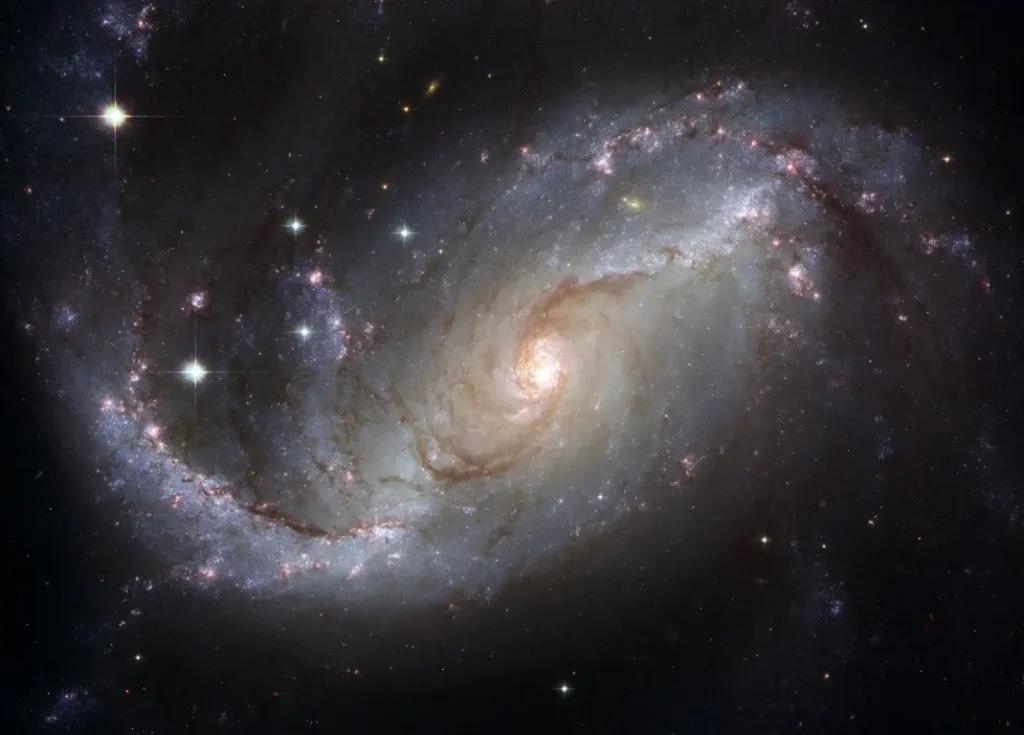
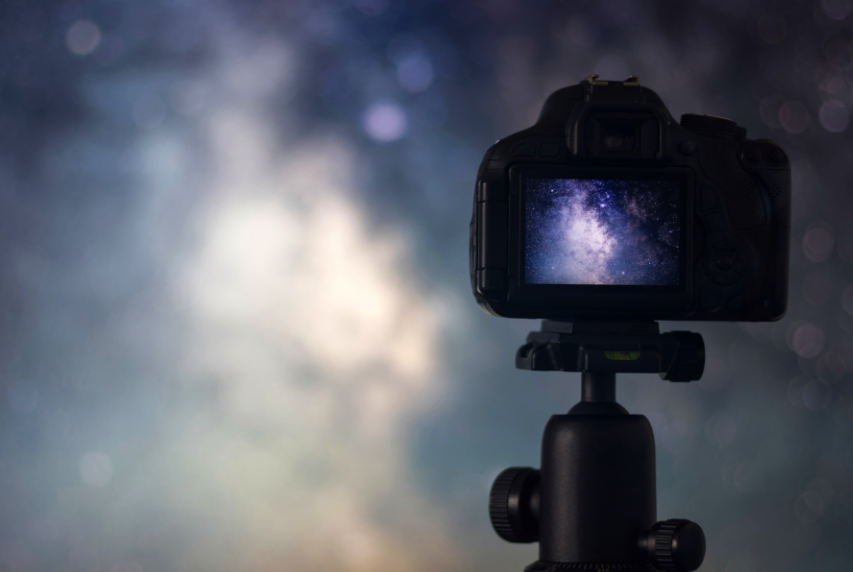
Keep reading this guide to find out the best exposures for your Astrophotography passion.
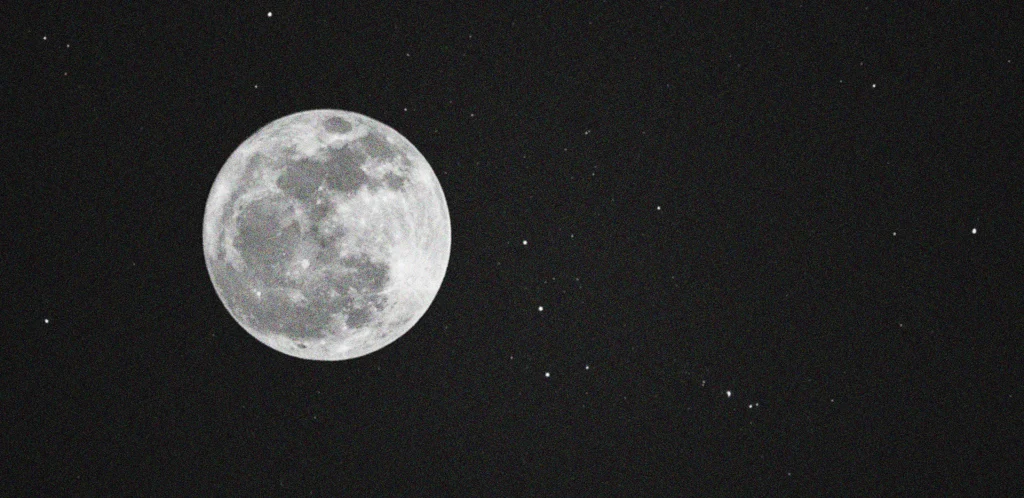
Astrophotography short vs long lasting pm exposure
Image quality at different exposures really differ. This is mostly in terms of noise and brightness.
So, when choosing the ideal exposure you will to find the perfect balance between the brightness and noise. This concept is hard to understand until you try taking pictures with your camera.
The table below will try to show the difference in brightness and noise.
| Exposure | Brightness | Noise |
|---|---|---|
| 30 seconds | Too dark | No noise |
| 60 seconds | A bit darker | No noise |
| 90 seconds | A little brighter | A few objects are seen in the background |
| 120 seconds | Perfect brightness | A few objects are seen |
| 300 seconds | Too much brightness. | More objects like the stars are visible |
Comparison between Brightness and Noise in different exposures.
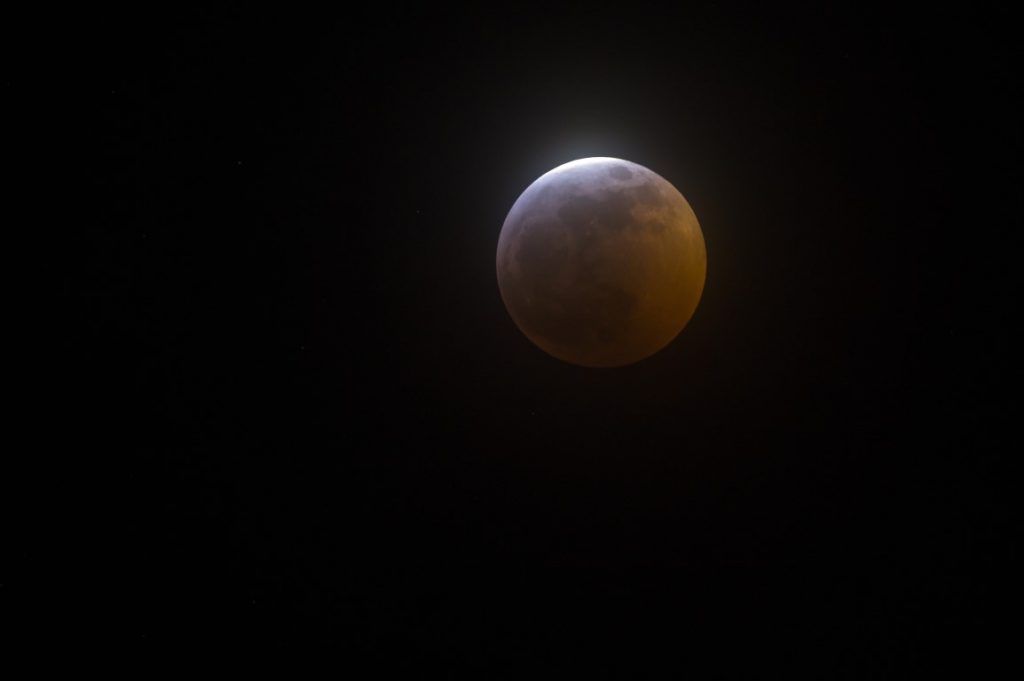
- 30 seconds
I set my camera’s aperture at F/3.5 and a shutter speed of 2 seconds.
The ISO settings were at base value. I then adjusted the aperture to F/11 and the same shutter speed and ISO settings.
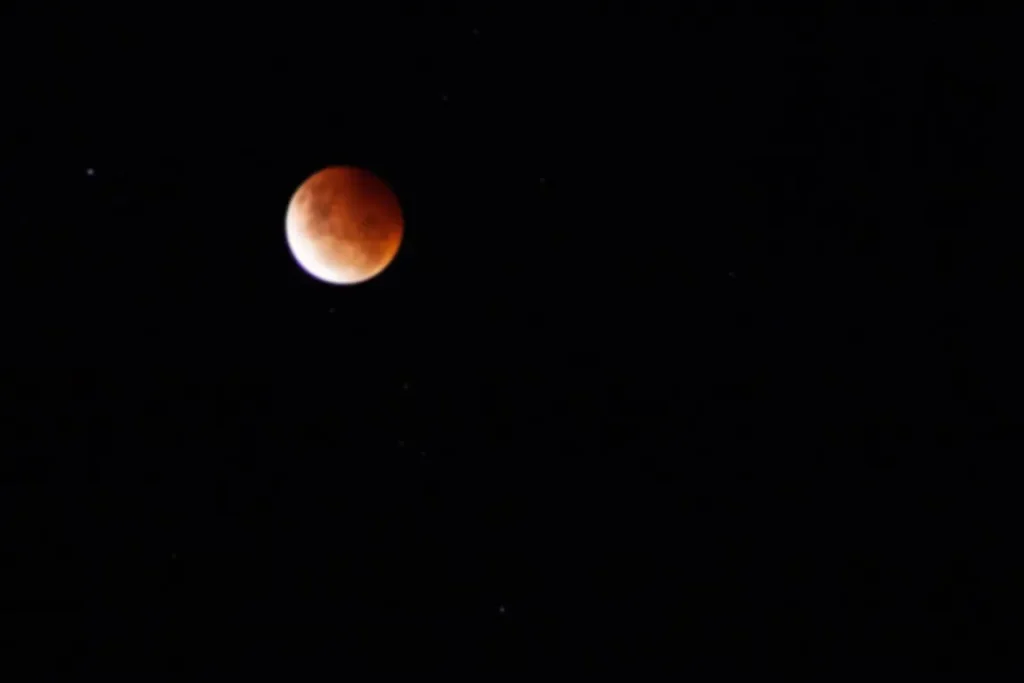
The focal length of my camera lens was set at 600mm. I took pictures of the moon at 1.00am.

In the first case at F/3.5 the moon pictures were a little dark but with less noise. The pictures of the moon at F/11 were too dark compared to the one at F/3.5.
- 60 seconds
I adjusted the settings and captured the moon at F/3.5 and F/11. However, the exposure was set at 60 seconds.
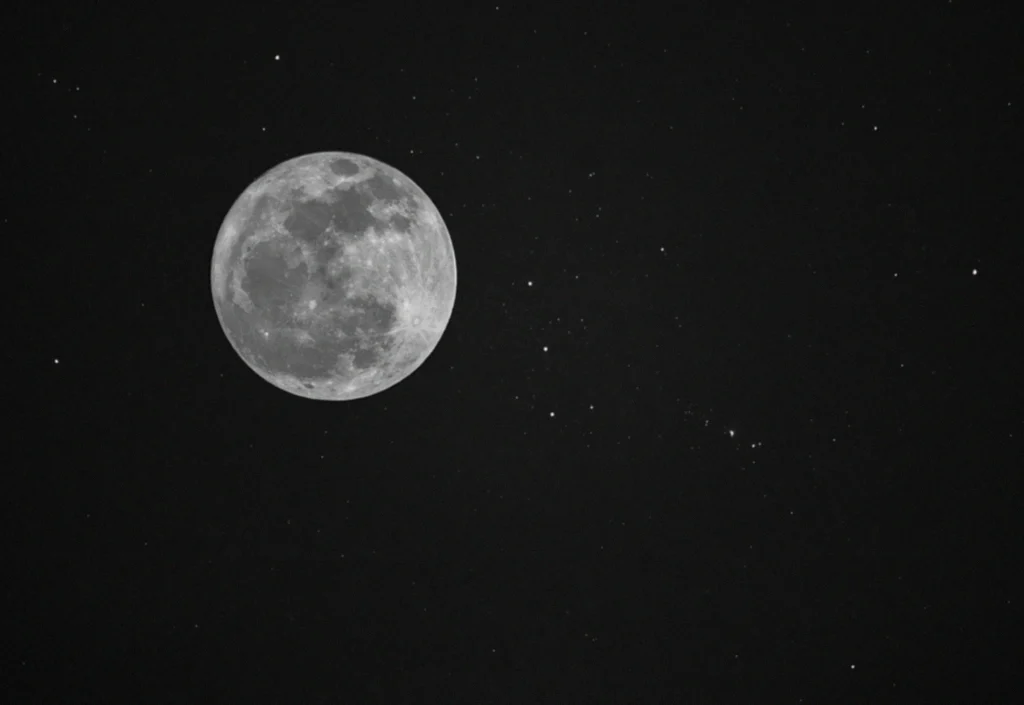
At F/3.5 and 60 seconds exposure, the moon picture was a little brighter with some other objects at the skies showing. However, in a blurry.
At F/11 the moon appeared bright but with some darker corners. No other skies body was visible in the pictures.
Pictures at 60 seconds exposure were a bit brighter with a few dark corners and also less noise compared to pictures at 30 seconds which were too dark.
- 90 seconds
When buying my Canon EOS 60Da camera, the rated exposure was at 90 seconds.
After testing it in several occasions, I found out that the exposure was for close up portraits. I still tried taking pictures of the moon at 90 seconds exposure.
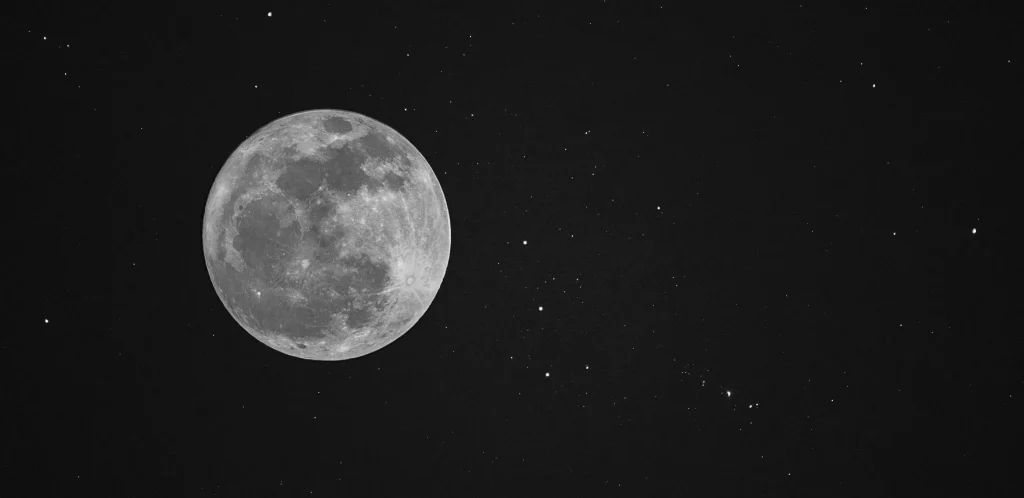
With apertures settings at F/3.5, the picture was a brighter with only few dark corners and more stars were showing.
At F/11, the moon was clear, more dark corners and some stars were showing. This could be the best exposure but I did not want to limit myself to the default exposure.
- 120 seconds
With the same apertures, and an exposure of 120 seconds, the moon was too bright, more stars were showing and the corners were not dark anymore.
The picture when the aperture was F/3.5 was a bit brighter than when the aperture was F/11.
- 300 seconds
I went overboard and tried an exposure of 300 seconds. Pictures at F/3.5 and Pictures at F/11 were bright, no dark corners but al lot of noise.
I would therefore prefer when my camera was set at an exposure of 120 seconds and aperture of F/3.5. The noise on the picture was not at extreme and the pictures were appealing.
More short exposures or fewer long exposures?
From my explanation above I chose 120 seconds exposure. Choosing the 120seconds exposure does not mean I should only take 1 picture over the 120 seconds. You can divide the seconds into subs.
For example, you can choose to take 12 subs at 10 seconds each, 6 subs at 20 seconds and 2 subs at 60 seconds each.
12 subs at 10 seconds is what is termed as short exposures and 2 subs at 60 seconds is longer exposure.
Taking many pictures at short exposures does not allow your camera to pick enough photons therefore it might lead to darker images.
Long exposures on the other hand allow enough photons to be absorbed and results to high quality images.
How long should my exposure be astrophotography?
There is no one chosen exposure in astrophotography.
You should try all the settings and settle for the exposure that captures the most extraordinary images.
Another thing to consider is your camera and type of lens. If you want to figure out the best exposure, check the default settings of your camera. This is pretty much the appropriate exposure time.
You can also check images of the skies only taken with gears your type. Check the specs and see the exposure and use that range to find the best exposure.
How do you calculate exposure time for astrophotography?
The best formula to use when calculating exposure time is known as 500 rule. Basically, you take 500 and divide by the set focal length of your lens
Exposure time= 500/(crop-Factor× focal length)
If you feel it would be good to know about the best astrophotography lenses, you can enrich your knowledge with our guide.
How do you calculate maximum exposure?
Maximum exposure is found when the focal length is smaller and the shutter speed is larger.
For example if your lenses have a focal length range of between 75-300mm, maximum exposure will be found at 75mm.
The image will be clearer at that focal length. Use the same 500 rule to get the values.
Astrophotography exposure time calculator
The best astrophotography exposure calculator got to be ideal exposure calculator.
It takes into account all the variables that affects the exposure of different cameras. Below is how you use the Ideal exposure calculator;
- Test your cameras exposure
- Use the dark frame to take pictures
- Subtract the dark frame to calibrate the light frame
- Measure the background value. Take as much pictures and find the average.
- From the pull-down menu, choose your CCD camera
- Feed in the exposure time in minutes
- Feed in the background value
- Use a 5% noise tolerance option
- Press calculate and get the ideal exposure.
N.I.N.A’s optimal exposure time?
N.I.N.A which stands for Night-time Imaging ‘N’ Astrology project helps you navigate through all Astrophotography depth. Here you can easily tell the exposure time, and the ideal focal length for your Astrophotography.
Nina optimal exposure calculator
One mistake people do when using NINA calculator is running the camera in 8bits.
16 bits is the ultimate setting to get accurate readings.
This video gives all the basics of calculating exposure time using NINA exposure calculator.
How many exposures do you need for astrophotography?
The number of exposures on astrophotography is determined by;
- Focal length of the lens
- Aperture size
- Shutter-speed
- The type of camera
- And the time you are taking the pictures.
You therefore need to practice with your camera to find the ideal exposure.
How do you combine long exposure shots?
When combining long exposure shots, the pictures must be taken in a span of a few seconds. If you let any time between the shots, there will be a clear visible gap that will interfere with the end results.
If you want to know more about how do you take a long exposure night shot, you are so lucky because I have already provided an article for it.
And also by watching this video to polish your knowledge about combining multiple exposures.
Step 1: Go to files
Step 2: Then to scripts and load files into stack
Step 3: Select files then create smart object and press okay.
Step 4: You then choose the layer option then smart object and smart mode then find the mean.
No matter how many pictures you have taken, the software you are using to edit the pictures will combine them into a one picture at long exposure.
Conclusion
Exposure is one concept in photography that has to be learn through trial and errors.
With many trials you will end up mastering the best exposure time depending on your camera.
The guide above has all the basics you can follow while determining the best exposure for your astrophotography passion you can add to the list some of the most helpful tips you have learned when trying out astrophotography at different exposures.
My favourite tip is to use long exposures rather than short exposures.
Justin Parker is a professional photographer and has been in the industry since 2007. He attended the University of Georgia. Justin combines his passion for photography and his interest in writing to give life to this blog which talks about photography in order to help and inspire young photographers.