Background noise is an astrophotographer’s worst nightmare. Noise, which may be seen as tiny grains on the frame, is an annoyance at best.
Low dynamic range or poor picture quality combined with noise may make some images useless.
Regarding astrophotography, the ideas of noise versus signal are perhaps the most crucial. In other words, noise is unwelcome clutter, while the signal is the interesting data you are attempting to record.
We are looking for as much signal as possible and as little noise as possible.
As a result, we are always striving to improve the signal-to-noise ratio and S/N. The higher the chance of your data, the greater the S/N should be.
We are particularly concerned about a few well-known noise sources, and we use various processing methods to deal with them.
· Shot Noise
When photons arrive at your sensor, you will see this random variation in their arrival. Consider a few raindrops splattering on the sidewalk.
The sidewalk appears mottled until enough rain droplets fall to make the pavement consistently moist. On either hand, a torrential rainstorm will quickly soak the walkway.
This is how light falls on your camera’s picture sensor.
Until the sensor slowly accumulates enough signal, you eventually wind up with an uneven, smeared look — in peasant vernacular, we could describe this appearance as “grainy.”
·Read Noise
Your camera’s circuitry is to blame for this shakiness or noise.
Some additional electrons are either lost or acquired at random during the reading of each pixel value, causing the reading value to differ slightly from the actual signal rate.
The most significant effect of reading noise is on weak signals.
You pay the same amount for reading noise for every frame, regardless of how long it takes to capture the image.
Unlike most noise sources, which vary in price depending on how long they take to capture the image.
The most straightforward technique to fight read sound is to ensure that you are exposed long enough in a single exposure such that even the tiniest feature you want to capture has a signal far above read noise.
This is in addition to using better electronics.
· Non-Structured Noise
Dark Signal Non-Uniformity (DSNU) or Photo Response Non-Uniformity (PRN) are two examples of this noise (PRNU).
DSNU is combated by dark or bias calibration frames, while PRNU is used with flat calibration frames.
We will see that even if you do not have dust or substantial igniting, you still need to calibrate your camera’s flat-frame sensor since PRNU can’t be beaten by stacking alone.
· In Astrophotography, Digital Noise
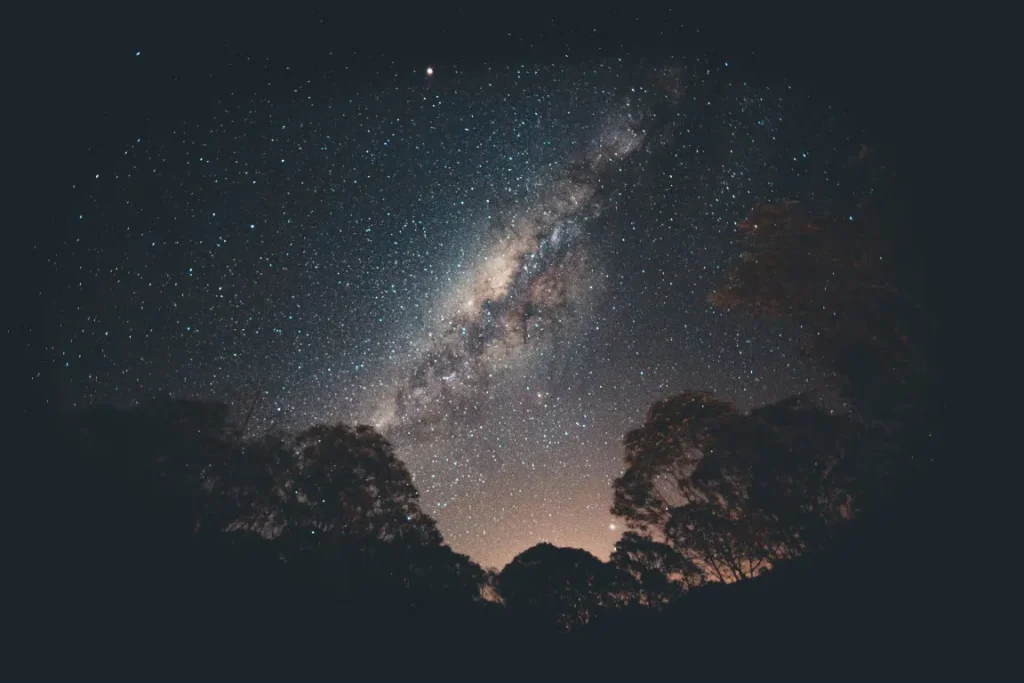
Photographing the night sky became more accessible to photographers of all skill levels and budgets as camera technology improved.
So, do you like to know how do you photograph the night sky? I have provided an article for it. I think it is a perfect one to refresh your knowledge.

Digital noise in astrophotography may be dealt with in various ways, ranging from the phone’s camera to the post-processing steps.
Noise in digital media is affected by a multitude of factors. To begin with, when a camera sensor becomes hot while exposing an image, noise levels go higher.
On the other hand, you may see a rise in digital noise when you raise the sensor sensitivity, known as ISO.
You’ll need an astrophotography plan to cope with digital noise, exacerbated by high ISO and lengthy exposure times.
Do you have an idea about astrophotography exposure time? if your knowledge is less I provided a guide about astrophotography optimal exposure time.
1. Walking/Correlated/Raining Noise; What Is It?
As the sensor’s DFPN (dark structure-borne noise) drifts in one way over time, it creates walking, correlated, and raining noises. The most common reason for this is drift due to a lack of precise polar alignment, although there are other possibilities.
2. What Causes Walking Noise?
Digital noise results from several factors, including, To begin with, when a camera sensor becomes hot while exposing an image, noise levels go higher.
On the other hand, you may see an increase in digital noise when you boost your camera’s sensor sensitivity (sometimes ISO).
3. How Do You Fix “Walking Noise” In Processing?
Avoid Using Noisy Equipment When Taking Pictures
Avoiding noise in the first place is the excellent approach to lessen it, even if it seems like cheating. Moreover, this solution works with any and any images!
As we saw before, increasing the ISO on our camera to brighten the exposure typically results in noise.
You may reduce the need to increase ISO by raising your shutter speed or adjusting your aperture. Adding artificial light is also a good idea.
While increasing shutter speeds or apertures will not help in every situation, the first line of defence against noise is to keep the ISO as low as possible.
For photogs who use tripods for much of their work, increasing the shutter speed may be an effective way to brighten an image.
It may be advisable to open the aperture and go with a faster lens when a rapid shutter speed is required.
Ambient lighting is always an option if enlarging the aperture results in a too narrow depth of focus. Post-processing may be a lifesaver when all else has failed.
· Lightroom’s Blacks & Dehaze Adjustment Sliders
Playing with the Blacks slider inside the Basic panel and the additional Dehaze slider inside the Effects panel are two more simple and efficient ways to reduce noise in Light room.
Some images do not benefit from using these techniques, but nighttimes photos benefit significantly from using them since they reduce luminance noise while keeping details.
Only the darkest areas of the picture are affected by Light room’s Blacks slider, which affects the far left side of the histogram.
We often utilise the Blacks slider in landscape photography to enhance the image’s contrast by bringing out the darkest tones.
As a result of Light room CC’s introduction, dehaze was added to the programme, advertised first and primarily as an image-detection tool.
The Dehaze slider does more than reduce haze; it also reduces the amount of noise in the image’s deeper tones; like the Blacks slider, it’s excellent for night photography.
If you feel like need to know more about astrophotography editing for lightroom to reduce noise. you can refer our complete guide to astrophotography noise reduction.
4. Working Noise In Dslr (Fixed)
· RAW File Type Should Be Used For Taking Photos
Is shooting in RAW anything that makes you nervous? Not at all! RAW is highly recommended if you want to get the most out of your photos. It’s not necessary to always shoot in RAW.
Get more idea about how to master noise reduction in your camera by referring this tutorial video
However, if you find that light is getting too dim, you should switch to RAW mode. There must be a reason.
Noise is baked into JPEGs due to compression, a process that takes place during the creation of the picture. As a result, it becomes tough to eliminate noise during the post-production phase.
· Expose Appropriately From The Start
Boosting the exposure can show noise, so you must get the exposure perfect from the very beginning.
When out shooting, We strongly suggest checking the camera’s LCD – particularly the spectrum – to ensure users nailed the exposure.
In addition, do not be hesitant to take numerous photographs at varied exposures, mainly if you’re working with a challenging scenario; good to be safe rather than sorry!
Also, the greater your ISO, the more the unforgiving the file. In other phrases: When you’re using a higher ISO, you had best get the exposure perfect since boosting a desiderated high-ISO picture will produce a noisy mess.
Conclusion
Despite my best intentions, we cannot provide you with universally applicable noise reduction options. You will have to play around with each modification until you achieve your desired look.
For the most part, we usually start with Luminance and Colour set to 50 or so and work my way up from there as we move the sliders from one setting to the next; we pay close attention to how the picture changes whenever we are completely zoomed in.
After that, we zoom out to examine how the changes have affected the whole picture. As soon as we are satisfied with a particular change, we go on to the next one.
Is it a long and drawn-out process? Sure.
You can, however, get rid of most of the unwanted noise in any picture if you do it the right way.
As with everything, practice makes perfect, so make use of as many different photos. Your ability to foresee the outcome of any given alteration will come soon enough.
Justin Parker is a professional photographer and has been in the industry since 2007. He attended the University of Georgia. Justin combines his passion for photography and his interest in writing to give life to this blog which talks about photography in order to help and inspire young photographers.